
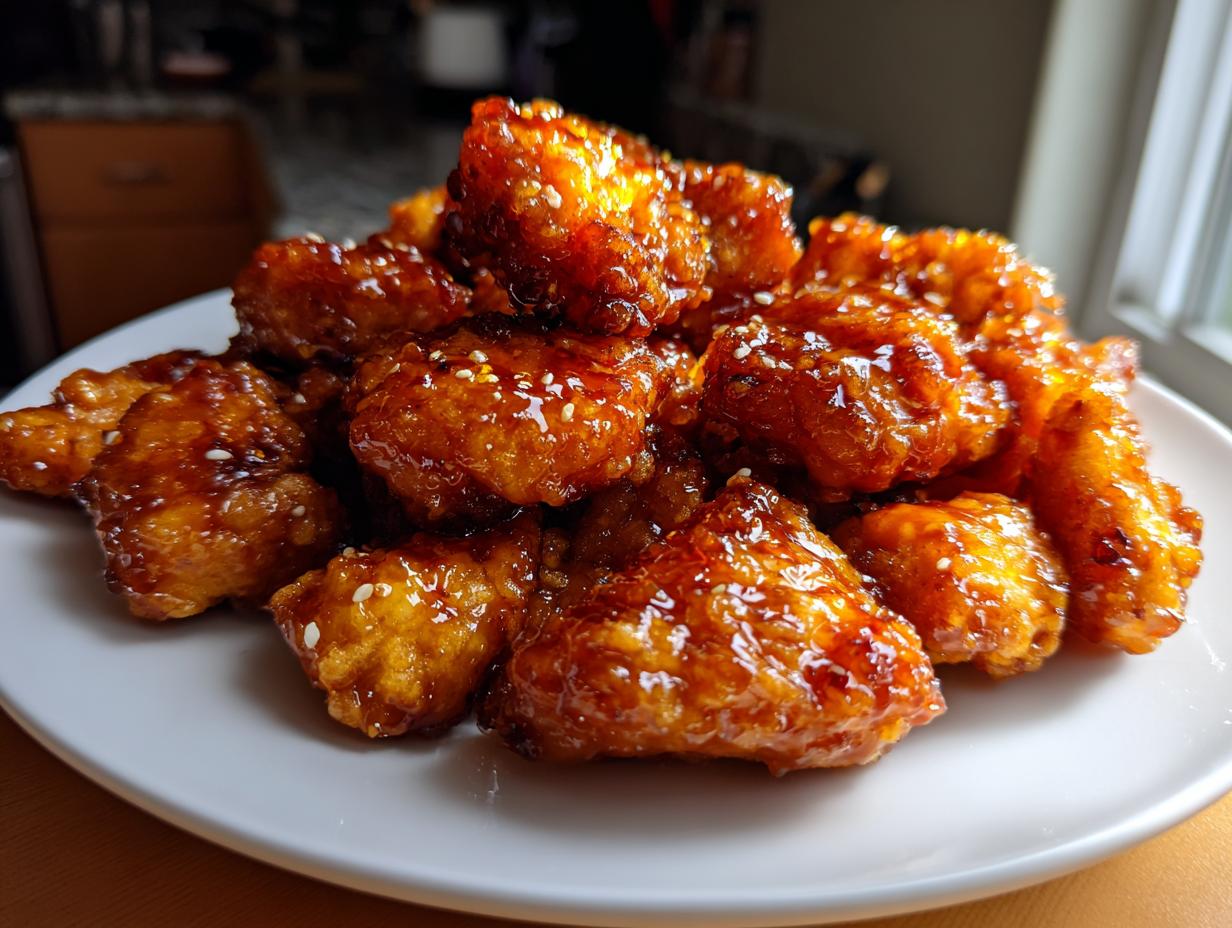
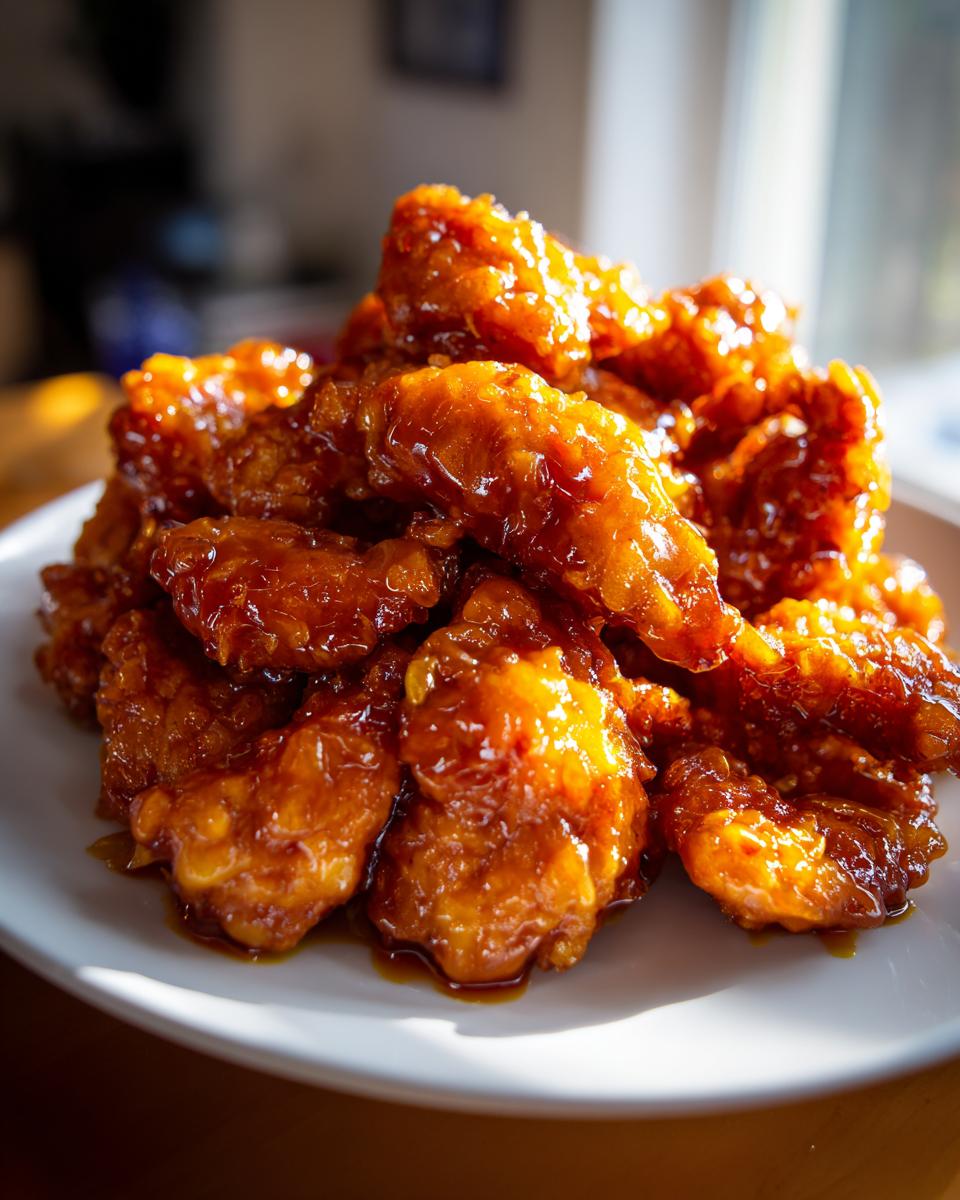
Oh, you know that craving, right? The one where you just *need* some delicious, takeout-style food without actually having to call and wait forever. That was me last week! I’m Claire from Bliss Batter, and my kitchen is all about making those amazing flavors – the ones you think you can only get from a restaurant – totally doable at home. That’s why I’m SO excited to share this Crispy Orange Chicken recipe with you. It’s got that perfect sticky, sweet-and-tangy glaze you dream about, and the chicken? Oh, it’s unbelievably crispy. Seriously, this Orange chicken is about to become your new go-to weeknight hero. It’s proof that incredible home cooking, just like my Grandma always showed me, is totally within reach!
- Why You'll Love This Crispy Orange Chicken
- Orange Chicken: Thigh vs. Breast
- Ingredients for the Best Orange Chicken Sauce
- How to Prepare Crispy Orange Chicken
- Tips for Success with Your Orange Chicken
- Serving Suggestions for Orange Chicken
- Storage and Reheating Instructions
- Frequently Asked Questions about Orange Chicken
- Nutritional Information
- Share Your Orange Chicken Creations!
Why You’ll Love This Crispy Orange Chicken
Seriously, why wouldn’t you love this Orange chicken? Get ready for your new favorite:
- SO easy & fast: We’re talking a truly quick weeknight stir fry that’s ready in about 35 minutes. Perfect for those busy nights!
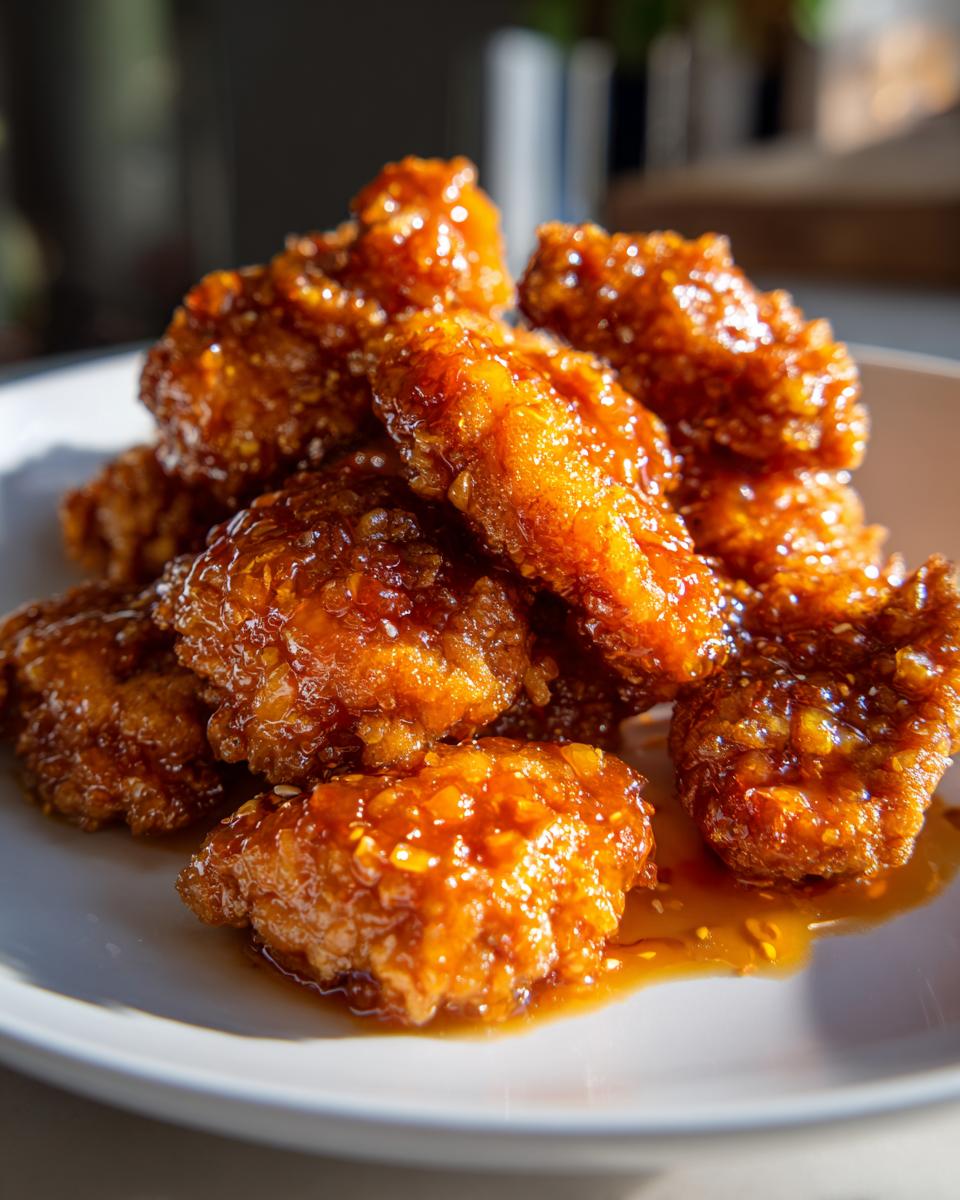
- Way better than takeout: You get that amazing sticky orange glaze and super crispy chicken right from your own kitchen. Trust me!
- Super versatile: Whether you shallow-fry, bake, or air-fry, you’ll get fantastic results. Plus, it’s a delicious addition to your Asian inspired dinners lineup.
- Family-approved: This makes a fantastic family-friendly skillet meal that everyone will gobble up.
You can find even more ideas for nights like these over on my easy weeknight dinners page!
Orange Chicken: Thigh vs. Breast
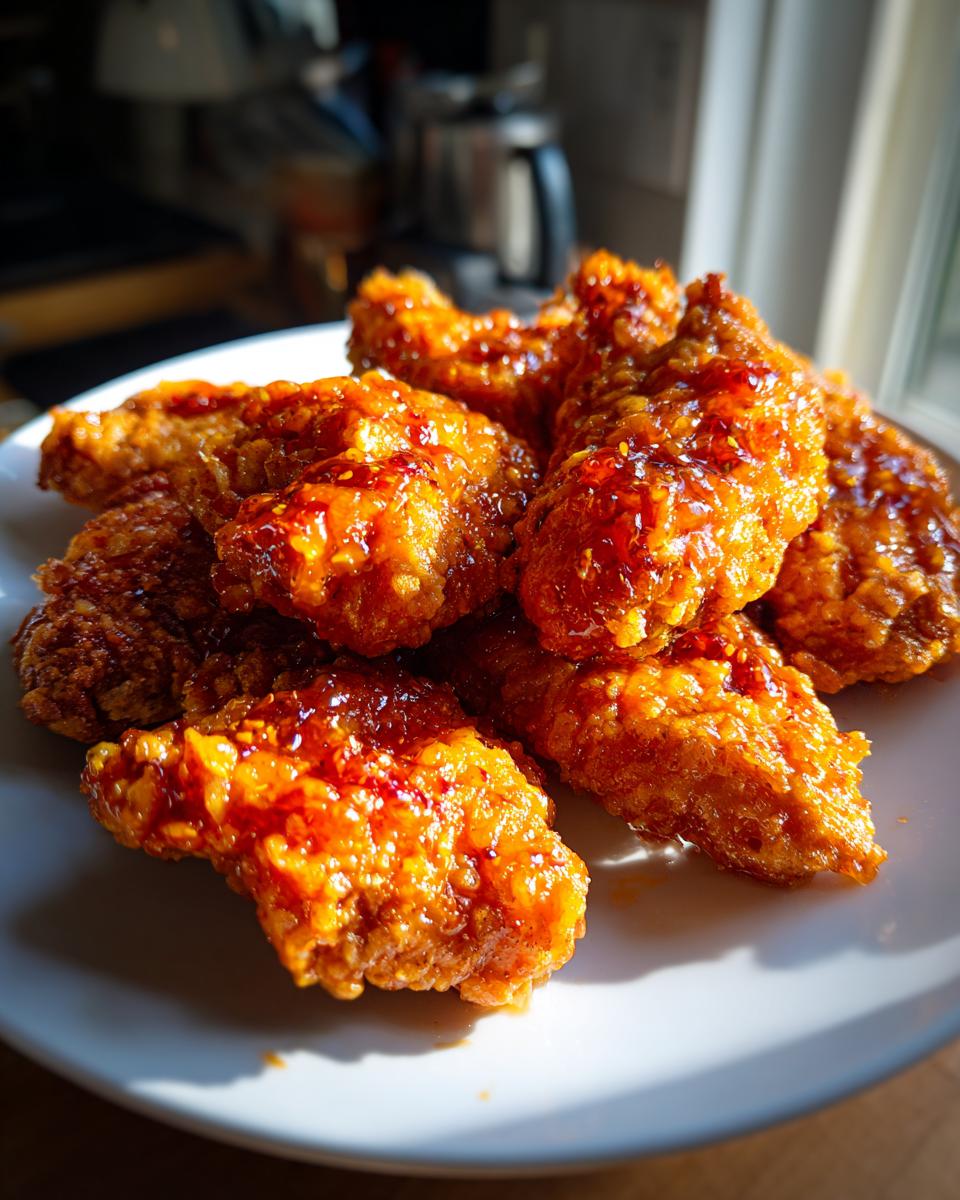
Okay, so when you’re making this amazing Orange chicken, one of the first things you’ll think about is the chicken itself! Both thighs and breasts work, but they give you a slightly different experience. It’s a classic ‘chicken thigh vs breast orange chicken’ debate, and honestly, it comes down to what you love. Chicken thighs are a bit more forgiving; they’re fattier, which means they stay super moist and tender, even if you accidentally cook them a minute too long. They also tend to get a bit crispier when fried. Chicken breasts are leaner, so they cook faster and are great if you prefer a lighter bite. You just have to be a little more careful not to overcook them, or they can get dry. For me? I often lean towards thighs because they give that extra bit of juicy tenderness that just wows me every time, but breasts are fantastic too, especially if you’re watching fat intake!
Ingredients for the Best Orange Chicken Sauce
Alright, let’s get down to the nitty-gritty of what makes this Orange chicken sing! You’re going to want to have everything prepped and ready to go. For the star of the show, grab about 1.5 lbs of boneless, skinless chicken thighs or breasts, and cut them into nice, easy-to-manage 1-inch pieces. For that incredible crispy coating, you’ll need a simple mix of 1 cup all-purpose flour, 1/2 cup cornstarch, 1 teaspoon salt, and 1/2 teaspoon black pepper. Then, whisk up 2 large eggs in a separate bowl – this is our sticky binder! If you’re shallow-frying, you’ll need some vegetable oil, but don’t worry, we have other options too! Now for that magical sauce, which is truly the best Orange chicken sauce recipe around: make sure you have 1 cup of orange juice (fresh squeezed is amazing if you have the time!), 1/4 cup soy sauce, a good splash of 1/4 cup rice vinegar, about 1/4 cup packed brown sugar for sweetness, 2 tablespoons honey for that sticky glaze, 1 tablespoon grated fresh ginger, 2 cloves minced garlic, and that little secret weapon, 1 teaspoon orange zest! Finally, we’ll thicken it all up with a simple slurry of 1 tablespoon cornstarch mixed with 2 tablespoons water. For garnish, some sesame seeds and sliced green onions are totally optional but so pretty!
Want to try another awesome chicken dish? My copycat P.F. Chang’s lettuce wraps are a crowd-pleaser!
Ingredient Spotlight: The Power of Orange Zest
Now, let’s talk about this little miracle worker: orange zest! It might seem tiny, but it’s actually HUGE for getting that really vibrant, authentic orange flavor in our Orange chicken sauce. When you zest an orange, you’re releasing all those fragrant oils right from the peel. This gives you a super concentrated citrus aroma and taste that’s way more intense than just juice alone. It adds this wonderful brightness without making the sauce too watery. Trust me, don’t skip this step; it really makes the glaze pop!
How to Prepare Crispy Orange Chicken
Alright, let’s get this delicious Orange chicken made! It’s really not complicated, and honestly, it’s a fantastic way to whip up a super satisfying meal on a busy weeknight. We’ll get that chicken nice and crispy, then toss it in that incredible sticky glaze. You’ll feel like a takeout pro!
Coating the Chicken for Maximum Crispiness
First things first, let’s get our chicken all prepped for its crispy adventure. Take those chicken pieces you cut and dip each one into the beaten eggs. Make sure it gets a nice, even coating. Then, plop it into that floury mixture we made. Press it in gently so the flour and cornstarch really stick. You want every single piece covered! Before you cook them, give them a little shake to get rid of any excess flour. This is super important for that perfectly crisp crust we’re aiming for!
Cooking Methods: Shallow-Fry, Bake, or Air-Fry
Now for the cooking part! I know, sometimes deep-frying feels like a lot, but don’t worry, we’ve got options so you can totally skip the deep fryer. For that classic super-crispy texture, you can shallow-fry. Just heat up about an inch of vegetable oil in a big skillet or wok over medium-high heat. You’ll know it’s ready when the oil is shimmering. Carefully add your coated chicken pieces, but don’t crowd the pan – fry them in batches for about 3-4 minutes per side until they’re golden brown and cooked through. Drain them on paper towels. If you’re looking for something a little easier, baking is great too! Just preheat your oven to 400°F (200°C), lay the chicken on a baking sheet, and bake for about 20-25 minutes, flipping them halfway. My personal favorite for ease and crispiness, though, is the air fryer! Preheat it to 390°F (195°C), put the chicken in a single layer, and cook for 12-15 minutes, giving the basket a shake halfway through. It’s amazing how crispy it gets this way! Check out my crispy air fryer chicken wings and air fryer zucchini fries for more air fryer magic!
Crafting the Sticky Orange Glaze
While your chicken is cooking, let’s whip up that glorious sticky orange glaze. Grab a saucepan and toss in the orange juice (fresh is really best here!), soy sauce, rice vinegar, that lovely brown sugar, honey, grated ginger, minced garlic, and the orange zest – so much flavor! Bring it all to a gentle simmer over medium heat, stirring until all that sugar has melted away. Then, give that cornstarch slurry a quick whisk and pour it into the bubbling sauce. Keep stirring constantly! You’ll see it start to thicken up and get that beautiful, glossy sheen. It only takes a couple of minutes, but watch it closely so it doesn’t get *too* thick.
Bringing it All Together: Tossing the Orange Chicken
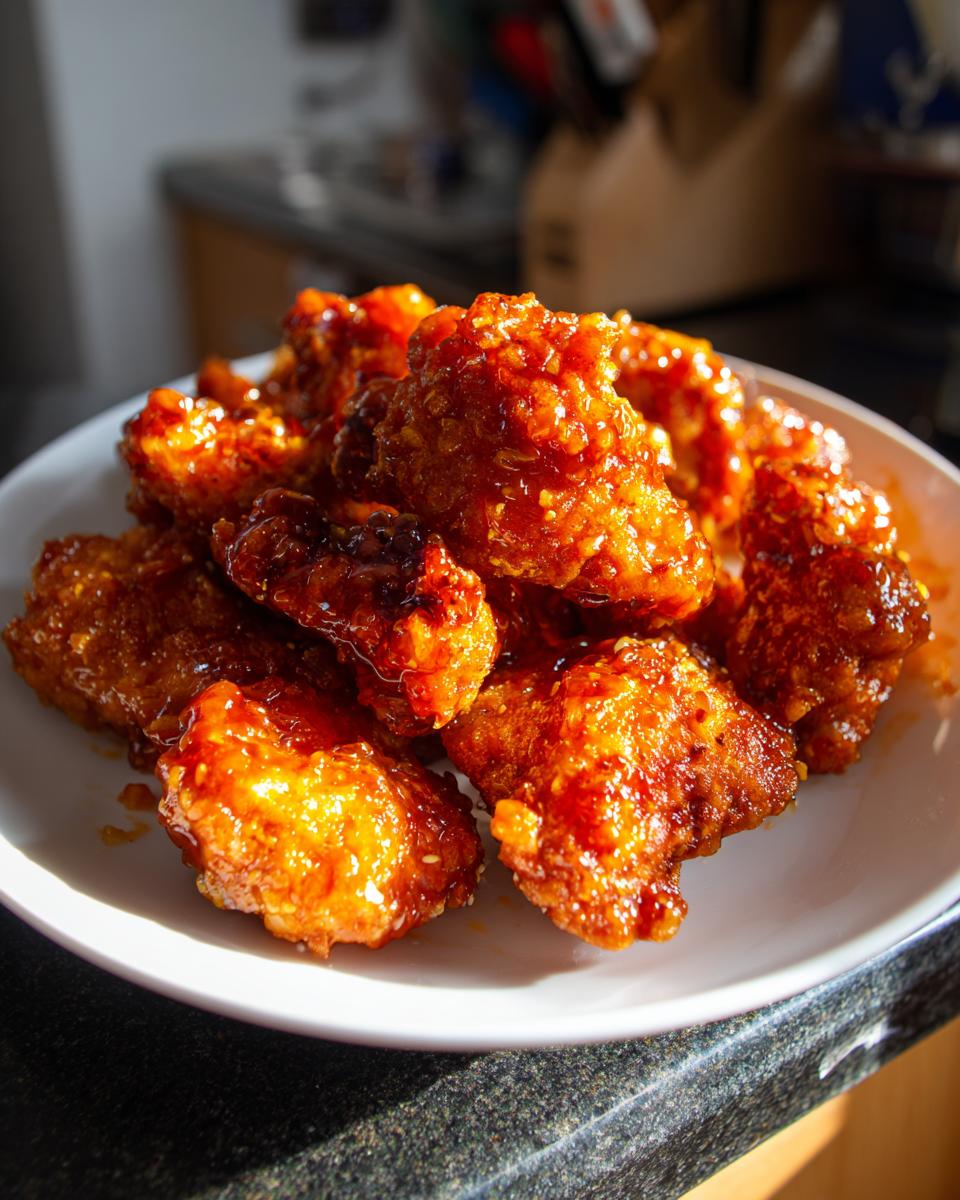
Once your chicken is perfectly cooked and crispy, and that sauce is looking glossy and delicious, it’s time for the final act! Gently add your crispy chicken pieces right into the saucepan with the sauce. Use a spoon or spatula to carefully toss everything together. You want every single piece of chicken to get coated in that amazing sticky glaze without losing all that delightful crispiness. Easy does it!
Tips for Success with Your Orange Chicken
Alright, let’s make sure this Orange chicken turns out absolutely perfect for you! It’s all about a few little tricks that make a big difference. When you’re cooking the chicken, especially if you’re shallow-frying or air-frying, try not to cram too many pieces into the pan or basket at once. Give them space! This helps them get nice and crispy instead of steaming. If you opted for chicken breast, remember they cook super fast, so keep an eye on them to prevent dryness – they’re delicious, but you gotta treat ’em gentle! And that sauce? Don’t be afraid to taste it! If you like it a little sweeter, add a touch more brown sugar or honey. Want more tang? A tiny bit more rice vinegar works wonders. This really is a lifesaver for busy weeknights when you need a delicious meal like my chicken quesadillas!
Serving Suggestions for Orange Chicken
This amazing Orange chicken is fantastic on its own, but serving it with some simple sides really makes it a complete meal! It’s perfect for those nights you’re craving something delicious for your Asian inspired dinners. My absolute favorite is a big bowl of fluffy shrimp fried rice – it’s so good, way better than takeout, and the perfect vehicle for all that sticky sauce! You could also go with some simple steamed white or brown rice. For something lighter and fresh, a crisp green goodness salad is a lovely contrast to the rich flavors. Whatever you choose, it’s bound to be a hit!
Storage and Reheating Instructions
Okay, so if you happen to have any of this glorious Orange chicken leftover (big if, I know!), storing it is super easy. Just pop those saucy, crispy pieces into an airtight container and stash them in the fridge. They’ll keep well for about 2-3 days. When you’re ready to reheat, try to do it gently so you don’t totally lose that crispiness we worked so hard for! The oven or an air fryer is usually best for this – just a quick warm-up to get everything heated through and maybe a little bit of that crunch back.
Frequently Asked Questions about Orange Chicken
Got questions about our amazing Orange chicken? I get it! Making something delicious that’s also better than takeout can bring up a few thoughts. Let me clear a few things up for you:
Can I make this gluten-free?
Totally! For a gluten-free Orange chicken, just swap out the all-purpose flour for a gluten-free flour blend or even rice flour for the coating. For the soy sauce, use tamari or a gluten-free soy sauce. Easy peasy!
Can I use a different type of oil?
Yep! While vegetable oil is a classic choice for its neutral flavor and high smoke point, you can also use canola oil or even peanut oil if you like. Just make sure whatever oil you pick is safe for medium-high heat cooking for that perfect crisp on your chicken!
How can I make the sauce spicier?
Ooh, a spicy kick! I love it. If you want your Orange chicken sauce to have some heat, add a pinch of red pepper flakes to the sauce while it’s simmering. You could also add a tablespoon of Sriracha or a dash of your favorite hot sauce. Taste and adjust!
How long does the sauce last?
The sauce itself, if you make extra, will keep in an airtight container in the fridge for about 3-4 days. However, once you’ve tossed the crispy chicken in it, it’s best to eat it right away to keep that chicken nice and crispy. It truly is a fantastic family-friendly skillet meal best enjoyed fresh! For more crispy coating inspiration, check out my crispy eggplant parmesan!
Nutritional Information
Just so you know, these numbers are estimates for one serving of our delicious Orange chicken. Things can vary a bit based on exactly how you make it, but this should give you a good idea for your meal planning! You’re looking at roughly 450 calories, 20g fat, 30g protein, and 40g carbohydrates per serving. For more details on making weeknight dinners a breeze, check out my meal planning tips!
Share Your Orange Chicken Creations!
Okay, now it’s YOUR turn! I really hope you give this Orange chicken a try. When you do, please come back and leave a comment below telling me all about it! Did you use thighs or breasts? Did you bake it or air-fry it? I’d absolutely LOVE to hear how it turned out and if your family devoured it. And hey, if you snap a pic, tag me on social media – I can’t wait to see your amazing creations! You can learn more about my baking journey and inspirations here!
PrintCrispy Orange Chicken

Make a takeout-style crispy orange chicken with a sweet and tangy glaze. This recipe offers options for chicken thigh or breast and can be shallow-fried, baked, or air-fried for a quick weeknight meal.
- Prep Time: 15 min
- Cook Time: 20 min
- Total Time: 35 min
- Yield: 4 servings 1x
- Category: Dinner
- Method: Frying/Baking/Air-Frying
- Cuisine: Asian-Inspired
- Diet: Vegetarian
Ingredients
- 1.5 lbs boneless, skinless chicken thighs or breasts, cut into 1-inch pieces
- 1 cup all-purpose flour
- 1/2 cup cornstarch
- 1 teaspoon salt
- 1/2 teaspoon black pepper
- 2 large eggs, beaten
- Vegetable oil for frying (if shallow-frying)
- For the Sauce:
- 1 cup orange juice, fresh squeezed preferred
- 1/4 cup soy sauce
- 1/4 cup rice vinegar
- 1/4 cup packed brown sugar
- 2 tablespoons honey
- 1 tablespoon grated fresh ginger
- 2 cloves garlic, minced
- 1 teaspoon orange zest
- 1 tablespoon cornstarch mixed with 2 tablespoons water (slurry)
- Optional Garnish:
- Sesame seeds
- Sliced green onions
Instructions
- Prepare the chicken: In a bowl, combine flour, cornstarch, salt, and pepper. In a separate bowl, whisk the eggs. Dip each chicken piece into the egg, then dredge in the flour mixture, ensuring it’s fully coated.
- Cook the chicken:
- Shallow-fry: Heat about 1 inch of vegetable oil in a large skillet or wok over medium-high heat until shimmering. Fry chicken in batches for 3-4 minutes per side, until golden brown and cooked through. Drain on paper towels.
- Bake: Preheat oven to 400°F (200°C). Place coated chicken on a baking sheet lined with parchment paper. Bake for 20-25 minutes, flipping halfway, until golden and cooked through.
- Air-fry: Preheat air fryer to 390°F (195°C). Place chicken in a single layer in the air fryer basket. Cook for 12-15 minutes, shaking the basket halfway, until golden and cooked through.
- Make the sauce: In a saucepan, combine orange juice, soy sauce, rice vinegar, brown sugar, honey, ginger, garlic, and orange zest. Bring to a simmer over medium heat, stirring until sugar dissolves.
- Thicken the sauce: Whisk in the cornstarch slurry. Continue to simmer, stirring constantly, until the sauce thickens and becomes glossy, about 2-3 minutes.
- Combine: Add the cooked chicken to the saucepan with the sauce. Toss gently to coat each piece evenly.
- Serve: Serve immediately, garnished with sesame seeds and sliced green onions if desired. This dish pairs well with steamed rice.
Notes
- For extra crispy chicken, ensure the chicken is well-coated with the flour mixture and don’t overcrowd the pan when frying.
- If using chicken breast, be careful not to overcook to prevent dryness.
- Adjust sweetness and tanginess by modifying the brown sugar and rice vinegar amounts.
- This recipe is a great alternative to meal planning for busy weeknights.
Nutrition
- Serving Size: 1 serving
- Calories: 450
- Sugar: 25g
- Sodium: 800mg
- Fat: 20g
- Saturated Fat: 4g
- Unsaturated Fat: 16g
- Trans Fat: 0g
- Carbohydrates: 40g
- Fiber: 2g
- Protein: 30g
- Cholesterol: 120mg