

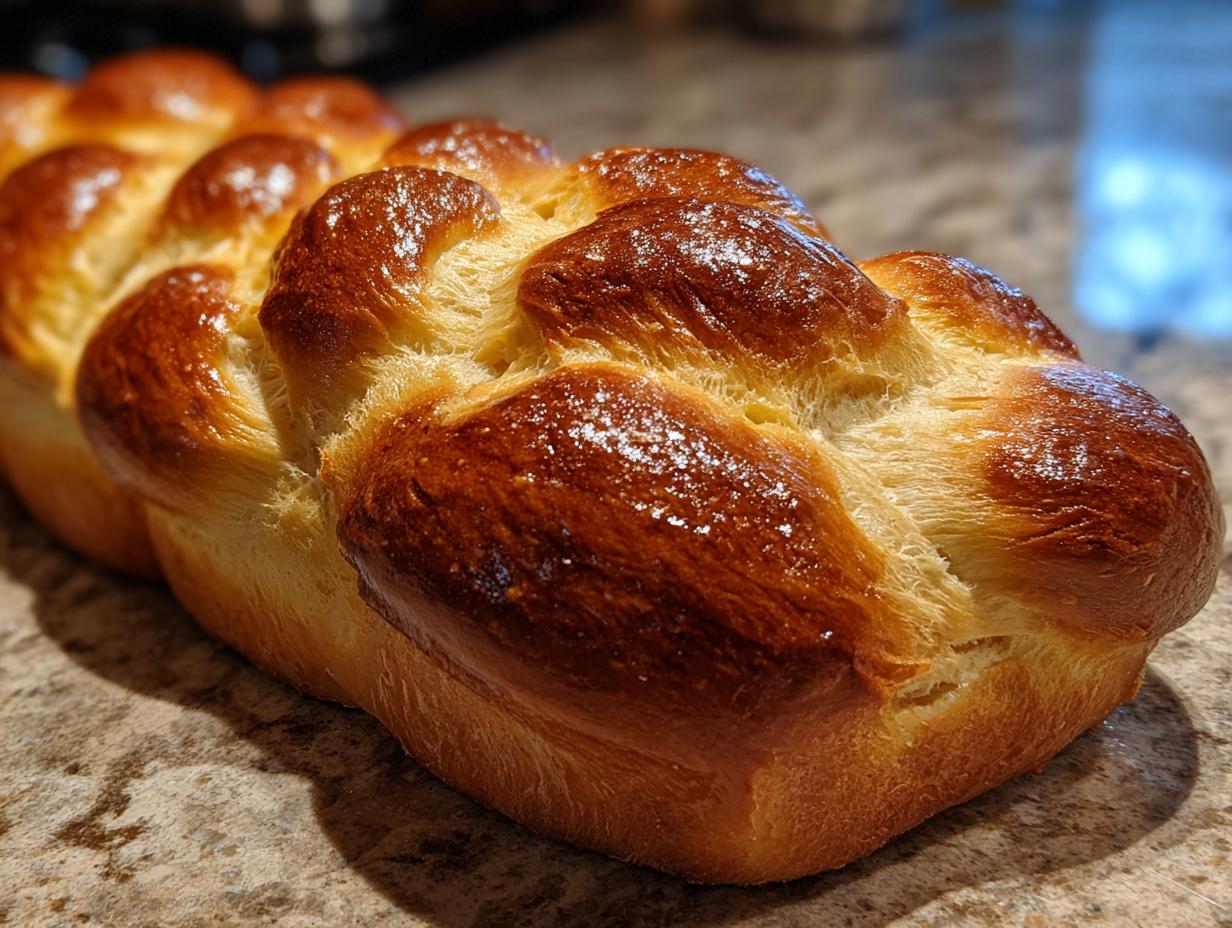
Oh, there’s just something magical about pulling a loaf of homemade bread from your oven, isn’t there? That comforting aroma, the anticipation of that first warm slice… it’s pure bliss! And if you’re looking to bake something truly special, something that feels both incredibly decadent and wonderfully achievable, then you absolutely *have* to try this easy Challah bread recipe. It’s one of Claire Sterling’s gems here at Bliss Batter, designed to give you that perfectly soft, enriched loaf with that gorgeous, glossy crust we all love. Claire’s been baking since she was a little girl, and she poured all that love and experience into making sure this recipe, like all of ours, is tested and perfected, so you can feel totally confident baking it!
- Why You'll Love This Easy Challah Bread Recipe
- Ingredients for Perfect Challah Bread
- Step-by-Step Challah Bread Preparation
- Tips for Success with Your Challah Bread
- Variations for Your Challah Bread
- Serving and Storing Your Homemade Challah Bread
- Frequently Asked Questions About Challah Bread
- Nutritional Information for Challah Bread
- Share Your Challah Bread Creations!
Why You’ll Love This Easy Challah Bread Recipe
Trust me, this Challah bread recipe is going to be your new best friend for baking! Here’s why:
- It’s surprisingly easy—perfect for beginners!
- The dough is super manageable and doesn’t get too sticky.
- It bakes up incredibly soft and fluffy inside.
- That golden, glossy crust? Chef’s kiss!
- It’s perfect for everything from Shabbat dinner to holiday tables or just a really lovely weekend brunch.
- You get that amazing homemade bread smell filling your entire house.
Ingredients for Perfect Challah Bread
Alright, let’s talk about what goes into making this totally amazing Challah bread! Gathering your ingredients is like setting the stage for a delicious performance. You’ll need:
- 1 cup warm water (make sure it’s around 105-115°F – not too hot, not too cold!)
- 2 ¼ teaspoons active dry yeast
- ¼ cup granulated sugar
- 1 teaspoon salt
- 4 large eggs, divided (we’ll use 3 in the dough and save 1 for that gorgeous egg wash!)
- ½ cup vegetable oil
- ½ cup honey
- 4 ½ cups all-purpose flour, plus a little extra for dusting your surface
- 1 tablespoon butter, softened (just for greasing the bowl, nothing fancy!)
Step-by-Step Challah Bread Preparation
Alright, let’s get our hands a little bit floury and make some amazing Challah bread! It’s really not as tricky as it might seem. Just follow these simple steps, and you’ll have a beautiful loaf in no time.
Activating the Yeast for Your Challah Bread
First things first, we need to wake up our yeast for this Challah bread. Grab a bowl, pour in that warm water (remember, cozy, not hot!), sprinkle in your yeast and a pinch of sugar. Give it a gentle stir and let it hang out for about 5 to 10 minutes. You’ll know it’s ready when it gets all foamy and bubbly on top – that’s happy yeast!
Mixing and Kneading the Challah Dough
Now, into that same bowl with the foamy yeast mixture, we’ll stir in the salt, three of those lovely eggs, the oil, and the honey. Slowly start adding your flour, mixing as you go until it all comes together into a soft dough. Then, turn it out onto your counter – which you’ll want to lightly dust with a bit more flour so it doesn’t stick – and just knead! Keep working that dough for about 8 to 10 minutes until it feels super smooth and stretchy. It should bounce back a little when you poke it. This is key for getting that perfect Challah bread texture!
First Rise: Patience for Perfect Challah Bread
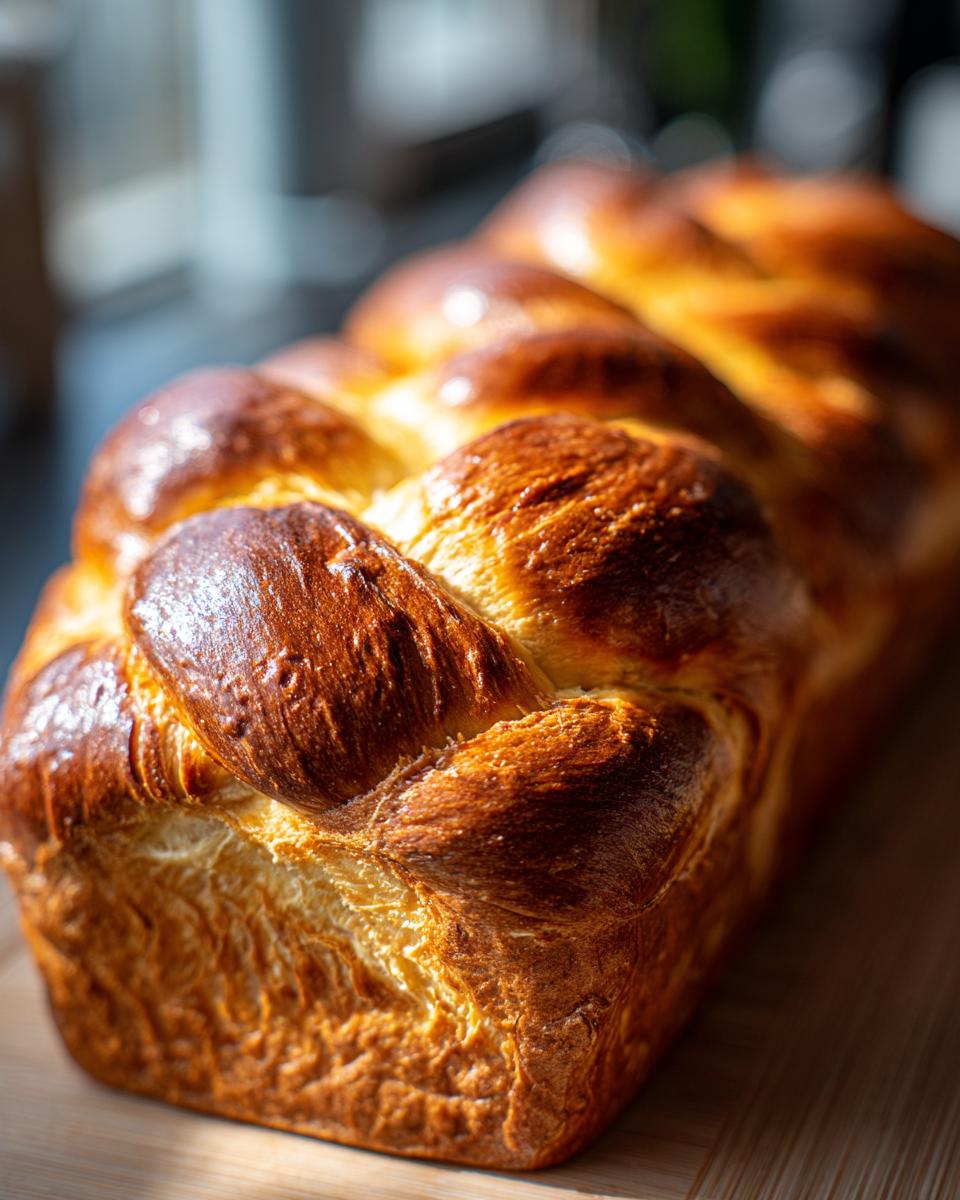
Once your dough is all smooth and wonderful, pop it into a lightly greased bowl. Cover it up with a clean kitchen towel or some plastic wrap, and find a nice warm spot for it to do its thing for about an hour to an hour and a half. You want it to puff up and basically double in size. This first rise is where all the flavor starts to build in your Challah bread.
Quick tip: If you’re not sure if it’s doubled, you can gently poke it with a floured finger. If the little dent stays, it’s ready!
Shaping Your Challah Bread: The Braid
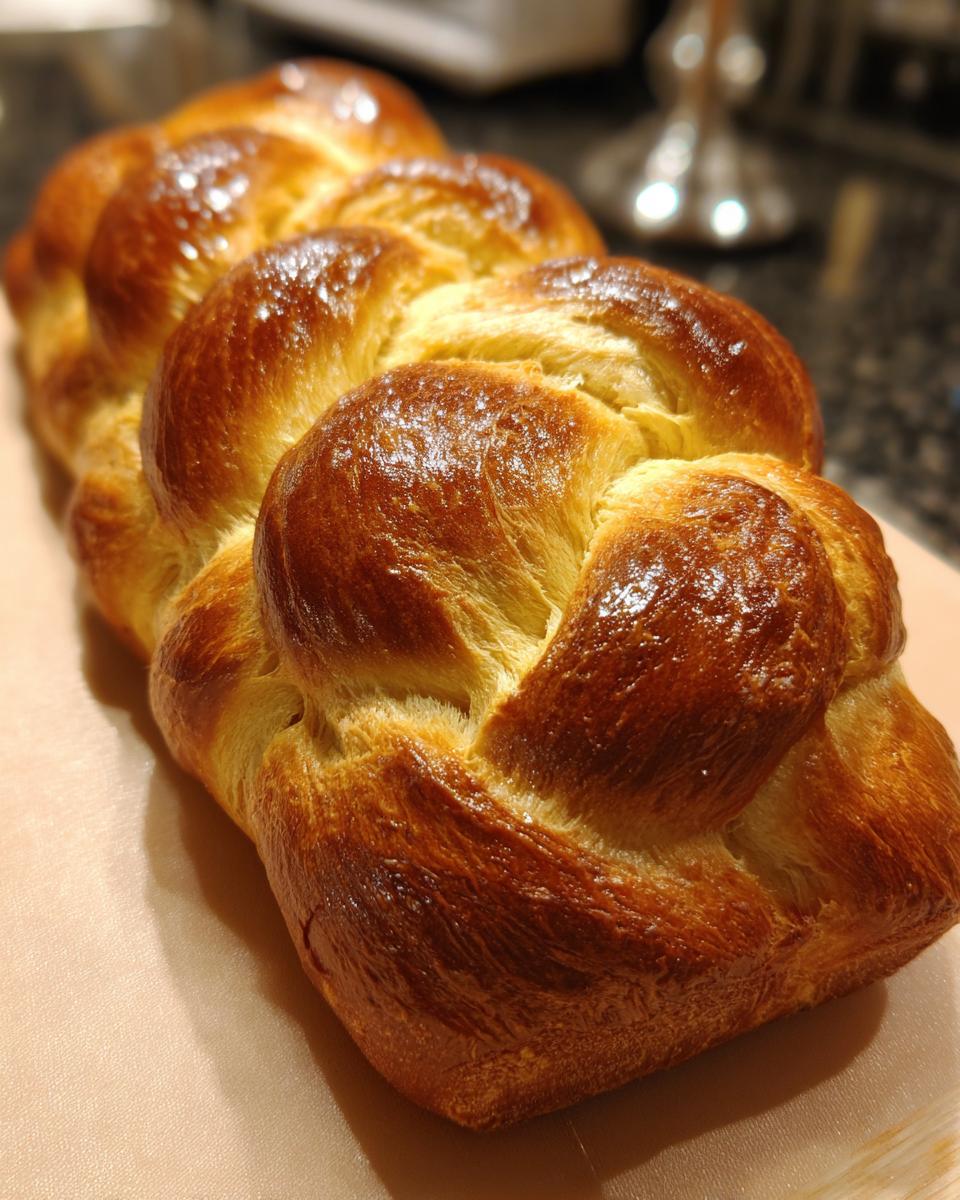
Okay, time to shape this beauty! Gently punch down the risen dough – isn’t that satisfying? – and divide it into three equal pieces. Roll each piece into a long rope, about 18 inches is a good length. Now for the fun part: braiding! Lay the three ropes next to each other and pinch the tops together. Then, just braid them like you would hair – left over middle, right over middle, and so on. When you get to the end, pinch all those ends together to seal it up. This is the classic way to get that gorgeous braided look for your Challah bread. You can totally check out a quick braided bread tutorial if you want to see it in action!
Second Rise and Oven Preparation
Place your beautifully braided Challah bread onto a baking sheet that’s lined with parchment paper. Cover it loosely again and let it have its second little nap for about 30 to 45 minutes. While it’s doing that, go ahead and preheat your oven to 350°F (175°C). Getting that oven nice and hot is super important!
Achieving a Golden Glossy Crust on Your Challah
Almost there! Just before it goes into the oven, take that reserved egg and whisk it up with a tiny splash of water or milk. This is your egg wash, and it’s the magic trick for that amazing golden, glossy crust on your Challah bread. Brush it all over the top of the loaf, making sure you get good coverage. Then, pop it into the preheated oven for about 30 to 35 minutes. You’ll know it’s done when it’s a beautiful golden brown and sounds nicely hollow when you gently tap the bottom. Let it cool completely on a wire rack before you slice into it – the hardest part, I know!

Tips for Success with Your Challah Bread
Making this Challah bread is so rewarding, but sometimes little things can throw you off, right? Don’t worry, I’ve picked up a few tricks along the way, just like Claire did, that really make a difference. You’ll get that perfect loaf every time! You know, it’s funny, sometimes trying a new recipe can feel a bit daunting, but I felt the same way when I first tackled my homemade cinnamon rolls, and look how those turned out!
Understanding Challah Proofing Times and Temperature
Proofing is so crucial for amazing Challah bread! The times I’ve listed are just guidelines. Honestly, it’s all about how your dough looks and feels. A warmer kitchen means faster rising, and a cooler one means slower or faster proofing depending on room temperature. So, instead of watching the clock, really look at your dough. It should look beautifully puffy and about doubled in size. If it’s taking longer, just give it a bit more time in its cozy spot!
Honey vs Sugar in Your Challah Bread
You know, using honey in this Challah bread recipe really makes it special. While sugar gives you sweetness, honey adds this incredible depth of flavor and moisture that you just can’t get with sugar alone. It helps keep the crumb super soft and tender, which is exactly what we want in a fantastic challah. So, stick with the honey if you can – it’s worth it!
Troubleshooting: Why Your Challah Collapses
Oh no, the dreaded collapse! It happens, but usually, it’s a sign of over-proofing your Challah bread. This means the yeast worked a little *too* hard, and the gluten structure just couldn’t hold it all up anymore. If you find it deflating in the oven, try reducing that second rise time a little bit next time. Also, make sure your oven is at the right temperature before it goes in – a sudden blast of heat helps set the structure.
Variations for Your Challah Bread
Once you’ve mastered the basic Challah bread, you’ll want to play around with it! It’s so versatile. For a real showstopper, try a 6-strand braid – it looks super impressive! You can find tons of tutorials online that show you exactly how. Or, maybe stir in some poppy seeds or sesame seeds right after the first rise for a little nutty crunch? You could even add a pinch of cinnamon or cardamom to the dough for a warm, subtle spice. This Challah bread is practically begging you to make it your own!

Serving and Storing Your Homemade Challah Bread
Now that you’ve made your beautiful Challah bread, how do you enjoy it best? It’s absolutely divine when it’s still a little warm, sliced thick and slathered with butter. Toasting slices in the toaster or under the broiler is also fantastic – it really brings out that lovely nutty flavor. And if you happen to have any leftovers (which is rare in my house!), storing it is a breeze. Just pop it into an airtight container or bag at room temperature for a couple of days. For longer storage, slicing and freezing works wonders, just like with my apple cinnamon overnight oats – you just toast it from frozen!
Frequently Asked Questions About Challah Bread
Got questions about making this amazing Challah bread? You’re not alone! Baking is all about learning as you go, and I’m happy to share what I know. Here are some common things folks ask:
Can I use bread flour instead of all-purpose flour for Challah bread?
Oh yes, you absolutely can! Using bread flour in your Challah bread will give it a little more chew and structure, which some people really love. It’s still going to be wonderfully soft, just with maybe a slightly more robust texture. It’s a great little tweak if you want to experiment!
How long does homemade Challah bread last?
Honestly, this Challah bread is best enjoyed within a day or two because it’s so wonderfully soft. I like to keep it in an airtight container or a bread box at room temperature. If it does start to get a little dry, don’t toss it! It’s AMAZING toasted or used for French toast. For longer storage, freezing is your best bet.
What’s the secret to getting that perfect golden, glossy crust on my Challah?
That shimmering crust on Challah bread is all about the egg wash! Make sure you use a whole egg (or just the yolk with a splash of milk or water) and brush it on evenly, right before baking. Try not to let it drip down the sides too much, as that can sometimes make the crust stick. A second light brush of egg wash halfway through baking can give it an even deeper color if you like!
Why did my Challah bread braid open while baking?
That can happen if the braids aren’t sealed tightly enough where the ends meet, or if the dough was a little too relaxed during the second rise. Make sure you really pinch those ends together firmly when you finish braiding your Challah bread dough. Also, giving it that second, shorter rise helps the gluten relax a bit more, which can prevent it from pulling apart in the oven.
Nutritional Information for Challah Bread
Now, I know we all bake for the love of it, but sometimes it’s nice to have an idea of what’s in our delicious Challah bread! Keep in mind these are just estimates, as things can change a bit depending on exactly how you make it. But roughly speaking, one slice generally gives you about:
- Calories: 250
- Fat: 8g (with about 2g saturated)
- Carbohydrates: 40g
- Sugar: 12g
- Protein: 6g
- Sodium: 200mg
So, enjoy that beautiful slice – it’s packed with goodness!
Share Your Challah Bread Creations!
I just *love* seeing what you all bake! If you give this Challah bread a try, please drop a comment below and let me know how it turned out for you. Did you try a different braid? Did it vanish in minutes? I’d adore hearing all about it! And if you snap some pics, tag us on social media – seeing your beautiful loaves is honestly the best part of what we do here at Bliss Batter. You can even peek at our About page to see more of how our baking journey started!
PrintEasy Challah Bread Recipe
A step-by-step guide to making soft, enriched challah bread with a golden, glossy crust. Perfect for beginners.
- Prep Time: 25 min
- Cook Time: 35 min
- Total Time: 2 hr 35 min
- Yield: 1 loaf 1x
- Category: Bread
- Method: Baking
- Cuisine: Jewish
- Diet: Vegetarian
Ingredients
- 1 cup warm water (105-115°F)
- 2 ¼ teaspoons active dry yeast
- ¼ cup granulated sugar
- 1 teaspoon salt
- 4 large eggs, divided
- ½ cup vegetable oil
- ½ cup honey
- 4 ½ cups all-purpose flour, plus more for dusting
- 1 tablespoon butter, softened
Instructions
- In a large bowl, combine warm water, yeast, and sugar. Let stand for 5-10 minutes until foamy.
- Stir in salt, 3 eggs (reserve 1 for egg wash), oil, and honey.
- Gradually add flour, mixing until a soft dough forms.
- Turn dough onto a lightly floured surface and knead for 8-10 minutes until smooth and elastic.
- Place dough in a greased bowl, cover, and let rise in a warm place for 1-1.5 hours, or until doubled in size.
- Punch down dough and divide into 3 equal portions. Roll each portion into a rope about 18 inches long.
- Braid the ropes, pinching the ends to seal. Place on a baking sheet lined with parchment paper.
- Cover and let rise for another 30-45 minutes.
- Preheat oven to 350°F (175°C).
- Brush the top of the challah with the reserved egg wash.
- Bake for 30-35 minutes, or until golden brown and hollow-sounding when tapped.
- Let cool on a wire rack before slicing.
Notes
- For a 6-strand braid, divide the dough into 6 portions and follow a 6-strand braiding tutorial.
- Proofing times can vary based on room temperature. Aim for the dough to double in size.
- Using honey contributes to a softer crumb and richer flavor compared to just sugar.
- If your challah collapses after baking, it may have been over-proofed.
- Ensure your egg wash is evenly distributed for a consistent golden color.
Nutrition
- Serving Size: 1 slice
- Calories: 250
- Sugar: 12g
- Sodium: 200mg
- Fat: 8g
- Saturated Fat: 2g
- Unsaturated Fat: 6g
- Trans Fat: 0g
- Carbohydrates: 40g
- Fiber: 2g
- Protein: 6g
- Cholesterol: 40mg