
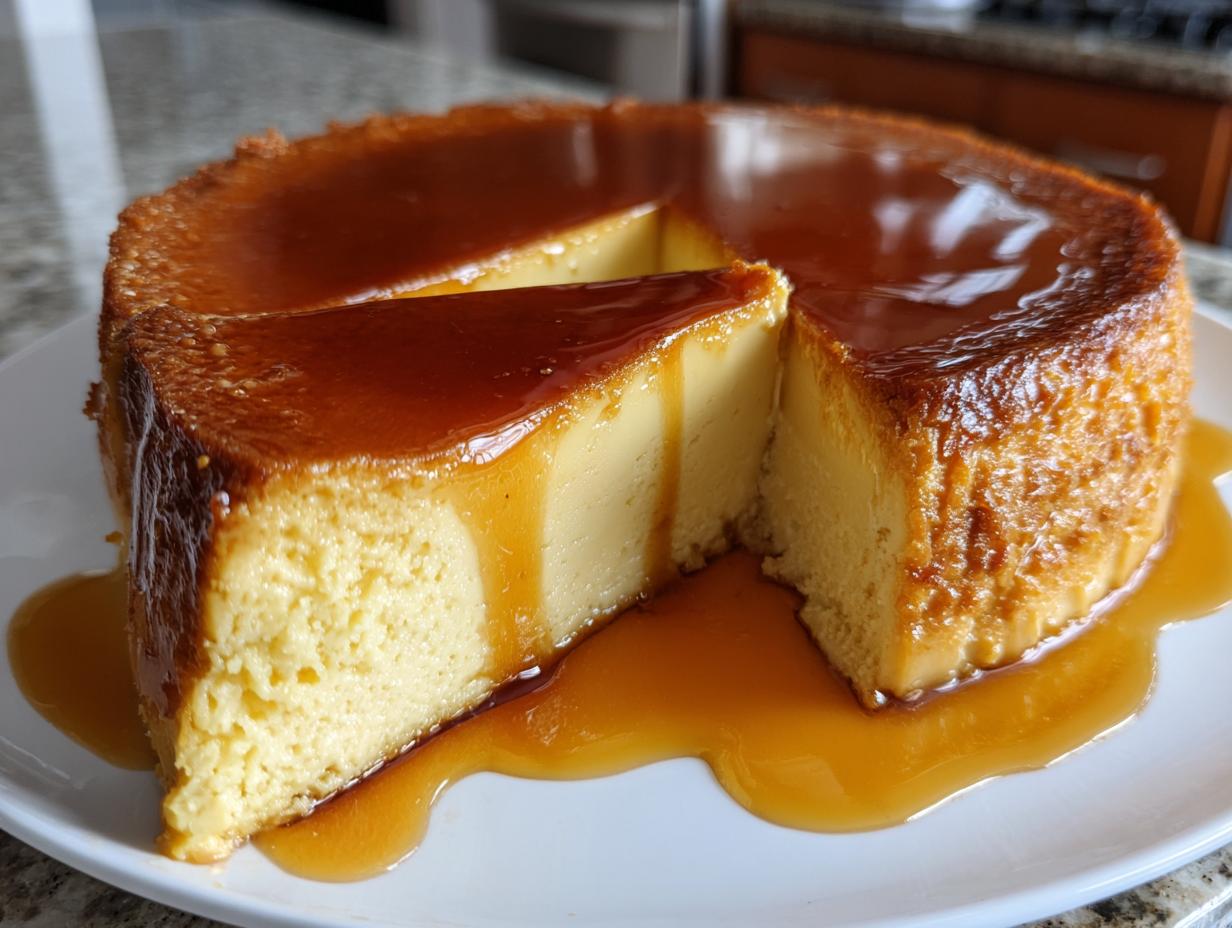
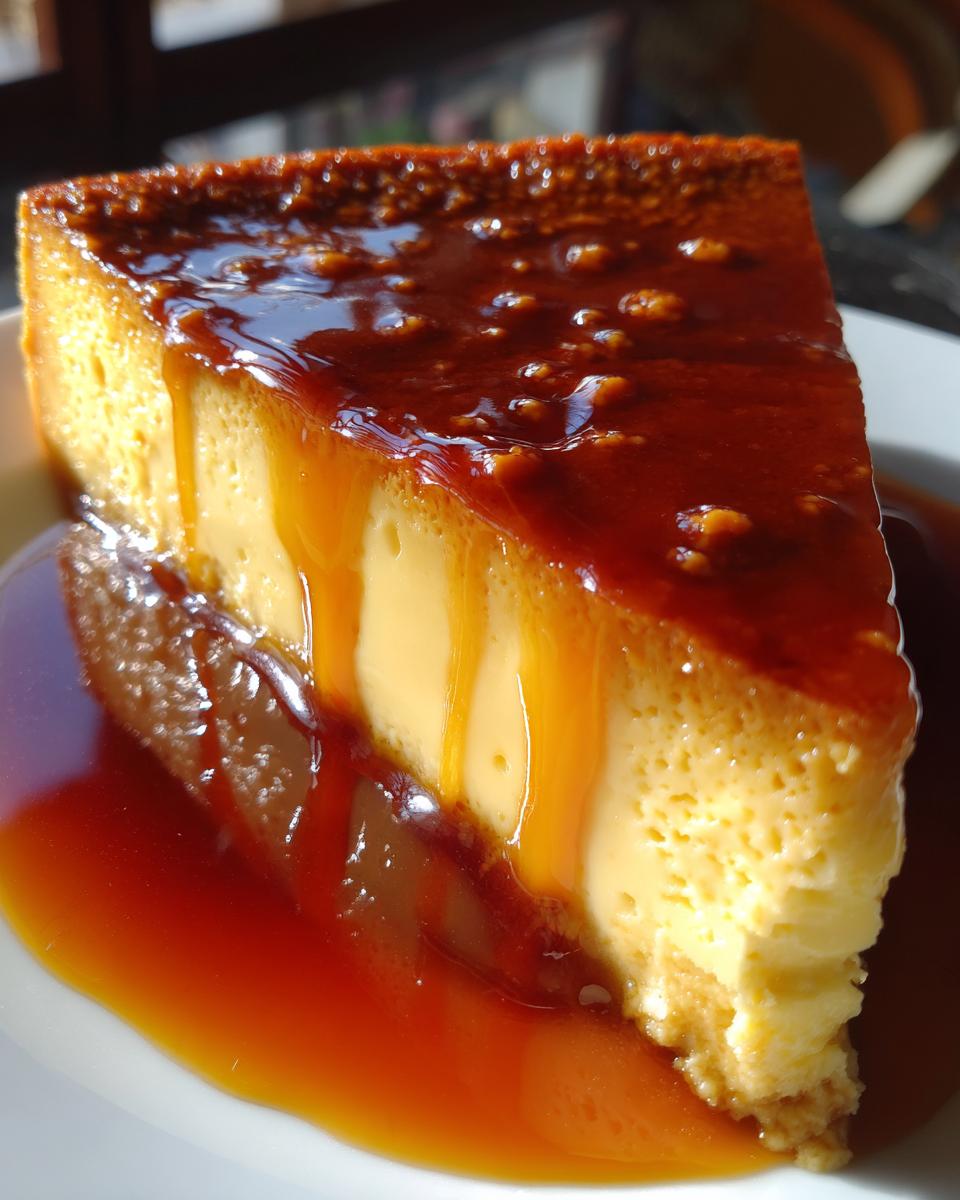
There’s just something magical about a classic dessert, isn’t there? That comforting feeling, that little bit of elegance that makes any day feel special. And for me, nothing quite hits that spot like a perfectly made flan. It’s this incredibly silky, smooth baked custard topped with a glorious, shimmering caramel that just melts in your mouth. I remember Claire Sterling, our founder, talking about how her grandmother’s kitchen always smelled like home, and that’s exactly how I feel when I’m making flan. It’s a bit like a warm hug from the inside out! We’ve poured so much love and testing into this foolproof classic flan recipe, making sure it’s something you can whip up with confidence, no matter your baking background. Get ready to bring a little bit of homemade happiness to your table!
- Why You'll Love This Classic Flan Recipe
- Gather Your Ingredients for the Perfect Flan
- Mastering the Caramel for Your Flan
- Creating the Silky Custard for Flan
- Baking Your Flan: The Water Bath Method
- Cooling and Chilling Your Flan
- Unmolding Flan: The Grand Finale
- Tips for Flan Success
- Serving and Storing Your Flan
- Frequently Asked Questions about Flan
- Nutritional Information
- Share Your Flan Creations!
Why You’ll Love This Classic Flan Recipe
Seriously, this flan is a game-changer! Here’s why you’ll be making it again and again:
- Super Easy to Make: Even if you’re new to baking custards, this recipe walks you through every step. No fancy equipment needed!
- Incredibly Silky & Smooth: That melt-in-your-mouth texture? It’s totally achievable with just a few simple ingredients and the right technique. Pure bliss!
- Perfect for Any Occasion: Whether it’s a casual weeknight treat, a holiday gathering, or a special celebration, this elegant dessert always impresses.
- Make Ahead Magic: This flan is even better the next day, so you can get a head start and relax knowing dessert is covered!
Gather Your Ingredients for the Perfect Flan
Alright, let’s get our mise en place ready! Making a truly fantastic flan is all about starting with the right stuff. Don’t worry, it’s a pretty short list and you probably have most of it in your pantry right now. Trust me, using just a few simple, quality ingredients makes all the difference for that dreamy, silky texture we’re going for.
So, here’s what you’ll need:
- 1 cup granulated sugar – This is for our gorgeous caramel topping. Make sure it’s plain old white sugar for the best caramelization.
- ¼ cup water – Just a little bit of water to help that sugar melt evenly.
- 4 large eggs – These are the backbone of our custard, giving it that luscious richness and smooth set. Make sure they’re fresh!
- 1 (14 ounce) can sweetened condensed milk – This is key for sweetness and that incredibly creamy, dense texture. It’s already got sugar in it, so we don’t need much else!
- 1 (12 ounce) can evaporated milk – This is different from condensed milk! It adds body and richness without extra sweetness, balancing out the custard perfectly.
- 1 teaspoon vanilla extract – Good quality vanilla makes a world of difference here. It adds that warm, comforting aroma and flavor that just ties everything together.
That’s really it! Simple, right? Having everything measured out before you start makes the whole process so much smoother. You’ll be amazed at how these few humble ingredients transform into something so elegant.
Mastering the Caramel for Your Flan
Okay, this is where the magic really starts for our Flan! Getting that perfect caramel is super important, not just for the taste but for that gorgeous presentation too. Don’t be scared, it’s easier than you think, but you do need to pay attention!
Grab a medium-sized saucepan – one with a lighter bottom is best so you can see the color change clearly. Toss in your cup of granulated sugar and the quarter cup of water. Give it a little stir *just* until the sugar looks wet. Then, you have to let it do its thing. Keep it over medium heat and resist the urge to stir!
As it heats up, you’ll see it start to bubble. Keep watching it closely. It’ll go from clear to a pale yellow, then to a lovely golden honey color, and finally, you’re aiming for a beautiful deep amber. This is the tricky part: you want that rich caramel color, but you absolutely *do not* want it to burn. Burnt caramel tastes bitter, and nobody wants that! As soon as it hits that perfect deep amber, carefully – and I mean CAREFULLY, because it’s super hot – pour it into your baking dish. Quickly swirl the dish around to coat the bottom evenly. It’ll harden up as it cools, creating that yummy caramel layer that’ll coat the flan when we flip it.
Creating the Silky Custard for Flan
Now for the really good stuff – the custard! This is what gives our Flan that signature silky-smooth texture we all love. It’s surprisingly simple, but like Claire always says, doing things with care makes all the difference.
Grab a good-sized bowl, and let’s get whisking! First, crack in your four large eggs. Give them a little whisk just to break them up a bit. Then, pour in that can of sweet, syrupy condensed milk and the evaporated milk. Don’t forget that teaspoon of vanilla extract – it adds such a warm, lovely fragrance. Whisk it all together really well until everything is super combined and you don’t see any streaks of egg white anymore. For an extra-special, super-smooth custard that has absolutely no chance of being eggy, I like to strain the mixture through a fine-mesh sieve right before pouring it into the caramel-lined dish. It’s a little extra step, but wow, does it make a difference in the final texture!
Condensed vs. Evaporated Milk Flan
You might be wondering why we use *both* condensed and evaporated milk. Well, the sweetened condensed milk brings all the sweetness and a wonderful creamy body to our Flan. The evaporated milk, on the other hand, adds richness and a bit more liquid without making it *too* sweet, giving us that perfect balance and melt-in-your-mouth consistency.
Baking Your Flan: The Water Bath Method
Alright, now that we’ve got our gorgeous caramel and our silky custard ready, it’s time to bake our Flan! This is where the magic really happens, and using a water bath, or a bain-marie as the fancy folks call it, is totally non-negotiable for that perfectly smooth texture we’re after. It’s like a gentle hug for your custard!
So, after you’ve poured that lovely custard into your caramel-coated dish, place that dish inside a larger, more sturdy baking pan. My favorite is a nice deep roasting pan. Then, carefully pour hot water into the larger pan. You want the water to come about halfway up the sides of your flan dish. Using hot water makes sure the oven doesn’t have to work too hard to heat the water, and it helps everything cook more evenly. This water bath is the secret to preventing those dreaded cracks and ensuring your flan bakes gently and uniformly, without any weirdly cooked edges or a bumpy top. It truly makes all the difference for a professional-looking finish!
How to Avoid Bubbles in Flan
Nobody wants a bubbly flan, right? It just ruins that super smooth, almost creamy texture we’re aiming for. A few tricks can help avoid those little air pockets. First, like I mentioned, be gentle when you’re whisking the custard ingredients. Try not to whip too much air into it. Also, straining the mixture through a fine-mesh sieve before it goes into the pan seriously helps catch any bits of unincorporated egg white or pesky air bubbles. And the most important thing? Don’t overbake it! Once the edges look set and the center *just* jiggles a bit when you gently nudge the pan, it’s done. Pulling it out at that point is key to keeping it smooth and avoiding those bubbles and cracks.
Cooling and Chilling Your Flan
Okay, so your beautiful Flan just came out of the oven! It looks set around the edges and has that gentle little wobble in the center that we love. Don’t rush this part though, it’s super important for getting that perfect texture and for making it easy to unmold later. First, carefully take those dishes out of the water bath – maybe use some tongs or oven mitts to lift them out of the hot water. Then, just let them cool on a wire rack on the counter for a bit until they’re closer to room temperature. This slow cooling is part of what keeps it smooth.
How Long to Chill Flan
Now for the really crucial chilling part. You need to let your Flan chill in the refrigerator until it’s really firm. I always recommend at least 4 hours, but honestly, overnight is even better. It really helps it set up perfectly for that clean unmold!
Unmolding Flan: The Grand Finale
Okay, this is it! The moment of truth for our gorgeous Flan! You’ve chilled it, you’ve waited patiently (I know, it’s hard!), and now it’s time for the big reveal. Getting that beautiful caramel sauce to cascade down the sides without any drama is the ultimate goal. Don’t you worry, we’ve got this!
First things first, grab a thin knife or a small offset spatula. You’re going to gently run it around the *entire* edge of the flan, right where the custard meets the dish. This just loosens it up, making sure all those yummy bits of caramel will release. Be gentle, you don’t want to dig into the custard itself.
How to Unmold Flan Cleanly
Now for the fun part! Place your serving platter – one with a little lip to catch that glorious caramel sauce – right on top of the flan dish. Take a deep breath, get a good grip on both the dish and the platter, and with one quick, confident motion, flip them over! Give it a little jiggle if needed, or tap the bottom gently. That beautiful flan should slide right out, with the golden caramel pooling around it. If it seems stuck, don’t panic! Just let it sit upside down for a minute, or gently warm the bottom of the dish for a few seconds (just a quick dip in hot water, or a few seconds over a warm burner). It’s like a magic trick, and you’re the magician!
Tips for Flan Success
You know, even with a great recipe, sometimes a few little tricks really make a difference in getting that *perfect* flan every single time. It’s like Claire always says, it’s those little details that elevate a good bake to a *great* bake. So, here are a few things I’ve learned that really help!
First off, oven temperature is crucial. Ovens can be quirky, right? If yours tends to run hot or cool, an oven thermometer is your best friend. Keeping that temperature steady at 350°F (175°C) is key for that gentle, even cooking. Also, make sure your eggs and milk are at room temperature before you start mixing the custard. Cold ingredients can sometimes make the batter a little streaky and harder to get perfectly smooth. It might seem like a small thing, but it really helps achieve that silky texture we’re aiming for. You can read more about our baking philosophy over on our About page!
When it comes to checking if it’s done – don’t just rely on the toothpick test in the center! Gently wobble the pan. The edges should look set, almost like a firm custard, but the center should still have a slight, enticing jiggle. It’s going to firm up even more as it chills. Overbaking is the enemy of smooth flan, so it’s better to err on the side of slightly underbaked and let the chilling do the final work.
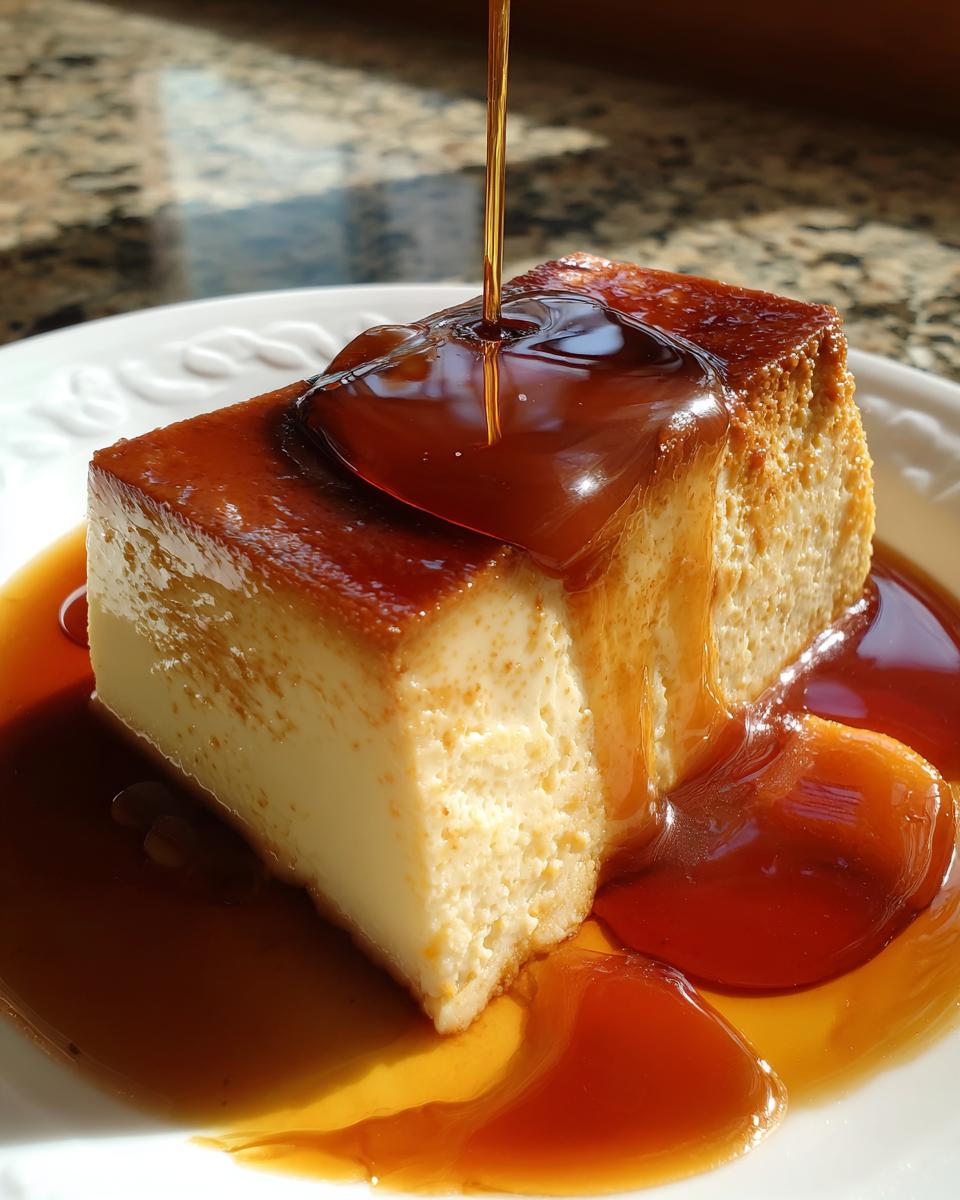
Serving and Storing Your Flan
Now for the best part – enjoying your beautiful creation! While this flan is absolutely stunning on its own, a little dollop of freshly whipped cream or a scattering of bright, fresh berries can be just divine. It adds a little pop of freshness that complements the rich custard and sweet caramel. Just slice it up and serve chilled. It’s like pure happiness on a plate! You can find even more sweet ideas over on our dessert recipes page!
Got leftovers? Lucky you! Just pop a lid or some plastic wrap directly onto the flan dish (or cover your serving platter tightly) and pop it back into the fridge. It’ll stay delicious for about 2-3 days. It’s already perfectly chilled, so no need to reheat, but honestly, it’s so good you might not even have leftovers!
Frequently Asked Questions about Flan
Got questions about making this luscious custard? I totally get it! Flan can seem a little mysterious, but I promise it’s doable. Let’s dive into some common things people ask:
Can I make flan without a water bath?
While a water bath, or bain-marie, is the absolute best way to get that super-smooth texture and prevent cracking, some people try without. If you skip it, you run a bigger risk of the custard cooking too quickly and unevenly, leading to little air bubbles and possibly a rubbery texture. You might get away with it in ramekins if you bake them super low and slow, but for that classic, silky finish, I really recommend sticking to the water bath method. It’s a game-changer for achieving that perfect caramel custard!
Why did my flan crack?
Oh, the dreaded crack! It usually happens because the custard cooked too quickly or at too high a temperature. This can happen if your oven runs too hot, or if you bake it for too long. Another culprit is opening the oven door too often. The gentle, moist heat from the water bath helps prevent this, and pulling the flan out as soon as the center has just a slight jiggle is key. Don’t overbake it!
Can I make flan ahead of time?
Absolutely! That’s one of the best things about flan – it’s actually *better* when made ahead. Chilling it for at least 4 hours, or ideally overnight, lets all those flavors meld and ensures it’s perfectly set for unmolding. This makes it a fantastic make-ahead dessert for parties or holidays!
What’s the difference between condensed and evaporated milk in flan?
It’s a common question! Sweetened condensed milk is thick, creamy, and already has sugar in it. It provides sweetness and body to the custard. Evaporated milk is just milk that’s had about 60% of its water removed. It adds richness and helps thin out the super-sweet condensed milk just enough, giving us that perfect, balanced custard texture that’s delightfully creamy without being overly sweet or dense.
Nutritional Information
Just a heads-up, the nutritional info below is an estimate, as it can vary a bit depending on the exact brands of ingredients you use. But generally, one slice of this delightful flan has around 350 calories, with about 15g of fat, 8g of protein, and a good dose of carbs (around 50g), including about 50g of sugar from that glorious caramel and sweet milk!
Share Your Flan Creations!
Have you made this absolutely divine flan? I would just LOVE to hear all about it! Whether it was a smashing success, or you learned something new along the way, sharing your experience truly makes my day. Pop a comment below, tell me how it turned out, or even rate the recipe! You can also reach out anytime through our contact page. Your feedback means the world to us!
PrintClassic Flan Recipe
A silky baked custard with a rich caramel topping, this classic flan recipe is easy to make and perfect for any occasion.
- Prep Time: 20 min
- Cook Time: 60 min
- Total Time: 7 hours 20 min
- Yield: 8 servings 1x
- Category: Dessert
- Method: Baking
- Cuisine: Latin
- Diet: Vegetarian
Ingredients
- 1 cup granulated sugar
- 1/4 cup water
- 4 large eggs
- 1 (14 ounce) can sweetened condensed milk
- 1 (12 ounce) can evaporated milk
- 1 teaspoon vanilla extract
Instructions
- Preheat your oven to 350°F (175°C).
- Make the caramel: In a medium saucepan, combine the sugar and water. Cook over medium heat, stirring until the sugar dissolves. Stop stirring and let the syrup boil until it turns a deep amber color. Immediately pour the caramel into a 9-inch round baking dish or individual ramekins. Swirl the dish to coat the bottom evenly.
- Make the custard: In a large bowl, whisk together the eggs, sweetened condensed milk, evaporated milk, and vanilla extract until well combined.
- Pour the custard mixture into the caramel-coated baking dish.
- Prepare the water bath: Place the baking dish in a larger baking pan. Carefully pour hot water into the larger pan until it comes halfway up the sides of the baking dish.
- Bake for 50-60 minutes for a large dish, or 30-40 minutes for ramekins, until the flan is set but still has a slight jiggle in the center.
- Remove the baking dish from the water bath and let it cool on a wire rack.
- Chill the flan in the refrigerator for at least 4 hours, or preferably overnight.
- To unmold, run a thin knife around the edge of the flan. Place a serving platter over the baking dish and carefully invert. The flan should release with the caramel sauce pooling around it.
Notes
- For a smoother flan, strain the custard mixture before pouring it into the baking dish.
- To avoid bubbles and cracks, do not overbake the flan.
- Chilling the flan thoroughly is essential for easy unmolding.
Nutrition
- Serving Size: 1 slice
- Calories: 350
- Sugar: 50g
- Sodium: 100mg
- Fat: 15g
- Saturated Fat: 9g
- Unsaturated Fat: 6g
- Trans Fat: 0g
- Carbohydrates: 50g
- Fiber: 0g
- Protein: 8g
- Cholesterol: 100mg