
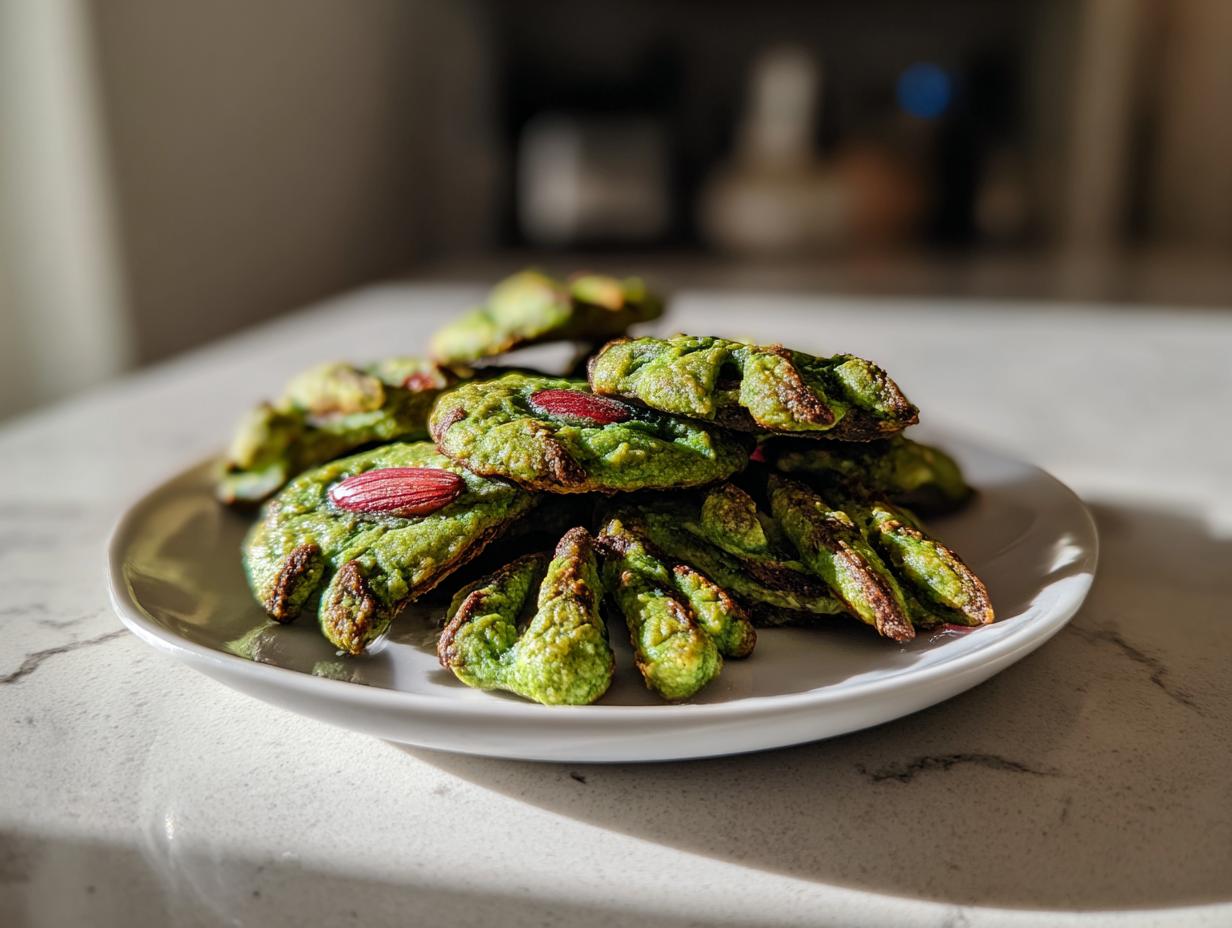
Get ready to cast a delicious spell this Halloween! If you’re looking for a treat that’s both incredibly spooky and unbelievably tasty, then look no further than these Witch Finger Cookies. Trust me, they’re the perfect blend of buttery shortbread goodness and ghastly Halloween fun, complete with almond fingernails and a hint of gruesome red gel. My grandmother used to say baking was like making memories, and these cookies are exactly that – a way to slow down, have some fun in the kitchen, and create something truly special, just like Claire Sterling, the founder of Bliss Batter, learned in her own grandmother’s kitchen. We’ve tested these recipes endlessly to make sure they’re super easy for you to whip up, no matter your baking skill level!

- Why You'll Love These Witch Finger Cookies
- Gather Your Ghastly Ingredients for Witch Finger Cookies
- Essential Equipment for Making Witch Finger Cookies
- Step-by-Step Guide to Crafting Witch Finger Cookies
- Tips for Perfect Witch Finger Cookies Every Time
- Ingredient Notes and Substitutions for Gory Halloween Treats
- Frequently Asked Questions About Witch Finger Cookies
- Nutritional Information for Your Spooky Almond Cookies
- Sharing Your Homemade Witch Finger Cookies
Why You’ll Love These Witch Finger Cookies
You’re going to adore making these creepy-crawly delights because:
- They’re surprisingly simple to whip up, even if you’re new to baking!
- Their spooktacularly realistic look is a guaranteed showstopper for any Halloween party.
- The buttery shortbread taste is absolutely divine – a perfect sweet treat beneath the spooky exterior.
- They’re just plain FUN to make and decorate – perfect for getting the whole family involved!
Gather Your Ghastly Ingredients for Witch Finger Cookies
To bring these eerie, buttery Witch Finger Cookies to life, you’ll need a few key players. Remember, Claire Sterling always says using good-quality, everyday ingredients is the secret to the best-tasting treats, and that’s exactly what we’re doing here! Make sure your butter is truly softened – it makes a world of difference in the texture.
- 2 1/4 cups all-purpose flour
- 1 cup (2 sticks) unsalted butter, softened
- 3/4 cup granulated sugar
- 1 large egg
- 1 teaspoon vanilla extract
- 1/4 teaspoon salt
- Green food coloring
- Whole almonds
- Red decorating gel or strawberry jam
Essential Equipment for Making Witch Finger Cookies
Alright, before we dive into the spooky fun, let’s make sure you’ve got your tools ready! You’ll want a sturdy mixing bowl and a trusty wooden spoon or electric mixer for creaming that butter and sugar. A couple of smaller bowls for your flour and coloring, a baking sheet lined with parchment paper (this stuff is a lifesaver!), and a handy knife for scoring those creepy knuckle lines. Oh, and don’t forget the almonds for those ghastly fingernails!
Step-by-Step Guide to Crafting Witch Finger Cookies
Alright, grab your apron and get ready! We’re about to turn simple ingredients into something truly hair-raisingly delicious. At Bliss Batter, we stand by our promise of ‘Tested and Perfected’ recipes, and these Witch Finger Cookies are no exception. They’re ‘Joyfully Accessible,’ so let’s get started! Think of this process like our chocolate chip banana bread – simple steps lead to amazing results!
Preparing the Spooky Dough for Your Witch Finger Recipe
First things first, let’s get that dough ready to spook! In a big bowl, cream together your softened butter and sugar until it’s light and fluffy – think the consistency of whipped honey, just like Grandma used to make. Then, add in that egg and the vanilla extract, giving it a good mix. In another bowl, whisk up your flour and salt. Now, gradually add the dry stuff to the wet, mixing ONLY until it just comes together. Don’t overdo it! You’ll want to divide this dough in half. Take one half and knead in that green food coloring until it’s a uniform, ghastly green. Then, gently swirl the green dough into the plain dough. Please, please, please don’t overmix here – we want that marbled effect, not a uniform green blob! Chill this masterpiece for at least 30 minutes. Trust me, this step makes handling it so much easier.
Shaping and Decorating Your Halloween Finger Cookies
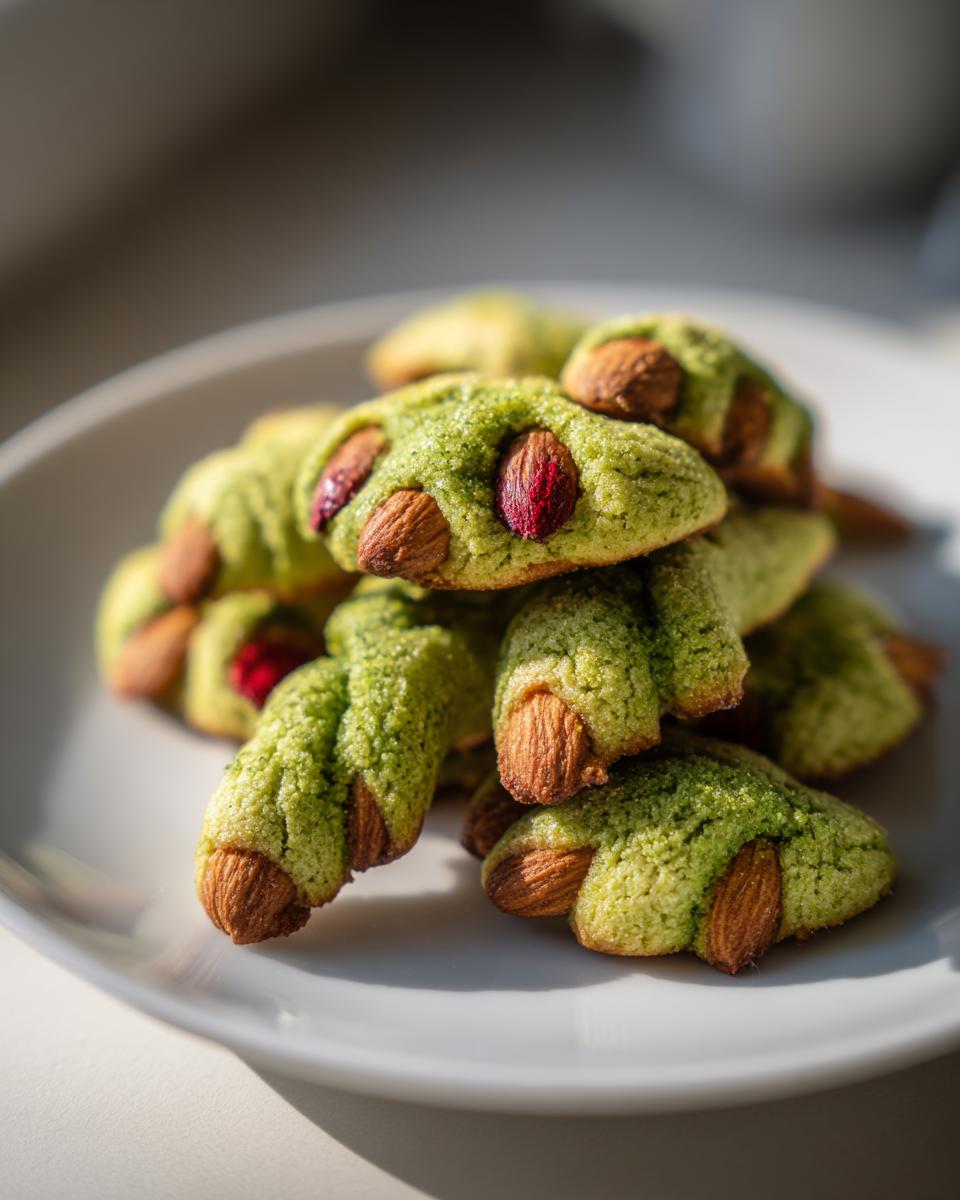
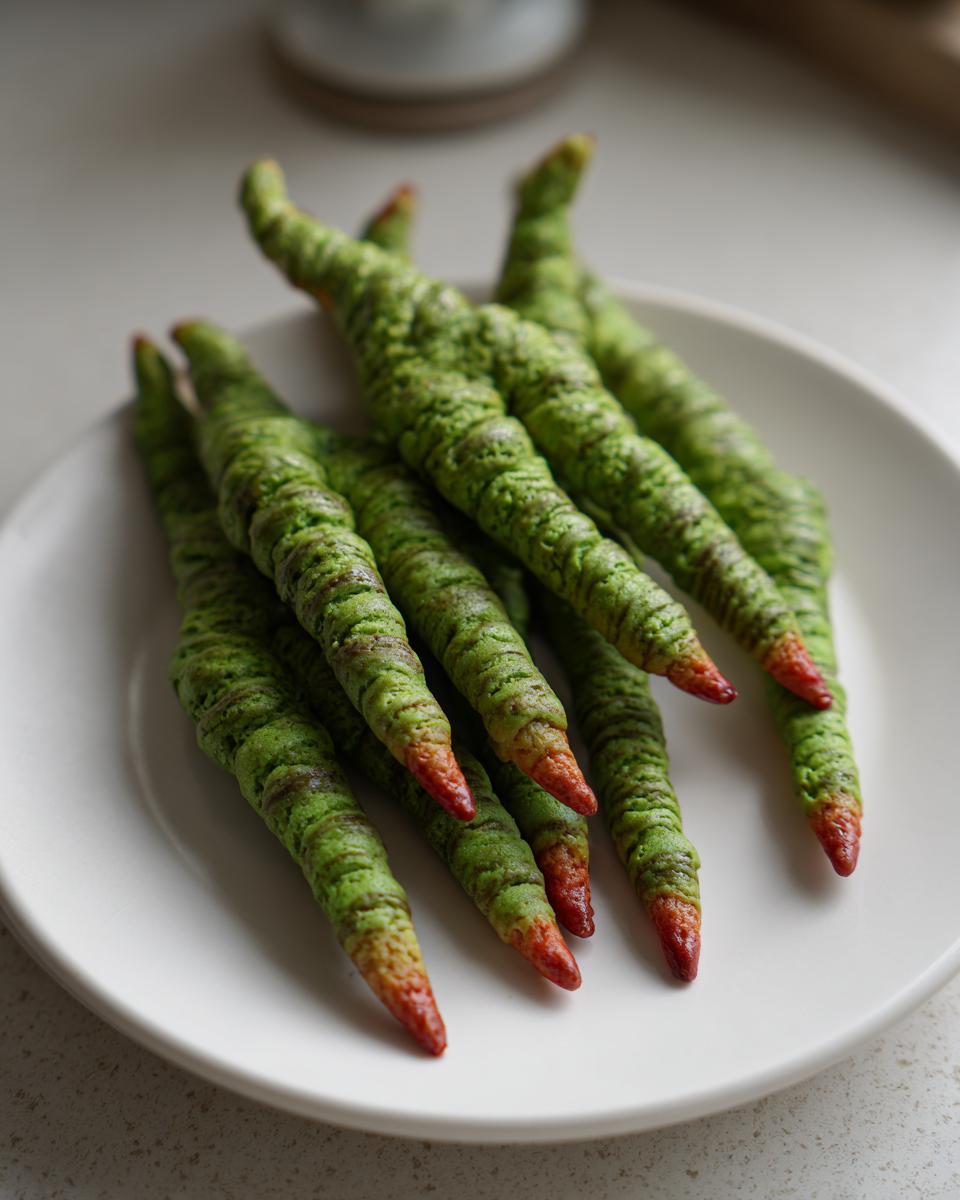
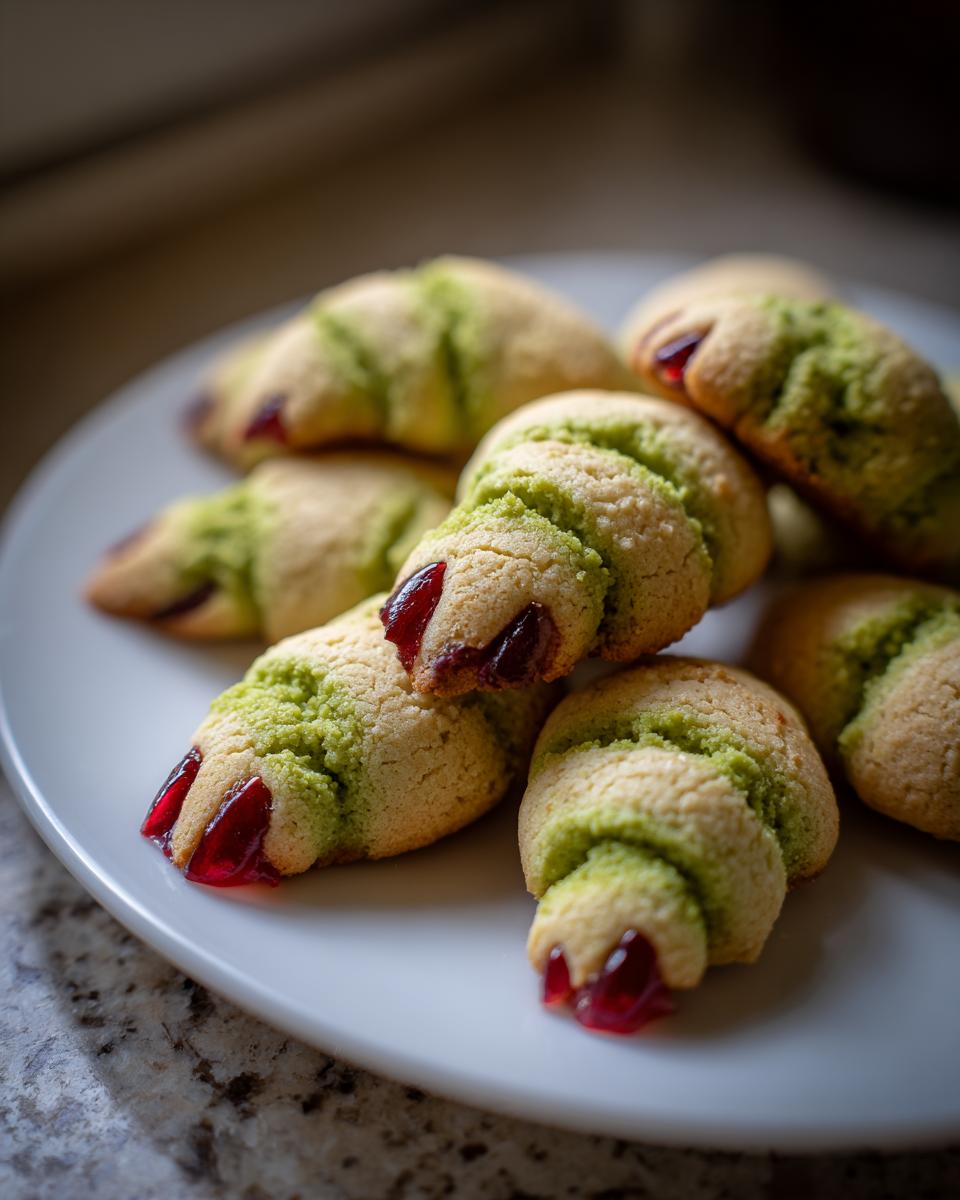
Now for the really fun, slightly creepy part! Preheat your oven to 350°F (175°C) and get your baking sheets lined with parchment paper. Take small chunks of that chilled, marbled dough and roll them into finger shapes. Don’t aim for perfection here; a little wonkiness adds to the creepy charm! Use the back of a knife to carefully score lines for knuckles – it really makes them look like old, gnarled fingers. Now for the pièce de résistance: press a whole almond onto one end for a ghastly fingernail. You can give it a little wiggle to secure it. If you want to up the gory factor, use a toothpick to add some veins before baking. For those extra-bloody digits, use red decorating gel or a bit of strawberry jam around the almond after the cookies have cooled completely. It’s these little touches that truly make them stand out as *spooky almond cookies* and unique *Halloween finger cookies*!
Tips for Perfect Witch Finger Cookies Every Time
Okay, because I know how important it is for you to get these spooky little Witch Finger Cookies just right – and we *all* know Claire Sterling’s promise about our recipes being ‘Tested and Perfected’ – here are a few tried-and-true tips. First off, if your dough feels too soft to handle when you’re rolling those fingers, don’t panic! Just pop it back into the fridge for another 10-15 minutes. It seriously makes all the difference. Also, watch your baking time carefully! We want just lightly golden edges. If they spread too much, they lose that finger shape we worked so hard on. Remember those little notes? That’s where the magic happens! For instance, making sure your butter is properly softened, not melted, is key to that perfect texture. It’s these little kitchen insights from testing that make all the difference that you can find in recipes like our infamous chocolate zucchini bread!
Ingredient Notes and Substitutions for Gory Halloween Treats
Let’s talk ingredients for these fun gory Halloween treats! The almonds are key for those creepy fingernails. I usually grab whole, blanched almonds because they look a bit cleaner, but honestly, any whole almond will do the trick. Just make sure they’re not slivered! If you don’t have red decorating gel on hand (which is super easy to find around Halloween!), don’t sweat it. A little bit of strawberry jam or even raspberry preserves works beautifully to give that “bloody” effect around the nail. Just make sure it’s a bright, vibrant red!
Frequently Asked Questions About Witch Finger Cookies
Got questions about conjuring up these spooky Witch Finger Cookies? I’ve got answers! We’ve put tons of thought into this recipe, just like how we approach everything here at Bliss Batter, so hopefully, these clear up any brewing doubts. We always want to be transparent, which is why you can find our terms of use and privacy policy readily available.
Can I make these cookies without green food coloring?
Absolutely! While the green color really amps up the spooky factor and makes them look like classic Halloween finger cookies, they’ll still taste amazing if you skip the coloring. You can just swirl the uncolored dough together for a more subtle, marbled look, or even leave them plain if that’s your preference. They’ll still be delicious, buttery cookies!
Why are my witch finger cookies spreading too much?
Oh, the dreaded spread! It usually happens if your butter is too soft or melted, or if the dough isn’t chilled long enough. Make sure your butter is softened but still slightly cool to the touch (not greasy or mushy!). Chilling the dough for at least 30 minutes, or even a bit longer if your kitchen is warm, is super important for keeping their shape. This tip is crucial for ensuring you get perfect spooky almond cookies!
How do I get the almond fingernail to stick better?
Sometimes that almond nail just wants to pop off! The best trick is to gently press it into the end of the finger shape before baking. You can even use a tiny dab of water on the back of the almond before pressing it into the dough. This helps it adhere really well during baking. And don’t worry if it shifts a little; you can always nudge it back into place after they cool before adding that pop of red gel!
Can I store these Witch Finger Cookies for later?
Yes, you definitely can! Once they’re completely cooled, store your witch finger recipe cookies in an airtight container at room temperature. They should stay wonderfully fresh for about 3-5 days, making them perfect for making ahead of your Halloween bash. Just try to keep them away from little hands before the big reveal!
Nutritional Information for Your Spooky Almond Cookies
Just a heads-up, bakers! Estimating nutritional information can be tricky, so these numbers are just a guide for your delicious spooky almond cookies. Think of them as approximate values per cookie:
- Calories: 150
- Sugar: 10g
- Sodium: 30mg
- Fat: 8g
- Saturated Fat: 5g
- Unsaturated Fat: 3g
- Trans Fat: 0g
- Carbohydrates: 18g
- Fiber: 1g
- Protein: 2g
- Cholesterol: 25mg
Sharing Your Homemade Witch Finger Cookies
Alright, so you’ve whipped up a batch of these spooktacular Witch Finger Cookies! How did they turn out? I’d absolutely LOVE to see your haunting creations! Please drop a comment below to tell me how they went, or share a photo if you can. Your feedback truly helps us keep our recipes, like this one, ‘Tested and Perfected’ for everyone! You can always learn more about our mission on our About Page or reach out directly via our Contact Page.
PrintWitch Finger Cookies

Create spooky and fun witch finger cookies for your Halloween party. These buttery shortbread cookies are shaped and decorated to look like ghastly witch fingers, complete with almond fingernails.
- Prep Time: 30 min
- Cook Time: 12 min
- Total Time: 42 min
- Yield: 24 cookies 1x
- Category: Dessert
- Method: Baking
- Cuisine: American
- Diet: Vegetarian
Ingredients
- 2 1/4 cups all-purpose flour
- 1 cup (2 sticks) unsalted butter, softened
- 3/4 cup granulated sugar
- 1 large egg
- 1 teaspoon vanilla extract
- 1/4 teaspoon salt
- Green food coloring
- Whole almonds
- Red decorating gel or strawberry jam
Instructions
- Cream together the softened butter and granulated sugar until light and fluffy.
- Beat in the egg and vanilla extract.
- In a separate bowl, whisk together the flour and salt.
- Gradually add the dry ingredients to the wet ingredients, mixing until just combined.
- Divide the dough into two portions. Add green food coloring to one portion and mix until evenly colored.
- Combine the green dough with the uncolored dough, swirling them together slightly to create a marbled effect. Do not overmix.
- Chill the dough for at least 30 minutes.
- Preheat your oven to 350°F (175°C). Line baking sheets with parchment paper.
- Take small portions of dough and roll them into finger shapes.
- Use a knife to score knuckle lines on each finger.
- Press an almond onto one end of each cookie to create a fingernail. You can gently press it into the dough.
- Bake for 10-12 minutes, or until the edges are lightly golden. The cookies should not spread much.
- Let the cookies cool on the baking sheets for a few minutes before transferring them to a wire rack to cool completely.
- Once cooled, use red decorating gel or strawberry jam to create a bloody effect around the almond fingernails.
Notes
- For a more realistic look, you can use a toothpick to add veins to the fingers before baking.
- If the dough becomes too soft to handle, chill it again.
- Ensure your butter is truly softened, not melted, for the best texture.
- This recipe is a great base for other holiday cookie decorations.
Nutrition
- Serving Size: 1 cookie
- Calories: 150
- Sugar: 10g
- Sodium: 30mg
- Fat: 8g
- Saturated Fat: 5g
- Unsaturated Fat: 3g
- Trans Fat: 0g
- Carbohydrates: 18g
- Fiber: 1g
- Protein: 2g
- Cholesterol: 25mg