

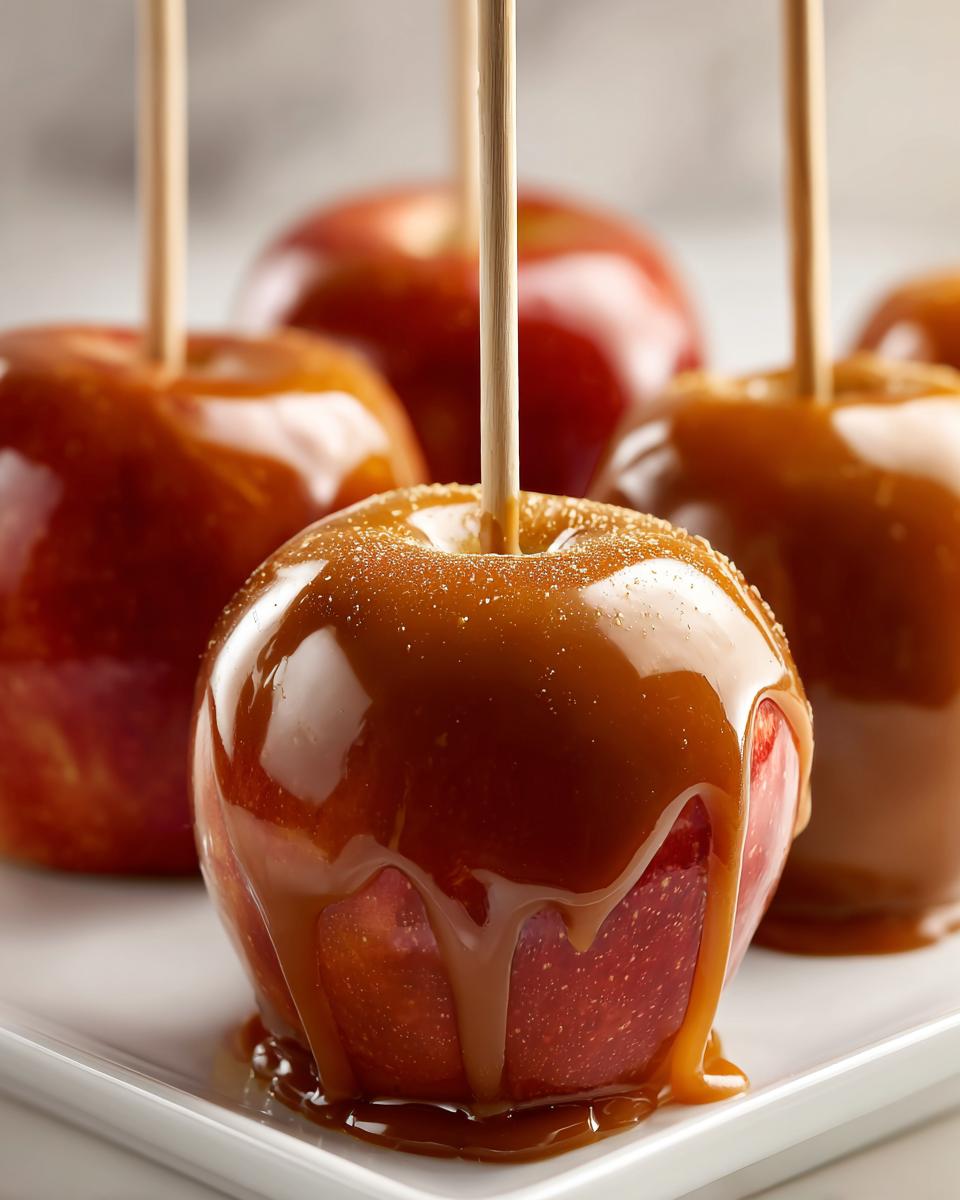
Oh, fall! That crisp air, the beautiful leaves, and the unmistakable scent of caramel apples wafting from the county fair. Seriously, is there anything more nostalgic than sinking your teeth into a perfectly crisp apple coated in warm, gooey, homemade caramel? I remember Claire’s grandmother always made these for apple picking day, and they were always the highlight of our year. Now, you can totally capture that magic right in your own kitchen with this recipe! We’re going to walk through it step-by-step to get that smooth, luscious caramel that clings just right, without any fuss. Forget those store-bought ones that slide right off – we’re making the real deal, county fair classic style!
- Why You'll Love These Homemade Caramel Apples
- Essential Ingredients for Perfect Caramel Apples
- Step-by-Step Guide to Making Caramel Apples
- Tips for Caramel Apple Success
- Creative Variations for Your Caramel Apples
- Storing Your Homemade Caramel Apples
- Frequently Asked Questions About Caramel Apples
- Estimated Nutritional Information for Caramel Apples
- Share Your Halloween Apple Treats!
Why You’ll Love These Homemade Caramel Apples
Seriously, who doesn’t love a classic caramel apple? Here’s why you’ll adore making them:
- Super Easy & Quick: You can whip these up in about 30 minutes! Perfect for a last-minute treat.
- Pure Nostalgia: They taste just like the ones from the fair – that perfect fall memory on a stick.
- Deliciously Chewy: Get that satisfyingly smooth caramel coating that’s just *chef’s kiss*.
- Customizable: Add your favorite toppings for a personal touch.
- Kid-Approved Fun: A fantastic activity to do with the little ones!
Essential Ingredients for Perfect Caramel Apples
Alright, let’s talk about what you’ll need to whip up these little bites of fall heaven. You don’t need anything super fancy, just good quality stuff to make them taste like that perfect **county fair classic** we all remember!
First things first, you need about 6 medium apples. My favorites for this are crisp varieties like Honeycrisp or Fuji because they hold up so well. You want them firm! Then, grab yourself 6 sturdy wooden popsicle sticks or skewers – these are going to be your apple handles. For the magic caramel itself, you’ll want 2 cups of granulated sugar, 1/2 cup of light corn syrup (this is key for that smooth, no-crystallizing caramel!), and 1/4 cup of water. Once the caramel is cooked and off the heat, stir in 1 teaspoon of vanilla extract for that warm sweetness and 1/4 teaspoon of salt to really make the flavors pop. And of course, have fun with optional toppings like chopped nuts, sprinkles, or a little extra sea salt!
Step-by-Step Guide to Making Caramel Apples
Okay, ready to make some pure autumn magic happen? Making these homemade caramel apples is a bit like a fun science experiment, but way tastier! Follow these steps, and you’ll be enjoying that classic fairground treat in no time. Trust me, it’s easier than you think! We’ll make sure they’re as perfect as the ones you’d find at our apple crisp recipe bake sale, or maybe even as good as the stars of our apple pecan salad!
Preparing Your Apples for Dipping
First things first, let’s get our apples ready. Give them a good wash and then, this is super important, make sure they’re bone dry! Like, really dry. Any water left on them means the caramel just won’t stick, and oops, off it slides! So, pat them down with a towel. Once they’re dry, take your wooden stick or skewer and push it firmly but carefully into the stem end of the apple. You want it to go in deep enough so the apple feels secure when you dip it.
Crafting the Perfect Caramel
Now for the star of the show: the caramel! Grab a medium saucepan. Pour in your sugar, corn syrup, and water. Stir it gently *just* until the sugar dissolves. Then, put it over medium heat and let it do its thing. Resist the urge to stir! We need it to reach exactly 245°F (118°C) on a candy thermometer. This is called the firm-ball stage, and it’s the secret to that perfect chewy texture. Keep a close eye on that thermometer; it’s your best friend here! Overcook it, and it’s too hard; undercook it, and it’ll slide right off those apples. It’s a delicate balance, but totally doable!
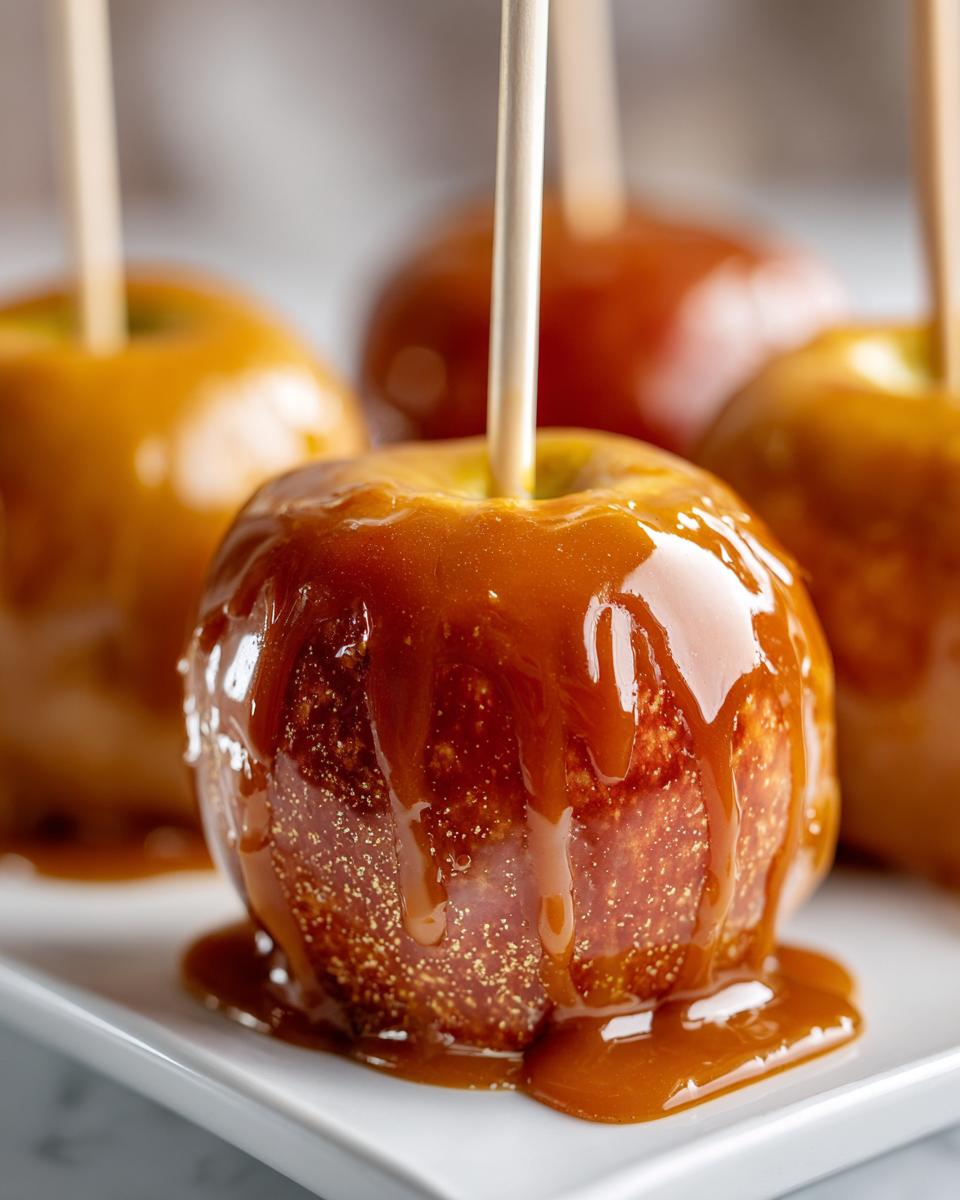
Coating and Topping Your Caramel Apples
As soon as your caramel hits that magic 245°F mark, pull the pan off the heat. Very carefully, stir in the vanilla extract and that pinch of salt. It’ll bubble up a bit, so be cautious! Now, you gotta work fast! Grab an apple by the stick and dip it into the luscious caramel, tilting the pan to get a nice, even coat all the way around. Let any extra caramel drip back into the pan. This is also your chance to get fancy! If you’re using toppings like chopped nuts, sprinkles, or a sprinkle of sea salt, do it *right now* while the caramel is still gooey and sticky.
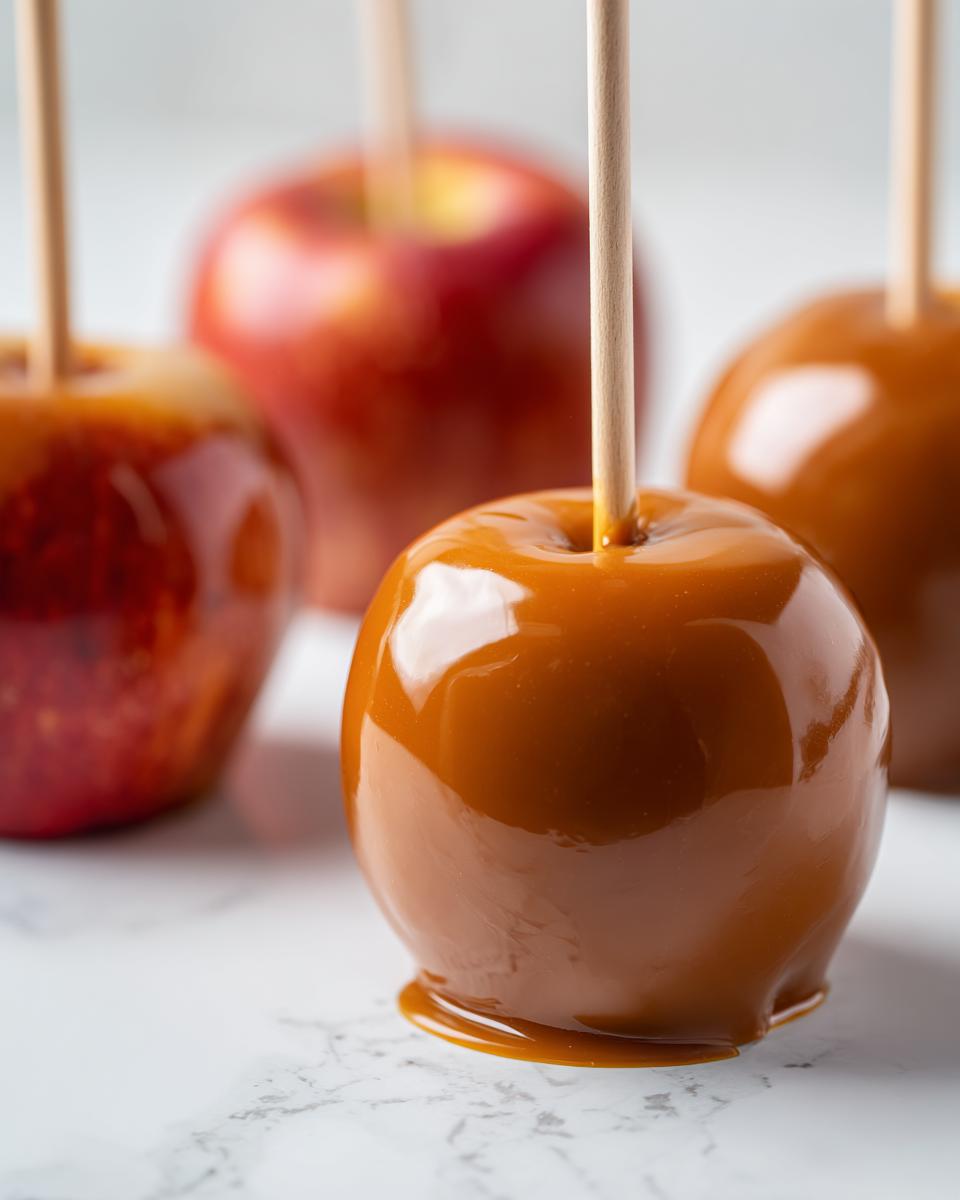
Setting and Enjoying Your Fall Fair Dessert
Once all your apples are dipped and (optionally) topped, you need to let them set. Carefully place them on a baking sheet that you’ve lined with parchment paper. You can let them harden up at room temperature, which usually takes about 30 minutes to an hour, or if you’re impatient like me, pop them in the fridge for about 15-20 minutes to speed things up. Either way, soon you’ll have your very own delicious, homemade caramel apples – just like a true **fall fair dessert**!
Tips for Caramel Apple Success
Making caramel apples can feel a little tricky, but don’t you worry! With a few insider tips, you’ll have perfectly coated, delicious apples every single time. It’s all about paying attention to a few key details, and trust me, Claire’s grandmother always swore by these little tricks!
Chilling Apples for Optimal Adhesion
Okay, this is a non-negotiable step! Pop those washed and *thoroughly dried* apples into the fridge for at least 30 minutes before you even think about making caramel. Why? Because a nice, cold apple helps that hot caramel set super fast. It creates a beautiful, smooth shell that clings tight, ensuring you don’t end up with a caramel puddle at the bottom of your parchment paper. Cold apple + hot caramel = magic!
Working with Caramel: Speed and Temperature
Once your caramel reaches that magical 245°F (118°C), you need your apples ready to go and your hands moving! It really does harden up quickly. If you find it getting too thick while you’re still dipping, don’t panic! You can gently warm the saucepan over low heat for just a minute or two to loosen it up again. Just be careful not to scorch it. Patience and a little bit of speed are your best friends here!
Creative Variations for Your Caramel Apples
While the classic caramel apple is pure perfection, why stop there? You can totally jazz these up to make them truly your own! Imagine a white chocolate drizzle zig-zagged over the caramel, or maybe dipping them in some crushed pretzels for a sweet and salty kick. My kids love seeing them covered in rainbow sprinkles too! You could even experiment with adding a pinch of cinnamon or a swirl of melted chocolate right into the caramel mixture itself for an extra layer of flavor, kind of like the rich depth in our brown butter cookies. The possibilities are endless!
Storing Your Homemade Caramel Apples
Got some leftover caramel apples? Lucky you! To keep them tasting amazing, store them on parchment paper. You can leave them at room temperature for a day or two if it’s not too warm, or pop them in an airtight container in the fridge for up to a week. Just let them come to room temp a bit before you dive back in!
Frequently Asked Questions About Caramel Apples
Got some questions about making these amazing homemade caramel apples? You’re not alone! Hitting that perfect caramel can sometimes feel like rocket science, but don’t worry, we’ve got you covered. Let’s tackle some common sticky situations! If you still have burning questions, feel free to reach out!
Troubleshooting Caramel That Won’t Set
The most common culprit when your caramel won’t set is temperature! If your caramel didn’t reach that crucial 245°F (firm-ball stage), it’ll be too soft and oozy. Also, make absolutely sure those apples are super dry and chilled. Moisture and warmth are the enemies of perfectly set caramel!
Best Apples for Making Caramel Apples
You really want to start with apples that are firm and hold their shape well, like Honeycrisp, Fuji, or Gala. Granny Smith apples are also a great choice if you like a little tartness to balance the sweet caramel. Softer apples can get mushy, and you definitely don’t want that with your beautiful caramel coating!
Estimated Nutritional Information for Caramel Apples
Now, let’s talk about the yum that comes with these homemade caramel apples. Keep in mind these numbers are estimates, and they can totally change depending on the size of your apple and what delicious toppings you add! But here’s a general idea for one glorious apple:
- Calories: Around 450
- Sugar: About 75g
- Sodium: Roughly 50mg
- Fat: About 15g (with around 9g being saturated)
- Carbohydrates: Around 80g
- Protein: Just about 1g
Share Your Halloween Apple Treats!
Alright, now it’s your turn to shine! I absolutely *love* seeing what you all create in your kitchens. Did you make these caramel apples for a party? A fun afternoon activity? Take a picture and share it in the comments below – I’d be thrilled to see your handiwork! And if you enjoyed this recipe, please give it a star rating; it really helps other bakers find these sweet treats. Don’t forget to tag us on social media too! For more sweet inspiration, check out our privacy policy for other baking adventures!
Print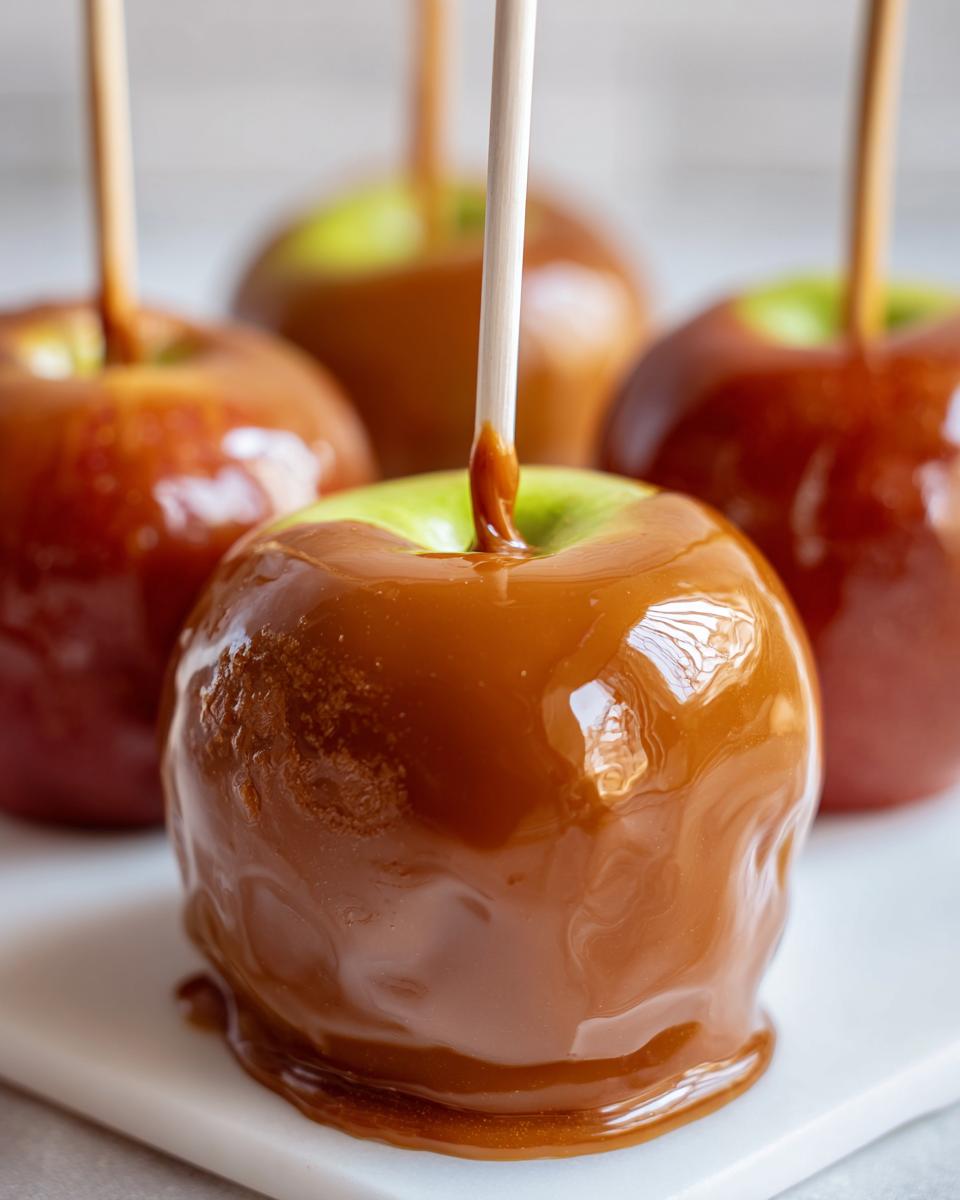
Homemade Caramel Apples
Learn how to make classic caramel apples at home. This recipe guides you through creating a smooth caramel that coats crisp apples perfectly, offering a delightful fall treat.
- Prep Time: 15 min
- Cook Time: 15 min
- Total Time: 30 min
- Yield: 6 servings 1x
- Category: Dessert
- Method: Stovetop
- Cuisine: American
- Diet: Vegetarian
Ingredients
- 6 medium apples (like Honeycrisp or Fuji)
- 6 wooden popsicle sticks or skewers
- 2 cups granulated sugar
- 1/2 cup light corn syrup
- 1/4 cup water
- 1 teaspoon vanilla extract
- 1/4 teaspoon salt
- Optional toppings: chopped nuts, sprinkles, sea salt
Instructions
- Wash and thoroughly dry your apples. Remove any stickers. Insert a wooden stick firmly into the stem end of each apple.
- In a medium saucepan, combine granulated sugar, corn syrup, and water. Stir until sugar is dissolved.
- Cook over medium heat, without stirring, until the mixture reaches 245°F (118°C) on a candy thermometer. This is the firm-ball stage.
- Remove the saucepan from heat. Carefully stir in the vanilla extract and salt. The mixture will bubble.
- Immediately dip each apple into the caramel, tilting the pan to coat evenly. Let excess caramel drip off.
- Place coated apples on a baking sheet lined with parchment paper.
- If using, immediately sprinkle with desired toppings before the caramel sets.
- Allow the caramel apples to set completely at room temperature, or chill briefly in the refrigerator for faster setting.
Notes
- For best results, chill your apples in the refrigerator for at least 30 minutes before dipping. This helps the caramel set quickly.
- Ensure your candy thermometer is accurate.
- Work quickly once the caramel reaches temperature, as it will begin to harden.
- If the caramel hardens in the pan, you can gently reheat it over low heat.
Nutrition
- Serving Size: 1 apple
- Calories: 450
- Sugar: 75g
- Sodium: 50mg
- Fat: 15g
- Saturated Fat: 9g
- Unsaturated Fat: 6g
- Trans Fat: 0g
- Carbohydrates: 80g
- Fiber: 4g
- Protein: 1g
- Cholesterol: 30mg