
Oh, I know the feeling! You take a bite of restaurant hummus and it’s so impossibly smooth, so perfectly balanced, you think, “I can never make mine taste like that at home.” Well, I’m here to tell you that’s a total myth! Making restaurant-quality, silky hummus is surprisingly fast, taking just about ten minutes total. As I discovered when running around planning big corporate events, finding peace in something simple yet perfect, like this amazing dip, is real therapy. I’ve poured all that love for simple perfection into this recipe. You can read more about my mission to bring that handcrafted feeling to your kitchen over on the About Page. I promise, once you follow these steps, you won’t want to buy it pre-made again. Grab your food processor; happiness is homemade!
- Why This Homemade Hummus Recipe Works So Well
- Ingredients Needed for Perfect Hummus
- Essential Steps: How to Make Creamy Hummus
- Tips for Next-Level Homemade Hummus from Scratch
- Serving Suggestions for Your Smooth Tahini Chickpea Dip
- Storage and Reheating Instructions for Homemade Hummus
- Frequently Asked Questions About Making Hummus
- Nutritional Estimates for Your Hummus Serving
- Share Your Perfect Hummus Creation
Why This Homemade Hummus Recipe Works So Well
There’s a reason this smooth tahini chickpea dip tastes leagues better than anything store-bought! It all comes down to a couple of key techniques that ensure you get that ultra-smooth, whipped consistency every single time you make hummus. We aren’t skimping on the good stuff here; we’re just being smart about how we build those flavors.
- It’s fast—seriously, ditch the complicated soaking and cooking times!
- We use ice water, which is my little trick for making the dip unbelievably light.
- The balance of rich tahini against bright lemon prevents that heavy, bland texture some dips have.
Achieving Silky Smooth Hummus Texture
Texture is everything, right? We are aiming for that cloud-like feel, not a gritty paste. The secret here is patience in the food processor. You need to let it churn until it practically changes color and volume slightly. Then, the addition of ice water while processing mimics the results others get from hours of slow cooking their chickpeas. It shocks the mixture just enough to whip it up beautifully and make everything silky.
Balancing Flavors in Your Hummus
A good hummus should sing! That means no single ingredient should yell over the others. We use a generous amount of tahini for that essential nutty depth, which is cut perfectly by fresh lemon juice. Garlic should be present but not punchy—it works best when fully incorporated during the long processing time. This careful approach is what separates a decent dip from a truly memorable batch of homemade hummus.
Ingredients Needed for Perfect Hummus
When you’re aiming for the gold standard of hummus, the ingredients list is short, simple, and relies on quality. Remember, we’re using canned chickpeas here because we want this done in ten minutes flat! Make sure your tahini is nice and fresh so you get that rich, nutty flavor we are aiming for.
- One 15-ounce can of chickpeas, make sure you rinse and drain them really well.
- Half a cup of good tahini—don’t skimp here!
- A quarter cup of fresh lemon juice; it has to be fresh!
- Two cloves of garlic, just roughly chopped is fine.
- Two tablespoons of ice water, this is non-negotiable for creaminess.
- One teaspoon of salt and just a tiny pinch of ground cumin.
- Two tablespoons of extra virgin olive oil, plus a little extra for drizzling later.
- A little puff of smoked paprika for the prettiest finish.
Essential Steps: How to Make Creamy Hummus
Are you ready to watch the magic happen? Since we are skipping the long cooking of dried chickpeas, the power here is all in the food processor. If you’re looking for great things to do with this dip all week long, check out some easy weeknight dinner ideas here for your dinner rotation. Don’t worry about your mixture looking stiff and pasty at first—that’s exactly what’s supposed to happen before we bring in the secret weapon!
Processing the Base Ingredients for Hummus
First things first: toss all your main ingredients into the bowl of your food processor. I mean everything except the ice water and the finishing oil. We need the rinsed chickpeas, the tahini, the lemon juice, the garlic, the salt, and the cumin all in there together. Hit the power button and let it whirl for a solid 2 minutes. You’ll need to stop it once or twice to scrape down the sides just to make sure everything that needs to be mashed is getting acquainted.
Whipping the Hummus to Whipped Perfection
This is the part where the thick paste transforms into perfect, light hummus. With the processor running constantly, slowly start drizzling in that ice water, one tablespoon at a time. Don’t dump it! Keep watching it blend. You should see it lightening up and getting smoother as that water incorporates. Once it’s all in, let it run for another full 2 to 3 minutes. That extra time totally whips the mixture until it looks airy and completely smooth.
Tips for Next-Level Homemade Hummus from Scratch
Everyone asks me if they absolutely have to peel the chickpeas. Honestly, store-bought hummus is so smooth because they do all that work, but for my hummus, I say it’s optional! If you want that *super* silky texture that costs a fortune at specialty stores, peel them by rubbing the rinsed chickpeas between two kitchen towels first. It takes time, but wow, the difference is worth it. If you’re just whipping this up for an afternoon snack, skip the peeling and just trust the food processor.
Also—and this is key for consistency—if you taste your finished batch and it feels a little too thick for your liking, don’t panic! Just add another splash of ice water while the processor is running until it loosens up. We want this hummus dip to flow just slightly when you scoop it. Planning a party? You can find some inspiration for serving it up right here in my guide to appetizers and party snacks!
Serving Suggestions for Your Smooth Tahini Chickpea Dip
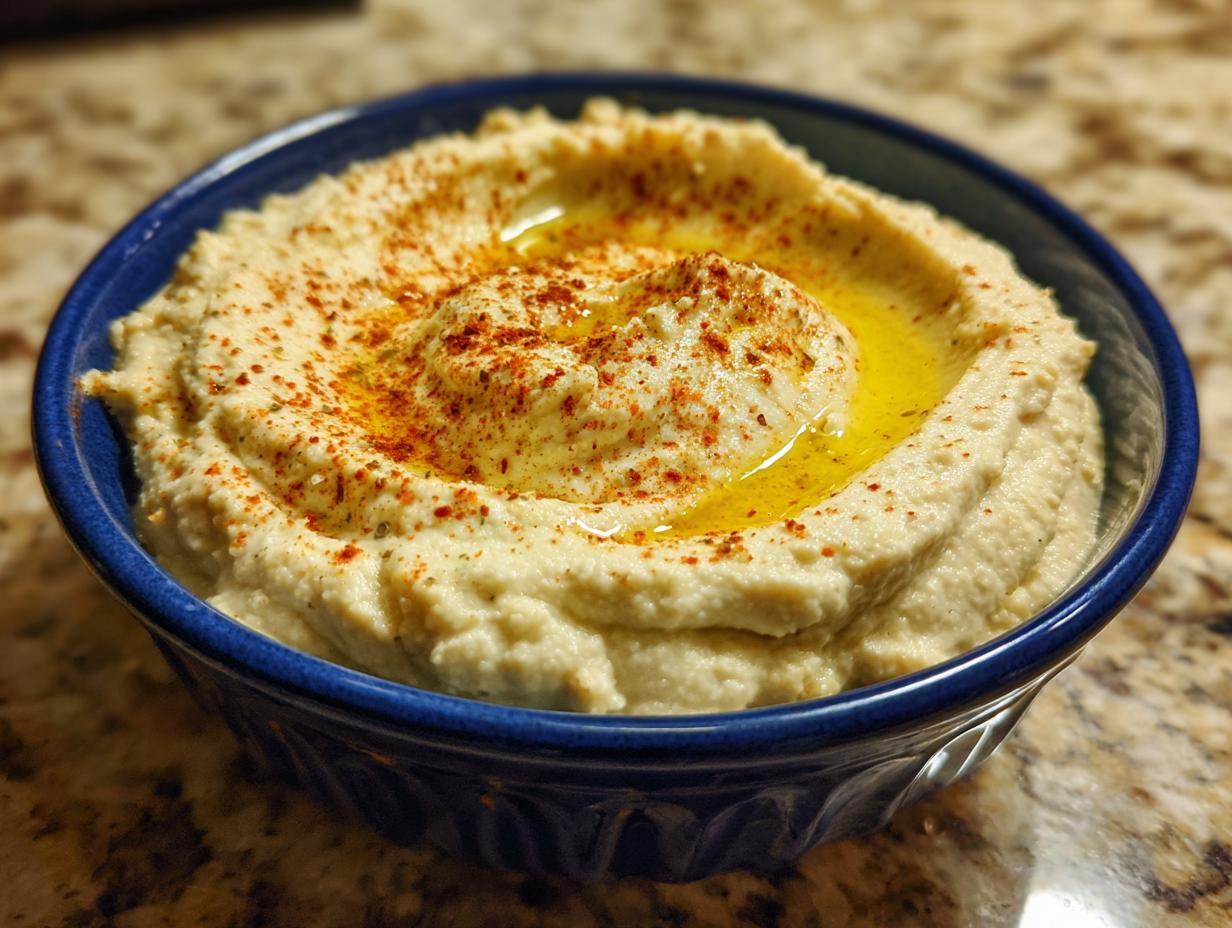
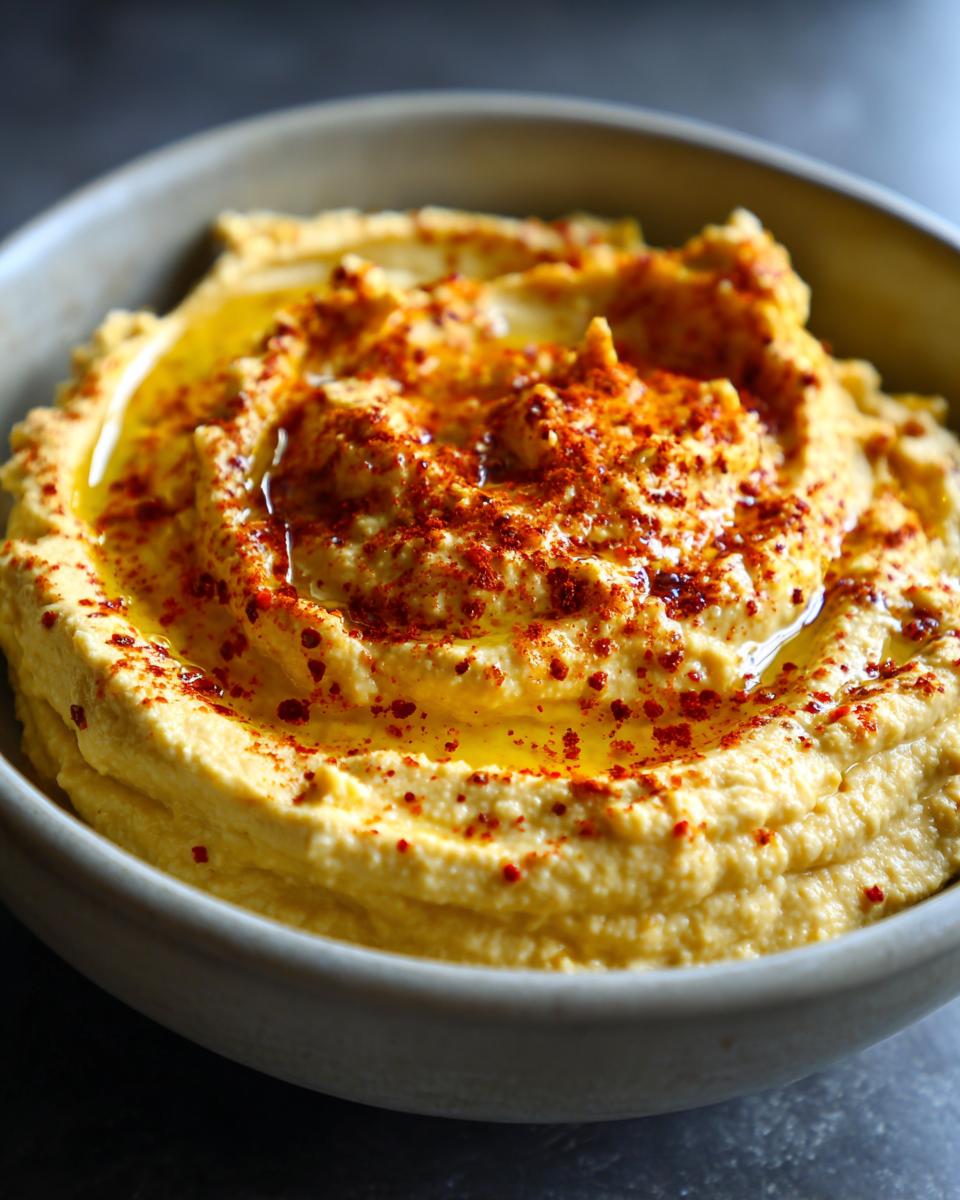
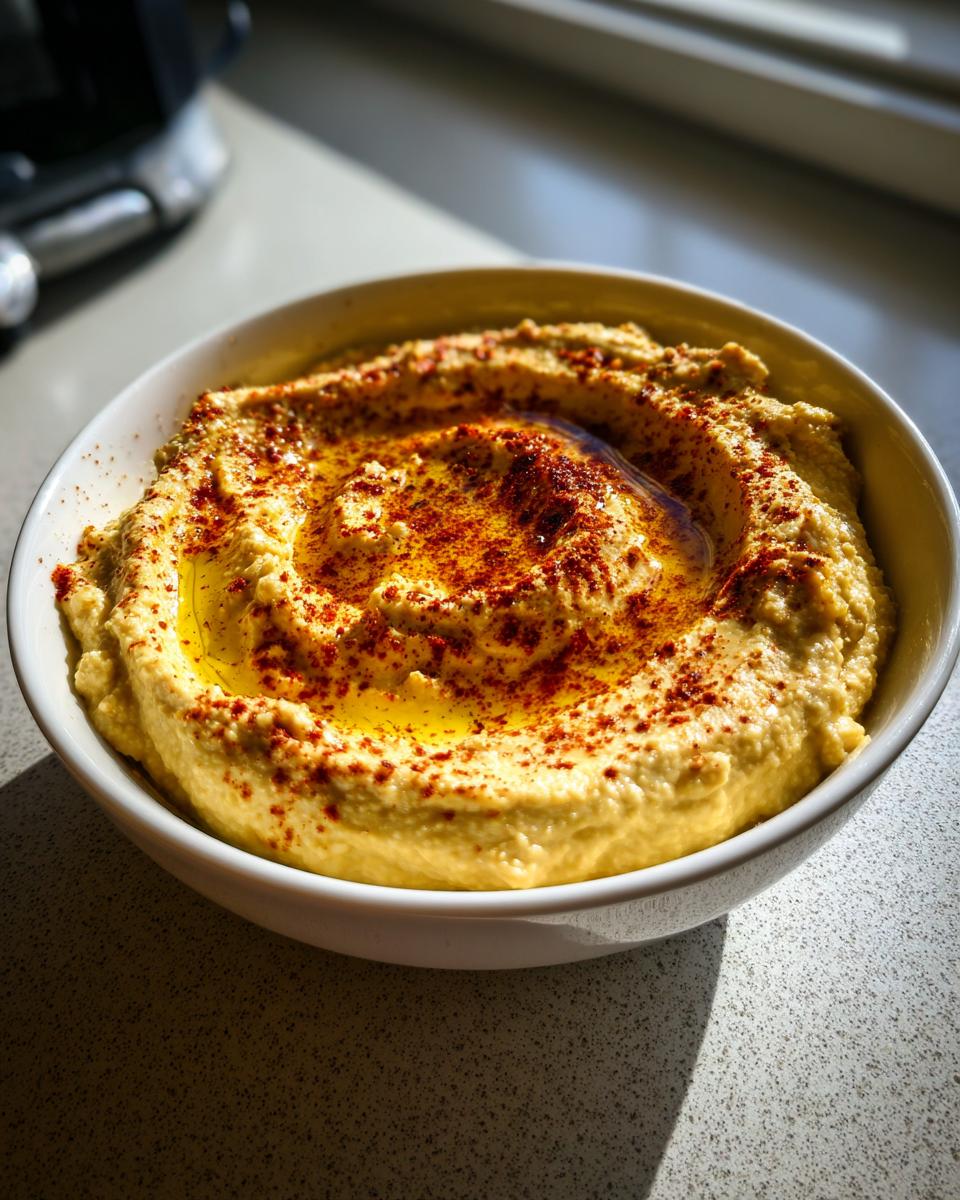
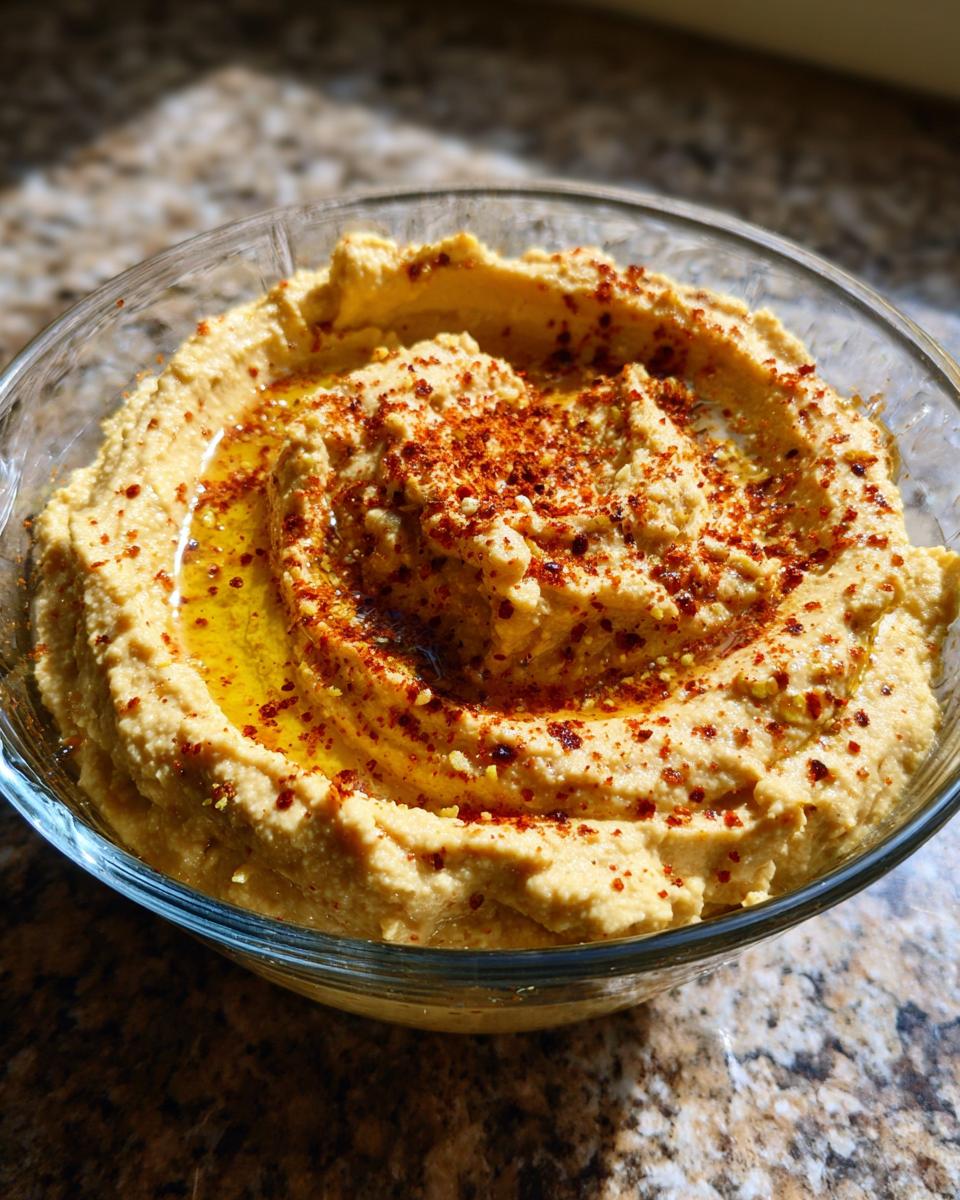
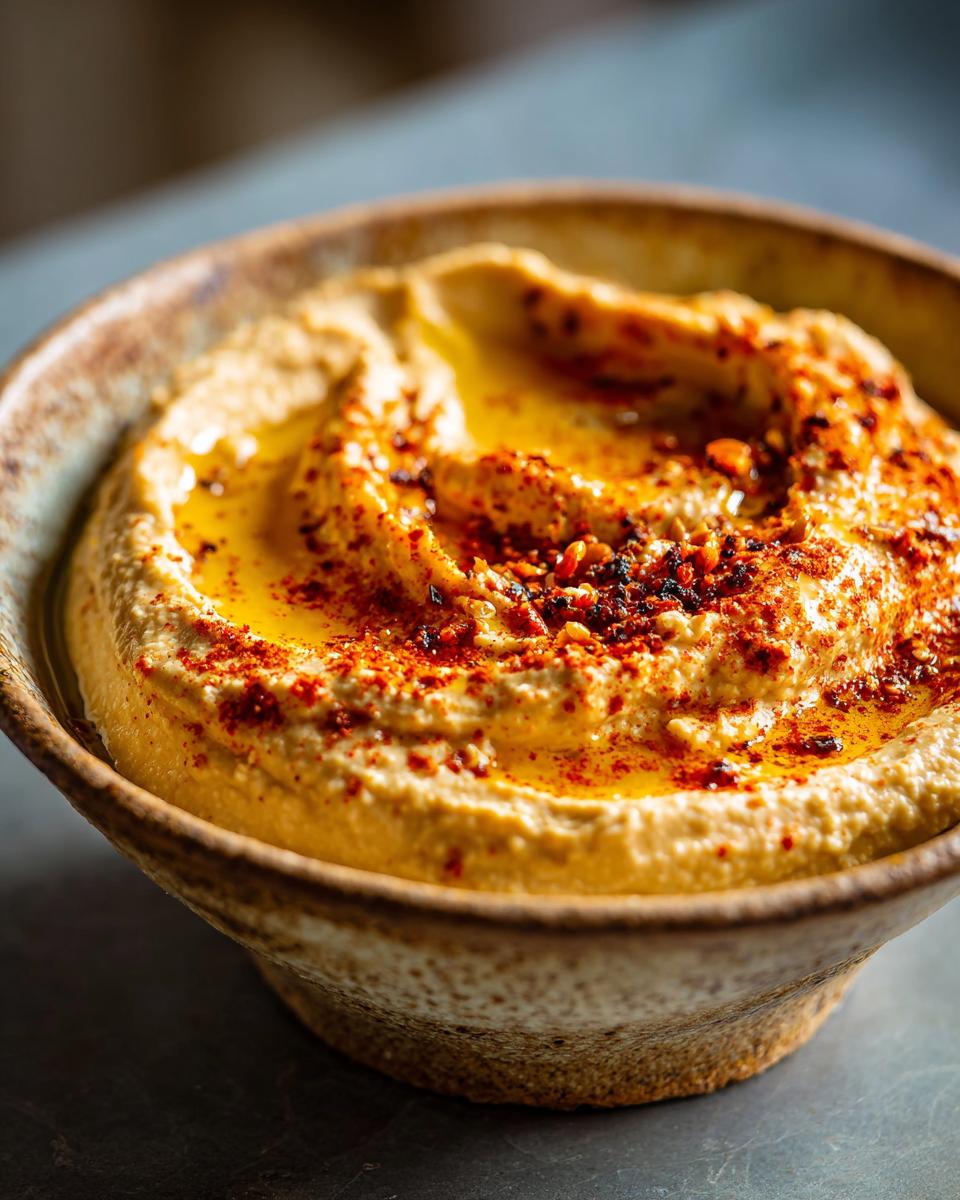
Okay, pita bread is classic, but seriously, don’t stop there! We worked hard to get this dip this creamy, so let’s show it off! I love swirling a generous amount of olive oil right into the center before serving, maybe dusting it with smoked paprika or a little chopped parsley for color.
For a healthier crunch, serve this with carrot sticks, cucumber slices, or even bright red bell peppers. It makes an amazing base spread on toasted sourdough bread instead of mayonnaise. If you’re looking for another quick, crowd-pleasing dip, check out my recipe for pure bliss guacamole—it never disappoints at gatherings!
Storage and Reheating Instructions for Homemade Hummus
The best part about making a big batch of this hummus is that it keeps beautifully! Store your finished dip in an airtight container in the fridge for up to five days. It might firm up a little bit as it chills—that happens because of the tahini. Don’t worry if it seems stiff when you pull it out! Just stir in just a tiny extra splash of ice water or a drizzle of nice olive oil right before serving, blend it a bit with a spoon, and it comes right back to that perfect, creamy texture we worked so hard for. Enjoy those leftovers!
Frequently Asked Questions About Making Hummus
I always get so many questions when people try this recipe for the first time—it’s the details that make the difference between good hummus and *great* hummus! Hopefully, these little answers help you feel 100% confident next time you step up to the food processor. If you still have questions, feel free to reach out through my contact page—I love hearing from fellow home cooks!
Can I use dried chickpeas instead of canned for this hummus recipe?
You absolutely can, but be prepared for some extra time! Canned chickpeas are a huge time-saver for this quick recipe. If you use dried chickpeas for your hummus, you must soak them overnight and then simmer them until they are completely mushy—I mean, falling apart soft. If they aren’t super tender, your food processor just can’t break them down enough to get that ultra-smooth texture we are looking for.
What is the best way to ensure my tahini is fresh for the best flavor?
Tahini quality is huge because it’s nearly half the flavor profile! Before you buy a whole jar, give the jar a good shake. The oil and solids should be well mixed, creamy, and easy to stir. If the oil layer is already separated and hard at the top, it’s probably stale, and it will make your dip taste bitter instead of bright and nutty. Fresh tahini is essential for a stellar dip!
How can I make this blender chickpea spread less garlicky?
Oh, garlic sensitivity! It happens. If you love using the full amount of garlic but don’t want that raw, sharp bite in your blender chickpea spread, try this trick: chop your garlic cloves, put them into a little bowl, cover them with your measured lemon juice, and let them sit for about ten minutes before putting them into the food processor. The acid in the lemon mellows the raw edge of the garlic significantly without watering down the final product. It’s a game-changer!
Nutritional Estimates for Your Hummus Serving
I always get asked about the numbers, and while I focus much more on the joy factor around here, I know tracking things like that is important for a lot of you. So, here is a quick look at the typical nutritional breakdown for a serving of this dip, based on the ingredients we use.
Please keep in mind, these are just rough estimates! If you use a different brand of chickpeas or swap out the type of olive oil, those numbers will shift a touch. We always say homemade is best because you control exactly what goes in, right? If you need to check out the complete details on how we keep your information safe while you’re clicking around the site, you can read our full privacy policy here.
- Serving Size: A quarter cup, which is a good generous scoop!
- Calories: About 180 per serving.
- Fat: 12 grams total (which includes 1.5 grams saturated fat).
- Sodium: Around 250 milligrams.
- Carbohydrates: 14 grams, with 5 grams of that being lovely dietary fiber.
- Protein: A solid 6 grams! Perfect veggie power.
- Cholesterol: Zero, because plants are wonderful.
It’s a fantastic, flavorful dip that packs a good punch of fiber and protein to keep you satisfied while you’re snacking!
Share Your Perfect Hummus Creation
Wow, you made it! Now that you have this incredible batch of ultra-smooth hummus, I would absolutely love to hear what you think! Did you manage to get that restaurant-level creaminess? Please take a moment to rate the recipe down below and leave me a comment telling me what you served it with. Sharing our kitchen successes is what makes this whole community so joyful. If you want to read the finer points on how we keep this site running smoothly, check out the Terms of Use. Happy dipping!
PrintUltra-Smooth Homemade Hummus

Make silky, restaurant-quality hummus at home using this straightforward recipe. This dip balances tahini, lemon, and garlic for a perfect flavor.
- Prep Time: 10 min
- Cook Time: 0 min
- Total Time: 10 min
- Yield: About 1.5 cups 1x
- Category: Appetizer
- Method: Food Processing
- Cuisine: Middle Eastern
- Diet: Vegan
Ingredients
- 1 (15-ounce) can chickpeas, rinsed and drained
- 1/2 cup tahini
- 1/4 cup fresh lemon juice
- 2 cloves garlic, roughly chopped
- 2 tablespoons ice water (or more, for thinning)
- 1 teaspoon salt
- 1/4 teaspoon ground cumin
- 2 tablespoons extra virgin olive oil, plus more for serving
- Pinch of smoked paprika for garnish
Instructions
- Place the rinsed and drained chickpeas, tahini, lemon juice, garlic, salt, and cumin into a food processor.
- Process the mixture for 2 minutes, scraping down the sides as needed. The mixture will look thick and pasty.
- With the food processor running, slowly stream in the ice water, one tablespoon at a time, until the hummus becomes light and creamy. This step helps achieve a smooth texture.
- Continue processing for another 2 to 3 minutes until the hummus is completely smooth and whipped.
- Taste the hummus and adjust salt or lemon juice as needed.
- Transfer the hummus to a serving bowl. Drizzle with olive oil and sprinkle with smoked paprika before serving with pita bread or vegetables.
Notes
- For the creamiest texture, consider peeling the skins off the chickpeas after rinsing, though this is optional.
- If you are interested in structured eating plans, look into meal planning options available from meal delivery companies.
- If the hummus is too thick, add a little more ice water until you reach your desired consistency.
Nutrition
- Serving Size: 1/4 cup
- Calories: 180
- Sugar: 2
- Sodium: 250
- Fat: 12
- Saturated Fat: 1.5
- Unsaturated Fat: 10.5
- Trans Fat: 0
- Carbohydrates: 14
- Fiber: 5
- Protein: 6
- Cholesterol: 0