
You know that feeling when you walk into a room and the smell just *stops* you in your tracks? That comforting, sweet, buttery cloud that instantly makes you feel like everything is going to be okay? That’s the magic we chase here at Bliss Batter. I’m Claire, and I started this whole thing because I believe homemade happiness tastes infinitely better than anything store-bought, no matter how fancy the bakery wants you to think their stuff is.
Now, I know what you might be thinking when you look at a towering, dripping masterpiece. Surely that requires a professional license and a Saturday dedicated only to worrying? Absolutely not! I spent years planning huge, intricate corporate events, so I know a thing or two about making complicated things look simple. That’s why I am so thrilled to share my ultimate caramel crunch cake recipe with you today. It looks utterly impossible—a true showstopper—but I promise you, the steps are totally manageable for any baker ready to dive in.
- Why This Caramel Crunch Cake Recipe is Your New Favorite Showstopper Cake
- Gathering Ingredients for Your Caramel Crunch Cake
- Step-by-Step Instructions for the Caramel Crunch Cake
- Expert Tips for a Bakery Style Cake at Home
- Storing and Serving Your Caramel Crunch Cake
- Common Questions About Making a Caramel Crunch Cake
- Nutritional Overview of the Caramel Crunch Cake
- Share Your Homemade Caramel Crunch Cake Creations
Why This Caramel Crunch Cake Recipe is Your New Favorite Showstopper Cake
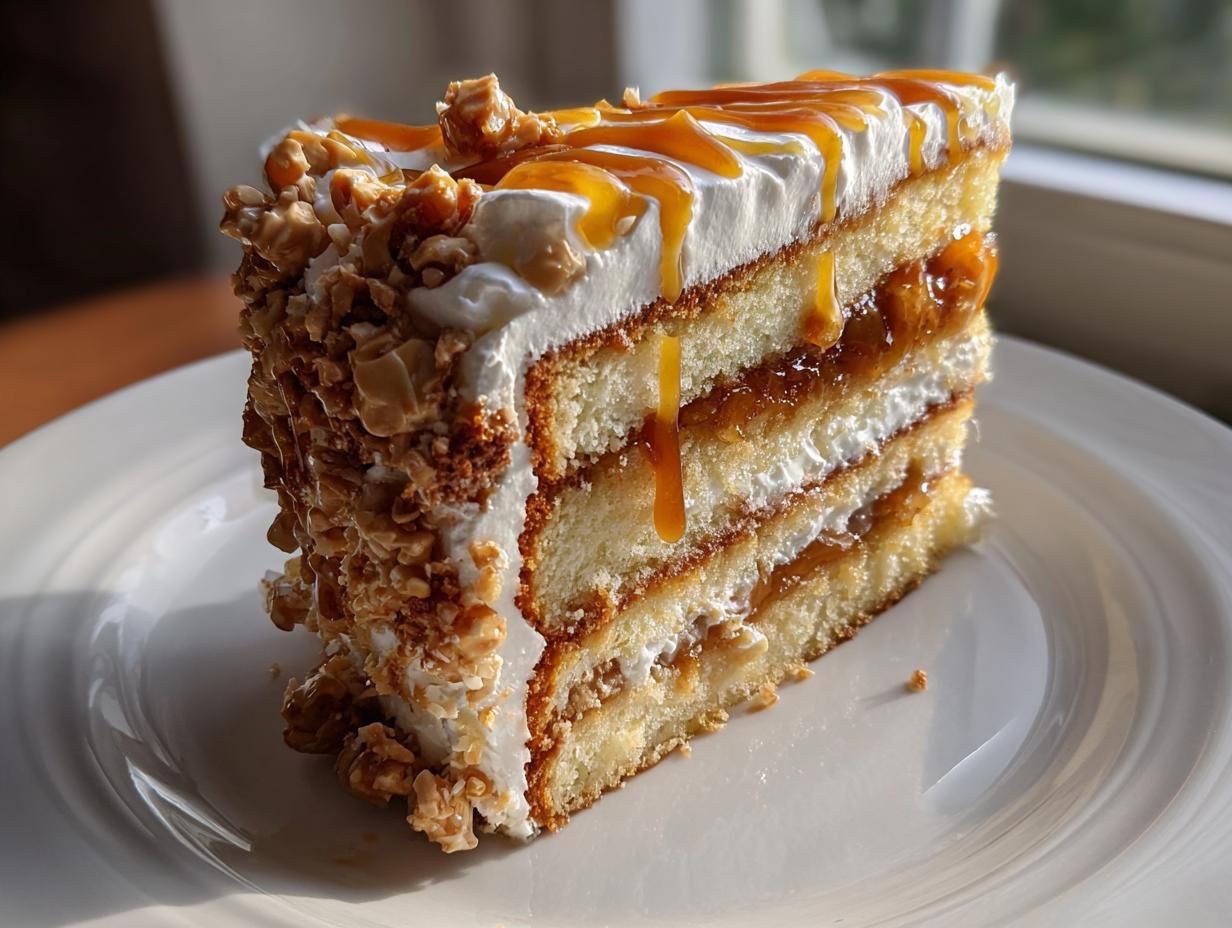
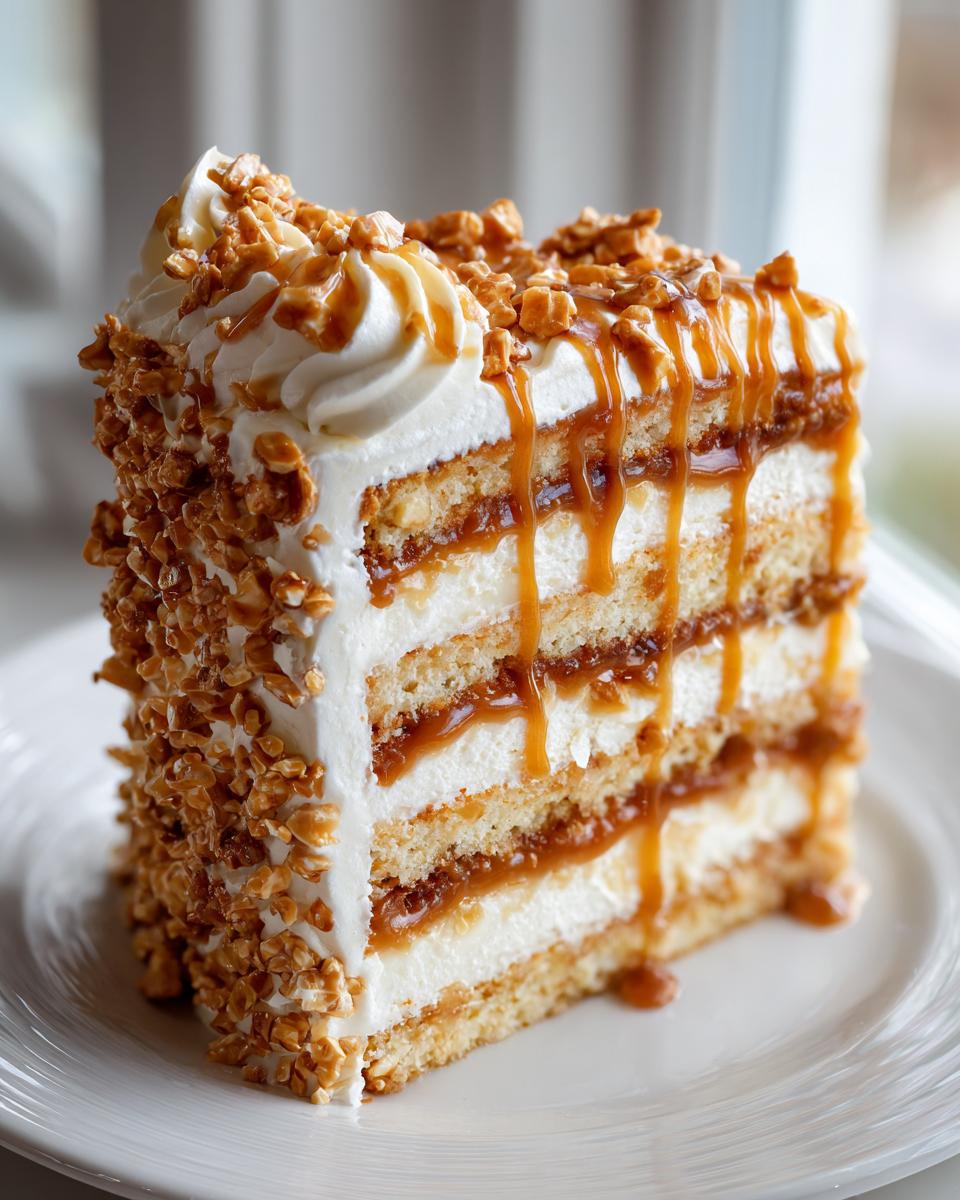
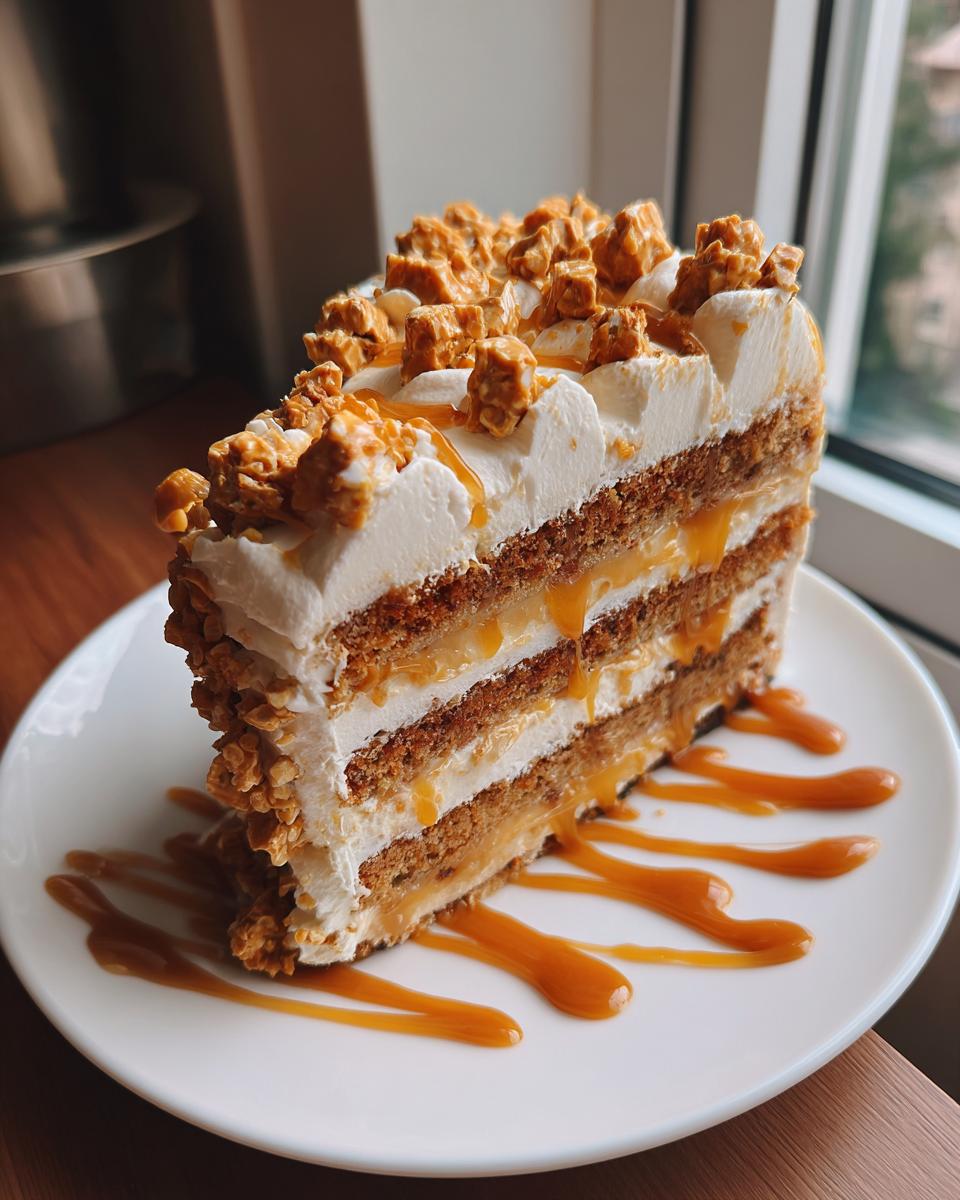
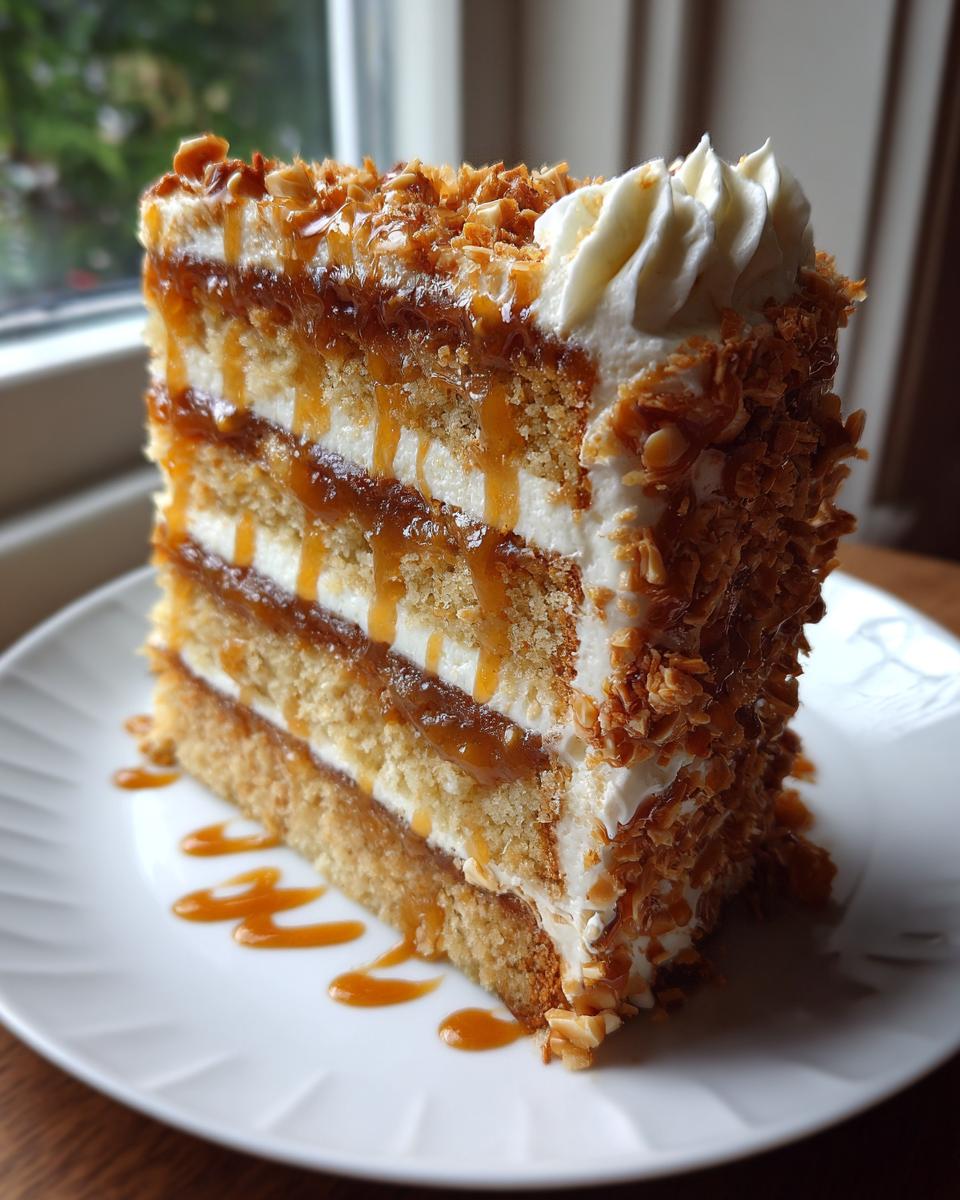
If you are hunting for a truly indulgent dessert that screams celebration, stop your search right now. This caramel crunch cake is exactly the type of showstopper cake that makes people stop talking mid-sentence when they take the first bite. It’s decadent, yes, but the real trick is how unbelievably easy it remains to pull off in your own kitchen—no fancy pastry diploma required!
I remember the day I served this at a big work event; people kept asking where I ordered it from! That moment, seeing people completely delighted by something I made, is why I do this. We focus on flavor and texture here, giving you that incredible moist layer cake success every single time.
Achieving the Perfect Moist Layer Cake Texture
The moisture comes down to simple chemistry, honestly. Don’t skip letting your butter, eggs, and milk come up to room temperature. When they mix properly during that crucial creaming step, you create tiny air pockets that hold onto moisture during baking. It sounds small, but trust me, room temperature ingredients are the foundation for an amazing moist layer cake!
The Secret to the Ultimate Crunch Topping Cake
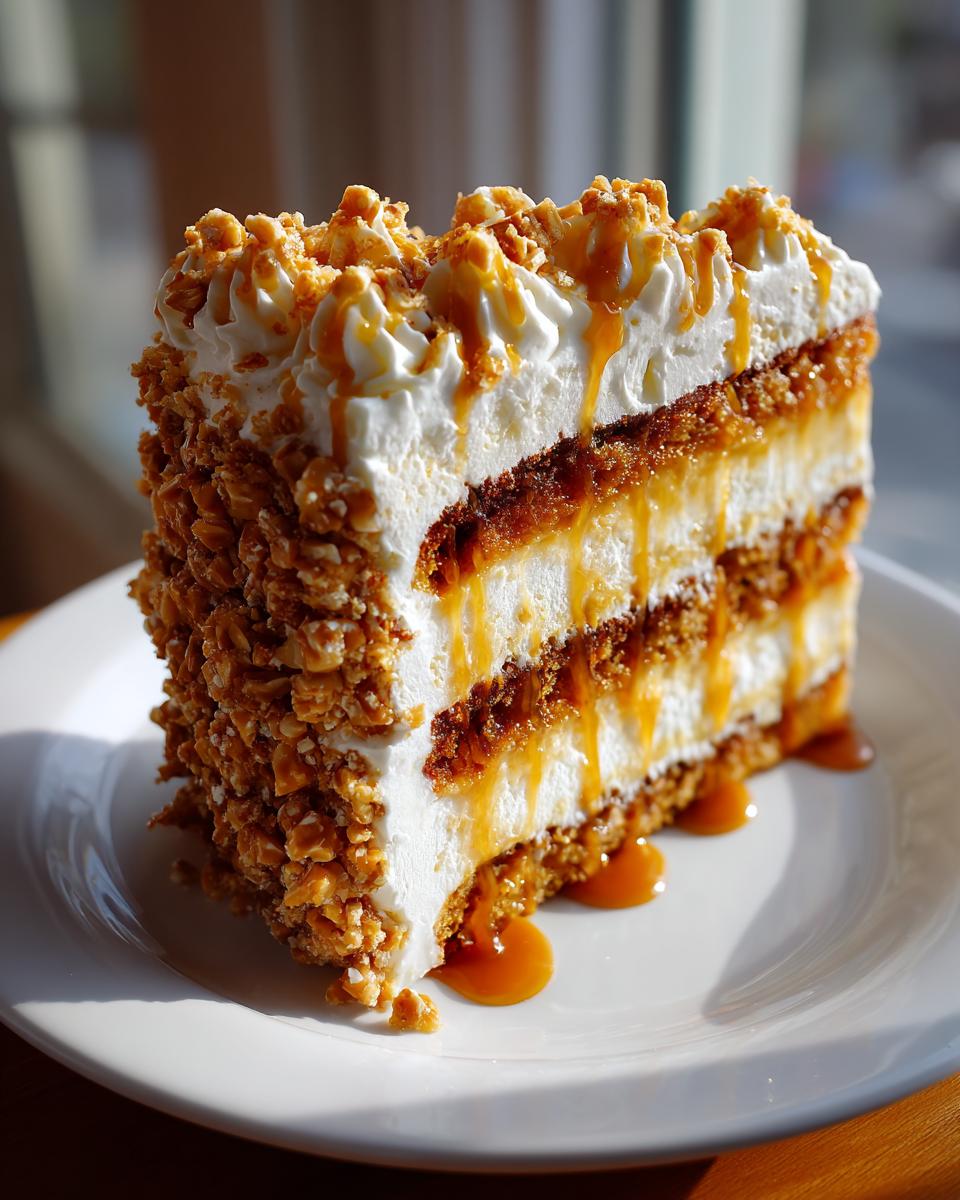
What’s a crunch cake without, well, the crunch? The contrast between the soft cake and the gooey caramel filling is amazing, but that final salty, buttery crunch on top is what makes it memorable. We achieve this with simple toffee bits, which means you get the best texture without complicated candy-making. We nail that textural contrast, making this a fantastic crunch topping cake!
Gathering Ingredients for Your Caramel Crunch Cake
Okay, now for the fun part: grabbing everything we need from the pantry! To make sure this caramel crunch cake comes out dreamy and stable, preparation is everything. Forget trying to substitute these core amounts; sticking to the list ensures we get that perfect texture people rave about. When you’re ready to start mixing, having everything measured out means zero panic halfway through!
Cake Batter Ingredients Clarity
For the actual buttery body of the cake, we need the good stuff. Make sure you have 1 1/2 cups of unsalted butter that’s softened—not melted, softened! We need 3 cups of granulated sugar to balance everything out. You’ll also need 4 large eggs, and please make sure they are at room temperature; this is non-negotiable for that smooth incorporation. We mix in 1 tablespoon of vanilla extract for warmth. For the dry side, measure out 3 cups of all-purpose flour, 1 tablespoon of baking powder for a little lift, and 1/2 teaspoon of salt. Finally, the liquid element is 1 cup of whole milk, which also needs to be at room temperature to respect that butter you fluffed up earlier!
Components for Filling and Crunch Topping Cake
This is where we load up on that signature flavor! You’ll need enough of that glorious homemade caramel sauce for both filling *and* drizzling—the recipe calls for 1 cup total. For the satisfying texture that makes this a true toffee crunch cake, make sure you have 1 cup of premium toffee bits or even crushed butterscotch candies ready to go. We also whip up a simple frosting topping with 1/2 cup of heavy cream whipped until you get those soft peaks, then beat in 2 cups of powdered sugar until it’s nice and stiff.
Step-by-Step Instructions for the Caramel Crunch Cake
Alright, deep breath! This part is supposed to look intimidating, but because we prepared everything perfectly in advance, this assembly becomes smooth sailing. Remember my promise: we’re making a truly indulgent dessert recipe feel totally within reach. Let’s get this caramel crunch cake into the oven so we can start layering!
First things first, get that oven warmed up to 350°F (175°C). Take your three 8-inch cake pans, grease them well, and dust them lightly with flour. I always use a tiny bit of my easy cake baking helper goop if the pans are tricky, but a standard grease-and-flour works wonders here too.
Mixing the Moist Layer Cake Batter
This is where the air gets invited in! Take that softened butter and sugar and beat them together like you mean it until they look light, pale, and fluffy—get that mixer going for several minutes! Next, introduce those room-temperature eggs, one by one, making sure each one is fully incorporated before you add the next splash of vanilla. In a separate bowl, whisk your 3 cups of flour, baking powder, and salt until they look uniform. Now, listen closely: we add the dry stuff and the milk alternately, starting and ending with the flour mix. Mix on low, and stop the second you don’t see any more white streaks. Do NOT overmix, or we lose all that lovely air we just churned in! Divide that beautiful batter evenly between your three pans.
Baking and Cooling the Cake Layers
Into the 350°F oven they go for about 28 to 32 minutes. You know they are done when a slender toothpick slides right into the center and comes out clean—no wet goo clinging to it! Let them rest in the pans for about 10 minutes. Please, please, please don’t rush this part! Allow them to cool in the pan for that initial breath, then gently turn them out onto a wire rack to cool completely. Trying to frost a slightly warm cake is a recipe for a caramel puddle disaster!
Assembling Your Indulgent Dessert Recipe
While the cakes cool, whip up that simple frosting—just heavy cream and powdered sugar until it holds stiff peaks. It’s light, almost like a stabilized whipped cream, perfect for balancing this rich cake. Take your first layer, spread half of your reserved salted caramel sauce right over the top, then gently settle the next layer on top. Repeat that: cake, then a generous drizzle of caramel. Put the final layer on top. Now, you can frost the whole thing with your whipped topping. For the grand finale that proves this is a true indulgent dessert recipe, press those crunchy toffee bits all over the top and sides. Drizzle any extra caramel you have over the top just before serving. Isn’t that easy?
Expert Tips for a Bakery Style Cake at Home
If you want this caramel crunch cake to truly look and taste like it came from a fancy pastry case, you need a couple of insider tricks I picked up over the years. We aren’t just aiming for tasty here; we’re aiming for that flawless presentation you see online. Getting the structural elements right is what separates an okay cake from a total showstopper when you are aiming for that bakery style cake at home feel.
The number one trick for crisp, clean frosting edges is chilling time. Once you have assembled the cake layers between the caramel and the frosting, pop the whole thing into the fridge for about 15 minutes before you move on to the final crunch topping. This slightly firms up the whipped cream frosting, giving you a much sturdier surface to press those toffee bits firmly onto. Trust me; if you skip this quick chill, everything gets a little messy!
Ingredient Quality for the Best Caramel Cake Recipe
I keep preaching about how good ingredients make a better cake, and never is that more true than with caramel. If you have the time, please make that salted caramel sauce yourself! Store-bought sauces are often too thin or have too many stabilizers, meaning they don’t set up right between the layers. Homemade caramel—made with quality sugar and real butter—gives you that deep, rich flavor that makes this the best caramel cake recipe around.
Also, think about your vanilla. This cake has big, bold flavors, so don’t skimp on the extract you put in the batter. Use a good quality pure vanilla extract; you can really taste that pure flavor when you take a bite of this sweet and buttery cake. It’s these small details that push an everyday dessert into the realm of truly special.
If you struggle sometimes with your cake crumb, you might love my tips over on my post about getting a perfectly moist tender crumb on coffee cake—the principles of fat and moisture incorporation are the same! You can read more about that over at coffee cake moist tender crumb.
Storing and Serving Your Caramel Crunch Cake
This caramel crunch cake is truly meant to show off at your next gathering, making it the perfect special occasion cake! Because we used a whipped cream frosting—which is lighter and less sweet than traditional buttercream—storage becomes a little more important. You absolutely must keep any leftover slices in the refrigerator. The caramel filling can get sticky at room temperature, and the whipped cream needs that cool environment to stay firm and look beautiful.
When you wrap leftovers, cover them loosely with plastic wrap or place them in an airtight container. I find that this cake tastes best when it’s allowed to sit on the counter for about 20 to 30 minutes before serving again. Cold cake tastes dense; letting it warm up just slightly lets that buttery crumb soften again and lets the caramel flavor really bloom. You don’t need to reheat it at all, but bringing the chill off is essential!
If you need to make components ahead of time, that’s easy! The homemade salted caramel sauce can be made up to a week early and kept at room temperature when fully cooled. Just warm it up gently on the stove right before assembly until it’s perfectly pourable. The cake layers, once cooled, can even be wrapped tightly and frozen for up to a month—just thaw them overnight in the fridge first. It’s such a handy dessert to have ready ahead of a big party!
Common Questions About Making a Caramel Crunch Cake
Even when a recipe is straightforward, questions pop up, right? It happens to me all the time! I’ve gathered the most common things folks ask me when they are planning to make this ultimate caramel crunch cake, focusing on customizations and ensuring your hard work travels safely. Remember, baking should be fun, not a mystery!
Can I substitute the toffee bits in this Caramel Crunch Cake?
Oh, absolutely! The beauty of making a batch of my layer cake ideas at home is that you get to tweak it slightly to your family’s taste. If you aren’t crazy about standard toffee bits, or if you’re aiming for a specific flavor profile, go for it! I adore using crushed butterscotch candies, as they melt slightly and create chewy little pockets.
If you want a truly exciting contrast, try swapping half the toffee for roughly crushed pretzels. The salty crunch against the sweet caramel frosting is just divine. Please just make sure whatever you use for your crunch topping cake is dry before you press it onto the frosting!
What is the best way to transport this Layer Cake Ideas?
This is such an important question, especially since this cake is truly a gorgeous showstopper cake! Because we use that lovely, light whipped cream frosting, we must make sure it stays stable on the journey. The best method is definitely chilling the fully assembled and frosted cake for at least an hour before you even look at a box.
Once it’s chilled, place it in a cake carrier if you have one—those are lifesavers for cakes! If you don’t have a carrier, use a deep box that allows the top of the cake box to sit *above* the frosting layer. Never let anything press against the frosting itself! Keep it on a flat surface in your car, like the floor behind a passenger seat, not on the seat where it might tilt. I’ve learned that lesson the hard way!
Also, many readers ask if they can make the caramel ahead of time, and yes! You can completely nail the homemade caramel sauce a full week in advance. Just warm it gently before assembly.
Nutritional Overview of the Caramel Crunch Cake
Now, I have to be totally upfront about this part. If you are making an indulgent dessert recipe like this gorgeous caramel crunch cake, it’s probably not going to make your weekly health-food list, right? And that’s perfectly okay! We bake for joy and celebration, and sometimes that means enjoying something truly special.
The nutritional information below is just an estimate based on everything going into the cake—all that butter, sugar, and delicious caramel! I always caution my readers that these figures change a bit depending on exactly which brand of toffee bits you use or if you add a bigger swirl of caramel than I did. Consider this a helpful guide, not a strict rule book for your party!
- Serving Size: 1 slice
- Calories: 450
- Sugar: 55g
- Sodium: 210mg
- Fat: 24g
- Saturated Fat: 15g
- Carbohydrates: 58g
- Protein: 4g
See? It’s a rich one! But honestly, every one of those 55 grams of sugar is working hard to deliver that incredible flavor profile we love. If you’re counting calories, maybe just have a piece that is slightly smaller than a regular slice. Everything in moderation, especially when it tastes this amazing!
Share Your Homemade Caramel Crunch Cake Creations
Wow! If you made it this far, you have successfully conquered what is easily one of the most decadent and rewarding cakes out there. Seriously, take a moment to pat yourself on the back! This caramel crunch cake truly is a joy to bake, and honestly, I feel like we’ve built something special here together. This recipe felt so good to develop, and I hope you found the process joyful and accessible!
Now comes my favorite part: seeing what you all create in your own kitchens! When you manage to pull off a tower of buttery cake, gooey caramel, and that irresistible crunch, I want to see it. Don’t forget to pop over and give this recipe a star rating—it lets me know what you loved most about the cake. Did you use homemade caramel? Did you go heavy on the toffee? Tell me everything below in the comments!
If you snapped a gorgeous photo of your finished Caramel Cake Recipe, tag me over on Instagram! Seeing your beautiful bakes makes my day and inspires all the future recipes we’ll tackle here at Bliss Batter, like my favorite chai spice cookies. Speaking of other amazing cakes, if you loved the texture of this one, you should definitely check out Taryn’s incredible take on the original over at Taryn’s Tasting Table for more inspiration.
We are all about building that community of happy home bakers, so share your triumphs, ask any lingering questions, and let’s keep the joy coming out of our ovens one spectacular Indulgent Dessert Recipe at a time. Happy baking, everyone!
PrintThe Ultimate Decadent Yet Easy Caramel Crunch Cake
Create a showstopper dessert at home with this recipe for a moist layer cake filled with rich salted caramel and topped with a satisfying toffee crunch. This indulgent dessert is accessible for all skill levels.
- Prep Time: 30 min
- Cook Time: 35 min
- Total Time: 65 min
- Yield: 12 servings 1x
- Category: Dessert
- Method: Baking
- Cuisine: American
- Diet: Vegetarian
Ingredients
- 1 1/2 cups unsalted butter, softened
- 3 cups granulated sugar
- 4 large eggs, room temperature
- 1 tablespoon vanilla extract
- 3 cups all-purpose flour
- 1 tablespoon baking powder
- 1/2 teaspoon salt
- 1 cup whole milk, room temperature
- 1 cup homemade salted caramel sauce (for filling and drizzling)
- 1 cup toffee bits or crushed butterscotch candies (for crunch topping)
- 1/2 cup heavy cream (for frosting)
- 2 cups powdered sugar (for frosting)
Instructions
- Preheat your oven to 350°F (175°C). Grease and flour three 8-inch round cake pans.
- In a large bowl, cream together the softened butter and granulated sugar until the mixture is light and fluffy. This step is key for a moist layer cake.
- Beat in the eggs one at a time, mixing well after each addition. Stir in the vanilla extract.
- In a separate bowl, whisk together the flour, baking powder, and salt.
- Gradually add the dry ingredients to the wet ingredients, alternating with the milk, beginning and ending with the flour mixture. Mix until just combined; do not overmix the batter.
- Divide the batter evenly among the prepared cake pans. Bake for 28 to 32 minutes, or until a toothpick inserted into the center comes out clean.
- Let the cakes cool in the pans for 10 minutes before inverting them onto a wire rack to cool completely.
- Prepare the simple caramel frosting: Beat the heavy cream until soft peaks form. Gradually beat in the powdered sugar until stiff peaks form.
- Once the cakes are cool, place the first layer on a serving plate. Spread a generous layer of salted caramel sauce over the cake.
- Top with the second cake layer, spread more caramel sauce, and then place the final cake layer on top.
- Frost the top and sides of the cake with the whipped cream frosting.
- Press the toffee bits or crushed candies onto the top and sides of the frosted cake for the signature crunch topping. Drizzle extra caramel sauce over the top before serving.
Notes
- For the best flavor, use high-quality vanilla extract in your cake batter.
- If you are short on time, you can use a high-quality store-bought caramel sauce, but homemade salted caramel adds depth.
- To achieve a bakery style cake at home, chill the assembled cake for 15 minutes before applying the final crunch topping; this helps the frosting set.
- If you want a richer frosting, substitute the heavy cream and powdered sugar with a classic buttercream base.
Nutrition
- Serving Size: 1 slice
- Calories: 450
- Sugar: 55
- Sodium: 210
- Fat: 24
- Saturated Fat: 15
- Unsaturated Fat: 9
- Trans Fat: 0.5
- Carbohydrates: 58
- Fiber: 1
- Protein: 4
- Cholesterol: 85