
Oh, doesn’t thinking about game day or a big tailgate party just bring back the best feelings? I remember standing outside in the crisp air, waiting for the big kickoff, balancing a plate that was *always* too full and somehow managed to dump chili down my shirt. Well, we’re done with messy plates! That’s why I’m so excited to share the magic of the walking frito pie with you today. This isn’t just a snack; it’s a genius, hands-free meal idea, and trust me, I’ve tested this system repeatedly to make absolutely sure your chips stay sturdy. This recipe brings pure, simple joy right to your hands, making it the ultimate in portable comfort food. If you’re looking for the best appetizers and party snacks that actually work in a crowd, you’ve found it!
- Why This Walking Frito Pie is Your New Favorite Portable Comfort Food
- Gathering Ingredients for the Ultimate Walking Frito Pie
- Step-by-Step Frito Pie in a Bag Tutorial for Walking Frito Pie
- Expert Tips for Perfecting Your Walking Frito Pie
- The Best Toppings for Frito Pie and Spicy Walking Snack Variations
- Serving and Storage for Your Walking Frito Pie Assembly
- Frequently Asked Questions About Making a Walking Frito Pie
- Estimated Nutritional Snapshot for One Serving
- Share Your Walking Frito Pie Game Day Success
Why This Walking Frito Pie is Your New Favorite Portable Comfort Food
I’m all about recipes that bring happiness without causing a meltdown, and this little hack right here is brilliant! Forget worrying about finding a stable table or balancing a flimsy paper plate. This is genuine no mess meal inspiration. Honestly, it’s one of my favorite easy stadium snacks because you just grab a fork and go. It simplifies tailgating so much!
- No Plates Needed: The bag *is* the bowl!
- Self-Contained: Everything stays layered and together.
- Super Quick: Perfect for those tight windows right before kickoff.
If you enjoyed this little trick, make sure to check out my guide to easy weeknight dinners for more ways to keep weeknights simple!
The Secret to Perfect Walking Frito Pie Assembly
The whole trick comes down to transforming that humble chip bag into a serving trough. By carefully snipping the bag lengthwise, you expose all those salty chips while keeping the integrity of the bottom intact. It’s the crucial first step that makes this whole handheld dinner idea actually work!
Gathering Ingredients for the Ultimate Walking Frito Pie
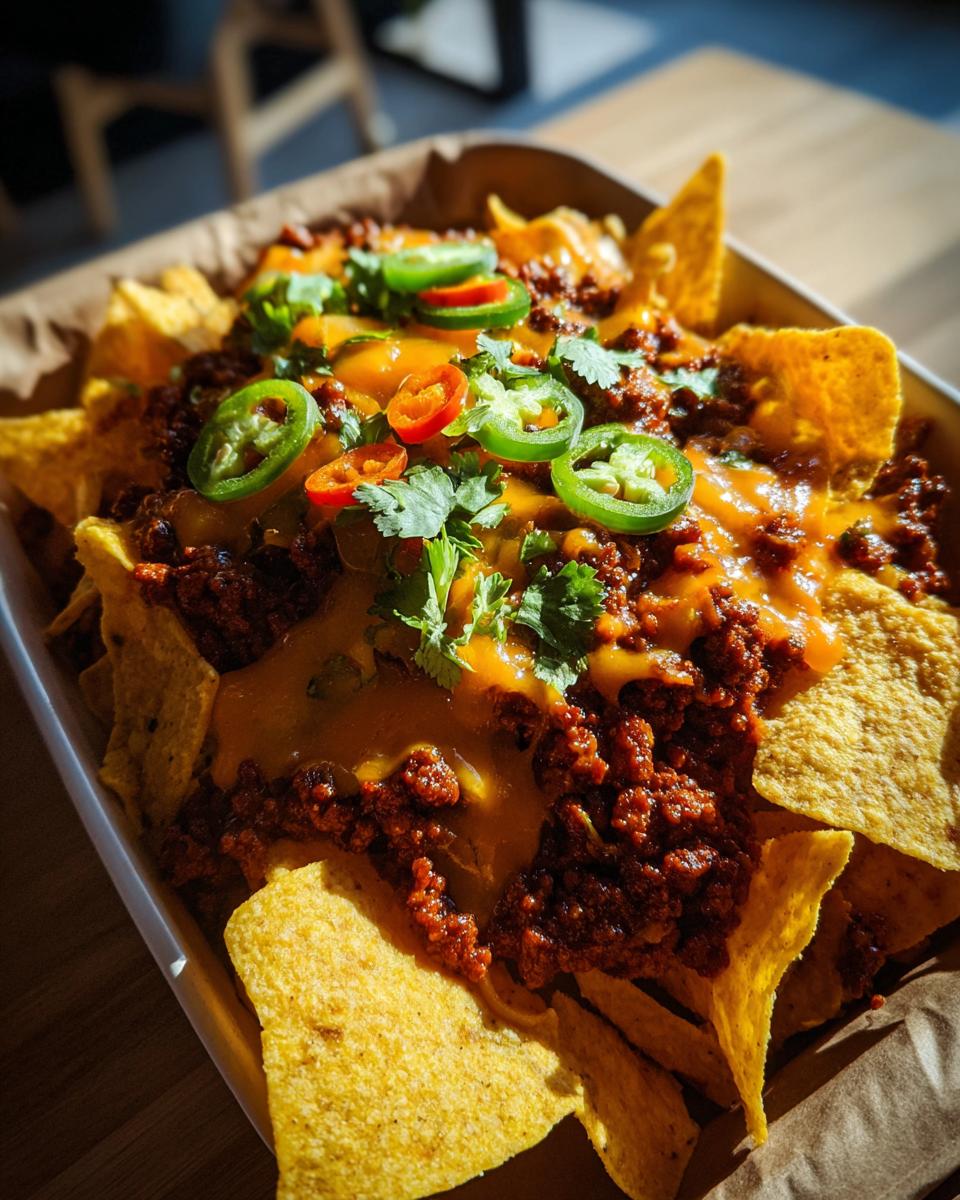
Okay, now that we know *how* this works, let’s talk about what you need! Because this is a **portable comfort food**, every ingredient has to pull its weight. You only need a few things, but the quality really shines through. Grab that big, fat bag of Fritos—the 9.25 oz size is perfect for a hearty single serving, or you can make smaller ones easy peasy. You must have good, shredded cheddar, and of course, your chili!
If you have a favorite homemade recipe, definitely use that! If not, you can check out my deep-dive on a good classic chili recipe, but remember the main rule here is thickness. Don’t let that liquid ruin your beautiful Frito structure!
Chili Consistency: Key to Successful Walking Frito Pie
This is where we build trust and show off a little home-cooking knowledge. If your chili is soupy, you’re going to end up with Frito mush in about three minutes flat. No good! For the best results, make sure your chili is slow-simmered and hearty. Think stew, not thin soup. A good hearty beef chili recipe base, perhaps one you’ve perfected for your next big cookout or **tailgating chili recipe**, will hold up beautifully against those salty Fritos. We want texture, not a puddle!
Step-by-Step Frito Pie in a Bag Tutorial for Walking Frito Pie
Alright, this is the fun part! Making this assembly is faster than waiting in line at the concession stand, I promise. Since we are trying to create the best handheld dinner ideas here, precision in how you manage the bag is everything. Grab your ingredients—especially that thick chili—and let’s get building! You’ll want to serve this immediately so you can start enjoying it while it’s still warm and crispy.
Preparing the Chip Vessel for Your Walking Frito Pie
First things first: opening the bag correctly. Don’t just rip that thing open! Take your scissors and carefully cut open the front of the bag lengthwise, right down the middle seam. Stop before you cut through the very bottom edge. You want that bottom sealed tight so it acts like a sturdy little boat or trough for all your toppings. It’s totally counter-intuitive, but trust me, this cut keeps the whole structure sound as you walk around.
Layering for Maximum Flavor and Minimal Mess
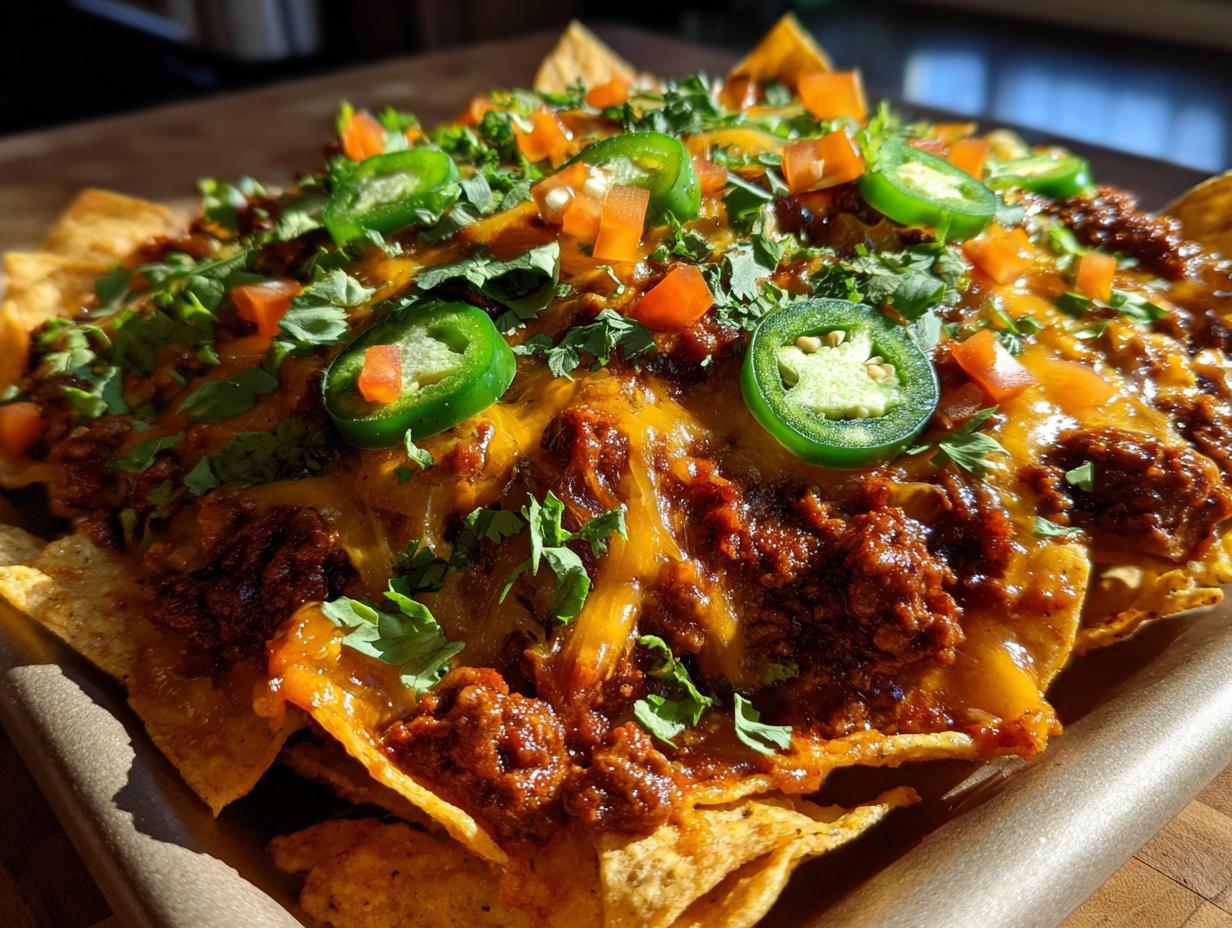
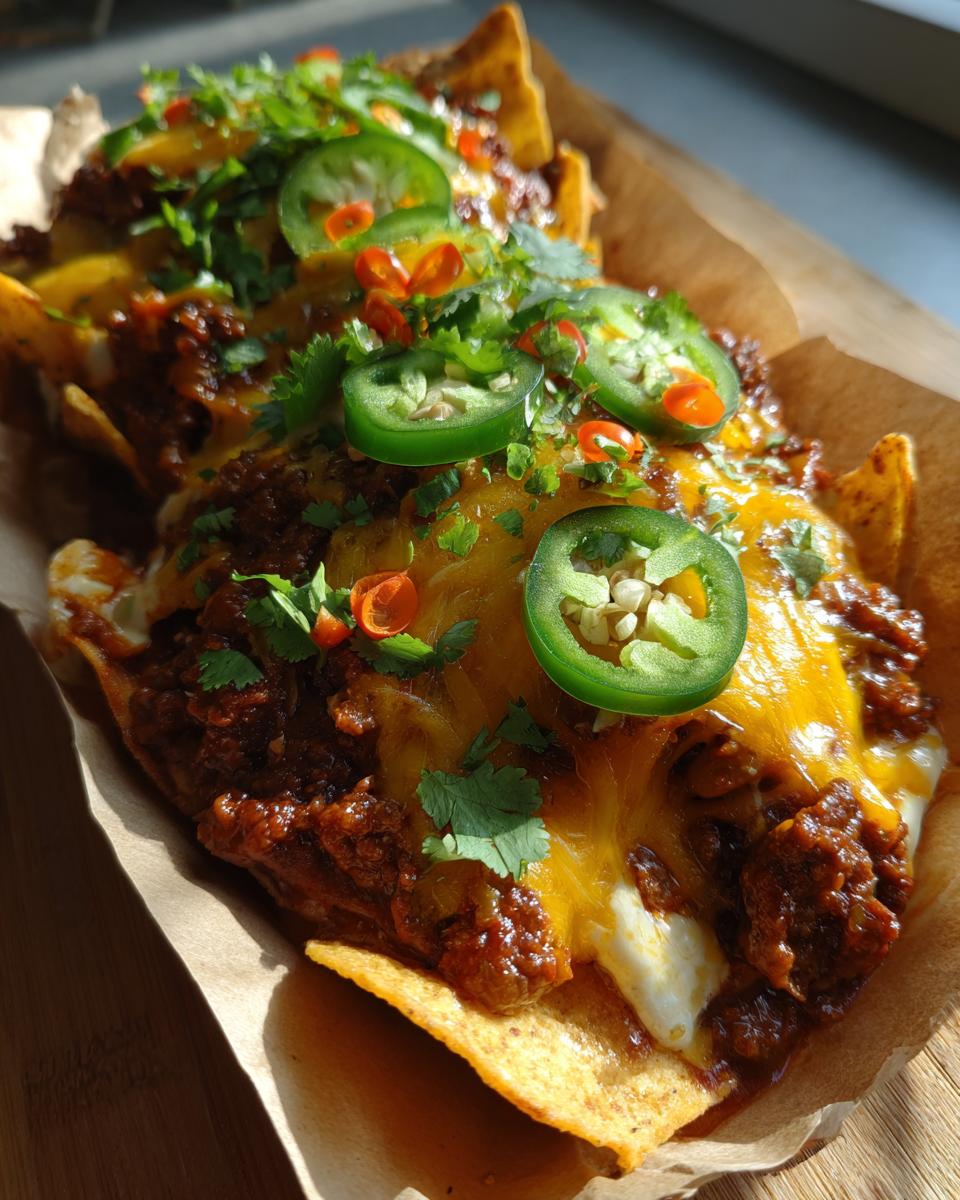
Now we layer! I like to spread out the chips a bit inside the bag first. Spoon in about half your thick chili right over the Fritos. Then, sprinkle on half of your shredded cheddar. That layer of cheese is our friend—it acts as a waterproof barrier! Add the rest of the chili, top it with the remaining cheese, and then pile on those bright jalapeños and cilantro. That strategic cheese placement keeps the bottom chips mostly safe until you dig in!

This whole process just takes moments and leads right into one of my favorite one bag dinner recipes.
Expert Tips for Perfecting Your Walking Frito Pie
Since we’re moving beyond just making a standard meal and turning this into true portable comfort food, I’ve got a few little tricks up my sleeve. These tips really elevate the experience, especially if you’re outside cheering or camping where keeping things just right matters. Remember how I said we want this to be simple? Yep, these tips keep it easy while still feeling like a pro made it, which is my whole goal here at the blog!
We’ve all had that moment where the food gets cold too fast, especially when we are outside at a game where we need our hands free for cheering. This is why this recipe is fantastic for **camping food ideas easy prep** because it requires zero extra serving dishes!
Keeping Your Walking Frito Pie Warm On the Go
If you know you’re going to be standing around or walking for a while before you dig in—maybe you’re waiting for your camping spot to clear, or you’re chatting with friends before kickoff—you need a little insulation layer. When you finish layering your chili and cheese *before* adding the cold toppings like sour cream, grab a sheet of aluminum foil. Wrap the bottom half of the chip bag snugly (leaving the top open, of course!). That foil acts like a little warming pocket. It traps that residual heat from the chili just long enough to keep things cozy! If you’re making a big batch for a crowd, definitely check out my thoughts on a good quick weeknight chili that holds heat well.
Also, don’t forget that vegetarian option I mentioned! Swapping the beef chili for a good black bean chili makes this just as robust for anyone avoiding meat. It’s all about making something everyone can enjoy, messy plates or not!
The Best Toppings for Frito Pie and Spicy Walking Snack Variations
You know how I always try to keep things accessible? Well, the toppings are where you can really make this walking frito pie your own little masterpiece. The recipe I gave you uses sour cream, cheese, and cilantro—classic for a reason—but honestly, that’s just the starting line! Since we’re aiming for that perfect, easy-to-manage bite, the toppings need to be scoopable and not too runny. That’s why toppings like guacamole are better served on the side with a little spoon, unless you plan on eating it immediately!
If you are heading into a situation where you need serious flavor depth, this is your chance to amp things up. If you’ve been craving something with a real kick, we can easily turn this into a true spicy walking snack. Think about reaching for your favorite hot sauce—a smoky chipotle or even a dash of something bright and vinegary—and drizzling it right over that cheese layer before you add the final dollop of sour cream.
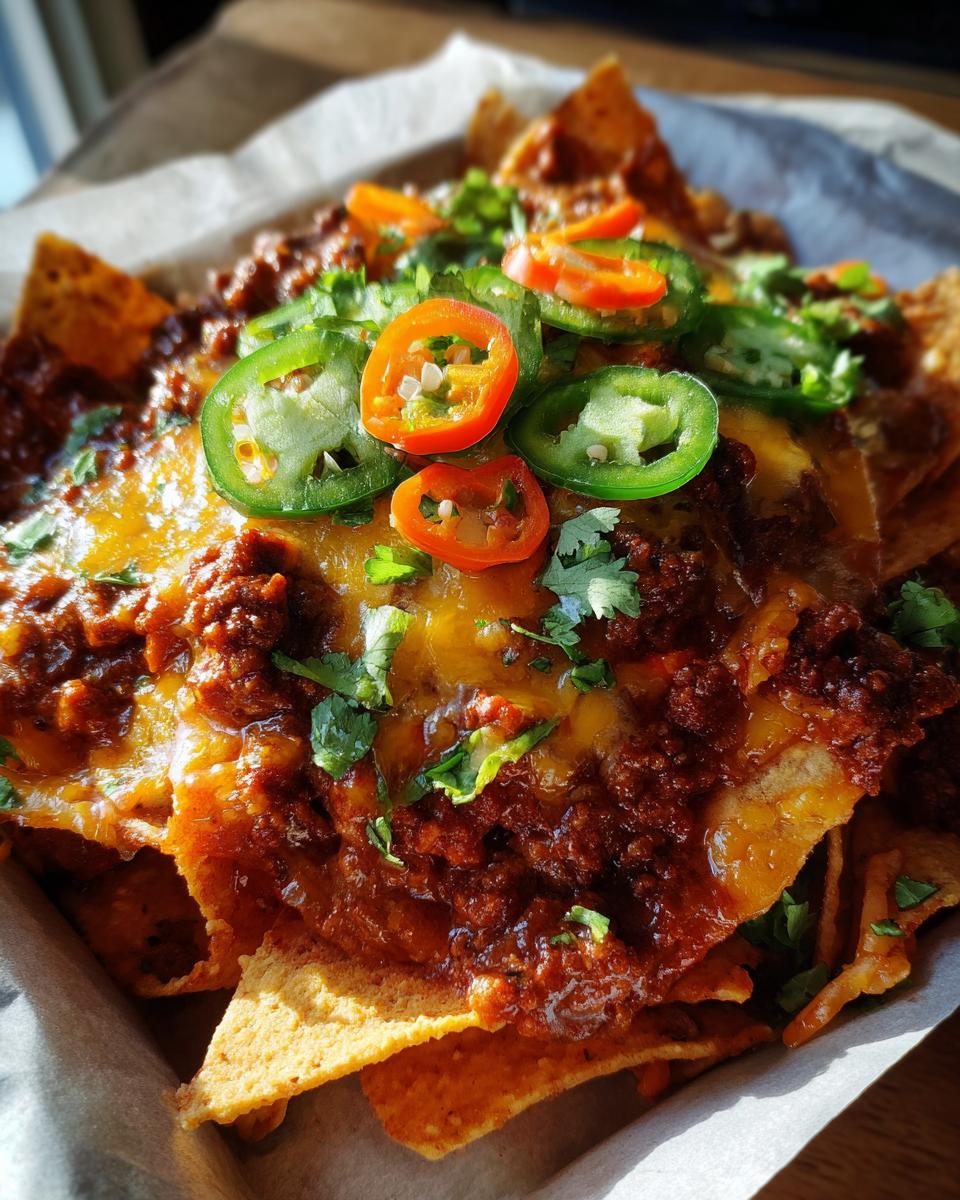
We talked about jalapeños already, but let me tell you, for maximum flavor and a little crunch, try adding pickled red onions! They give such a lovely tang that cuts right through the richness of the chili and cheese. If you love heat, perhaps you’d even enjoy dipping into my recipe for jalapeño poppers afterward for a double dose of fire. For something creamy but savory, crumbled cotija cheese is just divine on top!
This whole concept is just so versatile. It’s so much more exciting than soggy fries, and it easily beats out other heavy options when you need something quick and satisfying. It’s truly the ultimate evolution of those classic **concession stand favorites**!
Serving and Storage for Your Walking Frito Pie Assembly
Okay, here’s my hard-earned wisdom about the consumption phase of the **walking frito pie**. Because we are combining hot chili with crunchy corn chips—the ultimate goal is **no mess meal inspiration**, right?—you absolutely must serve this thing immediately. I mean it! As soon as that last sprinkle of cilantro hits the top, you should be taking your first bite. This is when the texture contrast is just perfect: warm, meaty chili against the delightfully salty crisp of the Fritos.
If you wait even ten minutes, that bottom layer starts getting a little sad and soft. And while some folks might enjoy a softer chip, when you’re counting on this for true **portable comfort food**, you want that structural integrity!
Now, what about leftovers? Honestly, unless you are sharing this with a crowd and someone only managed half a bite, there usually aren’t any leftovers! But if you find yourself with extra chili or toppings once you’ve finished the bag, don’t fret. Just store your chili, sour cream, and cheese separately in the fridge. They will taste wonderful tomorrow on top of freshly opened chips, maybe for a quick lunch!
If you end up making these for a group, they are one of the best easy crowd pleasing appetizers because cleanup is ridiculously simple. Toss the bag, wash the fork, and you’re done! It’s the easiest cleanup plan I know for serving up those classic **concession stand favorites**!
Frequently Asked Questions About Making a Walking Frito Pie
I always get the best questions when people start trying out my favorite hacks, and this walking frito pie is no exception! It’s such a hands-on way to eat that I know folks have concerns about keeping things neat and tidy. Don’t worry, we’ve worked out all the potential snags here so you can serve this up with total confidence, whether it’s for a quick lunch or game day!
Can I prepare the walking frito pie ahead of time?
This is the one thing you really can’t rush, sweetie! While you can absolutely make your chili ahead of time—and I highly suggest you do, especially if you’re using a good slow-simmered simple lunch recipe base—the final assembly needs to happen right before you walk out the door or right before you plan to eat. If you layer the chili and toppings too early, even with my cheese-layer trick, those Fritos are just going to start softening up too quickly. Wait until you are ready for your handheld dinner ideas to start assembling!
What kind of chili works best for this portable comfort food?
This goes back to that crucial concept of consistency, doesn’t it? You want something hearty! If you’re making a chili just for this purpose, I strongly suggest looking up a dedicated **tailgating chili recipe**. Those are usually formulated to be nice and thick because they often sit around waiting to be served. You want something where the meat and beans hold their shape, rather than swimming in broth. Thicker chili means less sogginess and a much better experience when you’re digging through the bag. It’s the secret weapon for making this the best **portable comfort food** experience!
Estimated Nutritional Snapshot for One Serving
Now, I know what you’re thinking. When something tastes this good and is this much fun, we don’t usually stop to count calories! Baking is about joy, first and foremost, and that applies to savory meals like this walking frito pie, too. But because I promised full transparency—it’s part of that Bliss Batter trust we’re building—here is a general snapshot of what you’re looking at for one hearty serving, made exactly as written in the instructions.
Please remember, this is based on using a standard canned chili brand and the ingredients listed. If you use a leaner, homemade quick weeknight chili or swap out the sour cream for Greek yogurt, those numbers will definitely shift! This is just our baseline so you know approximately what you’re getting in this fantastic spicy walking snack.
- Calories: About 750
- Total Fat: Around 45g (Be mindful of that saturated fat!)
- Total Carbohydrates: Roughly 65g
- Protein: A robust 28g—this is definitely a filling meal!
The sodium content is higher, which is pretty common when you include chips and canned chili, so maybe grab an extra glass of water while you’re enjoying this fantastic bit of portable comfort food. Honestly, for something that requires zero cleanup and tastes like the best part of a football game, I think 750 calories is a worthwhile trade for pure happiness!
Share Your Walking Frito Pie Game Day Success
Well, we did it! We’ve officially turned a bag of corn chips into a handheld masterpiece. I truly hope this little assembly trick makes your next tailgate, camping trip, or even just a busy Tuesday night dinner so much easier and a whole lot tastier. I always say that baking (and even savory assembly!) is best when shared, and I absolutely live to hear how you all are using these recipes in your own kitchens.
So, what did you think? Did this **walking frito pie** survive the walk to your stadium seat? Did it hold up on a trail while you were camping? I’m dying to know! Please, don’t forget to hop down to the comments below and leave a rating for the recipe. Stars are great, but seeing your personal stories—what chili you used, what crazy topping you added—that’s the real reward for me.
Every success you have in the kitchen gives me confidence to keep testing and sharing more simple, joyful recipes. If you loved how easy this was, you might want to learn a little more about my philosophy here at Bliss Batter and check out my About page to see how we aim to bring joy home through accessible cooking!
Happy eating, and I can’t wait to see your game day photos next time!
PrintWalking Frito Pie: The Ultimate Tailgating and Stadium Snack

Make this easy, portable Frito Pie served directly in the chip bag. It is a perfect handheld dinner idea for tailgating, camping, or quick weeknight meals.
- Prep Time: 5 min
- Cook Time: 10 min
- Total Time: 15 min
- Yield: 1 serving 1x
- Category: Lunch
- Method: Assembly
- Cuisine: American
- Diet: Low Calorie
Ingredients
- 1 large bag (9.25 oz) Fritos corn chips
- 2 cups thick beef chili (canned or homemade, ensure it is not watery)
- 1 cup shredded cheddar or Mexican blend cheese
- 1/2 cup sour cream or plain Greek yogurt
- 1/4 cup sliced pickled jalapeños
- 2 tablespoons chopped fresh cilantro
Instructions
- Open the bag of Fritos lengthwise along the front seam, creating a wide opening while keeping the bottom sealed to form a trough. Do not cut the bag completely open.
- If the chili is thin, simmer it briefly until it thickens slightly. This prevents sogginess.
- Spoon about half of the chili directly into the open chip bag, distributing it evenly over the chips.
- Sprinkle half of the shredded cheese over the chili layer.
- Add the remaining chili, followed by the remaining cheese.
- Top with sliced jalapeños and fresh cilantro.
- Serve immediately while standing or walking. Use a fork or spoon to eat directly from the bag.
Notes
- Use a chili recipe with minimal liquid for the best results when making this portable snack.
- If you need to keep it warm, wrap the sealed bottom of the bag in aluminum foil before adding toppings.
- For a vegetarian option, use black bean chili instead of beef chili.
- This recipe works well as a quick crowd pleasing appetizer for parties.
Nutrition
- Serving Size: 1 bag
- Calories: 750
- Sugar: 12
- Sodium: 1100
- Fat: 45
- Saturated Fat: 18
- Unsaturated Fat: 27
- Trans Fat: 0
- Carbohydrates: 65
- Fiber: 8
- Protein: 28
- Cholesterol: 70