

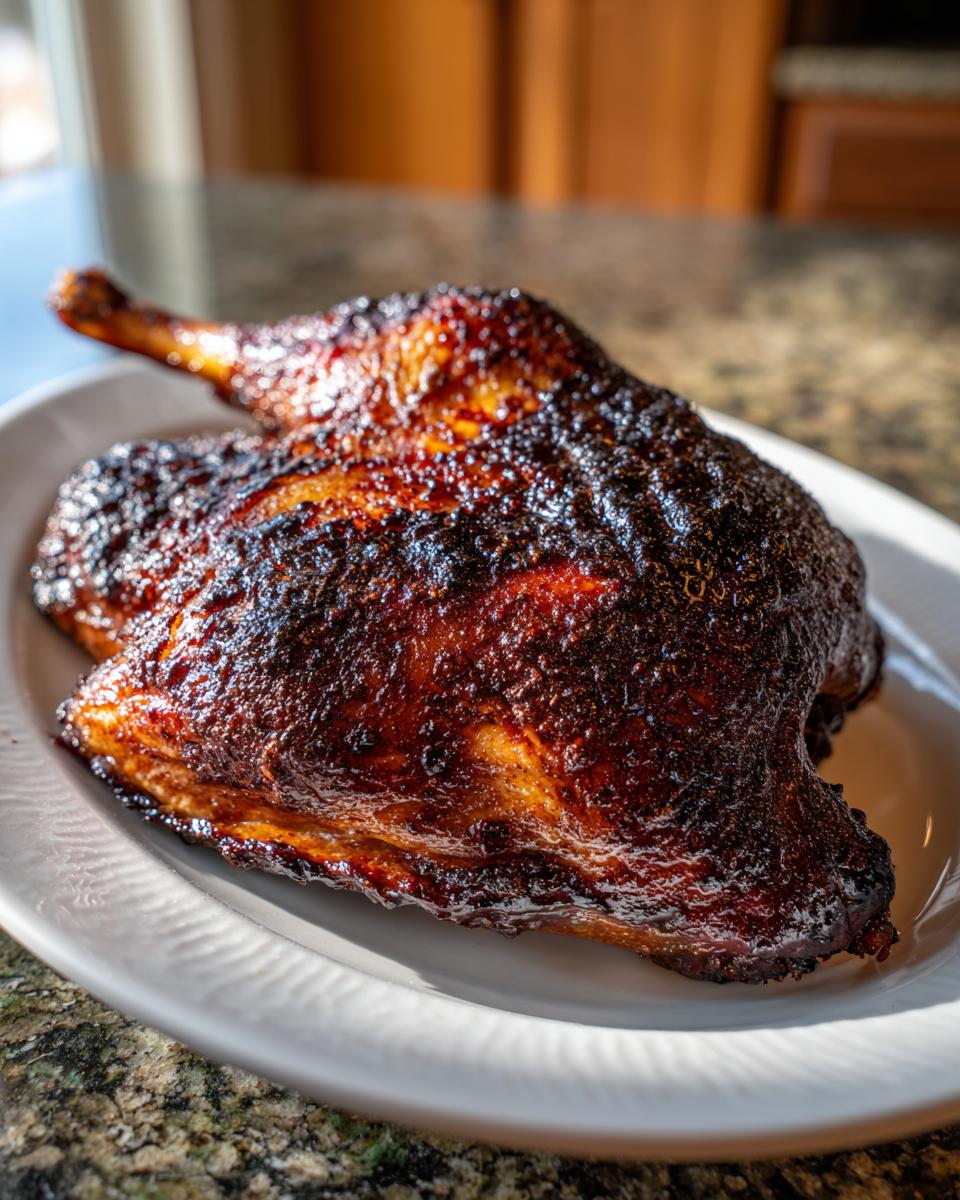
If you’ve ever looked at a professionally prepared duck and thought, “Wow, I could never make that at home,” I want you to stop thinking that right now! Duck used to feel like reserved-for-restaurants territory, but in 2026, we’re bringing these showstoppers into our regular weeknight rotation. For Mother’s Day this year, or any moment you want to feel like a culinary genius, we are tackling this showstopper. This recipe for **crispy skin roasted duck** is all about the ritual—the slow-roasting process forces you to slow down, which is exactly the kind of simple, rewarding bliss I look for when the corporate world gets too hectic.
We are using a slow technique that renders the fat perfectly, guaranteeing you get that tender, juicy meat tucked under skin that shatters when you slice it. Forget fiddly deep-frying; this is sophisticated indulgence made achievable right here on your own kitchen counter.
- Why This Technique Makes the Best Roasted Half Duck
- Gathering Ingredients for Your **Roasted Half Duck**
- Preparing the Duck for Perfect Crispy Skin Roasted Duck
- Step-by-Step Instructions for Roasted Half Duck
- Serving Suggestions for Your Gourmet Poultry Recipes
- Making Duck Carnitas Recipe Style from Leftovers
- Tips for Success with Slow-Roasted Poultry
- Frequently Asked Questions About Roasted Half Duck
- Storage and Reheating Instructions
Why This Technique Makes the Best Roasted Half Duck
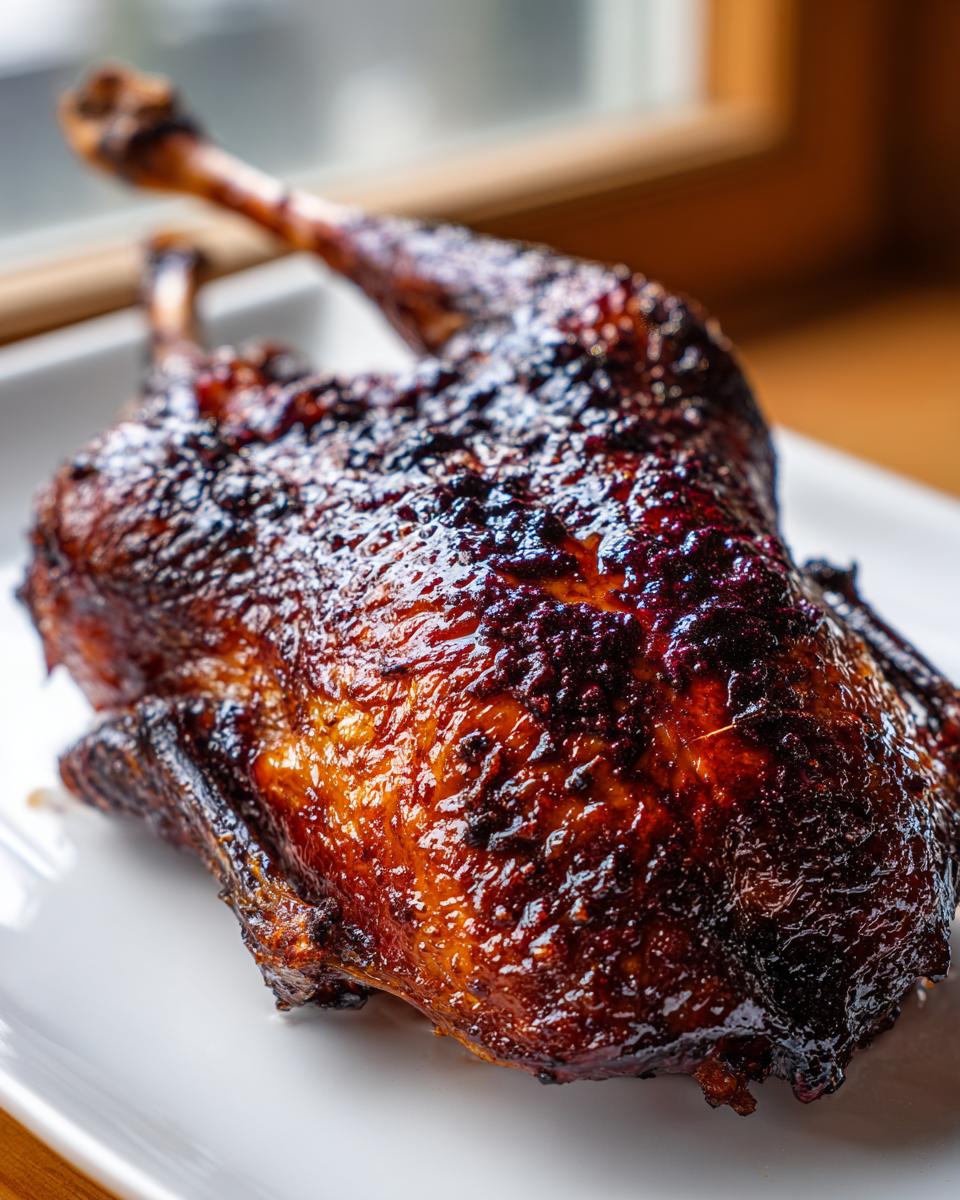
When I was planning big events, precision was everything, and this duck demands a little bit of that same respect. The magic here isn’t speed; it’s time. We start by roasting at a very low temperature—275°F is cozy, not frantic! That low heat allows the thick layer of fat under the skin to slowly melt away, or “render,” over three patient hours. If you blast it right away, you just burn the skin before the inside cooks.
This slow phase is what separates good poultry from something truly special. It ensures the meat stays incredibly moist and tender, pulling away from the bone beautifully. Then bang! We turn up the heat for the grand finale. Trust me, this low-and-slow approach is the most reliable way to nail that fantastic texture every single time. For more tips on getting your poultry perfect, check out my guide on roasting chicken—similar principles apply!
The Secret Ingredient for Crispy Skin Roasted Duck
Okay, I’m going to let you in on the big secret that home cooks often miss: baking powder! It sounds wild, but it works like magic. A tiny bit mixed into the salt helps draw out moisture right from the skin’s surface during that long air-dry phase. It ensures you get shatteringly crisp skin when we finally turn the heat up.
Gathering Ingredients for Your **Roasted Half Duck**
Even though this feels like a truly gourmet poultry recipe, the ingredients list is surprisingly straightforward! Quality matters here, because there aren’t a million things masking the natural flavor of that gorgeous duck. We are keeping things classic with salt and pepper, but that little bit of baking powder is non-negotiable for the skin—I promise it doesn’t affect the taste, only the texture! When you’re shopping, make sure your duck is fresh; since we are rendering the fat slowly, you want the best starting product possible. For more delicious, tested recipes that rely on simple quality, take a peek at my braised short ribs.
Ingredients for the Blackberry Glaze for Duck
This glaze brings the perfect sweet-tart balance to cut through the richness of the duck fat. Whether you use fresh or frozen blackberries, they break down beautifully into a gorgeous sauce. Don’t skip the soy sauce; it adds that deep umami note that gives the glaze real depth!
- 1 cup fresh or frozen blackberries
- 1/4 cup honey
- 2 tablespoons apple cider vinegar
- 1 tablespoon soy sauce
- 1 small shallot, minced
For the duck itself, you’ll need:
- 1 whole duck (about 5-6 lbs), halved lengthwise
- 1 tablespoon coarse sea salt
- 1 teaspoon black pepper
- 1 teaspoon baking powder (This is our secret weapon!)
Preparing the Duck for Perfect Crispy Skin Roasted Duck
Now we move into the tactile ritual part of this recipe, and I’m telling you, the prep work is half the fun! This process requires dry skin, and I mean bone-dry. After you halve your duck—carefully, please—grab every paper towel you own and blot that skin until you think it can’t possibly get any drier. Seriously, moisture is the enemy of crisp.
Next comes scoring. You need a very sharp knife for this. Lightly slice the skin in a diamond or crosshatch pattern all over the breast and legs. My personal tip? You want to see the skin indenting beautifully, but you want to stop right before you feel the knife hit the meat underneath. If you cut deep, you’re just giving the fat an escape route into the meat instead of letting it render out from under the skin. It should feel like you’re etching fine lines into soft butter—precise, but gentle.
Then we season aggressively with that salt, pepper, and baking powder mix. Rub it everywhere! The most important (and hardest) part is what comes next: air drying. Pop the duck halves skin-side up on a wire rack in the fridge, uncovered, for at least 12 hours, but 24 is even better. This dries the surface out completely. If you’re feeling inspired by these rich meat techniques, you might also enjoy my guide on making beautiful carnitas—the drying process is similar!
Step-by-Step Instructions for Roasted Half Duck
Alright, here’s where we put all that prep to work. This is the satisfying part where you realize you actually have a restaurant-quality dinner coming together! It’s a two-temperature process, so make sure you have your oven thermometer handy, even though I find just trusting the clock usually works fine for me. We’re aiming for perfection, not guesswork, but pay attention! If you want a truly easy duck dinner at home, this slow method removes most of the stress.
- Start Low and Slow: Preheat your oven to a gentle 275 degrees Fahrenheit (that’s 135 degrees Celsius). Place the duck halves, skin-side up on the rack over the baking sheet, right into that warm oven.
- The Long Wait: Roast slowly for about 2.5 to 3 hours. You’re done with this slow phase when the internal temperature in the thickest part of the thigh hits 160 degrees Fahrenheit (71 degrees Celsius). Don’t open the door much; let the heat patiently do its job rendering that fat!
Making the Blackberry Glaze for Duck
While the duck is basking in the heat, let’s whip up that gorgeous glaze. In a small saucepan, combine the blackberries, honey, apple cider vinegar, minced shallot, and soy sauce. Bring this mixture up to a simmer over medium heat.
Let it bubble gently for about 10 minutes, stirring every so often until those berries have really broken down and the sauce looks thick. The best part? Strain it! Push all that lovely liquid through a fine-mesh sieve into a clean bowl. Toss out the seeds and solids—we only want the smooth, vibrant syrup. Taste it here! If your berries were tart, you might want to stir in an extra tiny drizzle of honey. It should be beautifully balanced.
The Final Crisp and Rest for Your Roasted Half Duck
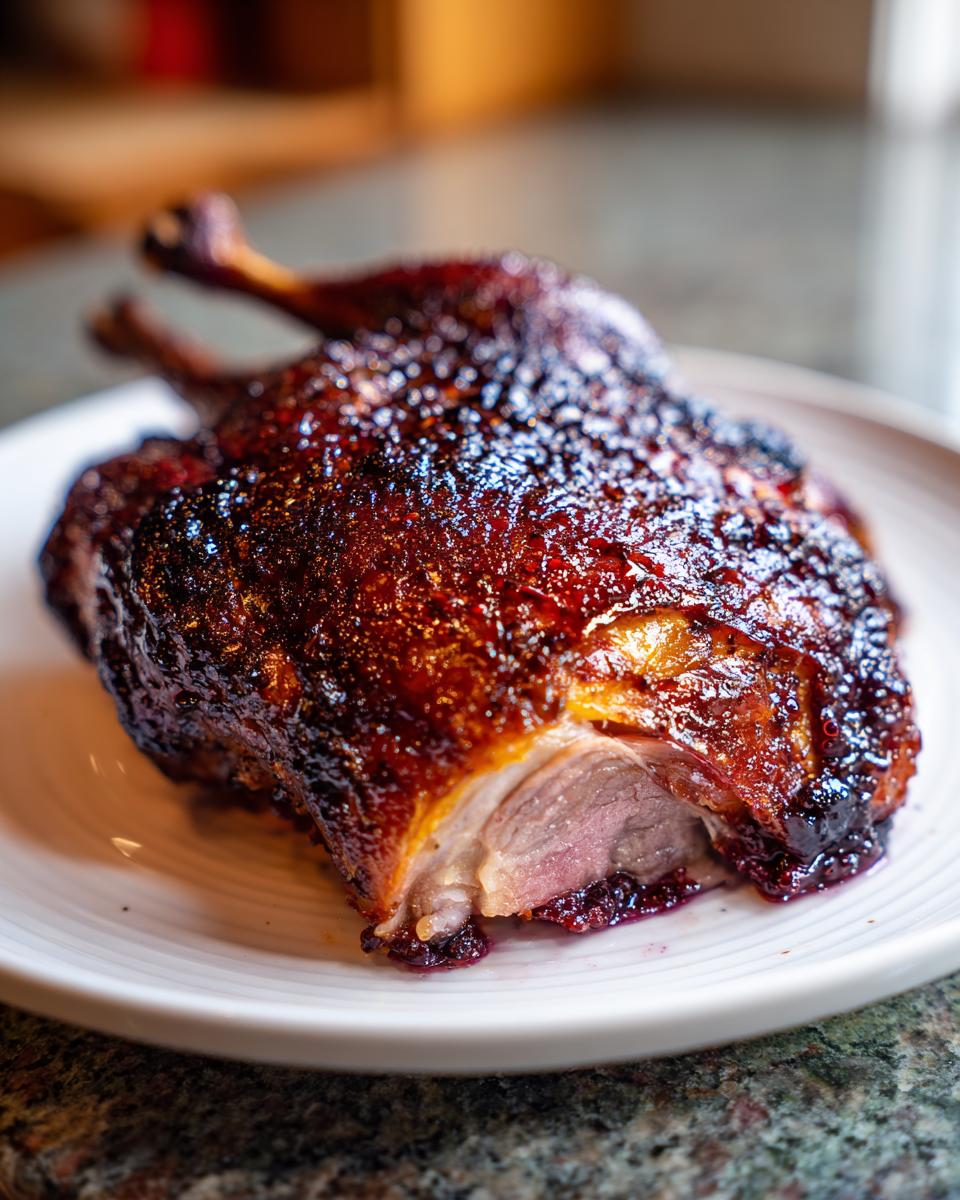
Once the duck hits the temperature mark, it’s time for the transformation! Quickly increase your oven temperature way up high to 425 degrees Fahrenheit (220 degrees Celsius). Brush that blackberry glaze all over the duck skin—be generous!
Pop it back in the scorching oven for just 10 to 15 minutes. This is crucial: WATCH IT LIKE A HAWK! That sugar in the glaze burns fast. You are looking for a deep, mahogany brown color and skin that looks tight and crackly. As soon as it looks perfect, pull it out. Don’t forget the final, necessary step: let that beautiful **roasted half duck** rest on the counter for a full 10 minutes before carving. This lets those juices settle back in. Slice it up and serve with any extra glaze you saved!
Serving Suggestions for Your Gourmet Poultry Recipes
After all that patience and technical work, you deserve a plate that matches the magnificence of that crispy skin! Since the duck is so rich and the glaze is beautifully tart, we want sides that are elegant placeholders, not major competitors. I always lean toward simple, bright flavors that won’t clash with the blackberry tang. Think green!
A simple wilted green like sautéed Swiss chard with garlic is fantastic. If you want something starchy, skip the heavy mashed potatoes; instead, opt for creamy polenta or maybe even some nutty wild rice. If you’re adding a vegetable, you can’t go wrong with my favorite honey butter roasted carrots, but roast them lightly so they stay vibrant. It makes for such a stunning presentation, making this feel like a truly special, gourmet poultry recipe!
Making Duck Carnitas Recipe Style from Leftovers
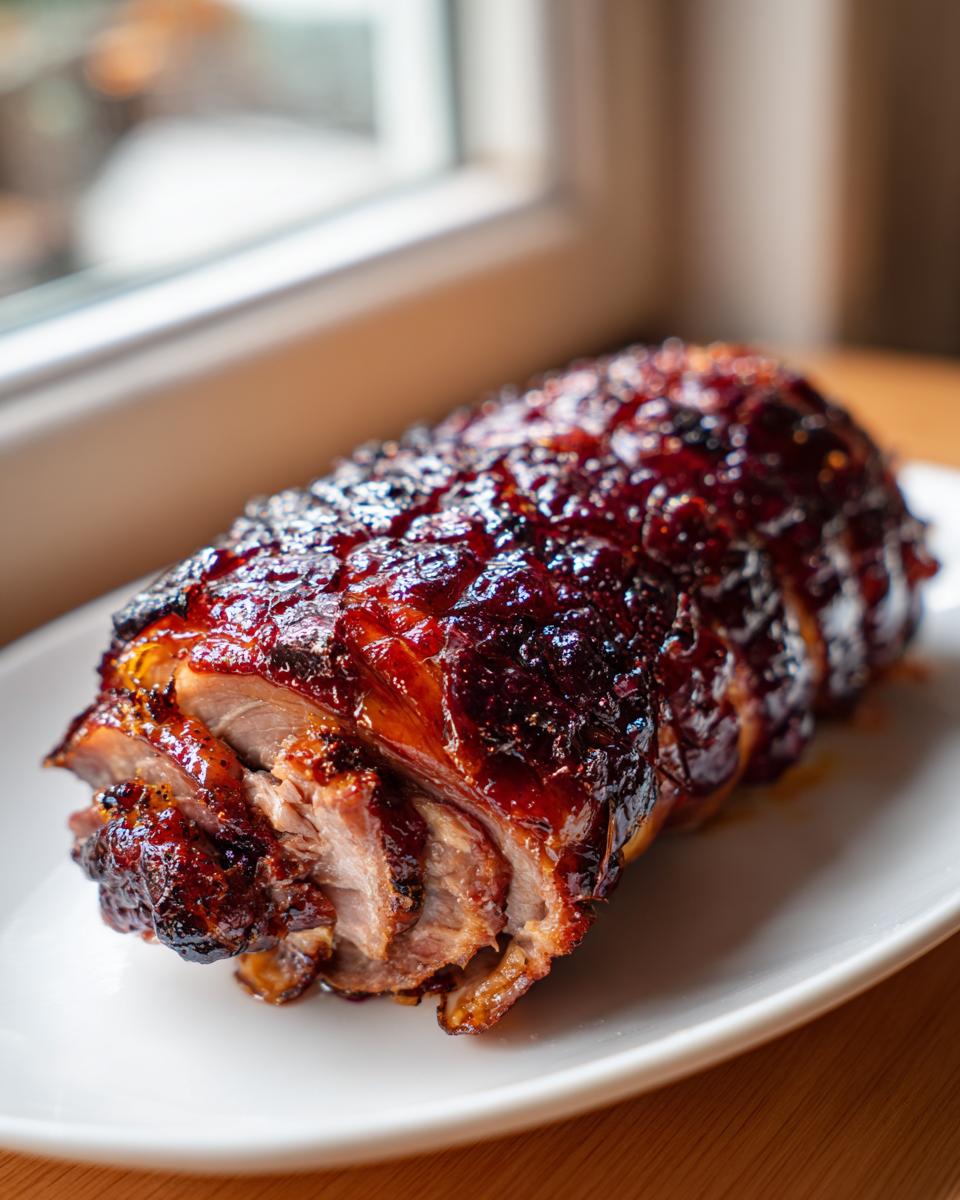
Okay, let’s talk about day two, because roast duck leftovers somehow taste even better the next day, in my opinion! Since we took this time to render so much of that fat during the slow roast, the meat is already incredibly tender—practically falling off the bone. This means turning it into something amazing for an easy weeknight meal is simple.
If you want to use up those delicious scraps, think about repurposing it into a mock **duck carnitas recipe**. After the duck has rested and cooled, just pick all the meat off the bones. Warm up a little bit of that reserved rendered fat (that liquid gold!) in a heavy skillet, toss the shredded duck meat in, and let it crisp up in batches over medium heat.
You’re essentially doing the final crisping step that’s done for traditional pork carnitas! It gets those wonderful crispy, chewy edges that are just divine. I love piling that shredded duck onto warm tortillas with a squeeze of lime and maybe some pickled onions. If you want to see my full method for achieving that amazing shredded texture, you can check out my guide on authentic Mexican pulled pork—the technique for crisping the meat is almost identical!
Tips for Success with Slow-Roasted Poultry
Even though this recipe is designed to be foolproof—it’s basically the opposite of high-stress cooking—you might run into a hiccup or two, especially when dealing with poultry. If you followed the slow roast time perfectly but your skin still isn’t crackling, move it straight under the broiler for 60 seconds, but don’t walk away! Seriously, watch it the entire time. If you find your skin didn’t get dry enough in the fridge, that’s usually the culprit.
Also, don’t be afraid to use that leftover rendered duck fat! It’s liquid gold for roasting potatoes or vegetables later in the week. And if you are nervous about the temperature tests, remember, it’s better to run slightly longer than too short. For more foundational knowledge on making kitchen tasks less scary, take a peek at my foundational guide on layering techniques that I use for baking; it’s about building confidence!
Frequently Asked Questions About Roasted Half Duck
It’s totally normal to have questions when tackling something this impressive! I put my heart into making sure this recipe works for you, but sometimes you just need that extra piece of reassurance. Here are the most common things folks ask me about making this amazing **roasted half duck** at home. If you want to see how I apply similar foolproof methods to simpler meals, check out my tips for an easy duck dinner at home alternative!
Can I use a different fruit for the glaze on my roasted half duck?
Oh, absolutely! Cooking is about making things your own, and if blackberries aren’t your favorite, feel free to swap them out. Cherries work wonderfully well—they give you that gorgeous ruby color and nice tartness. You could also try using cut-up oranges and adding a teaspoon of orange zest along with the juice instead of the vinegar. The key is that you need that acid element (vinegar or citrus juice) to balance the honey, or the glaze will just taste flatly sweet!
How do I know when my crispy skin roasted duck is done?
This is the most important question! While the three-hour low-roast time gets us nearly there, you absolutely must trust your meat thermometer. You are looking for an internal temperature of 160 degrees Fahrenheit (which is 71 degrees Celsius) deep in the thickest part of the thigh, avoiding the bone. That low temperature ensures all that tough connective tissue turns into gelatin, making the meat fall-apart tender. Once you hit that temp, *then* you can crank up the heat for the skin crisping finish!
What if I don’t have time to air-dry the duck overnight?
I totally get it; sometimes a Mother’s Day celebration pops up last minute! If you are seriously short on time, you can speed-dry the duck, but the results won’t be quite as dramatic. After you score and season it with the salt/baking powder mix, blast it under the broiler on high for about 5 minutes total, turning every minute, just until the skin looks visibly drier and tight. It’s risky because the broiler can cook the meat too fast, but it pulls moisture out better than just leaving it on the counter. Just watch it like a hawk!
Storage and Reheating Instructions
If you happen to have any gorgeous leftovers—which doesn’t happen often in my house, trust me!—storing them correctly is key to keeping that beautiful texture. Once the duck has fully cooled, you should store the meat (shredded or whole) in an airtight container in the fridge for up to three days. The glaze should be stored separately in a small jar.
Reheating is where we have to be smart so we don’t undo all that hard low-and-slow work! Throwing the whole thing into the microwave is just asking for rubbery skin, and we are not about that life here at Bliss Batter.
For the best results, I recommend gently reheating the meat separately. I love using the oven for this, just like I do for my cozy pot roast. Place the meat in a low oven (around 300°F) covered loosely with foil until warm through. If you want that skin crispy again, pull the foil off for the last five minutes, or slide it under the broiler for just 90 seconds, watching closely! If you want to make a quick batch of duck carnitas the next day, use the meat straight from the fridge, skip the slow reheat, and pan-fry it in a little rendered fat until crisp!
PrintCrispy-Skinned Roasted Half Duck with Blackberry Glaze
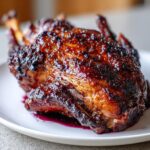
Make an impressive, perfectly crispy-skinned roasted half duck at home for a special occasion. This recipe focuses on the slow-roasting technique for tender meat and shatteringly crisp skin.
- Prep Time: 20 min
- Cook Time: 3 hr 15 min
- Total Time: 3 hr 35 min
- Yield: 2 servings 1x
- Category: Dinner
- Method: Roasting
- Cuisine: American
- Diet: Low Fat
Ingredients
- 1 whole duck (about 5–6 lbs), halved lengthwise
- 1 tablespoon coarse sea salt
- 1 teaspoon black pepper
- 1 teaspoon baking powder (for skin crisping)
- 1 cup fresh or frozen blackberries
- 1/4 cup honey
- 2 tablespoons apple cider vinegar
- 1 tablespoon soy sauce
- 1 small shallot, minced
Instructions
- Prepare the duck: Remove the duck halves from the packaging. Pat the skin completely dry using paper towels. This step is crucial for crispy skin.
- Score the skin: Using a sharp knife, lightly score the duck skin in a crosshatch pattern, being careful not to cut into the meat.
- Season: In a small bowl, mix the sea salt, black pepper, and baking powder. Rub this mixture all over the duck halves, focusing on the skin.
- Air dry: Place the duck halves skin-side up on a wire rack set over a baking sheet. Refrigerate uncovered for at least 12 hours, or up to 24 hours, to further dry the skin.
- Preheat oven: Preheat your oven to 275 degrees Fahrenheit (135 degrees Celsius).
- Slow roast: Place the baking sheet with the duck in the preheated oven. Roast slowly for 2.5 to 3 hours, or until the internal temperature reaches 160 degrees Fahrenheit (71 degrees Celsius) in the thickest part of the thigh. The low temperature renders the fat slowly.
- Prepare the glaze: While the duck roasts, combine blackberries, honey, apple cider vinegar, soy sauce, and minced shallot in a small saucepan. Bring to a simmer over medium heat. Cook for 10 minutes, stirring occasionally, until the berries break down. Strain the mixture through a fine-mesh sieve, pressing on the solids to extract all liquid. Discard solids.
- Crisp the skin: Increase the oven temperature to 425 degrees Fahrenheit (220 degrees Celsius). Brush the duck skin generously with the blackberry glaze. Return the duck to the hot oven for 10 to 15 minutes, watching closely, until the skin is deeply browned and very crisp.
- Rest and serve: Remove the duck from the oven. Let it rest for 10 minutes before carving. Serve with extra glaze on the side.
Notes
- Baking powder is the secret ingredient that helps dry out the skin surface, leading to superior crispness.
- If you prefer a less sweet glaze, reduce the honey by one tablespoon.
- This slow-roasting method is similar to what creates excellent duck carnitas texture if you shred the meat after resting.
Nutrition
- Serving Size: 1 half duck
- Calories: 850
- Sugar: 15
- Sodium: 650
- Fat: 60
- Saturated Fat: 20
- Unsaturated Fat: 40
- Trans Fat: 1
- Carbohydrates: 18
- Fiber: 2
- Protein: 58
- Cholesterol: 250