
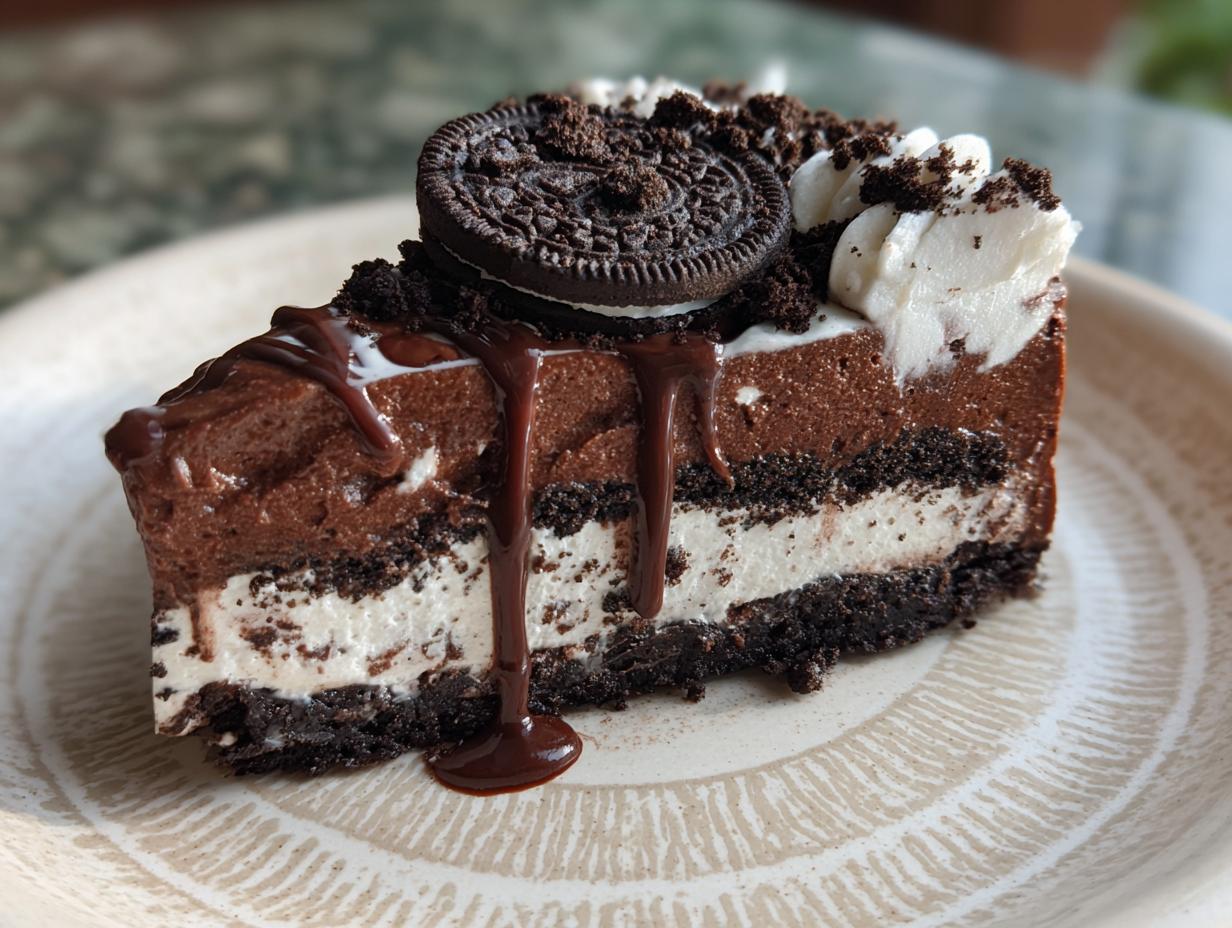
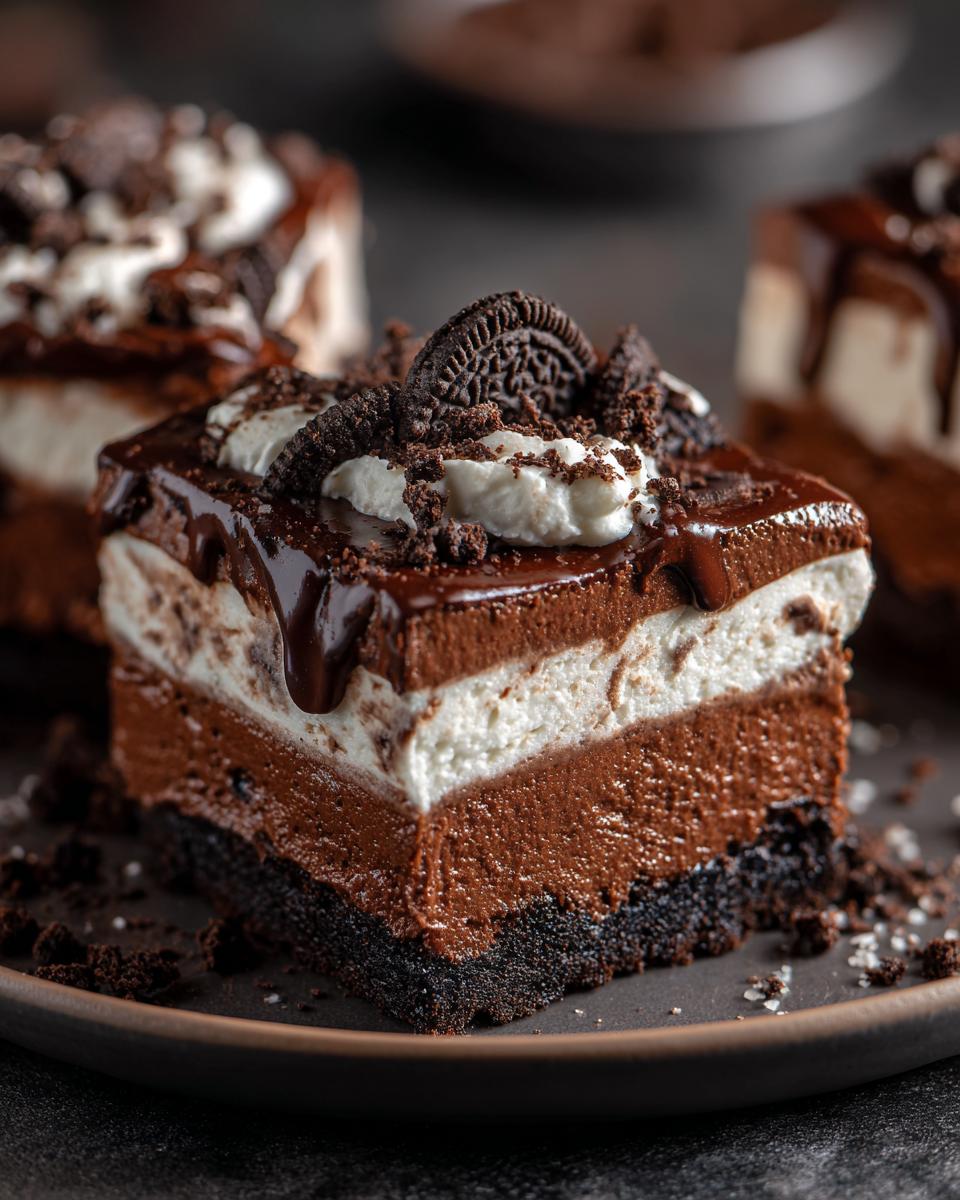
Oh, you know those desserts that just *scream* happy memories? This no-bake chocolate lasagna is totally one of them for me! It’s that dreamy, layered masterpiece with a crunchy Oreo crust, a cool, creamy cream cheese filling, and rich chocolate pudding all stacked up, no oven required. Every time I make this, I’m immediately transported back to family barbecues and potlucks, the kind where everyone hovers around the dessert table just waiting for a slice. It’s seriously so easy and always a huge hit, a true crowd-pleaser sweets staple in my book!
- Why You'll Love This No-Bake Chocolate Lasagna
- Gather Your Ingredients for No-Bake Chocolate Lasagna
- Crafting Your No-Bake Chocolate Lasagna: Step-by-Step
- Tips for the Perfect No-Bake Chocolate Lasagna
- Serving and Storing Your Chocolate Pudding Bars
- Frequently Asked Questions about No-Bake Chocolate Lasagna
- Estimated Nutritional Information
- Share Your No-Bake Chocolate Lasagna Creations!
Why You’ll Love This No-Bake Chocolate Lasagna
Seriously, this dessert is a total game-changer. Here’s why it’s going to become your go-to:
- It’s unbelievably easy! Truly an easy no bake treat; you just layer and chill.
- It’s a guaranteed potluck favorite that disappears faster than you can say “more, please!”
- The flavors are just divine – that creamy, dreamy combo of chocolate and cream cheese is pure magic.
- It’s the ultimate make-ahead dessert, giving you more time to actually hang out with your guests.
Gather Your Ingredients for No-Bake Chocolate Lasagna
Alright, let’s get our goodies together for this no-bake wonder! You’ll need one big package of Oreos – about 35 cookies, crushed up super fine. Trust me, that makes for the best crust, no weird big chunks! Then you’ll need 6 tablespoons of butter, melted until it’s all smooth and gooey. For our creamy middle layer, grab an 8-ounce package of cream cheese, make sure it’s nice and softened so it beats up smooth, and a cup of powdered sugar to sweeten it just right. And here’s a little secret: you can use a whole cup of heavy cream whipped up with a little sugar if you’re not a big Cool Whip fan – it works like a charm as a cool whip substitute stabilized cream!
Crafting Your No-Bake Chocolate Lasagna: Step-by-Step
Okay, now for the fun part – putting this masterpiece together! It’s really just a series of simple, satisfying layers that come together like magic. First off, grab that 9×13 inch dish you prepped. We’re going to make this a true make ahead party dessert, so getting these layers right is key!
Creating the Oreo Crust Base
Take that yummy Oreo and butter mixture and press it down *really* firmly into the bottom of your baking dish. I like to use the flat bottom of a measuring cup to get it nice and even. Pop that into the fridge for about 10 minutes; it helps it set up so our next layers don’t sink in too much.
The Creamy Cream Cheese Layer
Now, into a medium bowl goes your softened cream cheese and that powdered sugar. Beat them together until they’re super smooth and dreamy – no lumps allowed! Then, gently fold in one cup of that thawed Cool Whip until it’s all combined. Spread this fluffy mixture right over the chilled Oreo crust. Make sure it’s even all the way across!
Whipping Up the Chocolate Pudding
In a separate bowl, it’s time for the chocolate pudding! Just whisk those two packets of instant chocolate pudding mix with 3 cups of milk and that little splash of vanilla extract. Give it a good whisk until it starts to thicken up. Let it sit for about 5 minutes; it gets wonderfully thick, perfect for layering!
Assembling the Layers and Chilling
Pour that thickened chocolate pudding right over the cream cheese layer. Try to get it as even as you can! Then, spread the rest of your Cool Whip on top of the pudding. Cover the whole dish tightly with plastic wrap, and then comes the hardest part – waiting! You need to chill this for at least 4 hours, or even overnight, so it firms up nicely. This chilling time is crucial for that perfect ‘how long to chill chocolate lasagna’ moment.
Tips for the Perfect No-Bake Chocolate Lasagna
Okay, so to get this dessert absolutely *perfect* every single time, a few little tricks really make a difference. First off, crushing those Oreos – I usually just toss them in the food processor, whiz them up until they’re fine crumbs, super easy! If you don’t have one, no worries, just pop’em in a zip-top bag and go at them with a rolling pin until they’re dust. For that creamy layer, make *sure* your cream cheese is really softened. Like, leave it out on the counter for a good hour or two; it makes all the difference when you’re beating it. Plus, since this is such a great make ahead party dessert, you can totally whip it up the day before and just keep it covered in the fridge. It tastes even better the next day, honestly!
Ingredient Substitutions and Notes
Now, if you can’t find Oreos for some reason (which would be a baking tragedy!), you can totally use chocolate graham crackers for the crust. Just crush ’em up the same way! And if Cool Whip isn’t your jam, no sweat. Making your own stabilized whipped cream is super simple. Just take 1 cup of heavy cream, whip it up with about 2 tablespoons of powdered sugar and half a teaspoon of vanilla until you get lovely stiff peaks. It gives you that same incredible creaminess, just with a slightly different vibe. It’s a great cool whip substitute stabilized cream if you ask me!
Achieving Perfect Layers
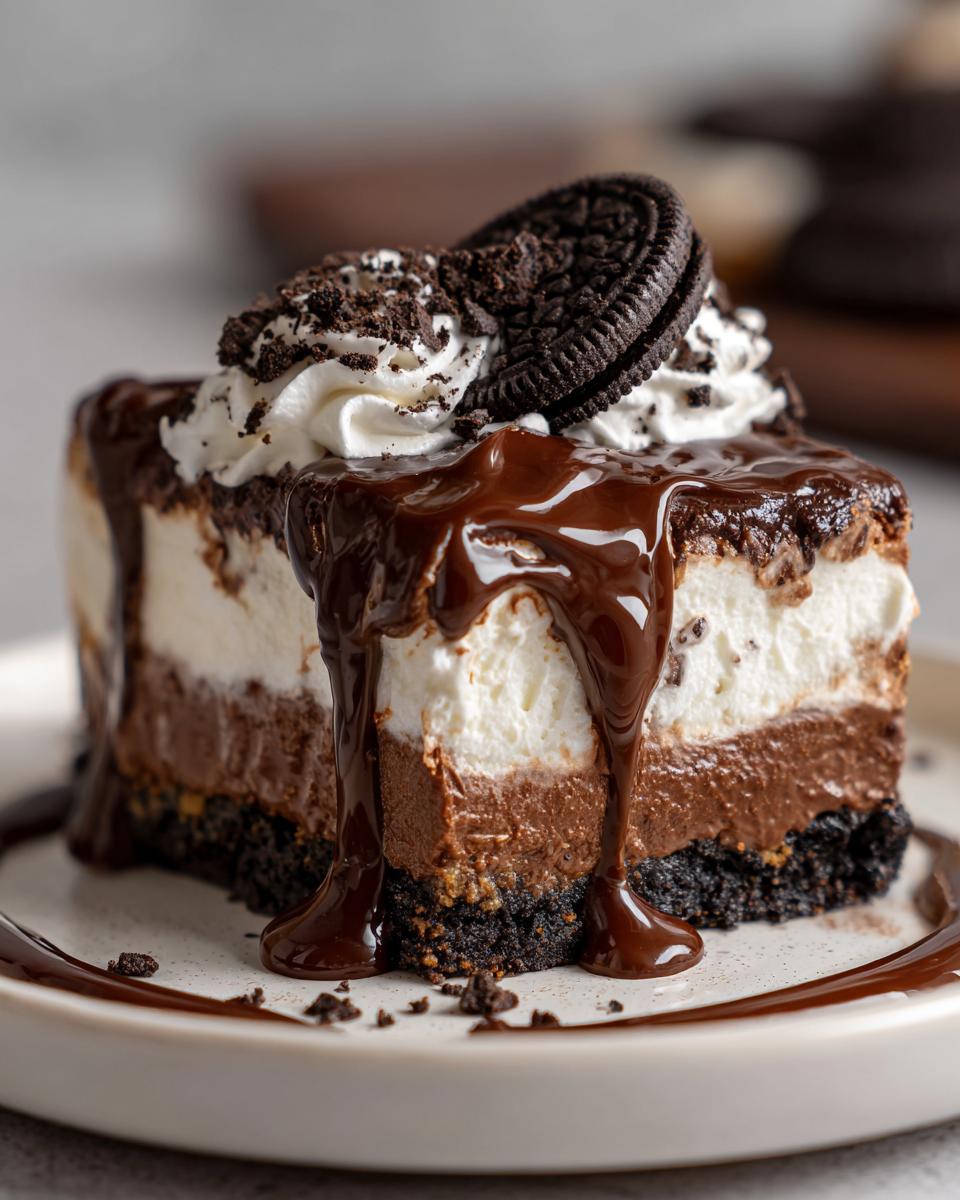
The secret to those gorgeous layered dessert squares is taking your time with each layer. When you’re spreading that cream cheese mixture, really go slow and gentle. Same with the pudding – don’t just dump it and run! A spatula smoothed all the way to the edges helps keep everything distinct before you add the final topping. It makes such a difference when you slice into it and see those beautiful, clean layers!
Serving and Storing Your Chocolate Pudding Bars
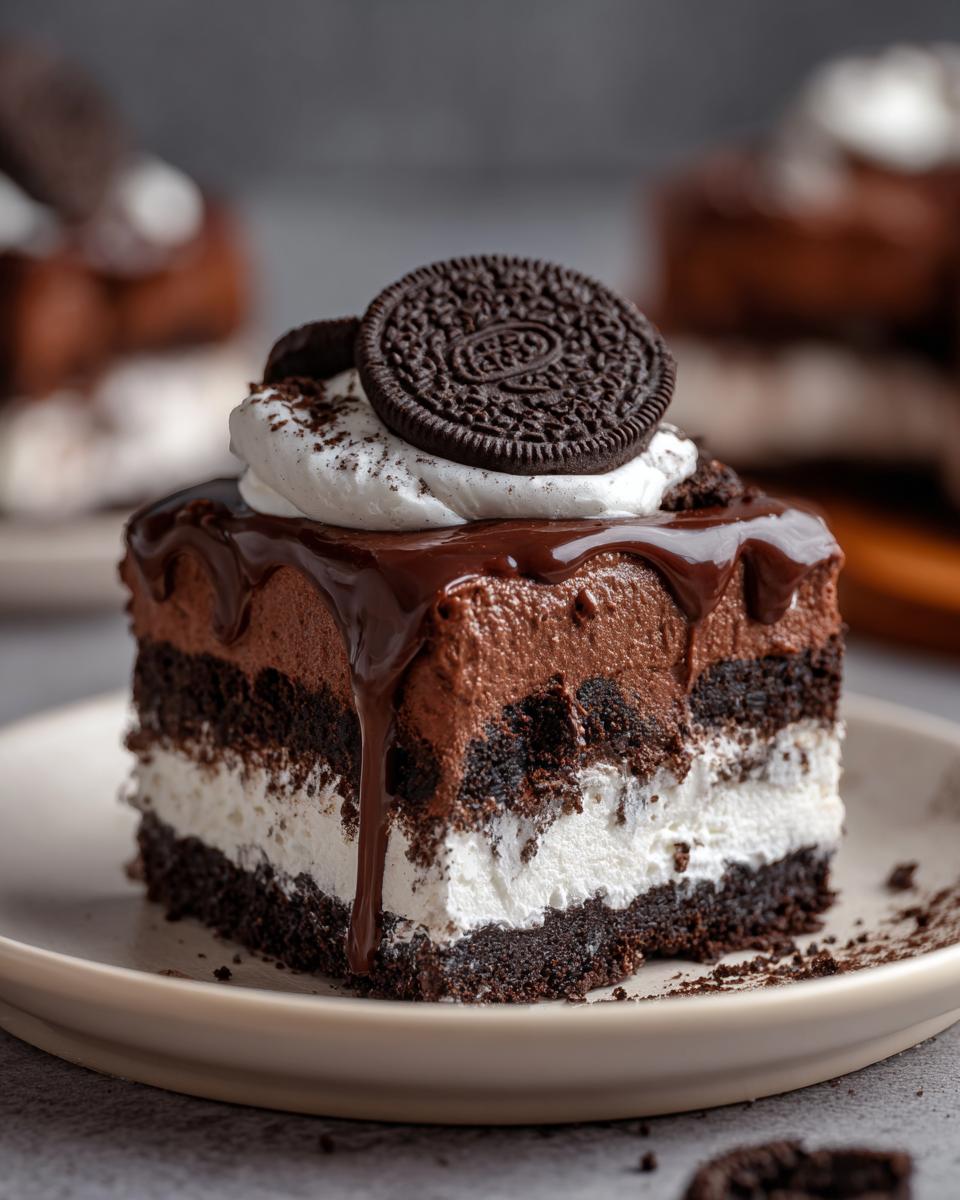
Once your chocolate creation has chilled and set up nicely, it’s time for the best part: slicing and serving! Use a sharp knife to cut it into neat squares – I usually aim for about 12 servings, but you can totally cut them bigger if it’s a special occasion. Feeling fancy? A sprinkle of chocolate shavings on top or a little dollop of extra whipped cream makes it look extra special. And since this is such a fantastic make ahead party dessert, leftovers store like a dream! Just cover it tightly with plastic wrap and keep it in the fridge. It’ll stay delicious for a good 3-4 days, which means you can enjoy that chocolatey goodness for a while!
Frequently Asked Questions about No-Bake Chocolate Lasagna
Got questions about this layered dream? I get it! It’s so popular, a total potluck favorite for a reason. Here are a few things people often ask:
Can I use regular pudding mix instead of instant?
Oh, good question! You really need to stick with the *instant* pudding mix for this recipe. The instant kind has special thickeners that help it set up firm enough for those clear layered dessert squares. Regular pudding, the kind you cook on the stove, won’t firm up the same way and your beautiful layers might get all melty and mixed up. So, definitely grab the instant kind for this chocolate pudding bars recipe!
How do I prevent the layers from mixing?
The biggest secret, honestly, is making sure you chill each layer properly as the recipe says! That initial chill for the crust, and the big chill at the end for the whole dessert, is key. It helps everything set firm before you add the next level, which keeps those gorgeous layers distinct. Also, be gentle when you’re spreading! Don’t dig in too hard – smooth it out nice and even. It’s all part of making a perfect chocolate lasagna dessert no bake treat.
Can I freeze this dessert?
You know, you *can* freeze it, but I wouldn’t necessarily recommend it if you can help it. The cream cheese layer and the pudding can get a little… watery or grainy when they thaw. It won’t be as nice and firm as when it’s fresh from the fridge. This is definitely best enjoyed within a few days of making it, which works out great because it’s such a fantastic make ahead party dessert anyway!
What are good toppings for chocolate lasagna?
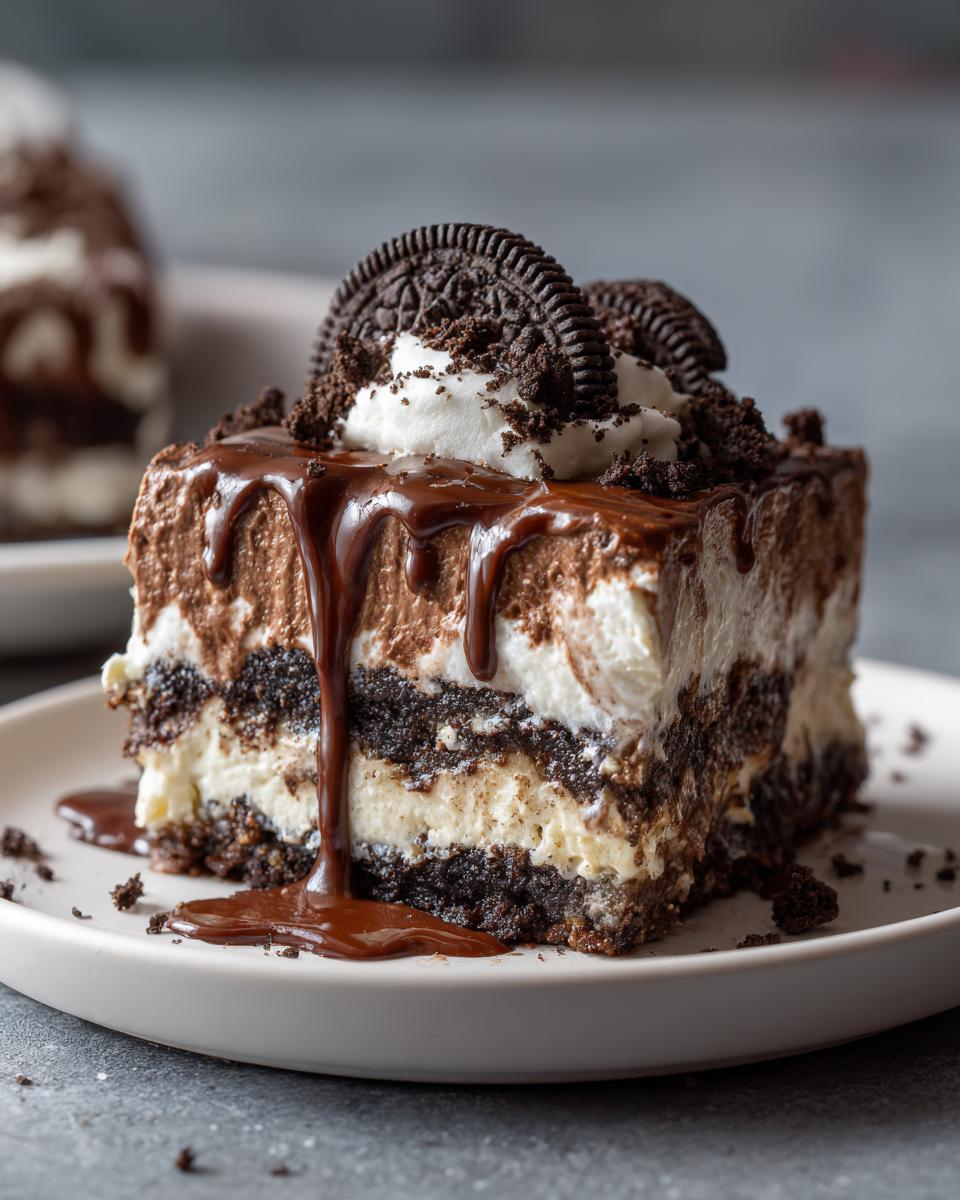
You can totally dress this up! A little sprinkle of chocolate shavings over the top layer of Cool Whip is always a win. You could also do some mini chocolate chips, or even a dusting of cocoa powder if you’re feeling fancy. And, of course, a little dollop of extra whipped cream on each slice makes it extra special. It’s such an easy no bake treat you can really make your own!
Estimated Nutritional Information
Just a little heads-up, these numbers are estimates, okay? They can totally change depending on the exact brands you use or even how thick you slice your chocolate pudding bars. Generally, though, a single serving of this no-bake delight has about 350 calories, around 18g of fat (with 10g of that being saturated), a little bit of protein – usually about 4g – and roughly 45g of carbs. It’s also got about 30g of sugar, which makes sense for something so yummy!
Share Your No-Bake Chocolate Lasagna Creations!
I absolutely LOVE seeing your creations! Have you made this no-bake beauty? Drop a comment below and let me know how it turned out for your family, or maybe share your own little twists! And if you’ve got a pic, tag us on social media – I’d be thrilled to see your amazing layered dessert squares!
PrintNo-Bake Chocolate Lasagna
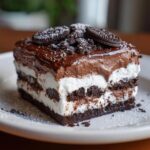
A layered dessert with an Oreo crust, cream cheese filling, and chocolate pudding, perfect for parties.
- Prep Time: 20 min
- Cook Time: 0 min
- Total Time: 4 hr 20 min
- Yield: 12 servings 1x
- Category: Dessert
- Method: No-Bake
- Cuisine: American
- Diet: Vegetarian
Ingredients
- 1 package (14.3 oz) Oreo cookies, finely crushed (about 35 cookies)
- 6 tablespoons butter, melted
- 1 package (8 oz) cream cheese, softened
- 1 cup powdered sugar
- 1 container (8 oz) Cool Whip, thawed (or 1 cup heavy cream, whipped)
- 2 packages (3.9 oz each) instant chocolate pudding mix
- 3 cups milk
- 1 teaspoon vanilla extract
- Optional: Chocolate shavings or whipped cream for topping
Instructions
- Combine crushed Oreos and melted butter. Press firmly into the bottom of a 9×13 inch baking dish. Chill for 10 minutes.
- In a medium bowl, beat softened cream cheese and powdered sugar until smooth. Fold in 1 cup of the thawed Cool Whip. Spread this mixture evenly over the Oreo crust.
- In a separate bowl, whisk together the instant chocolate pudding mixes, milk, and vanilla extract. Let it sit for 5 minutes to thicken.
- Pour the thickened pudding over the cream cheese layer.
- Spread the remaining Cool Whip evenly over the pudding layer.
- Cover the dish and refrigerate for at least 4 hours, or until firm and chilled.
- Slice into squares and serve. Garnish with chocolate shavings or whipped cream if desired.
Notes
- For a stable whipped cream substitute, whip 1 cup of heavy cream with 2 tablespoons of powdered sugar and 1/2 teaspoon of vanilla extract until stiff peaks form.
- You can prepare this dessert a day in advance, making it a great make-ahead party dessert.
- If you don’t have Oreos, chocolate graham crackers can be used for the crust.
Nutrition
- Serving Size: 1 square
- Calories: 350
- Sugar: 30g
- Sodium: 250mg
- Fat: 18g
- Saturated Fat: 10g
- Unsaturated Fat: 8g
- Trans Fat: 0g
- Carbohydrates: 45g
- Fiber: 2g
- Protein: 4g
- Cholesterol: 40mg