

Oh, Halloween! It’s my absolute favorite time of year, and you know what has to be there? Those dramatic, glossy Poison Candy Apples! They just scream spooky elegance, don’t they? I remember seeing them in movies and thinking they were pure magic, like something a fairytale witch would whip up. The idea of making them myself felt so cool. It reminds me so much of my own grandmother’s kitchen – the best memories always seem to happen right there, surrounded by baking. This recipe is all about capturing that kind of special occasion magic in your own home, creating a treat that’s both eerie and totally delicious.
- Why You'll Love These Poison Candy Apples
- Ingredients for Your Spooky Poison Candy Apples
- Essential Equipment for Making Poison Candy Apples
- How to Prepare Your Poison Candy Apples: Step-by-Step
- Tips for Perfect Poison Candy Apples
- Variations and Decorative Ideas for Your Halloween Poison Apple
- Storage and Serving Suggestions for Black Candy Apples
- Frequently Asked Questions About Poison Candy Apples
- Nutritional Information (Estimated)
- Share Your Spooky Creations!
Why You’ll Love These Poison Candy Apples
These aren’t just candy apples; they’re edible Halloween art! You’ll adore them because:
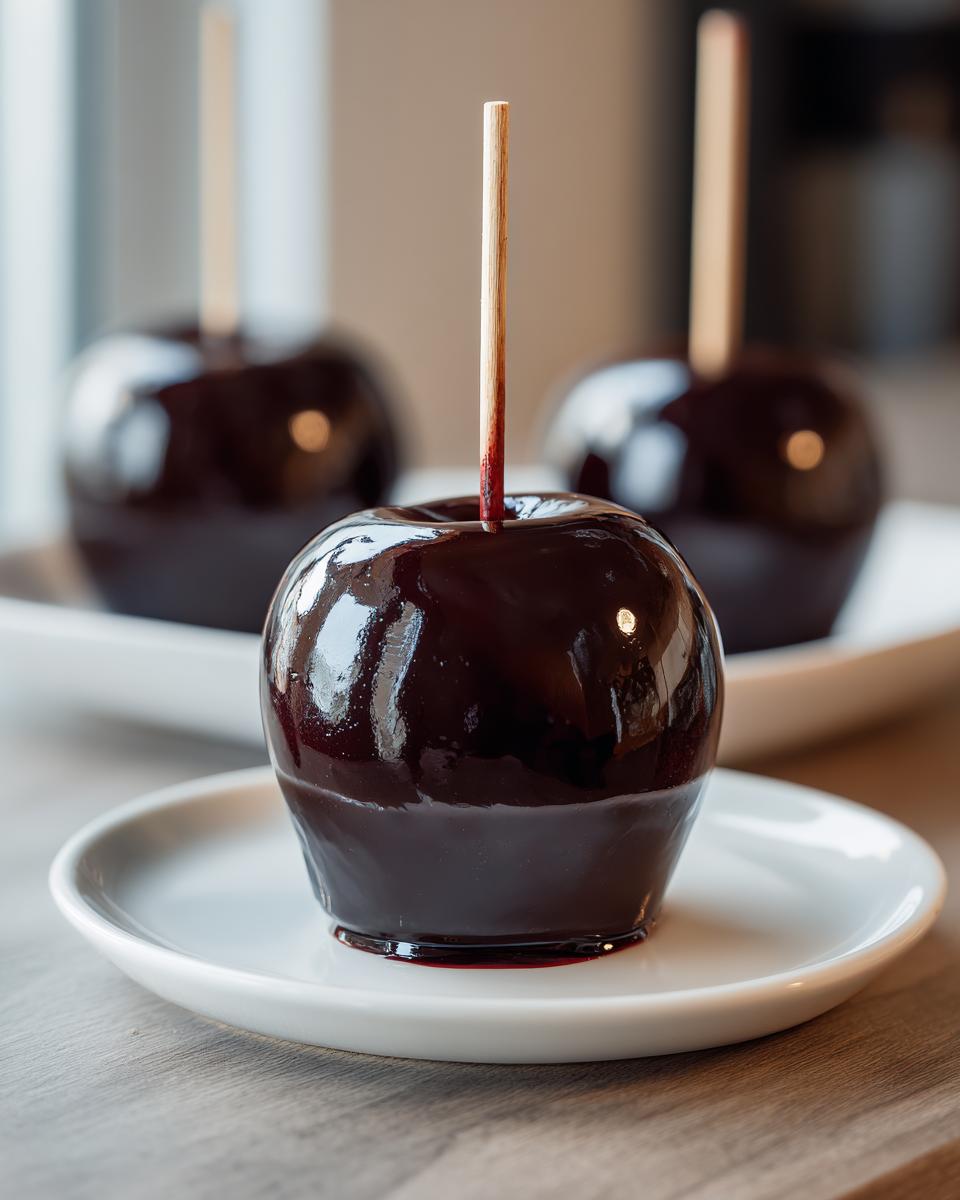
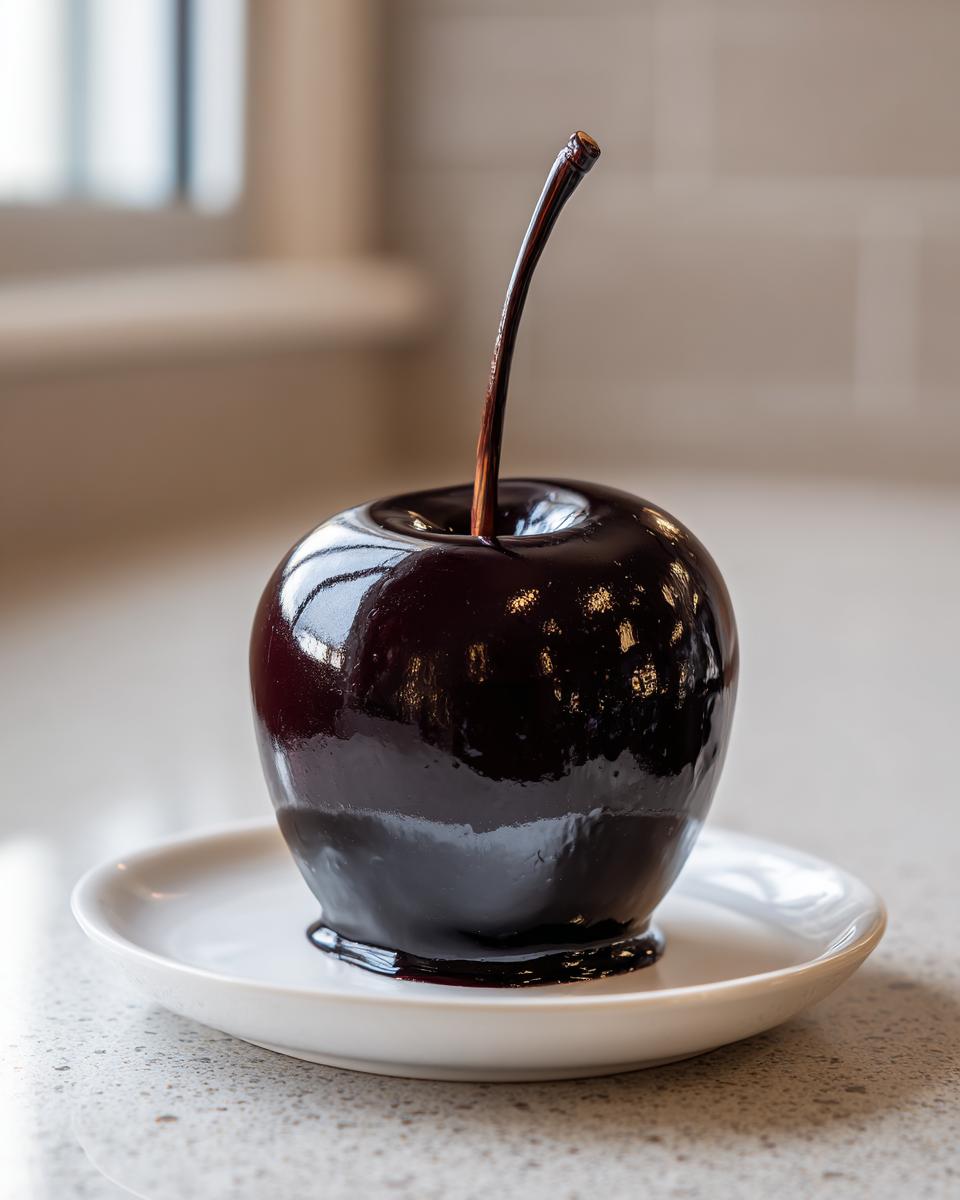
- They have a dramatic, glossy black finish that looks super spooky and sophisticated.
- Creating them at home is surprisingly straightforward – a little candy magic goes a long way!
- They’re guaranteed to be the showstopper at any Halloween party or spooky gathering.
- You get that satisfyingly crisp candy shell that shatters with each bite.
Ingredients for Your Spooky Poison Candy Apples
Alright, let’s gather our goodies for these *fabulously* spooky treats! You’ll need:
- 6 medium apples (make sure they’re nice and firm!)
- 6 wooden skewers or candy apple sticks (the kind that are sturdy!)
- 2 cups granulated sugar
- 1 cup light corn syrup
- 3/4 cup water
- 1 teaspoon black food coloring (the liquid kind)
- 1/4 teaspoon black food coloring gel (optional, but it makes the color *really* pop!)
Oh, and a little tip from me: have some cooking spray or vegetable oil handy for greasing. It’s a lifesaver!
Essential Equipment for Making Poison Candy Apples
Before we dive into making these spooky delights, let’s make sure you’ve got your kitchen set up! You’ll want a good medium saucepan – nothing too flimsy. A reliable candy thermometer is a total must to get that perfect hard-crack stage. And grab a baking sheet; lining it with parchment paper is a little trick that makes cleanup way easier. Trust me on this one!
How to Prepare Your Poison Candy Apples: Step-by-Step
Alright, let’s get down to business and make these spooky beauties! It’s a bit of a dance, handling that hot sugar, but trust me, the payoff is SO worth it for these Poison Candy Apples.
Preparing the Apples and Skewers
First things first, we need to get our apples ready. Give them a good wash and then, this is key, dry them *super* thoroughly. Any little bit of moisture means the candy won’t stick properly. Peel off those stickers too! Then, firmly push a skewer or candy apple stick right into the stem end of each apple. Make sure it’s in there good and snug!

Making the Black Candy Syrup for Poison Candy Apples
Now for the magic part – the candy! Grab your medium saucepan and pour in your sugar, corn syrup, and water. Give it a gentle stir *just* until the sugar dissolves. We don’t want to splash anything up the sides! Pop a candy thermometer on the side – make sure the tip is submerged but not touching the bottom. Then, crank up the heat to medium-high. Let it boil away without stirring until it hits that magical 300°F (150°C), which is the hard-crack stage. Patience is your friend here; this usually takes about 10-15 minutes. This is how we get those amazing Poison Candy Apples!
Adding Color and Dipping the Apples
Okay, moment of truth! As soon as that thermometer hits 300°F, whisk the pan off the heat. Now, *very carefully*, stir in your food coloring. If you’re using the gel for a deeper shade, pop that in too. It’s going to bubble up like crazy, so stand back a bit! Quickly tilt the pan and dip each apple, swirling it around to get that gorgeous, glossy coating all over. Let any extra syrup drip back into the pan before you move on.
Cooling and Setting Your Poison Candy Apples
On your prepared baking sheet (remember the parchment paper or greasing?), carefully place each dipped apple on its sucker stick. Now comes the hardest part: waiting! You need to let them cool completely so that beautiful black candy shell hardens up perfectly. Resist the urge to touch them; just let them set undisturbed. It’s worth the wait, I promise!
Tips for Perfect Poison Candy Apples
Okay, deep breaths everyone! Making candy at home can feel a *little* intimidating, but trust me, with a few pointers, your Poison Candy Apples will look like they came straight from a professional spooky bakery. We test everything here at Bliss Batter, so you can be sure these tips will lead you to success!
Safety First: Handling Hot Candy Syrup
This is super important, so listen up! Hot sugar is no joke – it’s way hotter than boiling water and can cause nasty burns. Always, always keep kids and pets away from the work area. Have a bowl of ice water nearby just in case of accidental contact. And please, please, please be careful when you’re stirring in the color and dipping those apples. Slow and steady wins the race here, folks!
Achieving That Glossy Black Finish
Want that super-slick, mirror-like candy coating? A few things help! Make sure your pan is clean and dry before you start with the syrup. Also, try to avoid stirring the sugar mixture once it starts boiling, as that can encourage crystallization, making your candy cloudy instead of shiny. If it starts to get too thick while you’re dipping, don’t panic! Just pop it back on a *very* low heat for a minute to loosen it up. That deep black also comes from good quality coloring!
Variations and Decorative Ideas for Your Halloween Poison Apple
Okay, once you’ve mastered the basic spooky black Poison Candy Apple, the fun really kicks into high gear! You can totally play around with these. Want an extra pop of color? Try a drizzle of bright red candy melts over the black – it looks like blood! Or, dust them with some edible glitter before the candy sets for a magical, witchy sparkle. You could even get creative with the sticks, maybe using ones with little Halloween shapes on top, or even tying a ribbon around them. These little touches make your Halloween poison apple creations truly unique!
Storage and Serving Suggestions for Black Candy Apples
You’ve made these amazing Black Candy Apples, so let’s keep them looking their spooky best! The candy shell is pretty delicate, especially with humidity, so they’re really best enjoyed within a day or two of making them. Store them at cool room temperature, upright on their sticks, and try not to let them touch each other. They make such a dramatic centerpiece for your Halloween table, or you can arrange them on a platter for guests to marvel at (and bravely bite into!).
Frequently Asked Questions About Poison Candy Apples
Got questions about whipping up these spooky treats? I’ve totally got you covered! Making Poison Candy Apples can bring up a few little head-scratchers, so let’s clear them up!
Why are my candy apples not shiny?
Aww, no shiny? That usually happens if the syrup gets overcooked, or if there’s too much humidity in the air. Sometimes, stirring the sugar too much while it’s boiling can make it seize up instead of staying smooth. Make sure you’re hitting that 300°F mark precisely, and try to work fast! Humidity is the sneaky enemy of shiny candy.
Can I use different types of apples for poison candy apples?
Oh yes, absolutely! For these Poison Candy Apples, you want apples that are nice and firm so they can hold up to dipping and won’t get mushy. Granny Smith is a classic for a reason, but Fuji, Gala, or Honeycrisp work wonderfully too. Just make sure they’re super dry before you skewer them!
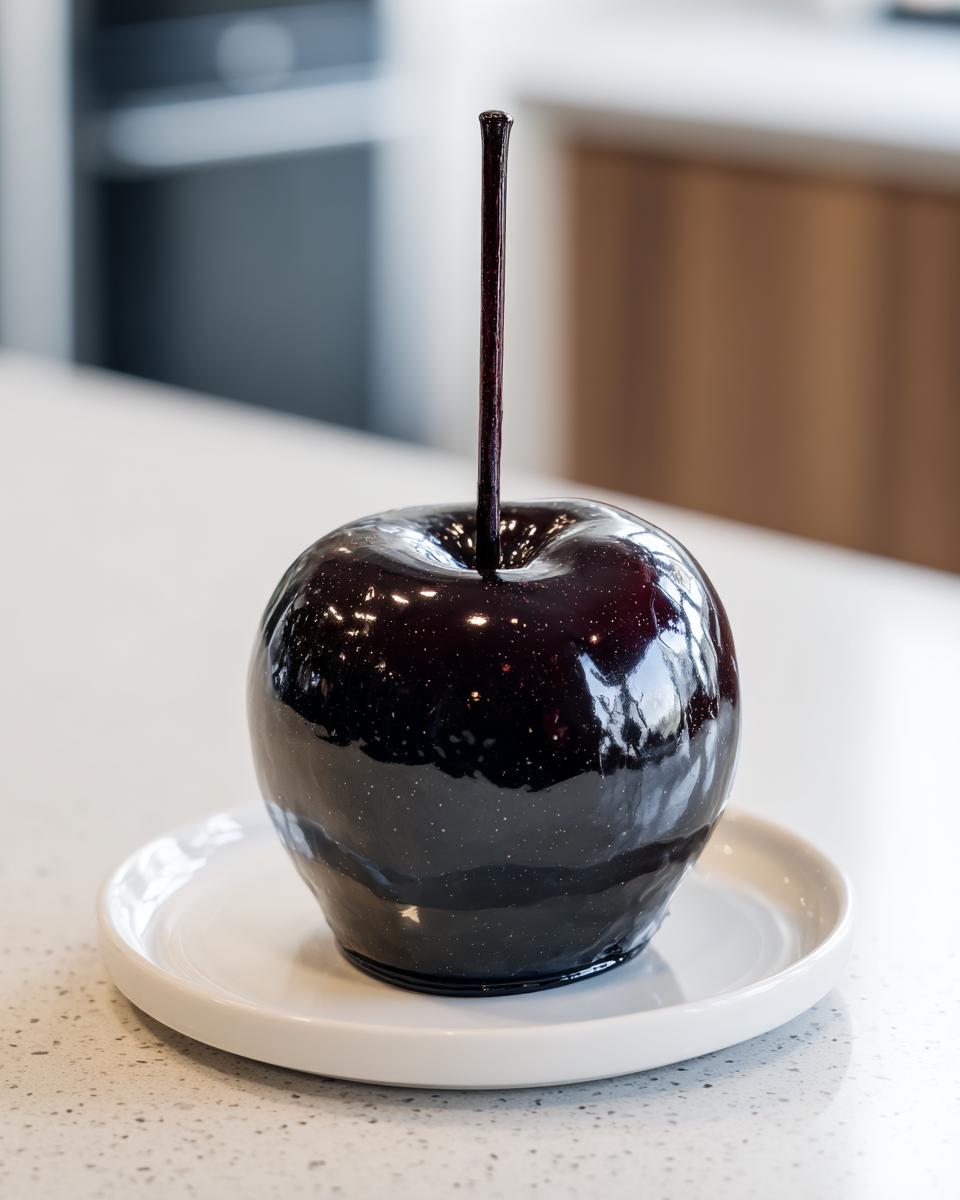
How do I achieve a truly deep black color?
For that truly spooky, witchy vibe, the secret is often in the coloring! While regular liquid black food coloring does the job, using a black food coloring gel like I mentioned in the recipe makes a HUGE difference. It’s so much more concentrated, giving you that super intense, glossy black without needing too much liquid, which could mess with your candy’s texture.
Nutritional Information (Estimated)
Just a little heads-up, these numbers are our best guess for one Poison Candy Apple. Since we’re all baking in our own kitchens with slightly different ingredients, your actual values might vary a bit! Here’s a general idea:
- Serving Size: 1 apple
- Calories: 450
- Sugar: 100g
- Fat: 0g
- Carbohydrates: 115g
- Protein: 0g
Share Your Spooky Creations!
I would LOVE to see your take on these Poison Candy Apples! Did they turn out perfectly spooky? Tag me in your photos or leave a comment below to tell me how your Halloween treats turned out. Your creations inspire me, and I can’t wait to see what magic you whipped up in your kitchen!
PrintPoison Candy Apples

Create striking, glossy black candy apples for a spooky Halloween display. This recipe guides you through making a shatteringly crisp candy coating.
- Prep Time: 15 min
- Cook Time: 15 min
- Total Time: 30 min
- Yield: 6 servings 1x
- Category: Dessert
- Method: Stovetop
- Cuisine: American
- Diet: Vegetarian
Ingredients
- 6 medium apples
- 6 wooden skewers or candy apple sticks
- 2 cups granulated sugar
- 1 cup light corn syrup
- 3/4 cup water
- 1 teaspoon black food coloring
- 1/4 teaspoon black food coloring gel (optional, for deeper color)
- Cooking spray or vegetable oil for greasing
Instructions
- Wash and thoroughly dry the apples. Remove any stickers.
- Insert a wooden skewer firmly into the stem end of each apple.
- Lightly grease a baking sheet with cooking spray or oil, or line with parchment paper.
- In a medium saucepan, combine the granulated sugar, corn syrup, and water. Stir gently until the sugar is dissolved.
- Place the saucepan over medium-high heat. Clip a candy thermometer to the side of the pan, ensuring the tip is submerged in the syrup but not touching the bottom.
- Bring the mixture to a boil without stirring. Cook until the syrup reaches 300°F (150°C), the hard-crack stage. This will take approximately 10-15 minutes.
- Once the syrup reaches 300°F, immediately remove the pan from the heat. Carefully stir in the black food coloring and black food coloring gel, if using. Be cautious as the mixture will bubble vigorously.
- Working quickly, tilt the saucepan and dip each apple into the hot candy syrup, rotating to coat evenly. Allow excess syrup to drip back into the pan.
- Place the coated apples on the prepared baking sheet to set.
- Let the candy apples cool completely before serving.
Notes
- Hot sugar is extremely dangerous. Exercise extreme caution when working with candy syrup.
- If the candy hardens too quickly in the pan, you can gently reheat it over low heat, being careful not to scorch it.
- For a decorative effect, you can drizzle melted red candy melts or edible glitter over the hardened black coating.
- These apples are best enjoyed within a day or two of making.
Nutrition
- Serving Size: 1 apple
- Calories: 450
- Sugar: 100g
- Sodium: 5mg
- Fat: 0g
- Saturated Fat: 0g
- Unsaturated Fat: 0g
- Trans Fat: 0g
- Carbohydrates: 115g
- Fiber: 2g
- Protein: 0g
- Cholesterol: 0mg