
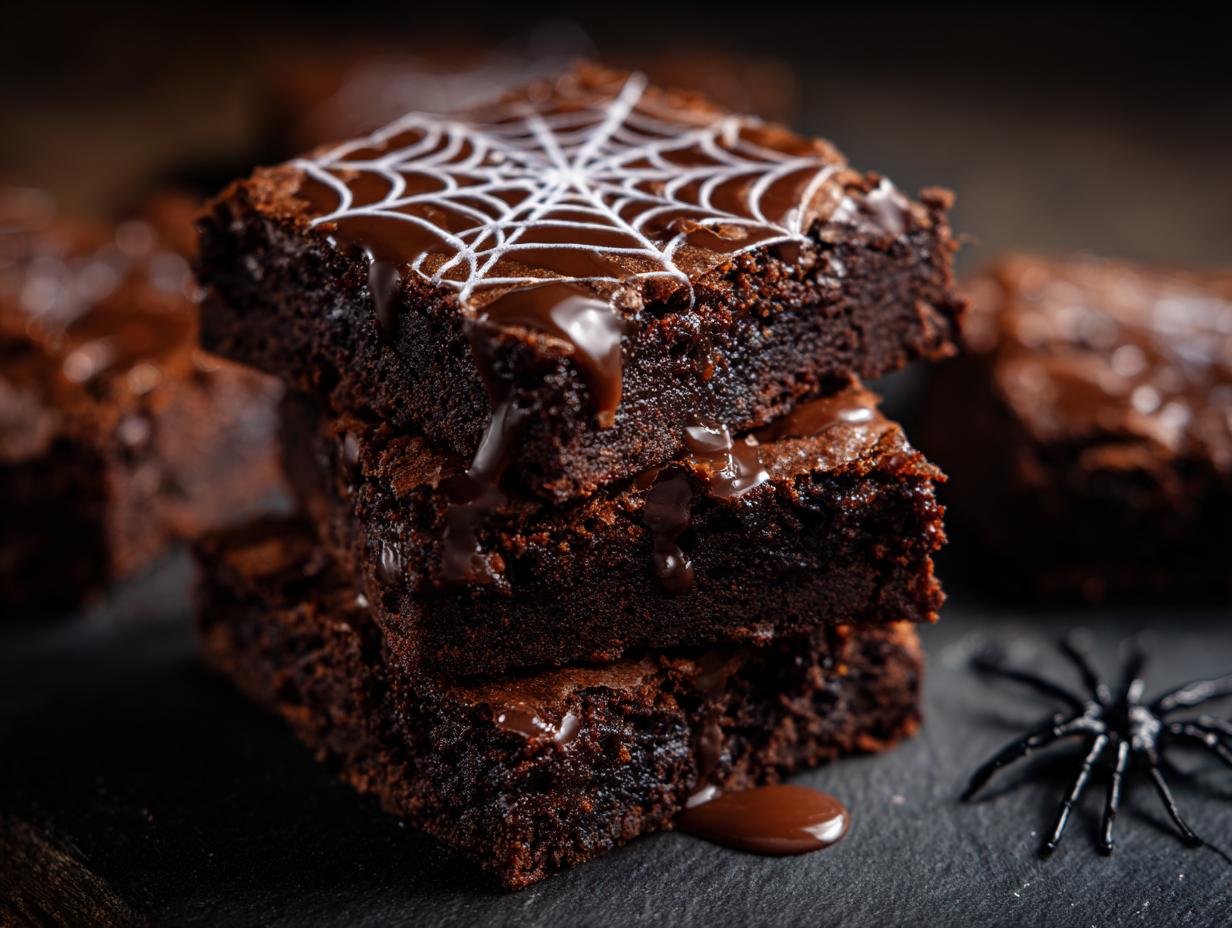
Halloween is that magical time of year when a little bit of spooky fun just makes everything tastier, right? If you’re looking for a treat that’s a total showstopper but seriously easy to whip up, then you’ve landed in the perfect spot! These Spiderweb Brownies are your new best friend for the season. We take a perfectly fudgy, classic brownie base—you know, the kind that’s decadent and melts in your mouth—and give it the most hauntingly beautiful spiderweb decoration. Trust me, everyone will think you slaved away for hours, but the secret is out: it’s a simple technique that looks incredibly impressive. It’s just like Claire’s philosophy here at Bliss Batter. She always believed that incredible bakes don’t need to be complicated; they just need a little love and a great recipe. So, let’s get baking and make your Halloween spooktacular!
- Why You'll Love These Spiderweb Brownies
- Ingredients for Your Spiderweb Brownies
- Essential Equipment for Making Spiderweb Brownies
- Step-by-Step Guide to Perfect Spiderweb Brownies
- Tips for Perfect Spiderweb Brownies Every Time
- Serving and Storing Your Halloween Brownies
- Frequently Asked Questions about Spiderweb Brownies
- Estimated Nutritional Information for Spiderweb Brownies
- Share Your Spiderweb Brownie Creations!
Why You’ll Love These Spiderweb Brownies
Seriously, these brownies are a dream for any Halloween baking marathon! You get that crave-worthy, fudgy chocolate texture that everyone loves, but with a decoration that screams spooky season without any stress. They’re perfect for parties, bake sales, or just making a regular Tuesday feel a little more festive. Kids adore helping make them, and honestly, who can resist a perfectly spooky brownie?
Ingredients for Your Spiderweb Brownies
Just like Claire always says, the secret to amazing bakes is starting with good ingredients! For these spooky Spiderweb Brownies, you’ll need simple pantry staples. We’re talking 1 cup of unsalted butter (grab the good stuff!), 2 cups of granulated sugar, and 1 cup of unsweetened cocoa powder for that deep chocolatey flavor. You’ll also need 1 teaspoon of baking powder, 1/2 teaspoon of salt, and 1 teaspoon of vanilla extract to round out the taste. Make sure you have 4 large eggs ready, and 1 cup of all-purpose flour. For the spooky web itself, grab 1/2 cup of white chocolate chips and 1/4 cup of heavy cream. Oh, and a few drops of black food coloring to make those webs pop!
Essential Equipment for Making Spiderweb Brownies
You don’t need anything fancy to make these spooky treats! Just grab a 9×13 inch baking pan – that’s key for getting that perfect brownie canvas. You’ll also want a large mixing bowl and your trusty whisk or spatula. For the spiderweb magic, a couple of small bowls for your white and black chocolate, a toothpick or skewer for drawing those webs, and either a piping bag (or a zip-top bag with a tiny corner snipped off!) will do the trick. Easy peasy!
Step-by-Step Guide to Perfect Spiderweb Brownies
Alright, let’s get down to business and make these brownies happen! Following these steps is super easy, and I’ll sprinkle in a few little tips that always help me get them just right. This recipe takes a classic fudgy brownie and turns it into your go-to Halloween treat – seriously, the spiderweb part is easier than you think!
Preparing the Brownie Batter
First things first, get that oven preheated to 350°F (175°C) and give your 9×13 inch baking pan a good grease and flour. In a big bowl, I like to melt my butter and then stir in the sugar and cocoa powder until it’s nice and smooth. Next, add the baking powder, salt, and vanilla – give that a good mix too. Now for the eggs, beat them in one at a time until the batter looks smooth and glossy. You’re getting close! Finally, gently mix in the flour until it’s *just* combined. No overmixing here, we want tender brownies! Pour all that deliciousness into your prepared pan and spread it out evenly. Easy! If you’re looking for more brownie tips, check out my ultimate fudgy brownie recipe!
Baking and Cooling Your Spiderweb Brownies
Pop that pan into your preheated oven for about 25 to 30 minutes. You’ll know they’re ready when a toothpick poked into the center comes out with just a few moist crumbs attached – that’s the sign of a perfectly fudgy brownie! Once they’re baked, the hardest part: let them cool completely in the pan. This is super important, trust me! Trying to decorate warm brownies is a recipe for melty disaster, and we want that crisp web design to show up.
Creating the Spiderweb Decoration
Okay, time for the fun, spooky part! While your brownies are cooling, grab a small microwave-safe bowl. Combine your white chocolate chips and heavy cream. Zap it in the microwave for 30 seconds, stir, and repeat until it’s all melted and smooth. It should be a lovely, pourable consistency. Now, carefully divide this melted chocolate into two little bowls. Leave one plain white, and add a few drops of black food coloring to the other, stirring until you get a nice, dark black. Pop each color into its own piping bag or a zip-top bag with a tiny corner snipped off. On your *completely cooled* brownies, pipe concentric circles of the white chocolate all over. Don’t wait too long! Grab your toothpick and gently drag lines from the center outwards, through the white circles, creating that classic spiderweb effect. Just repeat this across the whole pan. It looks so cool!
Tips for Perfect Spiderweb Brownies Every Time
Alright, my baking buddies, let’s dive into how we can make these spiderweb brownies absolutely spectacular every single time you bake them. It’s all about a few little tricks and using the best stuff you have!
Ingredient Notes and Substitutions for Spiderweb Brownies
You know, Claire always stressed the importance of good ingredients, and for these brownies, it really counts! Using a really good quality cocoa powder makes a HUGE difference in that chocolatey depth. And please, make sure your eggs are at room temperature – it helps them incorporate so much better into the batter. If you’re out of white chocolate chips for the web, good quality white candy melts work too, or even a simple powdered sugar glaze mixed with a tiny bit of milk. And for that black color? If you can’t find black food coloring, don’t sweat it! You can just use the white chocolate mixture for a lighter, more subtle web. Or, if you’re feeling adventurous, try a cream cheese frosting as your base instead of plain brownies – it makes the web really pop!
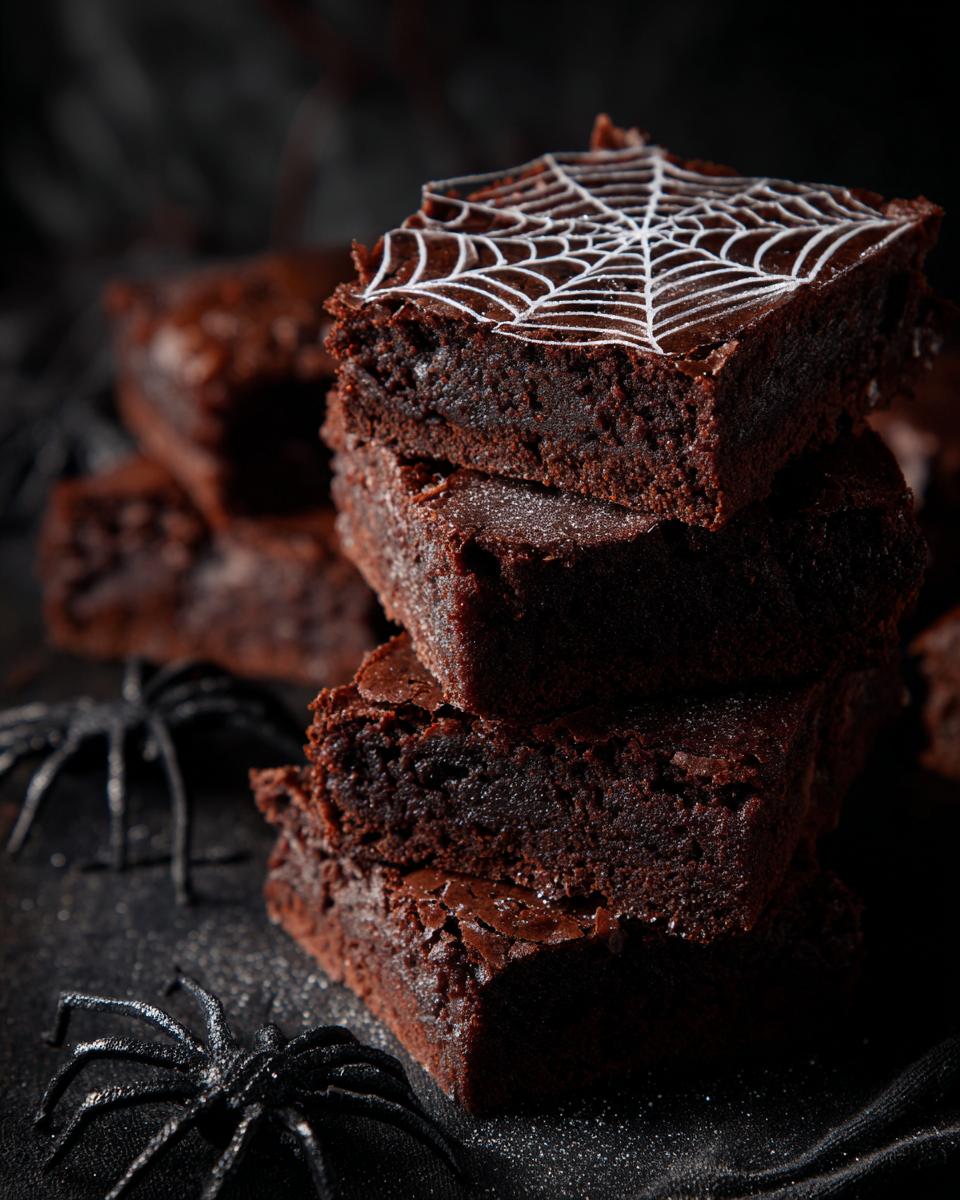
Achieving the Best Spiderweb Effect
Now, for the star of the show – that spooky spiderweb! The trick is to have your melted white and black chocolate at the right consistency; it should be smooth and flow easily but not be too runny. Pipe those white circles relatively close together, and then the magic happens with the toothpick. Dragging from the center outwards in clean, confident strokes is key. Don’t overwork it, or the colors can get muddy! If your brownies have cooled properly, the chocolate sets beautifully. Remember, a little practice goes a long way, so don’t worry if your first attempt isn’t Pinterest-perfect. It’ll still taste amazing!
Serving and Storing Your Halloween Brownies
These Spiderweb Brownies are best served at room temperature so that wonderful chocolatey flavor really shines through. You can cut them into squares or fun Halloween shapes if you’re feeling extra creative! To store them, just pop them into an airtight container. They stay wonderfully fudgy for a good 3-4 days. The spiderweb design holds up really well, making them perfect for making ahead of your Halloween party. Just keep them out of direct sunlight so the chocolate doesn’t get melty!
Frequently Asked Questions about Spiderweb Brownies
Got questions about making these spooky treats? I’ve got answers! These Spiderweb Brownies are pretty straightforward, but let’s clear up any quick doubts you might have.
Can I make cream cheese web brownies?
Oh, absolutely! My notes mention using a cream cheese frosting as a base, and it’s fantastic! It gives you a lovely tangy contrast to the rich chocolate. Just whip up your favorite cream cheese frosting, spread it on the cooled brownies, and then pipe your white and black chocolate webs on top. It really makes the web design pop, and the flavor combo is divine!
Are these brownies easy to make?
Yes, yes, YES! That’s totally the goal here. The brownie base itself is just a simple one-bowl situation, and the spiderweb decoration is surprisingly simple for how impressive it looks. Anyone looking for an easy spooky dessert is going to love this recipe. You get all the Halloween fun with minimal fuss!
What if I don’t have black food coloring?
No worries at all! If you can’t find black food coloring, you can totally skip it. Just make your melted white chocolate mixture and pipe that all over the cooled brownies. You’ll get a beautiful, lighter-colored web design that still looks super cool and totally fits the Halloween vibe. It’s a slightly different look, but still spooky and delicious!
Estimated Nutritional Information for Spiderweb Brownies
Now, let’s talk numbers! Below is the estimated nutritional information for one of these delish Spiderweb Brownies. Keep in mind that these are just estimates, based on the ingredients and portion sizes we used. Things like the exact brands you pick or how you might adjust the recipe can change these stats a little. But it gives you a good idea of what you’re working with!
Serving Size: 1 brownie
- Calories: 250
- Sugar: 30g
- Sodium: 100mg
- Fat: 14g
- Saturated Fat: 8g
- Unsaturated Fat: 6g
- Trans Fat: 0g
- Carbohydrates: 30g
- Fiber: 2g
- Protein: 3g
- Cholesterol: 50mg
Share Your Spiderweb Brownie Creations!
I just *love* seeing your baking adventures! If you whip up these Spiderweb Brownies, please, please, please leave a comment below and tell me how they turned out! A quick rating helps other bakers too. And if you snap some photos for the ‘gram, tag us! It makes my day (and Claire’s!) to see your spooky creations. Curious about something else? Feel free to reach out anytime!
PrintSpiderweb Brownies

Easy and festive Halloween brownies with a spooky spiderweb design.
- Prep Time: 20 min
- Cook Time: 30 min
- Total Time: 50 min
- Yield: 24 servings 1x
- Category: Dessert
- Method: Baking
- Cuisine: American
- Diet: Vegetarian
Ingredients
- 1 cup (2 sticks) unsalted butter
- 2 cups granulated sugar
- 1 cup unsweetened cocoa powder
- 1 teaspoon baking powder
- 1/2 teaspoon salt
- 1 teaspoon vanilla extract
- 4 large eggs
- 1 cup all-purpose flour
- 1/2 cup white chocolate chips
- 1/4 cup heavy cream
- Black food coloring
Instructions
- Preheat your oven to 350°F (175°C). Grease and flour a 9×13 inch baking pan.
- In a large bowl, melt the butter. Stir in the sugar and cocoa powder until well combined.
- Add the baking powder, salt, and vanilla extract. Mix well.
- Beat in the eggs one at a time until the batter is smooth.
- Gradually add the flour, mixing until just combined. Do not overmix.
- Pour the batter into the prepared baking pan and spread evenly.
- Bake for 25-30 minutes, or until a toothpick inserted into the center comes out with moist crumbs.
- Let the brownies cool completely in the pan.
- While the brownies cool, prepare the spiderweb topping. In a small microwave-safe bowl, combine the white chocolate chips and heavy cream. Microwave in 30-second intervals, stirring in between, until the chocolate is melted and smooth.
- Divide the melted white chocolate into two small bowls. Leave one bowl plain white. Add a few drops of black food coloring to the second bowl and stir until you achieve a black color.
- Transfer the white chocolate mixture to a piping bag or a zip-top bag with a corner snipped off. Do the same for the black chocolate mixture.
- Pipe concentric circles of white chocolate onto the cooled brownies.
- Immediately use a toothpick or skewer to drag lines from the center outwards through the white circles, creating a spiderweb pattern.
- Repeat this process across the entire surface of the brownies.
- Allow the spiderweb topping to set before cutting and serving.
Notes
- For a richer chocolate flavor, use high-quality cocoa powder.
- Ensure your brownies are completely cool before decorating to prevent the white chocolate from melting too quickly.
- If you don’t have black food coloring, you can omit the black chocolate and just use white chocolate for a lighter web design.
- Consider using a cream cheese frosting base for a different flavor profile and a more vibrant web contrast.
Nutrition
- Serving Size: 1 brownie
- Calories: 250
- Sugar: 30g
- Sodium: 100mg
- Fat: 14g
- Saturated Fat: 8g
- Unsaturated Fat: 6g
- Trans Fat: 0g
- Carbohydrates: 30g
- Fiber: 2g
- Protein: 3g
- Cholesterol: 50mg