
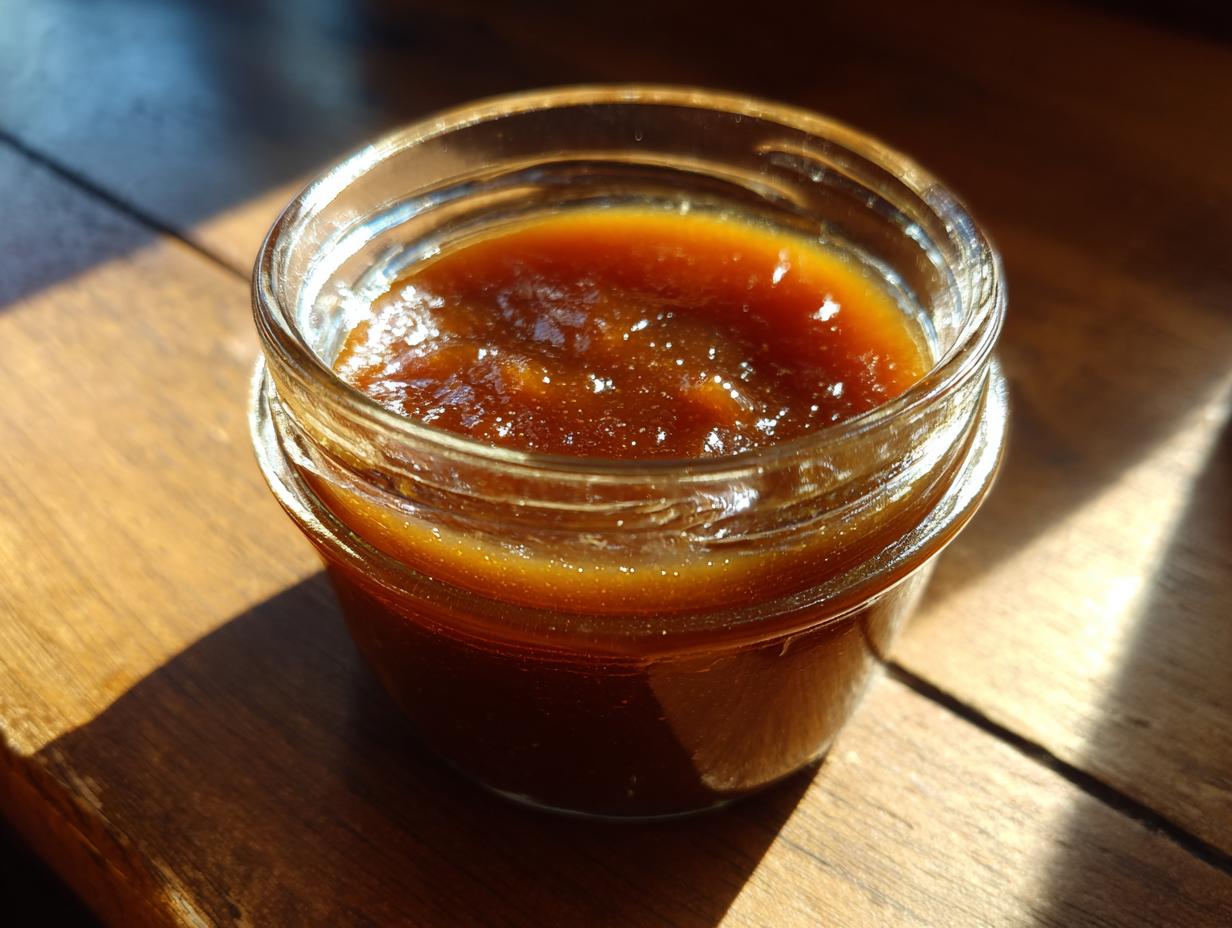
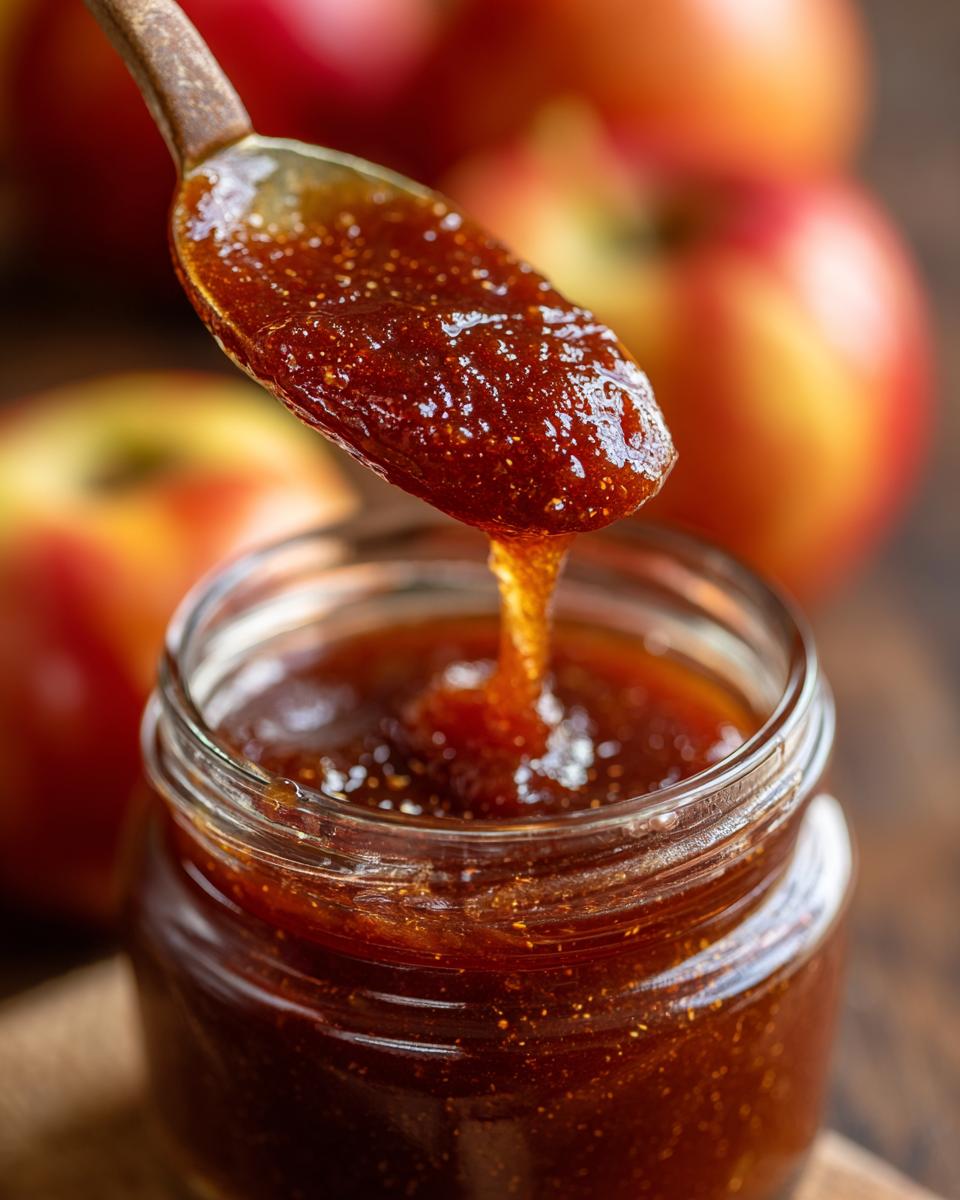
Oh, that crisp autumn air and the promise of apple picking season! It just makes me think of cozy kitchens and the absolute comfort of a homemade treat. For me, there’s nothing that screams fall quite like a jar of luscious, deep-red Apple Butter. It’s like bottling up all those warm, spiced feelings. My own grandmother used to make the most incredible batch, and the smell alone would fill our New England home with so much love and happiness. This recipe is all about bringing that same feeling to your kitchen, using a traditional, slow-cooked method to create a fabulously smooth and intensely flavored spiced apple spread that’s pure autumn goodness.
- Why You'll Love This Traditional Apple Butter Recipe
- Ingredients for the Perfect Apple Butter
- How to Make Apple Butter: Step-by-Step
- Tips for the Best Spiced Apple Spread
- Canning Apple Butter: Preserving Fall Flavors
- Storage and Reheating Instructions
- Frequently Asked Questions about Apple Butter
- Estimated Nutritional Information
- Share Your Homemade Apple Butter Creations!
Why You’ll Love This Traditional Apple Butter Recipe
Seriously, this apple butter recipe is a gem! Here’s why you’ll want to whip up a batch (or three!):
- Super Easy: Other than a little patience for simmering, this is incredibly straightforward. Perfect for using up that overflowing basket of apples!
- Incredible Flavor: It’s like fall in a jar! Deeply spiced, naturally sweet, and oh-so-smooth. It’s so much richer than plain applesauce.
- So Versatile: Spread it on toast, swirl it into yogurt, top your pancakes, or even mix it into a glaze for pork. It’s a kitchen staple!
- Pure Nostalgia: There’s something so comforting about this spiced apple spread. It brings back those cozy childhood memories and feels like pure, homemade bliss.
Ingredients for the Perfect Apple Butter
Alright, let’s talk about what goes into this magical apple butter! It’s pretty simple, but the quality of your ingredients really shines through, just like in any good family recipe. You’ll want about 6 pounds of apples for this – that’s usually around 18 to 24 medium-sized ones. Make sure you peel them, get rid of those cores, and then quarter them up. For the sweetness, we’re using a combo: 2 cups of regular granulated sugar and 1 cup of *packed* light brown sugar. Don’t forget your spices! We’ve got 1 teaspoon of cinnamon, half a teaspoon of cloves, and a quarter teaspoon of allspice – that’s the sweet spot for that warm fall flavor. A little pinch of salt (1/4 teaspoon) always helps everything pop, and we’ll finish it off with 1 teaspoon of vanilla extract.
Oh, and a little secret from my kitchen: using a mix of apple varieties like Honeycrisp, Fuji, or Gala makes the flavor so much richer and more complex. Trust me, it’s worth it!

How to Make Apple Butter: Step-by-Step
Making apple butter feels like a little bit of kitchen magic, and honestly, it’s all about patience and letting those lovely flavors meld together. Claire’s philosophy is all about taking your time, and this recipe is the perfect example of that. We’ll break it down so it’s super easy to follow, even if you’ve never made anything like it before. It’s less about rushing and more about the care you put into it, just like my own grandmom taught me.
Preparing the Apples and Initial Cook
First things first, let’s get those apples ready! You’ve peeled, cored, and quartered them, so now just pop them into your big, heavy pot. Add in both sugars, all those wonderful spices – the cinnamon, cloves, and allspice – plus that pinch of salt. Give it all a good stir. Then, turn the heat to medium and let it all bubble away gently for about 15-20 minutes. You’ll see the apples start to soften up and let go of their juices. This initial cook is crucial; it starts breaking down the apples and getting everything ready for that slow, magical transformation.
Simmering to Deepen Flavor and Texture
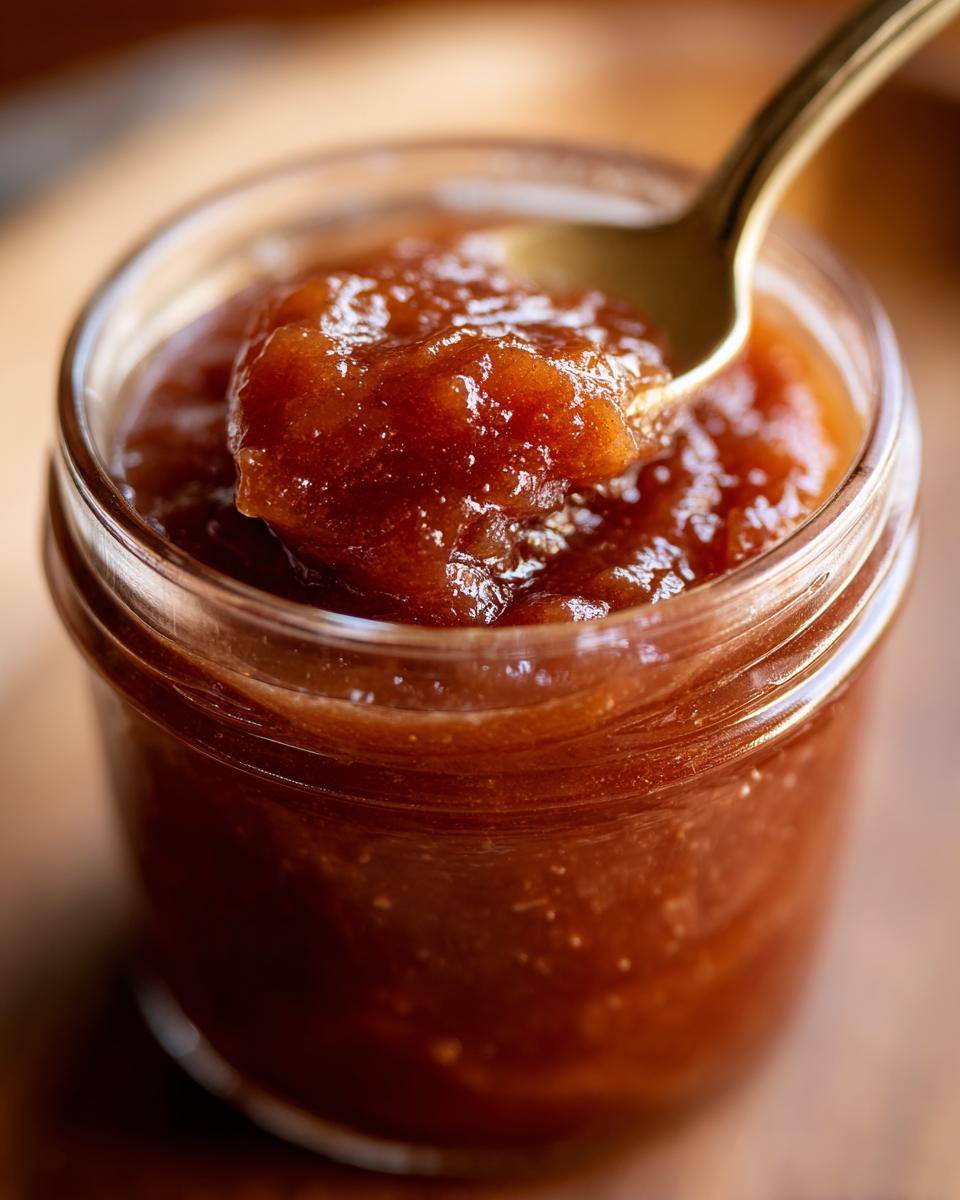
Now comes the part where the real goodness happens – the simmer! Lower your heat to low, low, *low*. You want it just barely bubbling. For apple butter, we leave the lid OFF. Yep, uncovered! This is key to letting all that extra moisture evaporate, which makes your apple butter nice and thick with that gorgeous, deep color. You’ll need to stir it pretty frequently, especially as it thickens, just to make sure nothing sticks to the bottom and burns – nobody wants burnt apple butter! This process can take anywhere from 2 to 3 hours. You’re looking for it to be thick, like a super-rich applesauce, and a lovely deep copper color. Trust the process; it’s worth every minute!
If you’re looking for a quicker apple fix, maybe try these overnight oats!
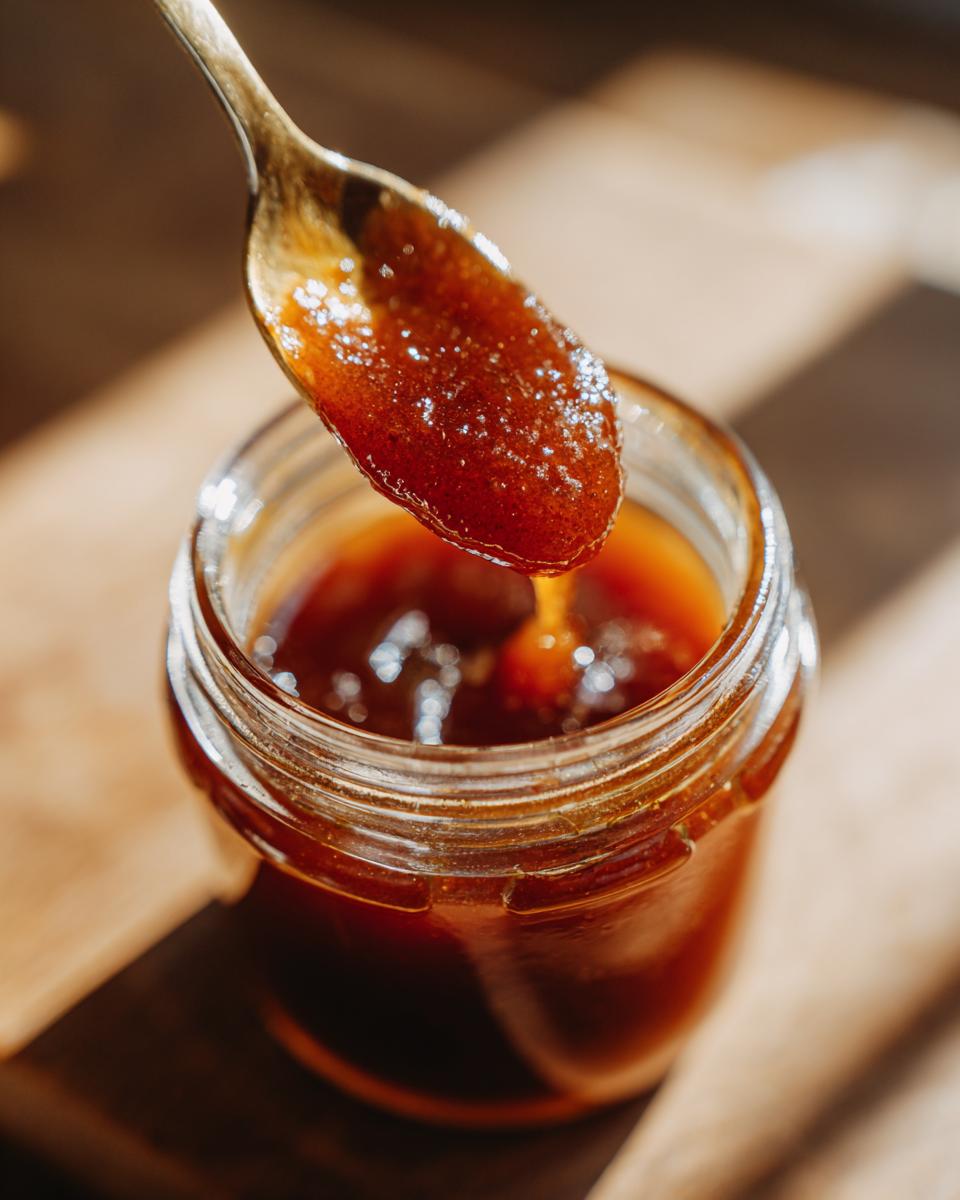
Achieving Your Ideal Apple Butter Smoothness
Once it’s reached that perfect, thick consistency, it’s time for the final touch: blending! If you have an immersion blender, this is where it really shines. Just stick it right into the pot and blend until it’s as smooth as silk. If you don’t have one, no worries at all! Just let the apple butter cool down a bit, then carefully transfer it to your regular blender in batches. Blend until it’s super smooth and creamy. Be careful when blending hot liquids, of course! Once it’s blended to your liking, stir in that teaspoon of vanilla extract. Oh, that smell!
Tips for the Best Spiced Apple Spread
You know, Claire always says that a recipe is just a starting point, and the real magic happens with a few little tweaks and a lot of love. Making apple butter is no different! I’ve picked up a few tricks over the years that really make a difference, turning a good batch into an absolutely *amazing* one. It’s all about those little details that make your homemade apple butter totally irresistible, like a warm hug in a jar. And remember, we test everything here to make sure it’s just perfect for your kitchen!
Choosing the Right Apples for Apple Butter
So, picking your apples is more important than you might think! For the best apple butter, I really love using a mix of apple varieties. Think of it like a flavor party! Tart apples like McIntosh or Cortland give you that lovely zing, while sweeter ones like Fuji, Gala, or Honeycrisp bring in more natural sweetness and a great texture. A good blend means you get a really complex flavor and the perfect amount of natural pectin, which helps it thicken up beautifully without needing extra stuff. You want apples that hold their shape a little at first but break down nicely as they cook.
Balancing Spices in Your Apple Butter
The spices are where the real “fall in a jar” magic happens! The recipe calls for a classic combo of cinnamon, cloves, and allspice, which is my absolute favorite. But don’t be afraid to play around! If you love cinnamon, maybe add a little extra. I sometimes sneak in a tiny pinch of nutmeg or even a whisper of ginger, especially on a chilly day – it just adds another cozy layer. The key is to taste as you go, especially after it’s thickened up. You want the spices to complement the apples, not overpower them. Finding that perfect balance is so satisfying!
If you’re looking for another delicious way to use up your apples, you should totally check out my classic apple crisp recipe! It’s another fall favorite.
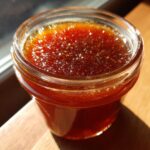
Canning Apple Butter: Preserving Fall Flavors
So you’ve made this gorgeous, deep-spiced apple butter, and now you want to keep that taste of fall around for months to come? Canning is the way to go! It’s not as scary as it sounds, promise. First, make sure all your jars and lids are super clean – I like to boil them for about 10 minutes to get them properly sterilized. Once your apple butter is done and nice and hot, ladle it carefully into the jars, leaving about a quarter-inch of space at the top. Wipe those rims clean – this is important for a good seal! Pop on your lids and rings (finger-tight is perfect). Then, pop those jars into a pot of boiling water (a boiling water bath canner is best!) and let them bubble away for 10 minutes. If you live higher up, you’ll need to add a little extra time, usually about a minute for every 1,000 feet above sea level. This whole process locks in that delicious flavor and makes sure your apple butter stays safe and tasty!
Storage and Reheating Instructions
If you’re not canning your beautiful apple butter, don’t worry! It stores wonderfully in the fridge. Just make sure you pop it into clean, airtight containers. It’ll stay delicious like this for about 3 weeks. If it happens to get a little thick or stiff after sitting in the cold, just give it a gentle stir. If you want it warmer for something like topping pancakes, you can even warm it up slightly in a small saucepan over low heat or pop a spoonful in the microwave. Just be careful, it heats up fast!
Frequently Asked Questions about Apple Butter
You’ve got questions, and I’ve got answers! Making apple butter is a labor of love, and it’s totally normal to have a few things on your mind. Here are some of the questions I get asked most often, along with my best advice! For recipe inspiration any night of the week, check out my easy weeknight dinners!
Apple Butter vs. Applesauce: What’s the Difference?
This is a great question! Think of applesauce as the quick cousin, and apple butter as the intensely-flavored, slow-cooked relative. Applesauce is usually cooked pretty quickly until apples are soft, then blended. Apple butter, though, simmers for HOURS. This long cooking time truly caramelizes the sugars and deepens the flavor, making it much richer, darker, and sweeter than applesauce. It’s also way thicker! So, while they both use apples, the cooking time makes all the difference in the world.
Can I Use a Slow Cooker for Apple Butter?
Absolutely! If you’re looking to make slow cooker apple butter, you’re in luck. It’s a fantastic way to get that low-and-slow simmer without keeping an eye on the stove constantly. Just follow the recipe for preparing the apples and spices, then dump everything into your slow cooker. Set it on low for about 8-10 hours, or on high for 4-5 hours. You’ll want to stir it occasionally, especially as it starts to thicken towards the end. Make sure it’s uncovered during the last hour or so if you want it nice and thick!
And hey, if you’re curious about other slow cooker magic, you should definitely check out my crockpot pulled pork recipe!
Estimated Nutritional Information
Now, let’s talk about what’s in this delicious apple butter! Keep in mind these values are estimates per serving (that’s usually about 2 tablespoons) and can vary a bit depending on the exact apples and sugars you use. For each serving, you’re looking at around 70 calories, with about 17g of sugar and 18g of carbohydrates. It’s virtually fat-free with 0g of fat and protein, and has just a tiny bit of fiber (around 1g) and sodium (only 5mg). It’s a wonderful way to enjoy those classic fall flavors!
Share Your Homemade Apple Butter Creations!
I just LOVE seeing what you all create in your kitchens! If you made this apple butter, please drop a comment below to let me know what you thought. Rate the recipe if you have a moment, and if you snap a pic of your gorgeous spiced apple spread – maybe on toast or swirled into some yogurt – be sure to tag us on social media! Seeing your homemade goodness is the best part of all this. Learn more about our baking family here!
PrintClassic Apple Butter Recipe
A traditional, slow-cooked spiced apple spread perfect for fall.
- Prep Time: 30 min
- Cook Time: 3 hours
- Total Time: 3 hours 30 min
- Yield: About 6 cups 1x
- Category: Preserves
- Method: Stovetop
- Cuisine: American
- Diet: Vegetarian
Ingredients
- 6 pounds apples (about 18–24 medium), peeled, cored, and quartered
- 2 cups granulated sugar
- 1 cup packed light brown sugar
- 1 teaspoon ground cinnamon
- 1/2 teaspoon ground cloves
- 1/4 teaspoon ground allspice
- 1/4 teaspoon salt
- 1 teaspoon vanilla extract
Instructions
- Combine the prepared apples, granulated sugar, brown sugar, cinnamon, cloves, allspice, and salt in a large, heavy-bottomed pot or Dutch oven.
- Cook over medium heat, stirring occasionally, until the apples begin to soften and release their juices, about 15-20 minutes.
- Reduce the heat to low and simmer, uncovered, stirring frequently to prevent sticking, for 2 to 3 hours, or until the mixture has thickened and deepened in color. The consistency should be like a thick applesauce.
- Stir in the vanilla extract.
- For a smoother texture, you can use an immersion blender to blend the apple butter directly in the pot until it reaches your desired smoothness. Alternatively, let it cool slightly and blend in batches in a regular blender.
- Ladle the hot apple butter into sterilized jars, leaving 1/4-inch headspace. Wipe rims clean, apply lids and rings, and process in a boiling water bath for 10 minutes (adjust for altitude).
- Alternatively, cool completely and store in airtight containers in the refrigerator for up to 3 weeks.
Notes
- For a richer flavor, use a mix of apple varieties like Honeycrisp, Fuji, and Gala.
- If you prefer a less sweet apple butter, you can reduce the sugar slightly, but be aware this may affect the preservation qualities.
- This apple butter can be made in a slow cooker on low for 8-10 hours or high for 4-5 hours, stirring occasionally.
- Consider this a wonderful addition to your meal planning for fall breakfasts and snacks.
Nutrition
- Serving Size: 2 tablespoons
- Calories: 70
- Sugar: 17g
- Sodium: 5mg
- Fat: 0g
- Saturated Fat: 0g
- Unsaturated Fat: 0g
- Trans Fat: 0g
- Carbohydrates: 18g
- Fiber: 1g
- Protein: 0g
- Cholesterol: 0mg