
Nothing beats the cozy feeling of digging into classic comfort foods, especially when game day is on or you’re just looking for a super satisfying weekend meal! And honestly, what’s more iconic and downright delicious than a perfectly loaded Chili Dog? Making these amazing ballpark-style treats right in your own kitchen is totally doable, and trust me, it’s a total game-changer! Here at Bliss Batter, we’re all about bringing that homemade happiness, just like my Grandma used to make. My mission is simple: share easy-to-follow recipes, like these awesome Chili Dogs, that make you feel confident and bring pure joy to your table. We promise our recipes are tested and true, so you get fantastic results every single time!
- Why You'll Love These Classic Chili Dogs
- Ingredients for Homemade Chili Dogs
- Crafting the Perfect Chili for Your Chili Dogs
- Preparing Your Tailgate Hot Dogs
- Assembling Your Perfect Chili Dogs
- Tips for Achieving Ballpark-Style Chili Dogs
- Frequently Asked Questions about Chili Dogs
- Nutritional Information for Chili Dogs
- Share Your Chili Dog Creations!
Why You’ll Love These Classic Chili Dogs
Seriously, these homemade chili dogs are just the best! Here’s why you’ll be making them again and again:
- Super Easy to Make: You can whip up the chili and have everything assembled in about an hour, making it perfect for busy evenings or spontaneous get-togethers.
- Crowd-Pleaser Guaranteed: Who doesn’t love a good chili dog? They’re a guaranteed hit for game days, barbecues, or just a fun family dinner.
- So Versatile: This recipe is amazing as-is, but you can totally play around with toppings and make them your own. They’re the ultimate casual meal!
Ingredients for Homemade Chili Dogs
Okay, so you’ve got your game plan, now let’s talk about what we need to make these amazing chili dogs happen! The beauty of this recipe is that it uses simple, everyday ingredients you probably already have in your pantry. For the chili itself, you’ll need about a pound of good ol’ ground beef – make sure it’s not too lean for the best flavor. Then, we’ve got one medium onion, chopped fine, and a couple of garlic cloves, all minced up. Grab a can of tomato sauce and a can of diced tomatoes (don’t drain those, they add lovely moisture!). A little water, some chili powder and cumin for that classic warmth, salt and pepper to taste… and if you like a little kick, a pinch of cayenne pepper. Then, of course, you’ll need 8 hot dogs and 8 soft hot dog buns – the ones that are perfect for loading up! Don’t forget your favorite toppings too, like shredded cheddar cheese, chopped onions, or a swirl of mustard. Using good quality ingredients really makes a difference, so go for the stuff you love!
Crafting the Perfect Chili for Your Chili Dogs
Alright, now for the heart of our amazing Chili Dogs – the chili itself! This is where we build that rich, savory flavor that just screams comfort food. I always think of my Grandma when I’m making a big pot of chili; it’s that wonderful, slow-cooked aroma filling the house. Making chili specifically for hot dogs is a little different than for a big bowl; we want it nice and thick so it doesn’t run everywhere the second you pick it up. It’s all about getting those deep flavors to meld together perfectly. Trust me, this homemade chili dog sauce is going to be your new favorite!
If you’re looking for even more chili goodness, you should totally check out my Slow Cooker Chili recipe – it’s fantastic too, but for these dogs, we’re doing it right on the stovetop!
Browning the Beef and Aromatics
First things first, grab your biggest skillet. We want to get that ground beef in there over medium-high heat and cook it all up until it’s beautifully browned. Give it a good drain to get rid of any extra fat; we want flavor, not grease! Then, toss in your chopped onion. Let that sizzle and soften up for about 5 minutes until it’s nice and tender. Finally, add your minced garlic and cook for just one more minute until you can really smell that amazing garlicky aroma. This little bit of sautéing really wakes up all those flavors!
Simmering the Homemade Chili Sauce
Now it’s time to bring everything together! Stir in the tomato sauce, your can of diced tomatoes (with all their juicy goodness!), and that bit of water. Next, sprinkle in your chili powder, cumin, salt, black pepper, and if you’re feeling a little brave, that optional cayenne pepper. Give it all a good stir so everything is mixed in perfectly. Bring this whole wonderful concoction to a gentle simmer, then turn the heat way down low, pop a lid on it, and let it cook for at least 30 minutes, stirring every now and then. For that perfect, thick texture we’re looking for in a hot dog chili sauce, uncover it for the last 10-15 minutes to let it thicken up even more. Ah, the smell!
Preparing Your Tailgate Hot Dogs
Okay, so you’ve got that amazing chili simmering away – gorgeous! Now, let’s talk about getting those hot dogs ready. You’ve got options here, and honestly, they’re all delicious! If you love that smoky flavor, grilling them up is fantastic.
Prefer a quick and easy route? Boiling them works perfectly. Or maybe you want a little char? Pan-frying them in a skillet until they’re nicely browned is another great choice. Whatever method you pick, make sure your hot dogs are cooked through and looking lovely. And those buns? Don’t forget to warm them up! I like to wrap mine in foil and pop them in a warm oven while the chili finishes, or just give them a quick toast. It makes a world of difference, trust me!
Assembling Your Perfect Chili Dogs
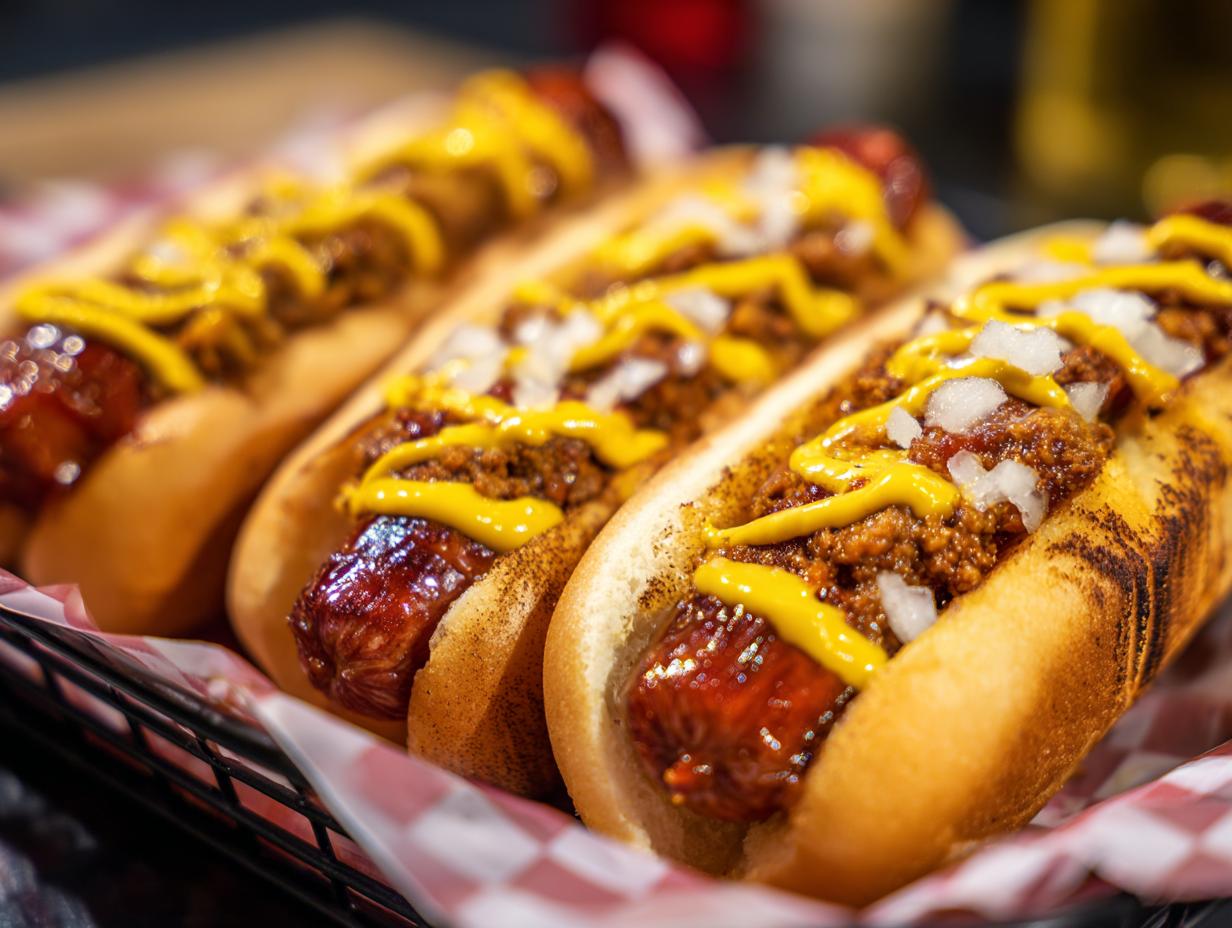
Alright, the moment we’ve all been waiting for – putting these glorious Chili Dogs together! This is where all your hard work comes together to create that perfect, messy, delicious stadium-style bite. Grab your warm buns – you definitely don’t want soggy bottoms, right? We’ll talk about that in a sec! Lay a cooked hot dog right into each bun. Then, pile on that beautiful, thick chili you just made. Be generous! This is where the magic really happens, turning a simple hot dog into a fully loaded adventure.
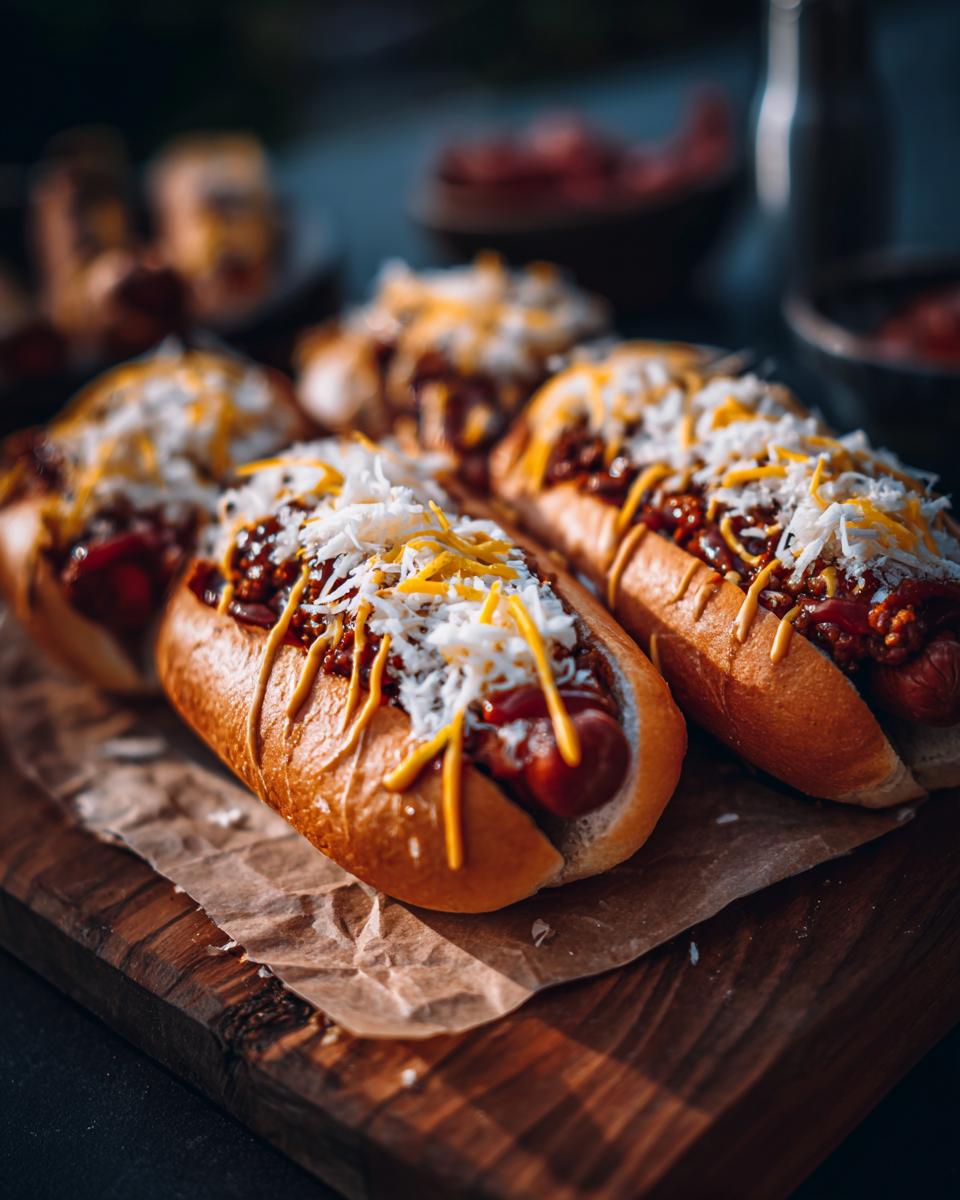
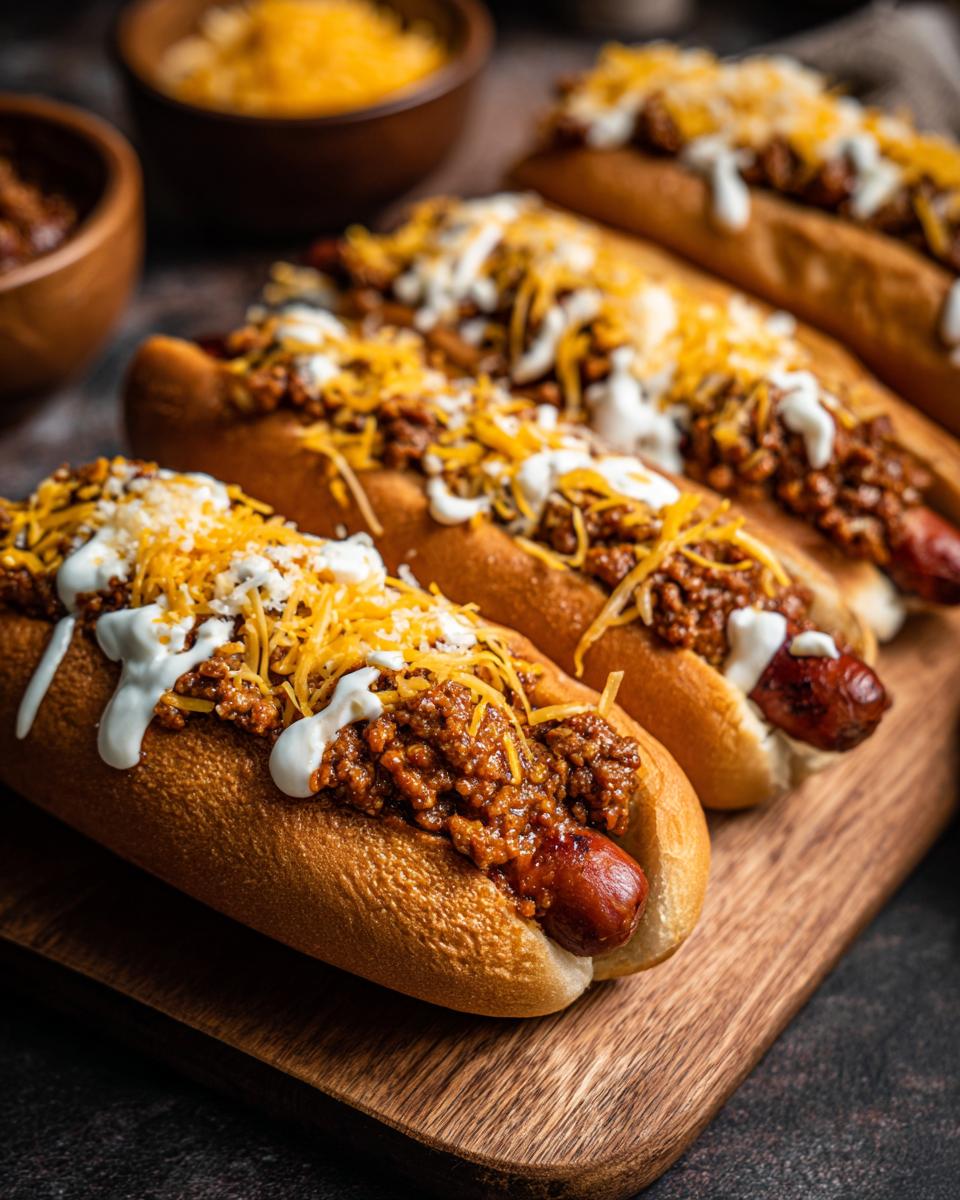
Now, for the grand finale: your toppings! Sprinkle on that shredded cheddar cheese, add some crunchy chopped onions, or give it a squiggle of mustard. Whatever you love, load it up! It’s your chance to make these totally yours.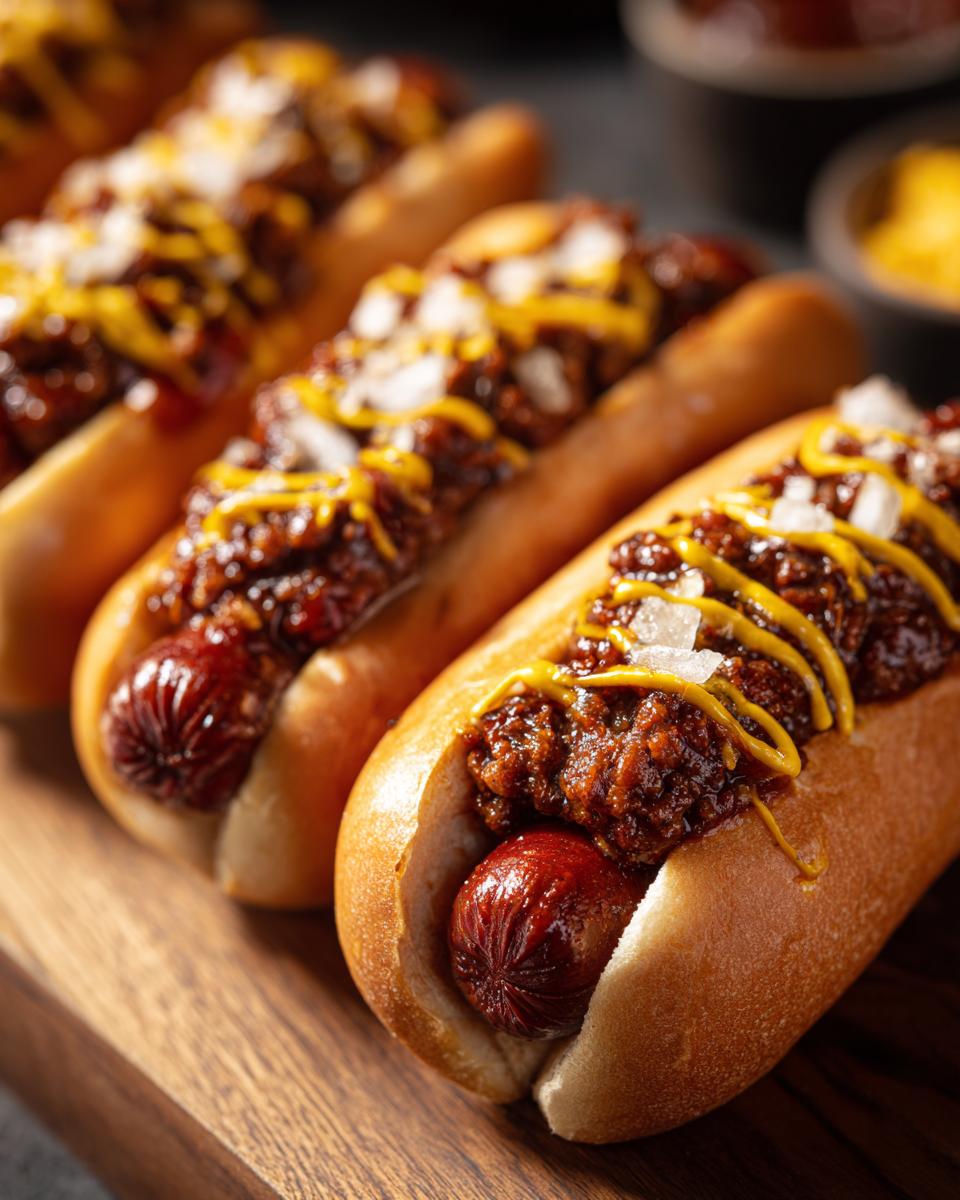
Tips for Achieving Ballpark-Style Chili Dogs
Okay, let’s talk about those little tricks that take your homemade chili dogs from good to absolutely *amazing*, just like you’d get at the ballpark! My goal is always to make sure every bite is perfect, and that means dealing with a few common annoyances, like soggy buns. Nobody likes a floppy bun! A simple tip is to lightly toast your buns before you add the chili – it creates a bit of a barrier. My favorite trick, though? Sometimes I just put the chili on the side, and everyone can add as much as they want. It keeps everything neat and tidy!
And for that chili? Oh, there are a couple of secret weapons I love to add to really amp up the flavor. A teaspoon of unsweetened cocoa powder might sound weird, but it adds this incredible depth and richness that you just can’t get otherwise. Or, a splash of beer during the simmer? Wowza! It brings out all those savory notes. These are just little things I’ve learned over the years that make a huge difference!
Frequently Asked Questions about Chili Dogs
Got questions about making the best chili dogs ever? I’ve got you covered! People always ask me about getting ahead, making them vegetarian, or just jazzing them up. Don’t worry, these are all super simple fixes!
Can I Make the Chili Ahead of Time?
Oh, absolutely! In fact, I think the chili tastes even better the next day! Just make it up to 2-3 days in advance, let it cool completely, and store it in an airtight container in the fridge. Reheat it gently on the stovetop or in the microwave. So easy!
What Other Toppings Work Well for Chili Dogs?
This is where you can get really creative! Beyond cheese and onions, try some sour cream or a dollop of plain Greek yogurt, pickled jalapeños for a kick, or even a bit of coleslaw for that Coney Island dogs vibe. Some people even do a sprinkle of crushed tortilla chips!
How Do I Store Leftover Chili?
Leftover chili is gold! Let it cool down, then store it in an airtight container in the refrigerator for up to 3-4 days. You can also freeze it for about 2-3 months – just thaw it overnight in the fridge before reheating.
Nutritional Information for Chili Dogs
Now, I know we’re not really counting calories when we’re diving into a delicious plate of chili dogs, right? But for those who like to know, here’s a general idea. These numbers are estimates, of course, because what you put *on* your chili dog can really change things! This usually breaks down to about 1 chili dog being roughly 450 calories, with around 8g of sugar and a hearty 1200mg of sodium. You’re looking at about 25g of fat, with 10g of that being saturated, and 15g of unsaturated fat. We’ve got about 30g of carbs, 4g of fiber, and a good 25g of protein to keep you fueled up!
Share Your Chili Dog Creations!
Have you made these amazing chili dogs? I would absolutely LOVE to hear what you thought! Drop a comment below and tell me how they turned out, or maybe share your favorite toppings! And if you snagged a picture of your loaded hot dog masterpiece, tag us on social media – we can’t wait to see your incredible creations! If you have any questions or just want to share your culinary adventures, feel free to reach out via our contact page!
PrintClassic Chili Dogs

Learn to make delicious, ballpark-style chili dogs at home, perfect for game days or casual gatherings. This recipe features a rich, meaty chili and tips for perfect assembly.
- Prep Time: 15 min
- Cook Time: 45 min
- Total Time: 60 min
- Yield: 8 servings 1x
- Category: Main Course
- Method: Stovetop
- Cuisine: American
- Diet: Vegetarian
Ingredients
- 1 lb ground beef
- 1 medium onion, chopped
- 2 cloves garlic, minced
- 1 (15 oz) can tomato sauce
- 1 (15 oz) can diced tomatoes, undrained
- 1/4 cup water
- 2 tablespoons chili powder
- 1 teaspoon cumin
- 1/2 teaspoon salt
- 1/4 teaspoon black pepper
- 1/4 teaspoon cayenne pepper (optional)
- 8 hot dogs
- 8 hot dog buns
- Optional toppings: shredded cheddar cheese, chopped onions, mustard
Instructions
- In a large skillet, cook the ground beef over medium-high heat until browned. Drain off excess fat.
- Add the chopped onion to the skillet and cook until softened, about 5 minutes. Add the minced garlic and cook for 1 minute more until fragrant.
- Stir in the tomato sauce, diced tomatoes (with their juice), and water.
- Add the chili powder, cumin, salt, black pepper, and cayenne pepper (if using). Stir to combine.
- Bring the mixture to a simmer, then reduce heat to low, cover, and cook for at least 30 minutes, stirring occasionally. For a thicker chili, simmer uncovered for the last 10-15 minutes.
- While the chili simmers, cook the hot dogs according to your preferred method (grilling, boiling, or pan-frying).
- Warm the hot dog buns. You can do this by wrapping them in foil and placing them in a warm oven (around 200°F or 95°C) for about 10 minutes, or by lightly toasting them.
- To assemble, place a cooked hot dog in each bun. Spoon a generous amount of chili over the hot dog.
- Add your favorite toppings, such as shredded cheese, chopped onions, or mustard.
Notes
- For extra flavor, add a teaspoon of unsweetened cocoa powder or a splash of beer to the chili while it simmers.
- To prevent soggy buns, lightly toast them before adding the chili, or serve the chili on the side for guests to add themselves.
- This chili recipe is also great for nachos or as a topping for baked potatoes.
Nutrition
- Serving Size: 1 chili dog
- Calories: 450
- Sugar: 8g
- Sodium: 1200mg
- Fat: 25g
- Saturated Fat: 10g
- Unsaturated Fat: 15g
- Trans Fat: 0g
- Carbohydrates: 30g
- Fiber: 4g
- Protein: 25g
- Cholesterol: 80mg