
The holidays are all about bringing people together, right? And for me, that means making sure *everyone* at the table can dig into all the classic comfort foods. If you have guests with dietary restrictions, especially those who need a gluten-free option, I get it – it can feel like a challenge to keep those beloved traditions alive. But trust me, deliciousness doesn’t have to stop at the bread. This gluten-free stuffing recipe is my answer! It’s packed with all the savory herbs, aromatic veggies, and that comforting texture you crave, proving that a gluten-free stuffing can be just as amazing as the traditional kind. It’s a recipe perfected just for you, so you can share that joyful, homemade bliss we’re all about here at Bliss Batter.
- Why You'll Love This Gluten-Free Stuffing
- Gather Your Ingredients for Gluten-Free Stuffing
- Step-by-Step Guide to Making Gluten-Free Stuffing
- Tips for the Best Gluten-Free Stuffing
- Make-Ahead and Storage for Gluten-Free Stuffing
- Frequently Asked Questions About Gluten-Free Stuffing
- Nutritional Information for Gluten-Free Stuffing
- Share Your Gluten-Free Stuffing Creations!
Why You’ll Love This Gluten-Free Stuffing
Seriously, you are going to be obsessed with this gluten-free stuffing! Here’s why:
- It’s Totally Crowd-Pleasing: Nobody will even guess it’s gluten-free. It tastes THAT good.
- Super Easy to Make: Even if you’re short on time, this comes together without a fuss.
- Perfect for Holiday Gatherings: It’s the ultimate side dish to make everyone feel included.
- Celiac-Friendly & Delicious: Everyone, from your gluten-free guests to your pickiest eaters, will adore this comforting classic.
Gather Your Ingredients for Gluten-Free Stuffing
Alright, let’s get down to business! To make this absolutely scrumptious gluten-free stuffing, you’ll need just a few simple things. Don’t worry, nothing too fancy here, just good old-fashioned ingredients that work magic together. Remember, using a good quality gluten-free bread is key here – I like to use a nice, sturdy loaf that holds up well when cubed and toasted. Here’s what we’re grabbing from the pantry and fridge:
- 1 loaf (16 oz) gluten-free bread, cut into 1-inch cubes
- 1/2 cup unsalted butter
- 2 cups chopped yellow onion (about 1 large)
- 1 cup chopped celery (about 3 stalks)
- 2 cloves garlic, minced
- 1 tablespoon chopped fresh sage
- 1 tablespoon chopped thyme
- 1 teaspoon chopped fresh rosemary
- 1 teaspoon salt
- 1/2 teaspoon black pepper
- 2 cups low-sodium chicken or vegetable broth
- 2 large eggs, lightly beaten
Step-by-Step Guide to Making Gluten-Free Stuffing
Alright, let’s get this gluten-free stuffing party started! It’s really not complicated at all, and honestly, the steps are super straightforward, which is just how I like it when I’m juggling holiday prep. You’ll be amazed at how simple it is to get this comforting dish on the table. Follow along, and we’ll have your kitchen smelling absolutely divine!
Toasting the Gluten-Free Bread Cubes
First things first, we gotta get these bread cubes nice and toasted. Preheat your oven to 350°F (175°C). Spread your gluten-free bread cubes—cut into about 1-inch pieces—all over a baking sheet. Give them about 10 to 15 minutes until they’re just lightly golden. This step is crucial for getting that perfect stuffing texture; you don’t want mushy bread! Let them cool down a bit before we move on. If you love a good rustic loaf, you might want to check out my pumpkin beer bread recipe; it makes for an amazing base!
Sautéing the Aromatics for Your Gluten-Free Stuffing
Now, grab a big skillet and melt that half cup of butter over medium heat. Toss in your chopped onions and celery. Let them get nice and soft and a little sweet, which usually takes about 8 to 10 minutes. Once they’re looking good, add in your minced garlic along with the fresh sage, thyme, and rosemary. Stir it around for just another minute until everything smells wonderfully fragrant. This is where all that amazing holiday flavor really starts to build!
Combining the Gluten-Free Stuffing Ingredients
Okay, time to bring it all together! In a big bowl (seriously, the biggest one you’ve got will be handy!), dump in your toasted gluten-free bread cubes. Add the sautéed onion and celery mixture right on top. Sprinkle in your salt and pepper. Give it all a gentle toss with your hands or a big spoon – just enough to make sure everything is nicely distributed. We’re building the foundation for our delicious gluten-free stuffing here!
Adding the Liquid Binder for Moist Gluten-Free Stuffing
In a separate little bowl, whisk together your chicken or vegetable broth and those two lightly beaten eggs. The eggs act as a binder, helping everything hold together beautifully. Now, pour this liquid mixture all over your bread and veggie mix. Gently toss everything again, making sure all those bread cubes get a good soak. We want every bite to be perfectly moist and flavorful, not dry and crumbly.
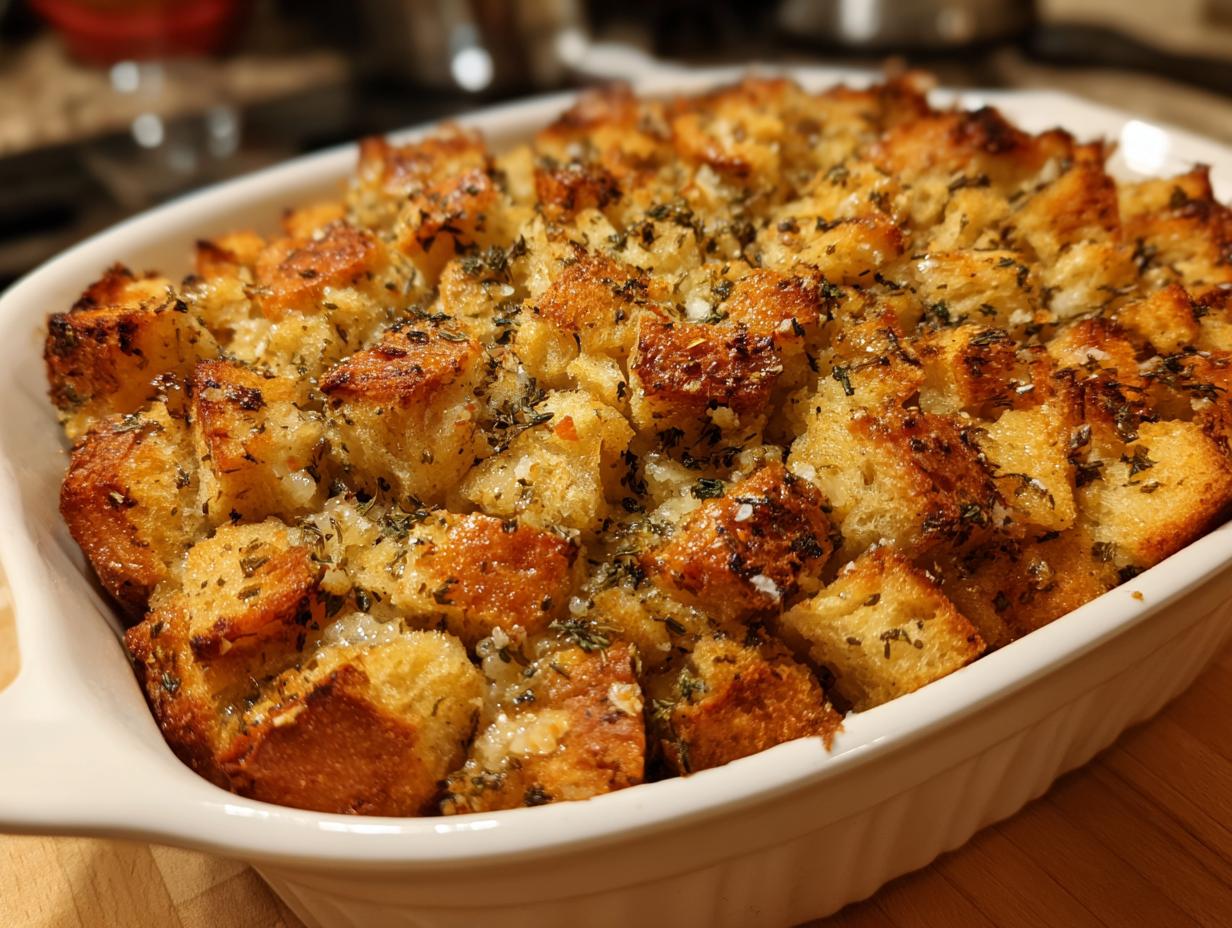
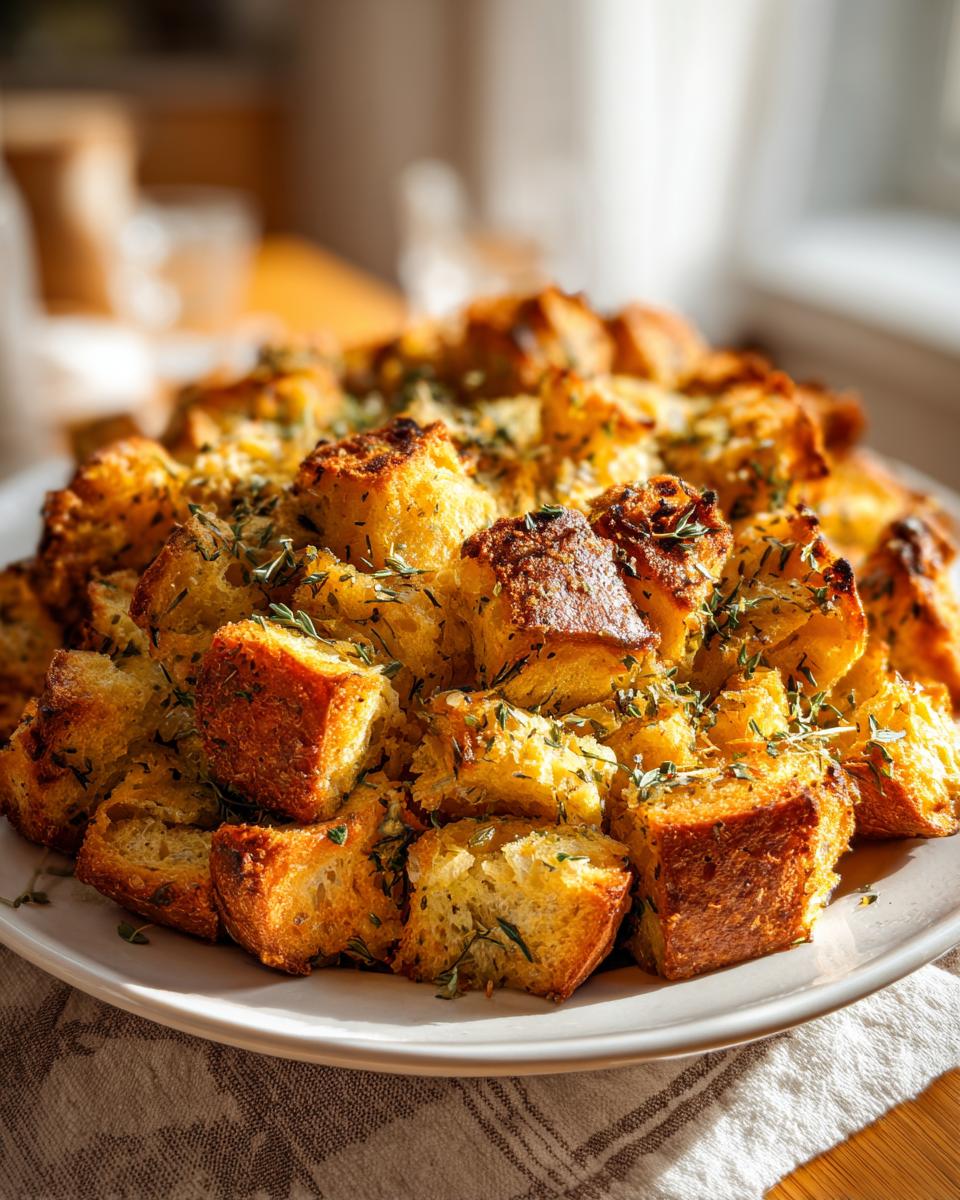
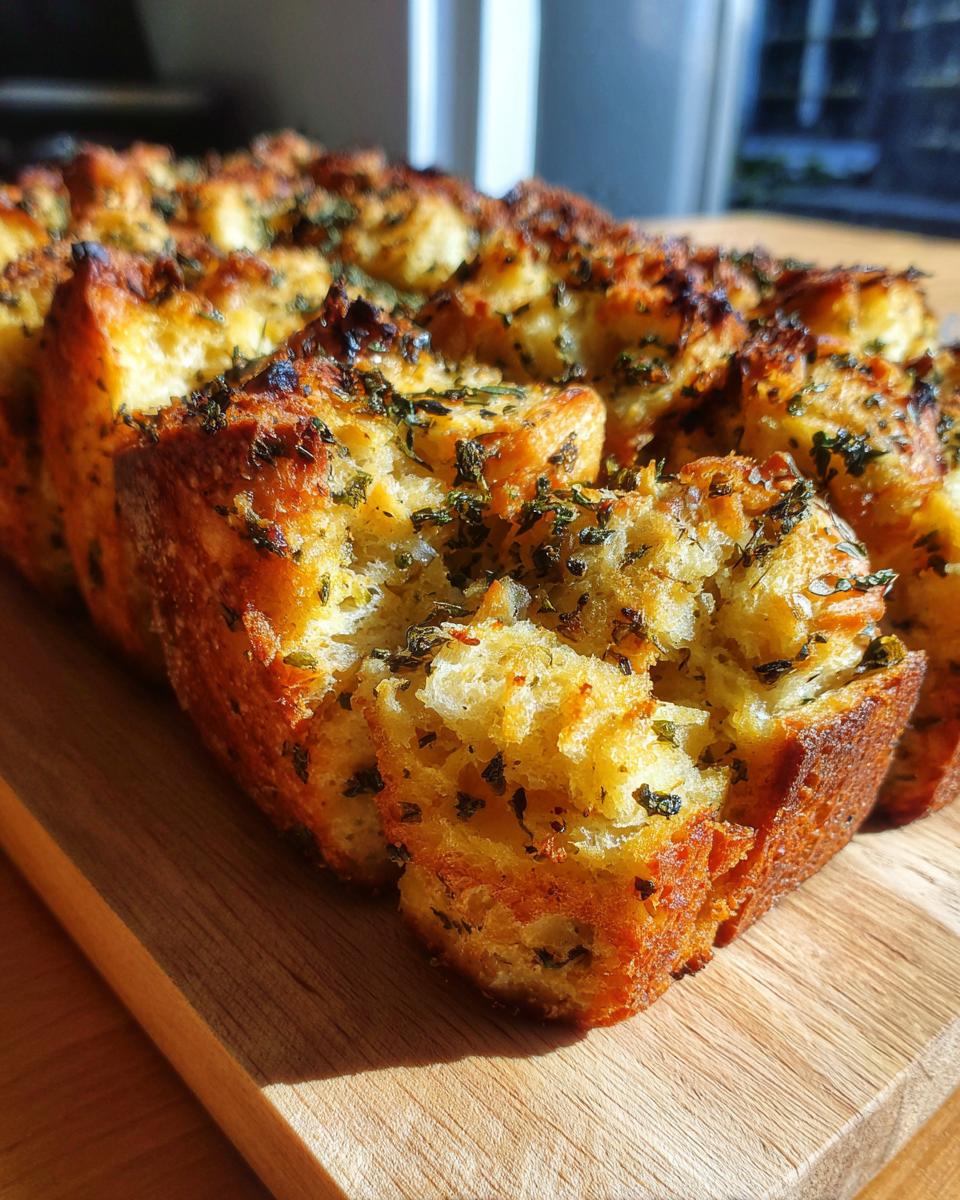
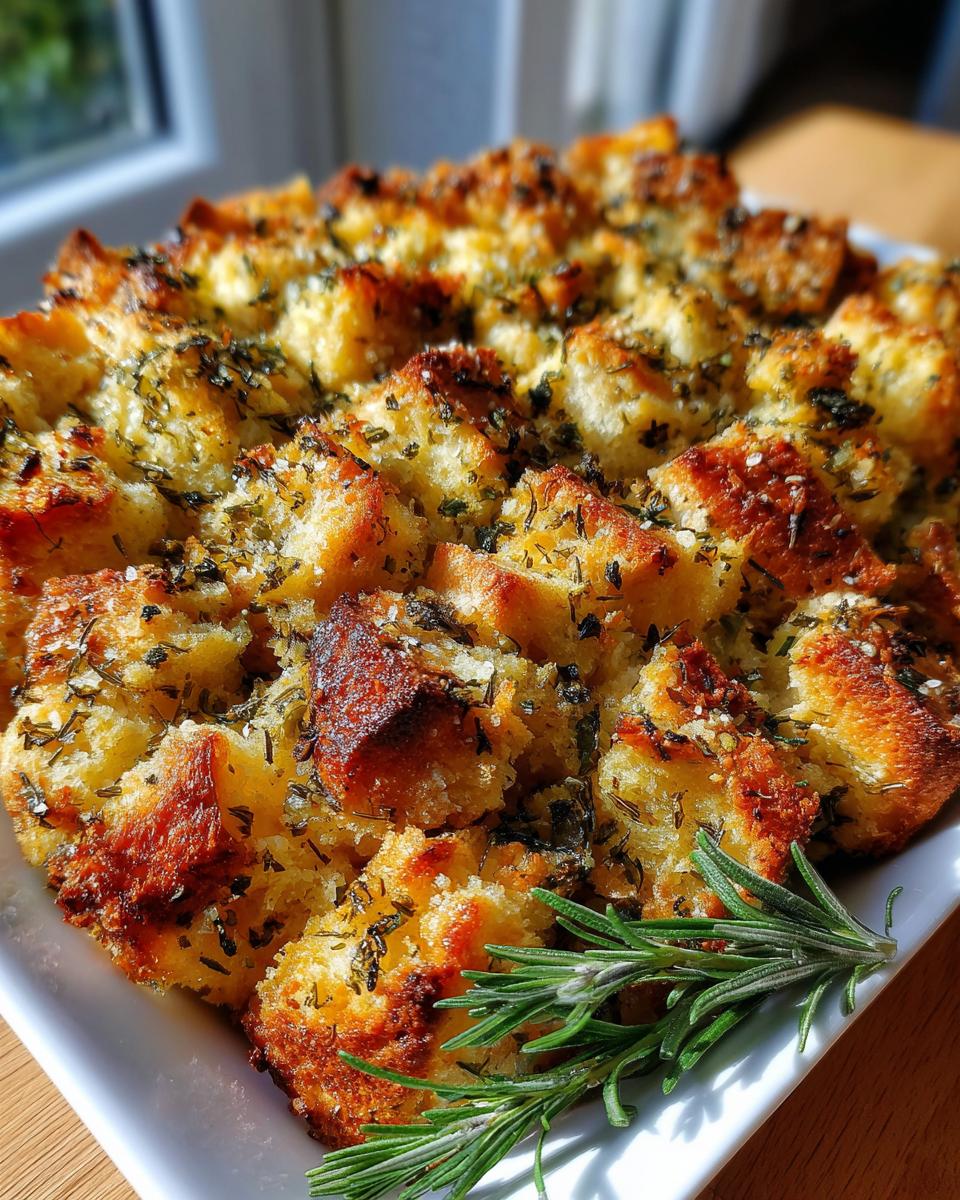
Baking Your Delicious Gluten-Free Stuffing
Finally, we bake! Carefully transfer the whole stuffing mixture into a greased 9×13 inch baking dish. Pop it into that preheated oven, and let it bake for about 25 to 30 minutes. You’re looking for that gorgeous golden-brown color on top and to make sure the whole thing is heated through and bubbly. The aroma filling your kitchen right now? Pure holiday magic!
Tips for the Best Gluten-Free Stuffing
Okay, so making a truly fantastic gluten-free stuffing isn’t hard, but there are definitely a few little tricks that make it *spectacular*. I’ve learned these over the years, and they really make a difference between just “okay” and “OMG, I need the recipe!” It’s all about these small touches. When I was developing this recipe, I really wanted to nail that comforting stuffing vibe without any gluten, and these tips are what got me there. If you’re looking for more bread inspiration, my autumn harvest pumpkin bread is also a super cozy option!
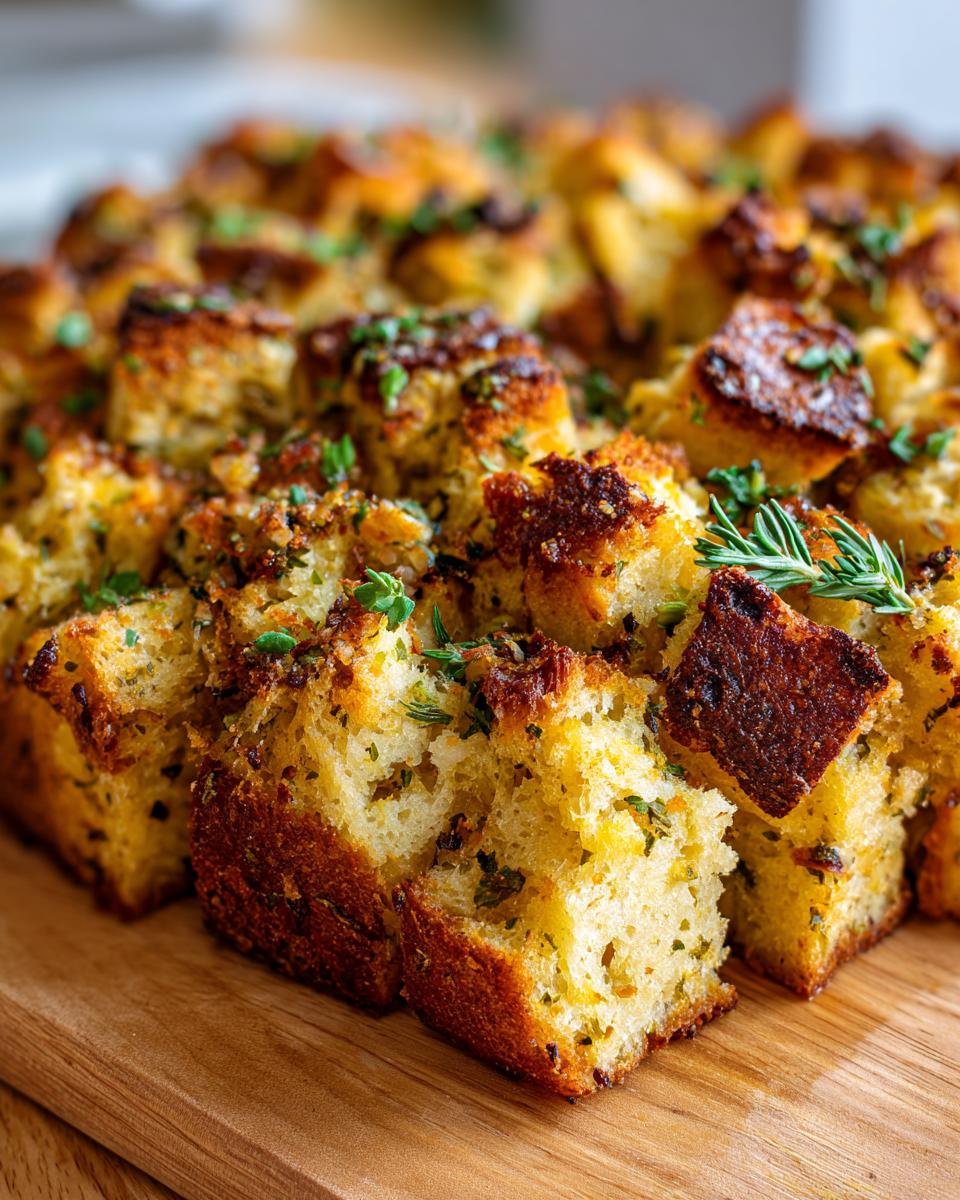
Achieving a Crispy Top on Your Gluten-Free Stuffing
Everyone loves those bits of stuffing that get perfectly browned and a little crunchy, right? The easiest way to get that? Just pop it under the broiler for the last minute or two of baking. You have to watch it like a hawk, though! Seriously, give it your full attention for those 60-120 seconds, because gluten-free bread can go from golden to burnt in a blink. It’s worth it, though, for that delicious contrast!
Adjusting Broth for Gluten-Free Bread Texture
This is a biggie with gluten-free bread. Not all gluten-free loaves are created equal! Some are a bit drier, and some can be surprisingly moist. So, here’s my trick: after you toss everything together in step 4, give it a minute. If your gluten-free bread seems like it’s just soaking up all the liquid instantly and looking super dry, you might need a tiny bit more broth. Add it a tablespoon at a time. On the flip side, if you notice it looks way too wet, just grab a few more of those toasted gluten-free bread cubes and toss them in to soak up the extra moisture. You want it perfectly moist, not soupy!
Make-Ahead and Storage for Gluten-Free Stuffing
Okay, let’s talk about making life easier, especially during the crazy holiday season! This gluten-free stuffing is a total lifesaver because you can totally prep it ahead of time. After you combine everything in the dish (that’s after step 5!), just cover it all up tightly with plastic wrap or foil and pop it into the fridge. It’ll keep perfectly for up to two days. When you’re ready to bake, just pull it out of the fridge and let it sit on the counter for about 15-20 minutes to take the chill off – this helps it bake more evenly. You might need to add a few extra minutes to that baking time we talked about, just to make sure it’s heated all the way through. Easy peasy!
Frequently Asked Questions About Gluten-Free Stuffing
Got questions about whipping up this glorious gluten-free stuffing? I’ve got answers! It’s totally normal to have a few thoughts swirling around when you’re trying out a new-to-you recipe, especially when it’s for a special occasion. Let’s clear things up so you can get baking with total confidence!
Can I use cornbread for gluten-free stuffing?
Oh, absolutely! If you love that cornbread flavor, that’s a fantastic idea. You’d just want to make sure your cornbread is made without any gluten ingredients. My skillet cornbread recipe is a perfect example; you can bake it off, cube it, and toast it just like the bread in this recipe. It’ll give your stuffing a wonderful, slightly different texture and a delicious sweet and savory balance. Just keep in mind that cornbread might absorb liquid a bit differently than regular bread, so you might need to adjust the broth slightly!
What’s the best gluten-free bread for stuffing?
That’s the million-dollar question, right? Honestly, the “best” really depends on what you can find and what you like! I find that heartier, denser gluten-free loaves tend to work best because they hold their shape when cubing and toasting. Avoid the super-soft, squishy kinds that fall apart easily. Look for one that has a good crust and doesn’t have too much added sweetness, so it really allows the savory herbs and veggies to shine through. I’ve had great luck with artisan-style gluten-free loaves. Just make sure it’s fully cooled and nicely toasted!
How do I make my gluten-free stuffing moist?
The key to a perfectly moist gluten-free stuffing is a combination of things! First, make sure you’re using thoroughly toasted, but not dried-out, bread cubes. Then, it’s all about that liquid ratio. The eggs are crucial here – they help create a wonderful tender texture and act as a binder. When you add the broth, toss gently to ensure every piece of bread gets hydrated. Don’t be afraid to follow the tip about adjusting the broth; if it seems too dry after mixing, add a little more liquid. You want it to be moist, but not swimming!
Nutritional Information for Gluten-Free Stuffing
Just a heads-up, these numbers are estimates, and they can totally wiggle around depending on the exact brands and ingredients you use. But for a standard serving of this delicious gluten-free stuffing, you’re looking at roughly:
Serving Size: 1/8th of recipe
Calories: 350
Fat: 18g
Saturated Fat: 9g
Sodium: 600mg
Carbohydrates: 35g
Fiber: 3g
Protein: 10g
Sugar: 4g
Cholesterol: 90mg
Share Your Gluten-Free Stuffing Creations!
I just *love* hearing from you all! If you give this gluten-free stuffing a try, please tell me all about it! Leave a comment below, rate the recipe, or share your experience. Knowing this dish helped make your holiday meal inclusive and delicious brightens my day—it’s all about that homemade happiness we share! You can read more about our story here!
PrintGluten-Free Savory Herb Stuffing

A comforting and flavorful gluten-free stuffing recipe perfect for holiday meals, made with gluten-free bread and aromatic herbs.
- Prep Time: 20 min
- Cook Time: 30 min
- Total Time: 50 min
- Yield: 8 servings 1x
- Category: Side Dish
- Method: Baking
- Cuisine: American
- Diet: Gluten Free
Ingredients
- 1 loaf (16 oz) gluten-free bread, cut into 1-inch cubes
- 1/2 cup unsalted butter
- 2 cups chopped yellow onion (about 1 large)
- 1 cup chopped celery (about 3 stalks)
- 2 cloves garlic, minced
- 1 tablespoon chopped fresh sage
- 1 tablespoon chopped fresh thyme
- 1 teaspoon chopped fresh rosemary
- 1 teaspoon salt
- 1/2 teaspoon black pepper
- 2 cups low-sodium chicken or vegetable broth
- 2 large eggs, lightly beaten
Instructions
- Preheat your oven to 350°F (175°C). Spread the gluten-free bread cubes on a baking sheet and bake for 10-15 minutes, or until lightly toasted. Let cool.
- In a large skillet, melt the butter over medium heat. Add the chopped onion and celery and cook until softened, about 8-10 minutes. Add the minced garlic, sage, thyme, and rosemary and cook for 1 minute more until fragrant.
- In a large bowl, combine the toasted bread cubes, the cooked onion and celery mixture, salt, and pepper. Toss gently to combine.
- In a separate bowl, whisk together the broth and beaten eggs. Pour this mixture over the bread and vegetable mixture. Gently toss to ensure all the bread cubes are moistened.
- Transfer the stuffing mixture to a greased 9×13 inch baking dish.
- Bake for 25-30 minutes, or until the top is golden brown and the stuffing is heated through.
Notes
- For a crispier top, you can broil the stuffing for the last 1-2 minutes, watching carefully to prevent burning.
- If your gluten-free bread is particularly dry, you may need slightly less broth. If it seems too moist, add a few more toasted bread cubes.
- You can prepare this stuffing a day in advance. Cover and refrigerate after step 5, then bake as directed, adding a few extra minutes to the baking time if needed.
Nutrition
- Serving Size: 1/8th of recipe
- Calories: 350
- Sugar: 4g
- Sodium: 600mg
- Fat: 18g
- Saturated Fat: 9g
- Unsaturated Fat: 9g
- Trans Fat: 0g
- Carbohydrates: 35g
- Fiber: 3g
- Protein: 10g
- Cholesterol: 90mg