
When I think about desserts that just feel like home, I always picture something rustic, golden, and slightly imperfect. If you adore the sweet, spiced flavors of a traditional pie but maybe dread wrestling with latticework or fitting dough into a pie dish, then you absolutely need to meet the **apple galette** in your life. It’s my go-to response when someone asks for an impressive yet easy dessert, especially during the fall. Here at Bliss Batter, my goal—and what I built this whole site on based on my background moving from corporate chaos to kitchen calm, as you can read more about on our About page—is making baking joyful and accessible. This free-form beauty gives you all that buttery, flaky crust and tender, cinnamon-packed filling with zero fuss. Trust me, we’ve perfected keeping things simple!
- Why This Easy Apple Galette Recipe Is Your New Fall Favorite
- Gathering Ingredients for Your Apple Galette
- Mastering the Flaky Crust for Your Apple Galette
- Assembling the Free Form Apple Pie: Step-by-Step
- Baking and Finishing the Cinnamon Apple Dessert
- Serving Suggestions for Your Apple Galette
- Variations on the Classic Apple Galette Recipe
- Storage and Make-Ahead Tips for This Simple Fall Baking
- Frequently Asked Questions About the Apple Galette
- Nutrition Estimates for This Dessert
- Share Your Homemade Apple Pastry Creations
Why This Easy Apple Galette Recipe Is Your New Fall Favorite
Honestly, this recipe is the reason I gave up on complicated holiday baking years ago. The **apple galette** checks every single box without demanding perfection from you. It’s my favorite way to use up those amazing fall apples and bring that cozy feeling into the kitchen. If you’re looking for something amazing that doesn’t take up your whole afternoon, check out some of my simple lunch recipes too!
- It’s Fast! You can have this rustic tart in the oven in under an hour of hands-on time.
- It looks sophisticated—like you slaved over it for hours—even though it uses minimal effort.
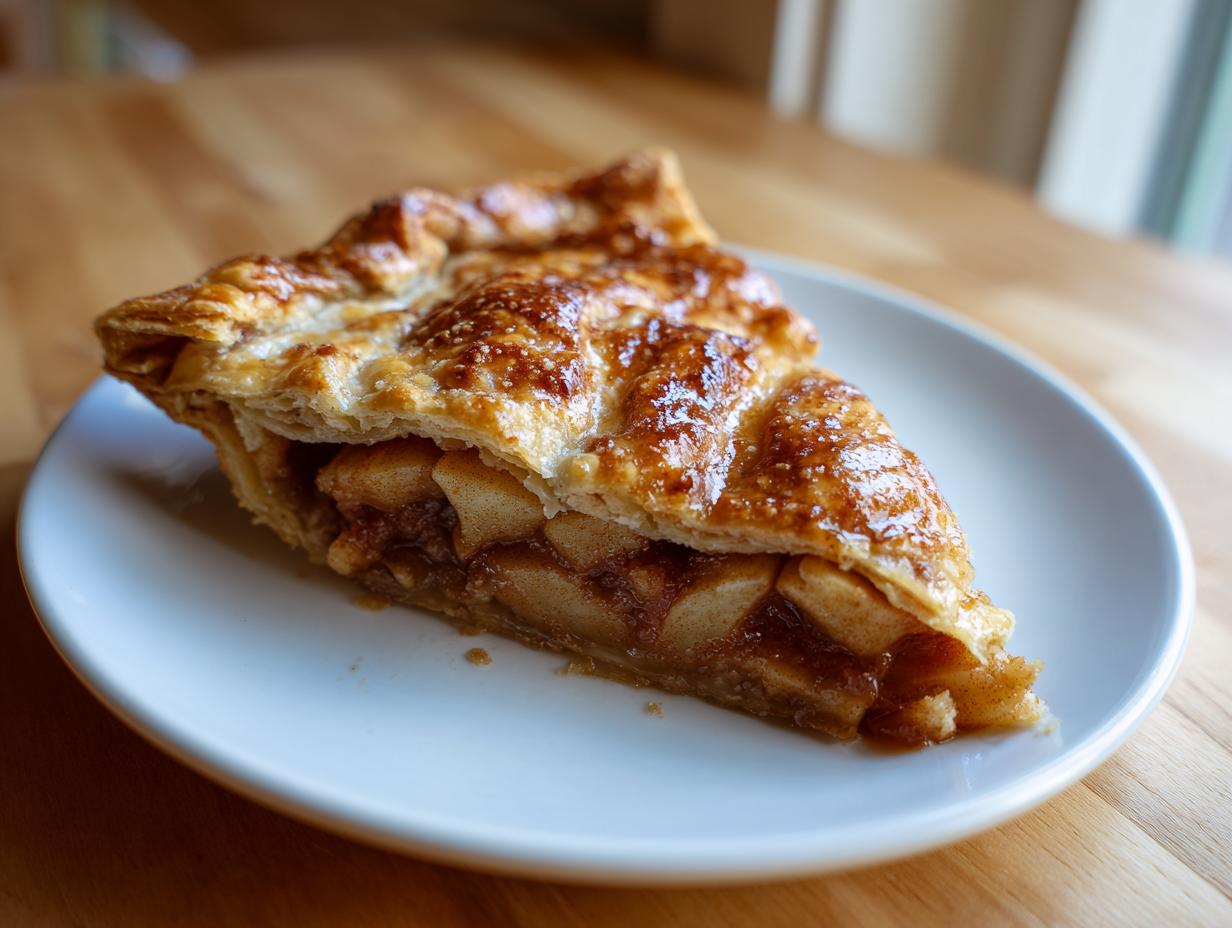
- The filling always bubbles up perfectly, contrasting beautifully with that crisp, buttery pastry.
The Appeal of the Rustic Apple Tart
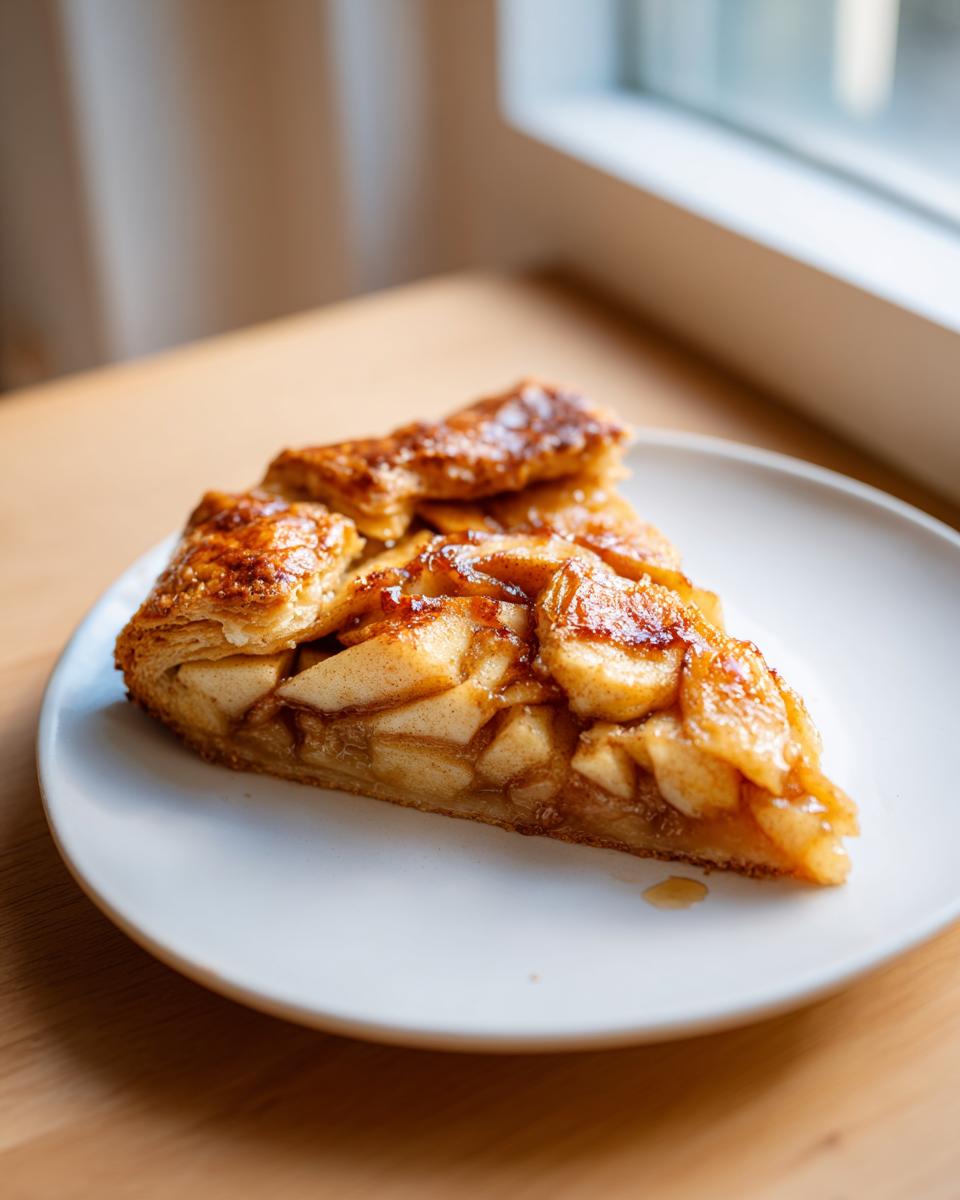
The best part is that it’s a Simple Rustic Dessert. You just roll out the dough into a wonky circle, pile the apples in the middle, and fold the edges up. No special pie plate needed! If your crust folds unevenly, guess what? It just looks more charmingly homemade.
Flaky Crust Dessert Perfection
We aren’t skipping quality here, even if we are skipping fuss! This is a true Flaky Crust Dessert because we use plenty of ice-cold butter right in the dough. It bakes up golden and shatters perfectly when you slice it. It’s the ultimate easy win for any baker!
Gathering Ingredients for Your Apple Galette
Okay, prepping for the **apple galette** is almost the best part! Since this dessert relies on that incredible contrast between the crisp crust and the soft fruit, keeping those ingredients right is key. I always lay everything out on the counter before I start moving; it just makes the process so much smoother. Before we mix anything, maybe grab the ingredients for my Spiced Apple Cider cocktail? It’s the perfect companion!
For the Buttery Galette Crust
Remember, the secret to a truly Buttery Galette Crust is keeping things cold. You’ll start with the basics:
- 2 1/2 cups all-purpose flour
- 1 teaspoon salt
- 1 tablespoon granulated sugar (just a little bit for flavor!)
- 1 cup (that’s two full sticks, people!) super cold unsalted butter, cut into cubes
- 1/2 cup ice water, or maybe a little splash more if the dough seems grumpy.
For the Sweet Spiced Apples Filling
For the gorgeous, fragrant layer of Sweet Spiced Apples, skip the apples that turn to mush. I love using Honeycrisp because they stay a bit firm, but Granny Smith works great too! You’ll need:
- 6 medium apples, peeled, cored, and sliced thin
- 1/4 cup packed brown sugar—that molasses flavor makes a difference!
- 1 tablespoon all-purpose flour (this thickens the juice)
- 1 teaspoon ground cinnamon and 1/4 teaspoon ground nutmeg
- 1 tablespoon lemon juice to keep those slices bright.
Mastering the Flaky Crust for Your Apple Galette
Listen, if we skip this step, we might as well just use a cracker base! The crust is where the magic happens for this **apple galette**, and I’m going to show you exactly how to get that classic, shattery, buttery texture. Don’t touch your mixer for this part; your hands are the best tool here.
When combining the flour mix with your cold butter cubes, the goal isn’t to make it smooth. You need those little icy chunks of butter to survive the mixing process. Those are the spots that melt in the oven and create those gorgeous steam pockets, resulting in big, flaky layers. I keep reminding myself of this when I make my buttermilk biscuits too!
For the water, add it *slowly*. I mean, seriously slow. You want the dough to just barely hold together when you squeeze a handful. Stop adding water the moment it clumps up enough for you to press it into a disk. If you let it get sticky now, you risk activating too much gluten, and we definitely don’t want tough pastry!
Tips for the Best Homemade Apple Pastry
If you want to take your crust from great to phenomenal, try this little trick from the professional bakers I know: for ultra-flaky results, substitute about half of your cubed cold butter with frozen butter that you grate right into the flour mixture. Those super-cold shreds don’t incorporate as easily, leading to an even more spectacular **Flaky Crust Dessert**!
Once that disk is wrapped up tight, it *must* chill for at least an hour. This lets the gluten relax and the butter firm up again. Skipping this chilling step means disaster when you roll it out. Don’t cheat the chill—it’s the secret handshake for perfect pastry!
Assembling the Free Form Apple Pie: Step-by-Step
Now that our dough is perfectly chilled and our apples are swimming happily in cinnamon magic, it’s time for the fun, messy part! This is where the **apple galette** really shines because you can’t mess up the shape. Seriously, stress-free baking at its finest!
First things first, crank that oven up to 400°F (200°C) and get a sheet pan lined with parchment paper. Baking directly on the paper is fantastic because it catches all those amazing, sugary drips without making a mess of your pan later.
Dust your counter—I use just a little bit of flour, not too much—and roll that chilled dough out. I aim for a big, rough 14-inch circle. It doesn’t need to be perfect; think of it as painting on a very edible canvas. Once you’ve got the circle, gently transfer it to your cozy parchment-lined sheet.
Now, mound those spiced apples right in the center. You need to leave a good 2-inch border all the way around the edge, clear of fruit. This margin is non-negotiable because it’s where we create the crust. Once they’re piled high, sprinkle those little dabs of butter right over the top of the apples before you start folding. That butter melts down and caramelizes into the fruit as it bakes—oh my goodness!
To finish the assembly, you just fold that 2-inch edge up and over the apples, creating overlapping pleats all the way around. This is the rustic, free form apple pie look we are going for! No pie weights, no special tins, just pure, delicious folding. Feel free to check out my tips on making the best apple pie flaky crust, because these techniques are related!
Baking and Finishing the Cinnamon Apple Dessert
We are so close now! Preheat your oven to 400°F (200°C) because we want high heat to quickly set that crust and start the bubbling process. Before it goes in, you have to give the exposed crust a lovely coat of egg wash. I just beat one egg quickly and brush it right over those folded edges. This is what gives the crust that beautiful, deep golden color everyone admires.
Then, grab that coarse sugar—don’t substitute this! I sprinkle it liberally over the brushed dough and even a little bit over the exposed apples of the **apple galette**.
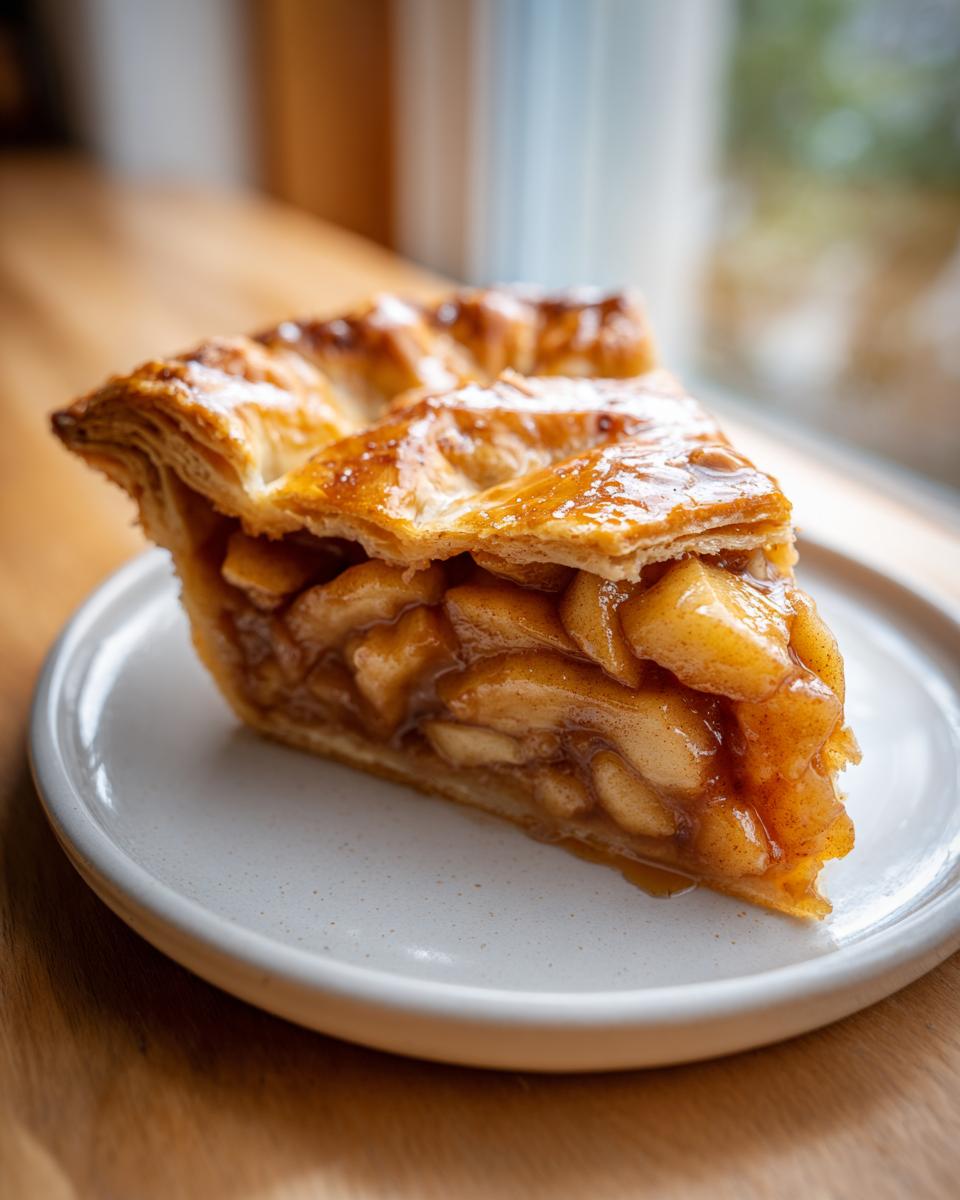
Bake this beauty for about 40 to 50 minutes. Start checking around the 40-minute mark, though. You’re looking for a crust that’s gorgeously deep brown and apples that are totally tender and look like they are boiling happily in a sugary syrup. Your entire house will smell like the perfect Cinnamon Apple Dessert—it’s heavenly! If you love these kinds of baked fruit smells, you should check out my apple fritters recipe sometime!
Serving Suggestions for Your Apple Galette
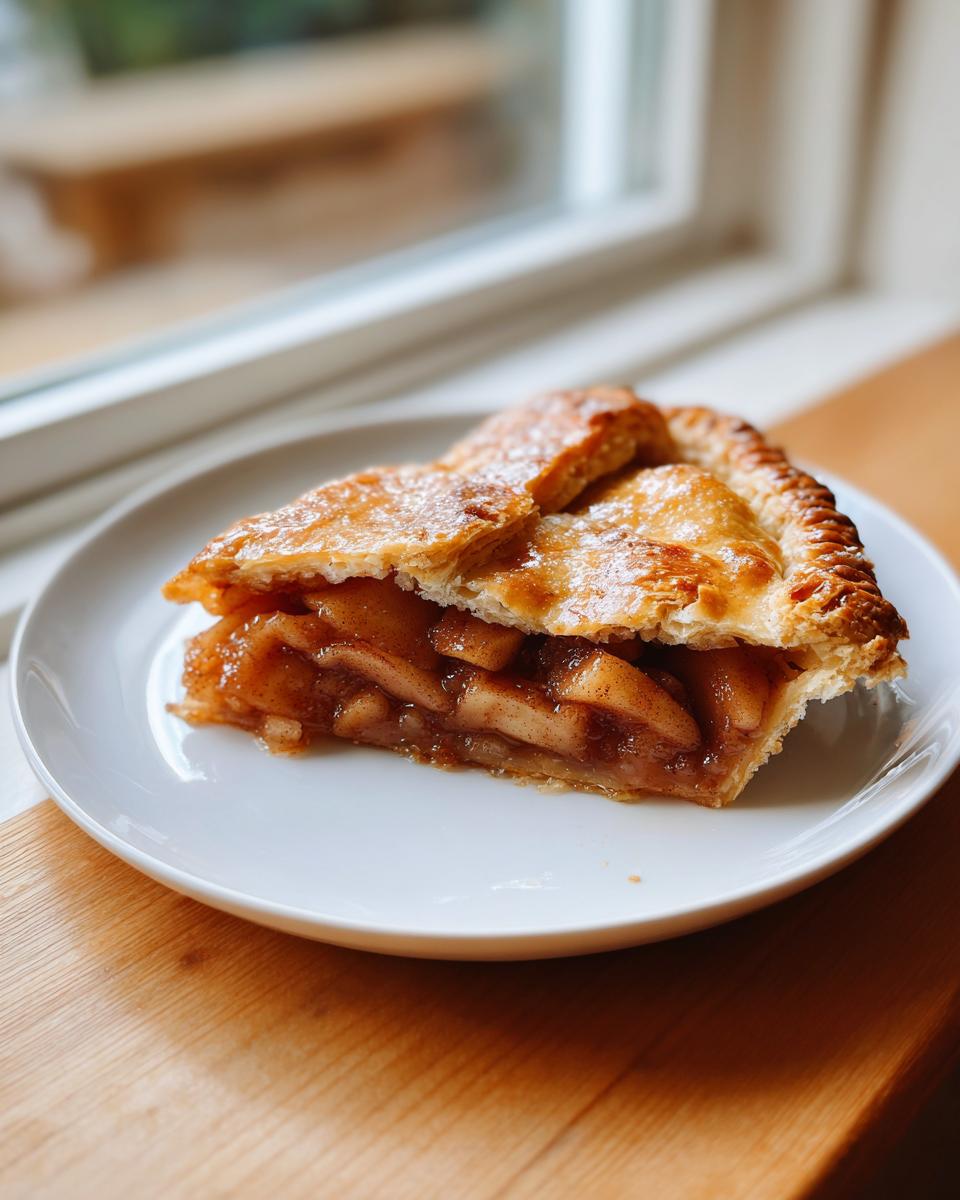
After all that work, you deserve a truly perfect ending! I hate seeing a beautiful bake like this just sit on the counter. The absolute best way to enjoy this rustic tart is served warm. Seriously, let it cool just long enough so you don’t completely burn your mouth—maybe 15 minutes out of the oven is perfect.
Warm pastry and cold cream are just one of those combinations that can’t be beaten! A big scoop of high-quality vanilla ice cream melting right into those warm spiced cavities is pure heaven. If you’re looking for other warm fruit bakes that taste perfect with ice cream, you have to check out my famous apple crisp recipe. It checks all those wonderful boxes for cozy Autumn Baking Ideas!
Variations on the Classic Apple Galette Recipe
Even though I think this basic **apple galette** is pretty much perfect just the way it is—simple, spiced apples in a buttery shell—I totally get wanting to mix things up, especially if you’re baking this mid-week and need something new!
Using different types of apples is a great place to start, of course. Granny Smith gives you a nice tart punch, while Honeycrisp stays beautifully firm. But if you really want to amp up the wow factor, we need to talk about adding sauces or swapping out the sugar base. You can explore a recipe like this caramel apples county fair classic if you love that rich flavor!
Sometimes I even look at what other bakers are doing, just for fun, like this great apple galette recipe I saw online for inspiration. Don’t be afraid to experiment a little!
Making a Caramel Apple Galette
This is perhaps the easiest upgrade! Once you have your apples tossed in the cinnamon and spices, just before folding up the edges, drizzle a good ribbon of high-quality caramel sauce right over the apple pile. Don’t go crazy, but enough so that it seeps down into the gaps. It melts as it bakes and creates this incredible, rich, gooey sauce that makes the whole **apple galette** taste like an indulgence. It pairs amazing with the flaky crust!
Storage and Make-Ahead Tips for This Simple Fall Baking
I know that sometimes we bake big, beautiful things like this tart and can’t possibly eat it all in one sitting—or maybe you need a **Dessert Easy Make Ahead** option for a party. Good news! This is a fantastic make-ahead recipe.
The dough is the star here. You can absolutely make the pastry dough, wrap it tightly, and stash it in the fridge for up to three days. Better yet? It freezes beautifully for up to three months! Just let it thaw overnight in the fridge before you roll it out.
Once baked, the whole **Rustic Apple Tart** keeps well right on the counter, covered loosely, for about two days, or you can refrigerate it for up to four. Reheating it for just 5-7 minutes in a toaster oven brings that crust right back to life. If you’re browsing for more sweet ideas, check out all my other dessert recipes here!
If you want to see how others store theirs, check out this great tip from Handle the Heat about keeping pies fresh. You can even assemble the whole thing, cover it, and chill it for up to 24 hours before the final egg wash and bake.
Frequently Asked Questions About the Apple Galette
I know when you’re leaning toward a **Simple Rustic Dessert** like this, you might have a few quick questions pop up before you dive in. That’s totally normal! I’ve taken all the questions I get via email about this easy recipe and put them right here so you can bake with total confidence. No need to navigate away to figure out the tricky bits! If you’re planning ahead, looking at my quick holiday baking ideas might also spark some joy!
Can I use store-bought pie crust for my apple galette?
Absolutely, yes! Listen, I adore sharing my techniques for a truly Buttery Galette Crust from scratch, but if you are in a real pinch, using a good quality store-bought pie crust is perfectly fine. That’s what makes this recipe amazing for quick holiday baking—it has built-in options for speed!
What is the best apple to use for this rustic apple tart?
For the best results in this **Rustic Apple Tart**, stick to apples that are firm and can handle baking without turning into mush right away. My top picks are Honeycrisp, which give a nice sweet/tart balance, or Granny Smith, if you want that sharp flavor to cut through the sugar. Anything too soft might turn your beautiful fruit mound into apple sauce!
Is this a difficult recipe for a beginner baker?
Not at all! I designed this specifically so beginners could feel like pros. You definitely don’t need to be a pastry expert to achieve this beautiful result. The folding is forgiving, and as long as you use cold butter in the crust, you’re already ahead of the game for making a killer Flaky Crust Dessert.
Can I make this ahead of time and bake later?
Yes, you totally can! That dough is your best friend here. Prepare the pastry dough ahead of time and chill it, or even assemble the whole **apple galette** (dough rolled, apples piled, edges folded) and cover it tightly. Keep that assembled tart in the fridge for up to 24 hours, and just brush with egg wash and sprinkle the sugar right before it goes into the hot oven. Easy peasy!
Nutrition Estimates for This Dessert
I always want to be upfront with you all about what we’re eating, but please remember that since this recipe is made totally from scratch—especially the crust!—these numbers are just my best guess based on standard ingredient databases. They are estimates, so take them with a grain of salt (pun totally intended!).
This estimate is based on making 6 good-sized slices from the entire apple galette recipe, topping it just with the coarse sugar and leaving off any optional ice cream, because who can resist that, right?
- Serving Size: 1 slice
- Calories: About 380 (That butter really adds up, but wow, is it worth it!)
- Sugar: Roughly 22g (Mostly from the apples and that brown sugar we used)
- Fat: Around 20g (Hello, delicious cold butter!)
- Carbohydrates: Near 48g
- Protein: About 5g
It’s a treat, for sure, not an everyday light snack post-meal planning session, but totally worth it when you want that perfect slice of Autumn comfort food!
Share Your Homemade Apple Pastry Creations
Now that you’ve created your very own beautiful apple galette, I truly want to hear all about it! Baking should always be a happy celebration, and nothing makes me happier than knowing I helped you create something delicious in your home kitchen.
Did you use Honeycrisp apples? Did you go heavy on the cinnamon? Please take a quick photo and tag me on social media! It feeds my soul to see your **Homemade Apple Pastry** creations lighting up my feed.
If this recipe guided you to a successful, easy bake, please remember to leave it a rating right here on the page! Those stars are so helpful for other bakers who might be nervous about trying a Free Form Apple Pie for the first time. They need to see how easy you made it look!
If you ever have questions later on, or if you want to share a totally new variation you dreamed up, don’t hesitate to reach out through the contact page. I’m always eager to chat baking! Happy baking, friend!
PrintEasy Cinnamon Apple Galette with Flaky Butter Crust

Make this simple, rustic apple galette. It features tender, spiced apples wrapped in a buttery, flaky crust, offering all the flavor of pie with less effort. Perfect for fall baking.
- Prep Time: 30 min
- Cook Time: 45 min
- Total Time: 1 hour 45 min
- Yield: 6 servings 1x
- Category: Dessert
- Method: Baking
- Cuisine: French
- Diet: Vegetarian
Ingredients
- 2 1/2 cups all-purpose flour
- 1 teaspoon salt
- 1 tablespoon granulated sugar (for crust)
- 1 cup (2 sticks) cold unsalted butter, cut into cubes
- 1/2 cup ice water (plus more if needed)
- 6 medium apples (like Honeycrisp or Granny Smith), peeled, cored, and thinly sliced
- 1/4 cup packed brown sugar
- 1 tablespoon all-purpose flour (for filling)
- 1 teaspoon ground cinnamon
- 1/4 teaspoon ground nutmeg
- 1 tablespoon lemon juice
- 1 large egg, beaten (for egg wash)
- 1 tablespoon coarse sugar (for sprinkling)
- 1 tablespoon unsalted butter, cut into small pieces (for topping)
Instructions
- Prepare the Crust: In a large bowl, whisk together the flour, salt, and 1 tablespoon of granulated sugar. Cut in the cold butter cubes using a pastry blender or your fingers until the mixture resembles coarse crumbs with some pea-sized pieces of butter remaining.
- Gradually add the ice water, one tablespoon at a time, mixing until the dough just comes together. Do not overmix. Form the dough into a disk, wrap it in plastic wrap, and chill for at least 1 hour.
- Prepare the Filling: In a separate bowl, gently toss the sliced apples with the brown sugar, 1 tablespoon of flour, cinnamon, nutmeg, and lemon juice. Set aside.
- Assemble the Galette: Preheat your oven to 400°F (200°C). Line a baking sheet with parchment paper. On a lightly floured surface, roll the chilled dough into a rough 14-inch circle. Transfer the dough to the prepared baking sheet.
- Arrange the Apples: Mound the apple mixture in the center of the dough, leaving a 2-inch border clear around the edges. Dot the top of the apples with the small pieces of butter.
- Fold the Edges: Fold the dough border up and over the edges of the apples, overlapping the dough slightly to create a rustic, free-form crust. The center of the apples will remain exposed.
- Egg Wash and Bake: Brush the folded crust lightly with the beaten egg wash and sprinkle the crust and apples with coarse sugar.
- Bake for 40 to 50 minutes, or until the crust is deep golden brown and the apples are tender and bubbly.
- Cool and Serve: Let the galette cool on the baking sheet for at least 15 minutes before slicing. Serve warm, perhaps with a scoop of vanilla ice cream. This simple dessert is a great alternative to traditional pie recipes if you are looking for easy meal planning solutions.
Notes
- For an extra rich crust, substitute half of the cold butter with frozen, grated butter.
- If you want a caramel apple galette, drizzle caramel sauce over the apples before folding the edges.
- This rustic tart tastes excellent served warm with vanilla ice cream.
Nutrition
- Serving Size: 1 slice
- Calories: 380
- Sugar: 22g
- Sodium: 250mg
- Fat: 20g
- Saturated Fat: 12g
- Unsaturated Fat: 8g
- Trans Fat: 0g
- Carbohydrates: 48g
- Fiber: 3g
- Protein: 5g
- Cholesterol: 60mg