
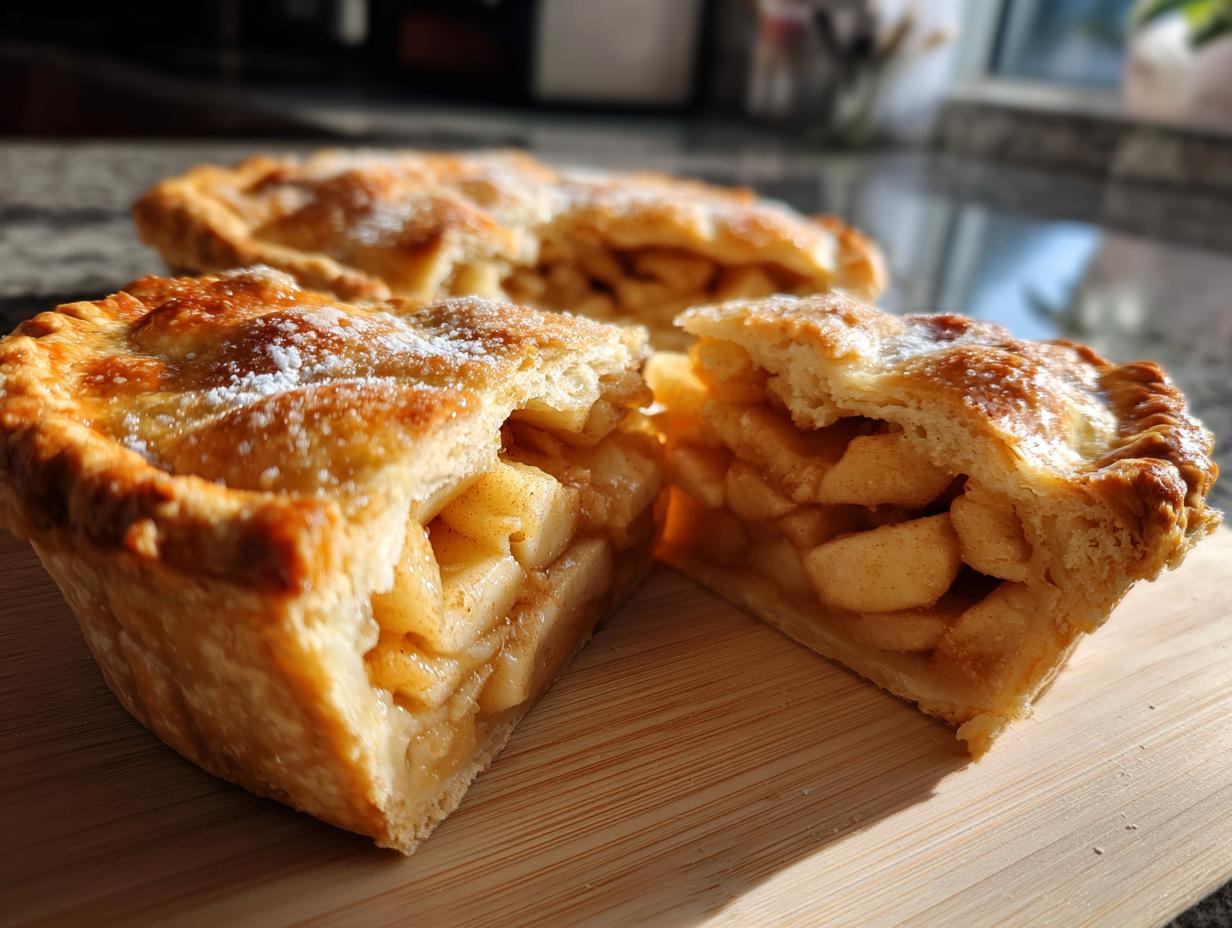
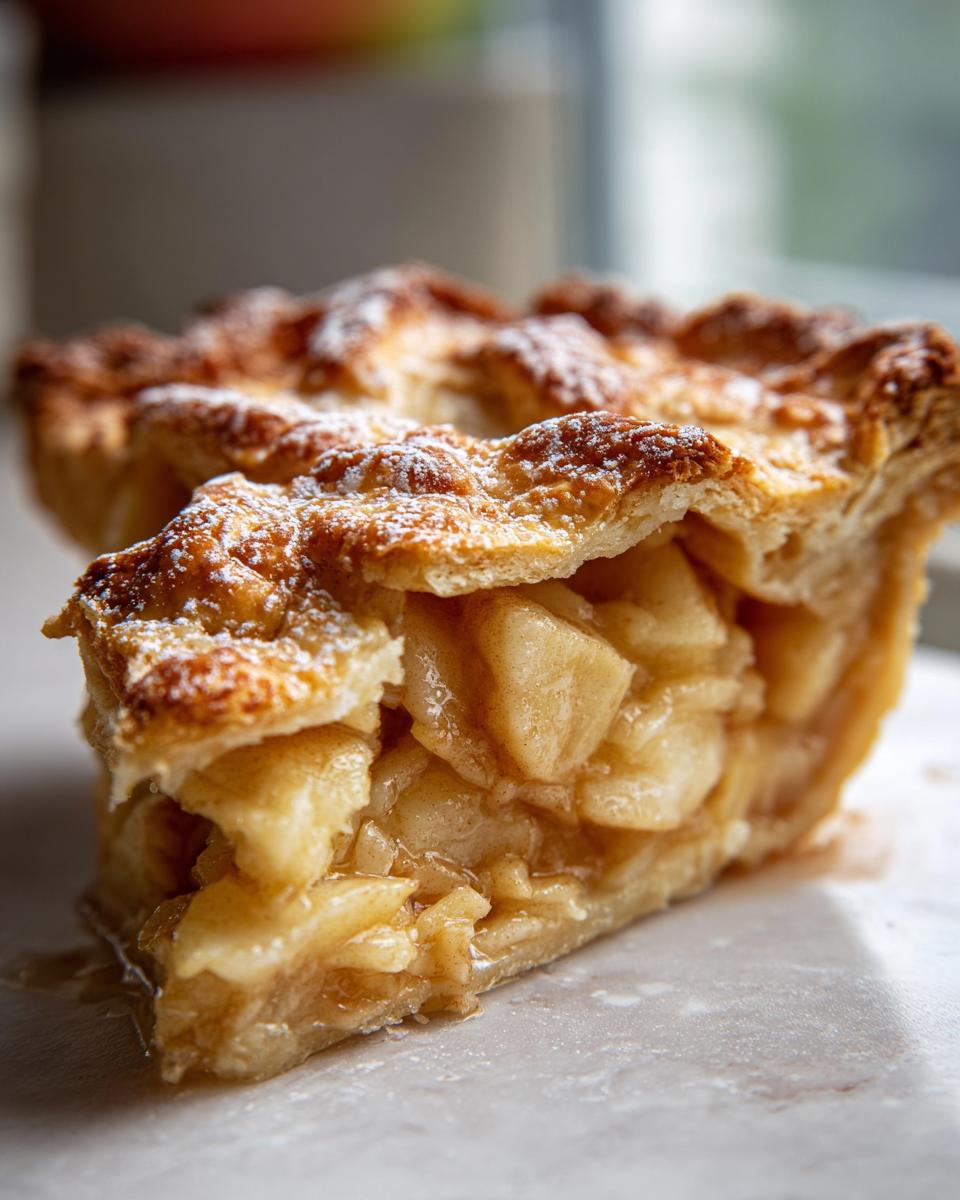
Oh, that smell! You know the one – that warm, sweet, cinnamon-spiced hug filling your whole house. That’s the magic of a truly homemade apple pie, and honestly, it just doesn’t get much better than that. Here at Bliss Batter, we’re all about bringing that feeling of comfort and joy into *your* kitchen, no matter your baking experience. This classic apple pie recipe is one I’ve tested and tweaked endlessly, inspired by my Grandma Sterling’s own New England kitchen. It’s my mission to share recipes just like this one – reliable, utterly delicious, and full of that sweet, homemade goodness.
- Why You'll Love This Classic Apple Pie
- Choosing the Best Apples for Your Apple Pie
- Ingredients for Your Perfect Apple Pie
- How to Make a Classic Apple Pie from Scratch
- Tips for a Beautiful Apple Pie Crust
- Make-Ahead and Freezing Your Apple Pie
- Serving Suggestions and Fall Baking Aesthetic
- Nutritional Information for Homemade Apple Pie
- Frequently Asked Questions About Apple Pie
- Share Your Apple Pie Creations!
Why You’ll Love This Classic Apple Pie
Trust me, this isn’t just any apple pie. It’s the kind that makes you want to gather everyone around the table. Here’s why you’re going to fall head over heels for it:
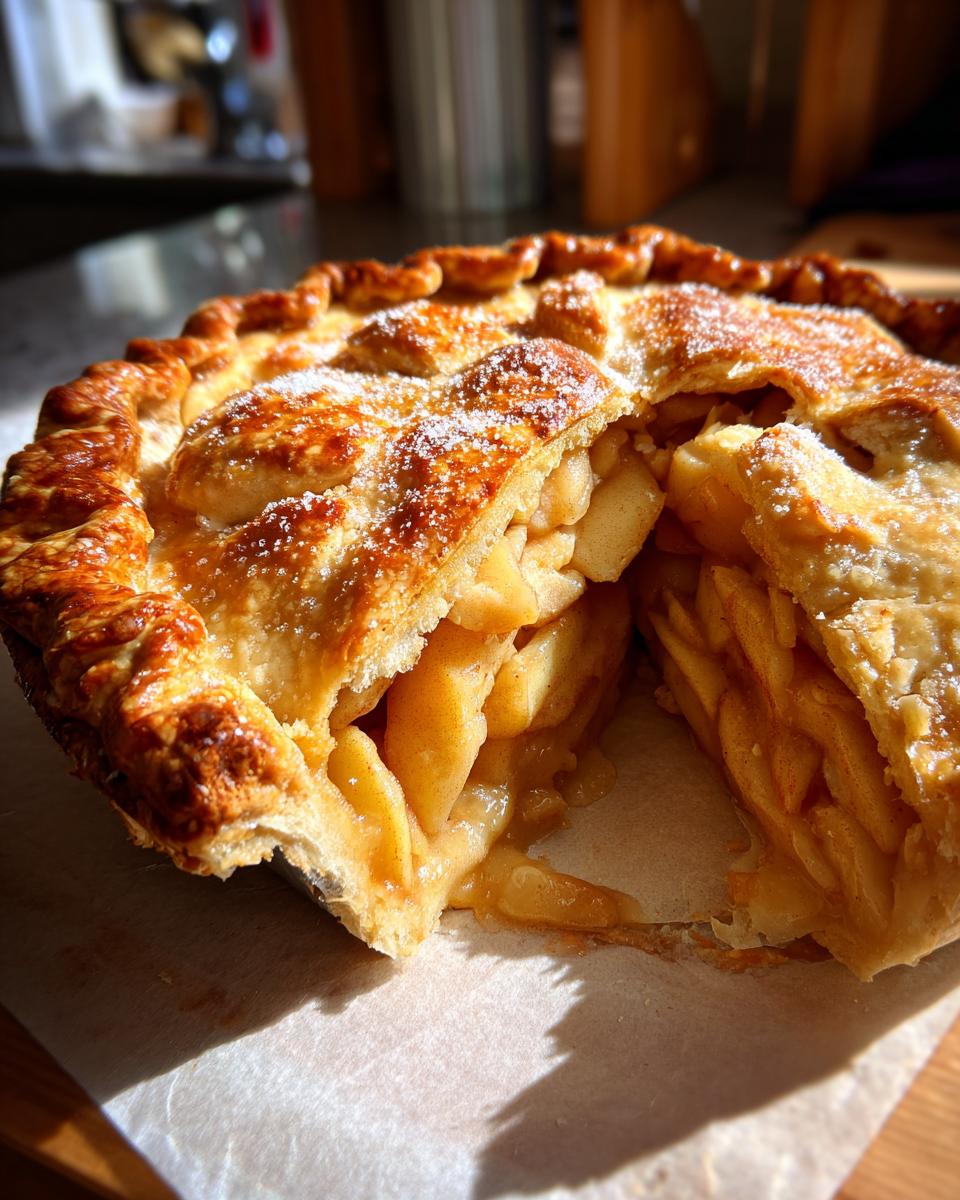
- Foolproof Flaky Crust: You’ll get that perfect, tender, flaky crust every single time, even if you’re new to pie making!
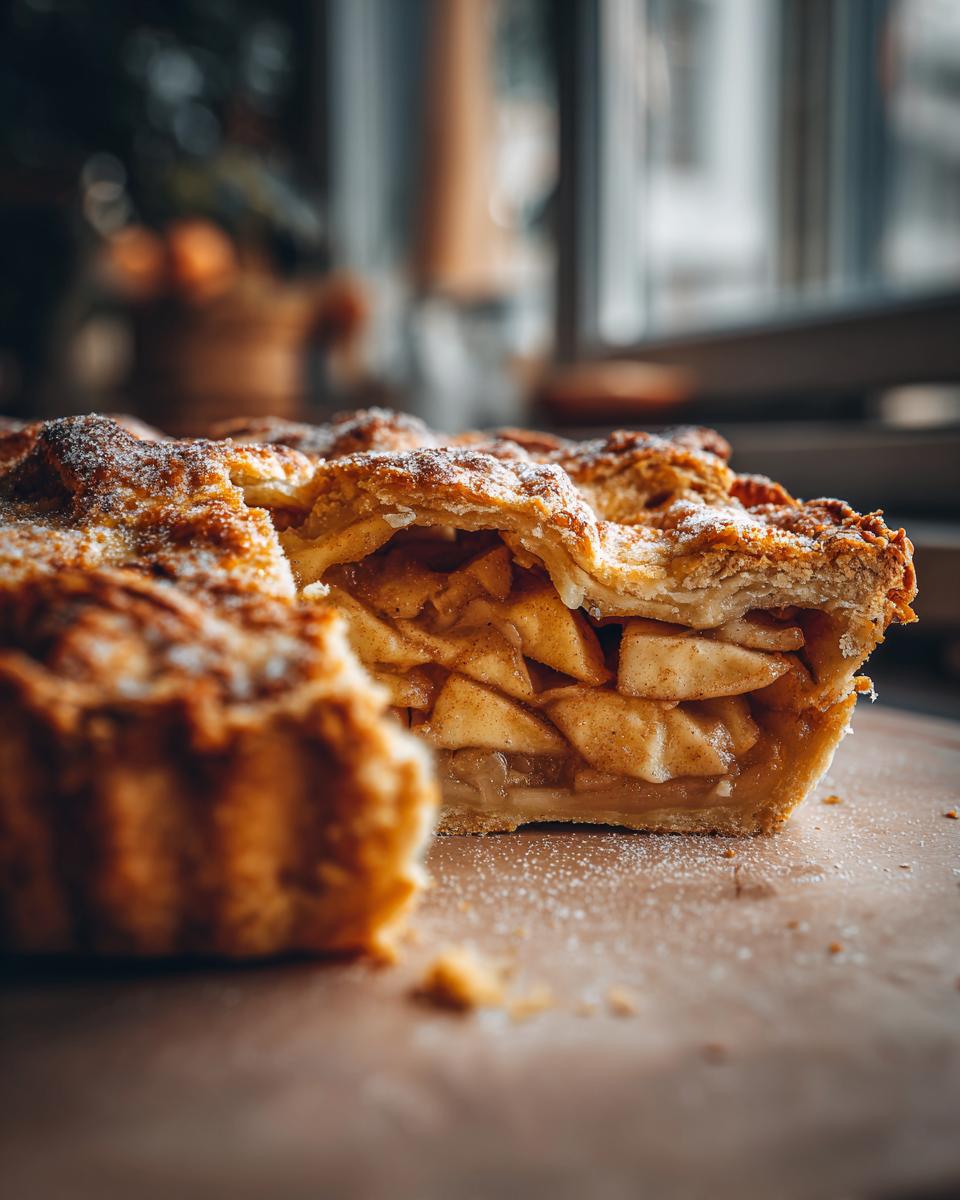
- Perfectly Tender Apples: No mushy surprises here! Just beautifully cooked apples that hold their shape and taste amazing.
- Classic Comfort Flavors: That unbeatable combo of cinnamon, nutmeg, and sweet apples just screams cozy and delicious.
- Simple to Make: I’ve broken it all down so it’s totally manageable, even on a busy day.
- Pure Homemade Goodness: It tastes like it came straight from a bakery, but it’s made with love right in your own kitchen.
- Versatile Sweetness: You can even tweak the sugar a bit if you like it less sweet, but honestly, it’s just right as is.
Choosing the Best Apples for Your Apple Pie
Okay, so picking the right apples is kind of a big deal when you’re making a proper apple pie, right? My Grandma Sterling always swore by a mix, and honestly, it’s the best way to get that perfect balance of sweet, tart, and that amazing texture. For the best apples for homemade apple pie, you want ones that are firm and won’t turn into total mush when they bake. I’m a huge fan of Honeycrisp – they’re sweet with a nice tart bite and they keep their shape beautifully. Gala and Fuji are also fantastic, a little sweeter but still hold up well. Sometimes I’ll even toss in a Granny Smith for an extra zing if I’m feeling it! It’s about finding that happy medium that makes every bite interesting, not just… apple-y.
Apple Pie Crust: All-Butter vs. Shortening
Now, let’s talk crust for just a sec. This is a big one for me! While a crust made with shortening can be really flaky, nothing, and I mean NOTHING, beats the flavor of an all-butter crust. That rich, buttery taste just can’t be replicated, and for me, it elevates the whole pie experience. Shortening can sometimes give you that super tender, crumbly texture, but it lacks that depth. For my classic apple pie, I’m always going with all butter, hands down. It just makes everything taste so much more… *homemade* and special. I’ve found that if you handle it just right, you can get all the flakiness you need with good old butter!
Ingredients for Your Perfect Apple Pie
Alright, let’s get down to the good stuff – what you’ll need to make this incredible apple pie magic happen! Don’t worry, it’s all pretty straightforward. It’s really just about getting the right ratio of things to make that crust perfectly flaky and the apple filling just right. My Grandma Sterling always laid everything out before she started, and it just made the whole process so much smoother. So, here’s what you ought to have ready to go:
For the Double Pie Crust:
- 1 recipe for your favorite double pie crust (chilled is best!)
For the Apple Filling:
- 6 medium apples (about 3 pounds) – I really love using a mix like Honeycrisp, Gala, or Fuji for the best flavor and texture!
- 3/4 cup granulated sugar (you can nudge this up or down a smidge based on your apples and your sweet tooth!)
- 1/4 cup all-purpose flour (this helps thicken everything up beautifully as it bakes)
- 1 teaspoon ground cinnamon (because, is it even apple pie without cinnamon?)
- 1/4 teaspoon ground nutmeg (just a whisper adds such warmth!)
- 1/4 teaspoon salt (enhances all those sweet flavors, trust me)
- 2 tablespoons unsalted butter, cut into little pieces (these little gems on top make the filling extra luscious)
For the Egg Wash:
- 1 large egg, beaten (this is what gives us that gorgeous golden glow)
- 1 tablespoon granulated sugar (for sprinkling on top – adds a little sparkle and crunch!)
How to Make a Classic Apple Pie from Scratch
Alright, friends, let’s get this masterpiece assembled! Making a classic apple pie from scratch honestly feels like a rite of passage, and I promise it’s totally do-able. My Grandma Sterling always said the key is to take your time with the crust and be gentle with the apples. So, first things first, let’s get that oven preheated! You’ll want it roaring hot at 425°F (220°C) – this initial blast of heat is crucial for getting that crust started off right. Then, while that’s heating up, peel, core, and slice your apples. Think about 1/4-inch thick slices – not too thin, not too chunky. Now, in a big ol’ bowl, toss those apple slices with our sugar, flour, cinnamon, nutmeg, and salt mixture. Get them all coated nicely! You’ve already got your pie crust chilling, right? Perfect. Line your 9-inch pie plate with one of the dough rounds, letting it overhang just a bit. Spoon in that apple filling like you’re tucking them in for a cozy nap. Dot the top with those little butter pieces – they melt down and make the filling so luscious! Drape the second dough round over the top. You can do a solid crust with a few vents, or go for a gorgeous lattice if you’re feeling fancy. Trim the edges, leaving about an inch to work with, and then crimp them together to seal everything up. This is where you really get to show off your pie-making flair! Give the top a nice brush with that beaten egg wash and a sprinkle of the extra sugar for that irresistible golden crunch. Pop it into that hot oven for 15 minutes. For more delicious baking adventures, check out my easy peach cobbler recipe, or browse all my dessert recipes!
Preventing a Soggy Bottom for Your Apple Pie
Oh, the dreaded soggy bottom! Nobody wants that, right? It usually happens because those juicy apples release a lot of liquid while baking. My top trick, and something Grandma Sterling swore by, is preheating a baking sheet right in the oven while it’s heating up. When you put your pie in, slide it onto that hot sheet. It gives the bottom crust an extra hit of heat, helping it crisp up beautifully and avoid any sogginess. Another little thing that can help is making sure you don’t overwork your dough – that can make it tough rather than tender. Just handle it as little as possible, and you’ll be golden!
How Long to Bake Apple Pie at 375°F
Okay, so after that initial 15 minutes at 425°F, you’re going to turn that oven down to 375°F (190°C). Continue baking for another 35 to 45 minutes here. You’re looking for that crust to be a beautiful deep golden brown, and you should see the filling bubbling up around the edges or through any vents. If the crust starts looking a little *too* brown too quickly, you can always loosely tent the pie with a piece of aluminum foil. That’s Grandma’s trick for preventing burnt edges while the rest bakes perfectly. Once it’s done, let it cool on a wire rack for a good 2 to 3 hours – this is super important! It lets that gorgeous filling thicken up so you get those clean slices when you cut into it. Don’t rush this part!
Tips for a Beautiful Apple Pie Crust
Making your apple pie look as good as it tastes is a total treat, and it’s not as hard as you might think! It’s all about those little details that make a pie truly shine, turning it into something that looks like it belongs on a magazine cover. Grandma Sterling always said the crust is the frame for the masterpiece, and she was so right!
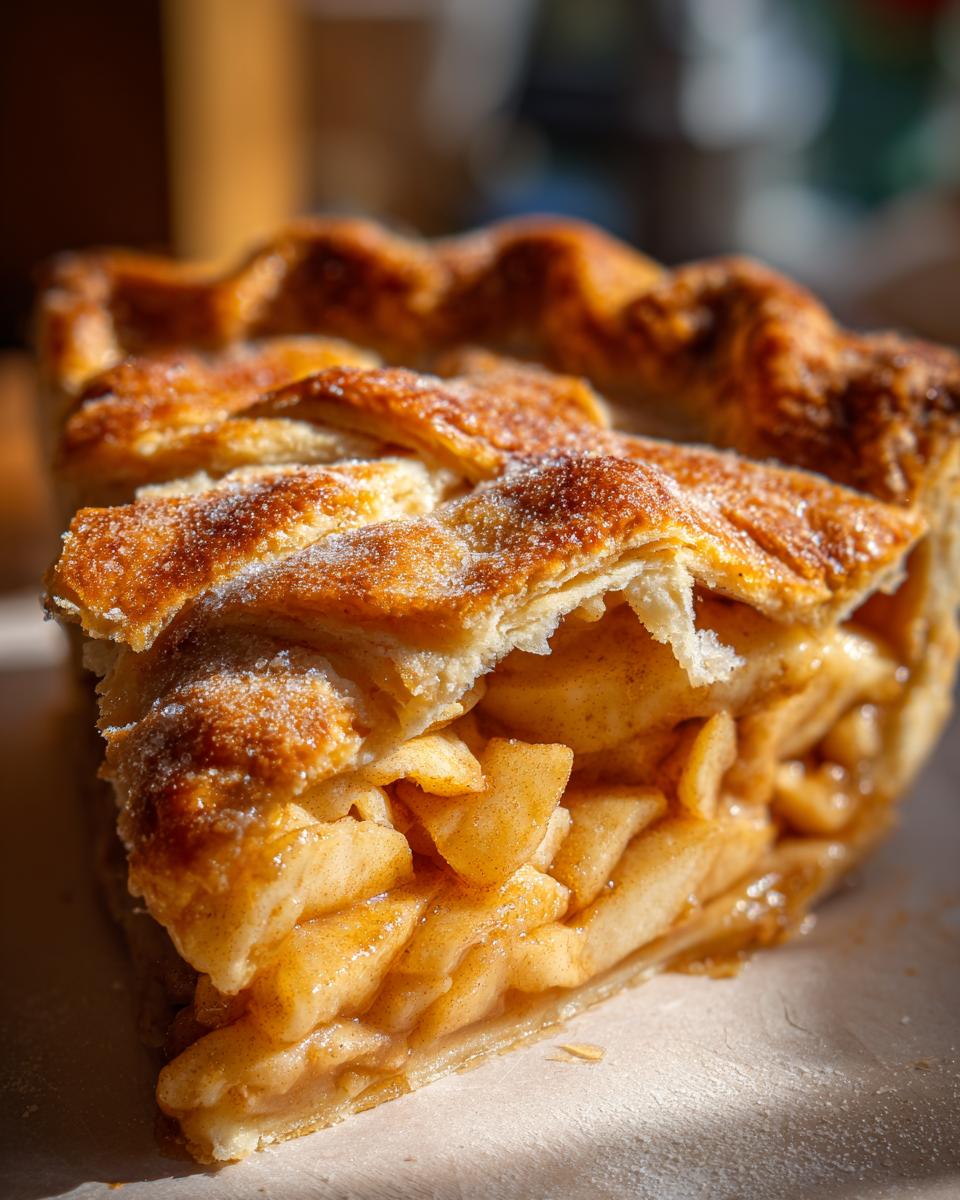
If you’re going for that classic, pretty look, a nice crimped edge is always a winner. You can use your fingers or even a fork to create a lovely pattern all the way around. For something a bit more special, maybe for a holiday gathering or a fall get-together, a rustic lattice apple pie is just stunning. Laying those strips of dough crisscross over the filling takes a little patience, but the result is so worth it! My absolute favorite trick for making things look extra fancy? Cutting out and arranging little pie crust leaf cutouts around the edges or on top. They make it feel so autumnal and special!
And for that gorgeous golden-brown finish? The egg wash I mentioned earlier does a fantastic job, but sometimes I like to add a little extra sprinkle of turbinado sugar on top of that. It gives it a lovely crunch and a really beautiful, bakery-style sparkle. Just remember to keep an eye on it in the oven, as that sugar can caramelize quickly!
Make-Ahead and Freezing Your Apple Pie
Life gets busy, right? But that doesn’t mean you have to miss out on that incredible homemade apple pie! The best part is, this recipe is totally make-ahead friendly. On a weekend, you can whip up the pie crust and even prepare the apple filling, keeping them separately wrapped in the fridge. Then, on the day you want to bake it, just assemble and go! It honestly makes weeknight dessert so much easier.
Want to get even further ahead? You can also freeze the entire assembled pie *before* baking. Just wrap it really well in plastic wrap and then a layer of foil, and it’ll be good in the freezer for about a month. When you’re ready to bake, just pop it straight into the oven (no need to thaw!), but you’ll probably need to add about 10-15 extra minutes to the baking time. It’s like magic! You can also freeze leftover baked pie, wrapped tightly, for about 2-3 days. For more make-ahead magic, definitely check out my chocolate chip banana bread or my ridiculously good homemade cinnamon rolls!
Serving Suggestions and Fall Baking Aesthetic
Now that you’ve got this gorgeous apple pie, what’s not to love serving it with? A big scoop of vanilla bean ice cream is practically mandatory, right? Or maybe some fluffy homemade whipped cream? A drizzle of caramel sauce is always a winner too! To really lean into that cozy fall baking aesthetic, I love serving it on a pretty platter with a few colorful autumn leaves scattered around, or even on a nice wooden board. If you’re looking for more fall flavors, you’ve got to try my apple pecan salad or my super-easy apple crisp recipe!
Nutritional Information for Homemade Apple Pie
Just a heads-up, this is just an estimate, you know? Because we all use slightly different apples, or maybe a bit more or less sugar on top – it all changes things! But for a typical slice of this incredible apple pie, you’re looking at around 350 calories. It’s got about 18g of fat (delicious, mostly butter fat!), 45g of carbs, with roughly 25g of that being sugar from the apples and the sprinkle on top. It’s not exactly health food, but oh boy, is it worth it!
Frequently Asked Questions About Apple Pie
Got questions about making your perfect apple pie? I get it! Baking can sometimes feel like a bit of a mystery, but that’s what Grandmas and blogging bakers are for, right? I’ve rounded up a few things people often ask me. If you don’t see your question here, please feel free to reach out on my contact page – I’m always happy to help!
Is this a deep dish apple pie recipe?
This recipe is designed for a standard 9-inch pie plate, which gives you that beautiful balance of crust to filling. If you’re aiming for a true deep dish apple pie, you might need to slightly increase the filling ingredients or make sure your crust is deep enough to accommodate more apples. You’ll probably need a bit more baking time too, so keep an eye on it!
Can I make mini apple hand pies with this recipe?
Oh, absolutely! This filling is fantastic for mini apple hand pies. Just roll out your dough, cut out circles, place a spoonful of filling on one half, fold over, crimp, and maybe brush with egg wash and sprinkle with sugar. They’ll bake much faster, probably around 20-25 minutes at 375°F, until they’re golden and bubbly. They’re perfect for little treats or parties!
Share Your Apple Pie Creations!
Okay, so now that you’ve hopefully got a gorgeous homemade apple pie cooling on the rack, I’d absolutely love to hear all about it! Did you try any fun variations? Maybe sneak in some extra spice or try a different apple combo? Snap a picture and share it in the comments below, or even better, rate the recipe! Your creations inspire me, and honest feedback helps everyone make even better pies.
PrintClassic Homemade Apple Pie
A reliable recipe for a classic apple pie with a flaky crust and tender apples, perfect for any occasion.
- Prep Time: 30 min
- Cook Time: 50 min
- Total Time: 80 min
- Yield: 8 servings 1x
- Category: Dessert
- Method: Baking
- Cuisine: American
- Diet: Vegetarian
Ingredients
- 1 recipe for double pie crust
- 6 medium apples (about 3 pounds), such as Honeycrisp, Gala, or Fuji
- 3/4 cup granulated sugar
- 1/4 cup all-purpose flour
- 1 teaspoon ground cinnamon
- 1/4 teaspoon ground nutmeg
- 1/4 teaspoon salt
- 2 tablespoons unsalted butter, cut into small pieces
- 1 large egg, beaten (for egg wash)
- 1 tablespoon granulated sugar (for sprinkling)
Instructions
- Prepare your double pie crust according to your favorite recipe. Chill while you prepare the filling.
- Preheat your oven to 425°F (220°C).
- Peel, core, and slice the apples about 1/4-inch thick.
- In a large bowl, toss the apple slices with 3/4 cup sugar, flour, cinnamon, nutmeg, and salt until evenly coated.
- Line a 9-inch pie plate with one half of the chilled pie dough. Trim the edges, leaving about a 1/2-inch overhang.
- Pour the apple filling into the pie crust. Dot the top of the filling with the small pieces of butter.
- Place the second half of the pie dough over the filling. You can create a solid top crust, cut vents, or make a lattice top. Trim the edges, leaving a 1-inch overhang.
- Crimp the edges of the top and bottom crusts together to seal.
- Brush the top crust with the beaten egg wash and sprinkle with 1 tablespoon of sugar.
- Bake for 15 minutes at 425°F (220°C).
- Reduce the oven temperature to 375°F (190°C) and continue baking for another 35-45 minutes, or until the crust is golden brown and the filling is bubbly. If the crust starts to brown too quickly, you can loosely tent the pie with aluminum foil.
- Let the pie cool on a wire rack for at least 2-3 hours before slicing and serving. This allows the filling to set properly.
Notes
- For a crispier bottom crust, you can bake the pie on a preheated baking sheet.
- Using a mix of apple varieties can add complexity to the flavor.
- If you prefer a less sweet pie, you can reduce the sugar slightly.
- This pie can be made ahead and stored at room temperature for up to 2 days, or refrigerated for longer.
Nutrition
- Serving Size: 1 slice
- Calories: 350
- Sugar: 25g
- Sodium: 200mg
- Fat: 18g
- Saturated Fat: 10g
- Unsaturated Fat: 8g
- Trans Fat: 0g
- Carbohydrates: 45g
- Fiber: 3g
- Protein: 4g
- Cholesterol: 40mg