
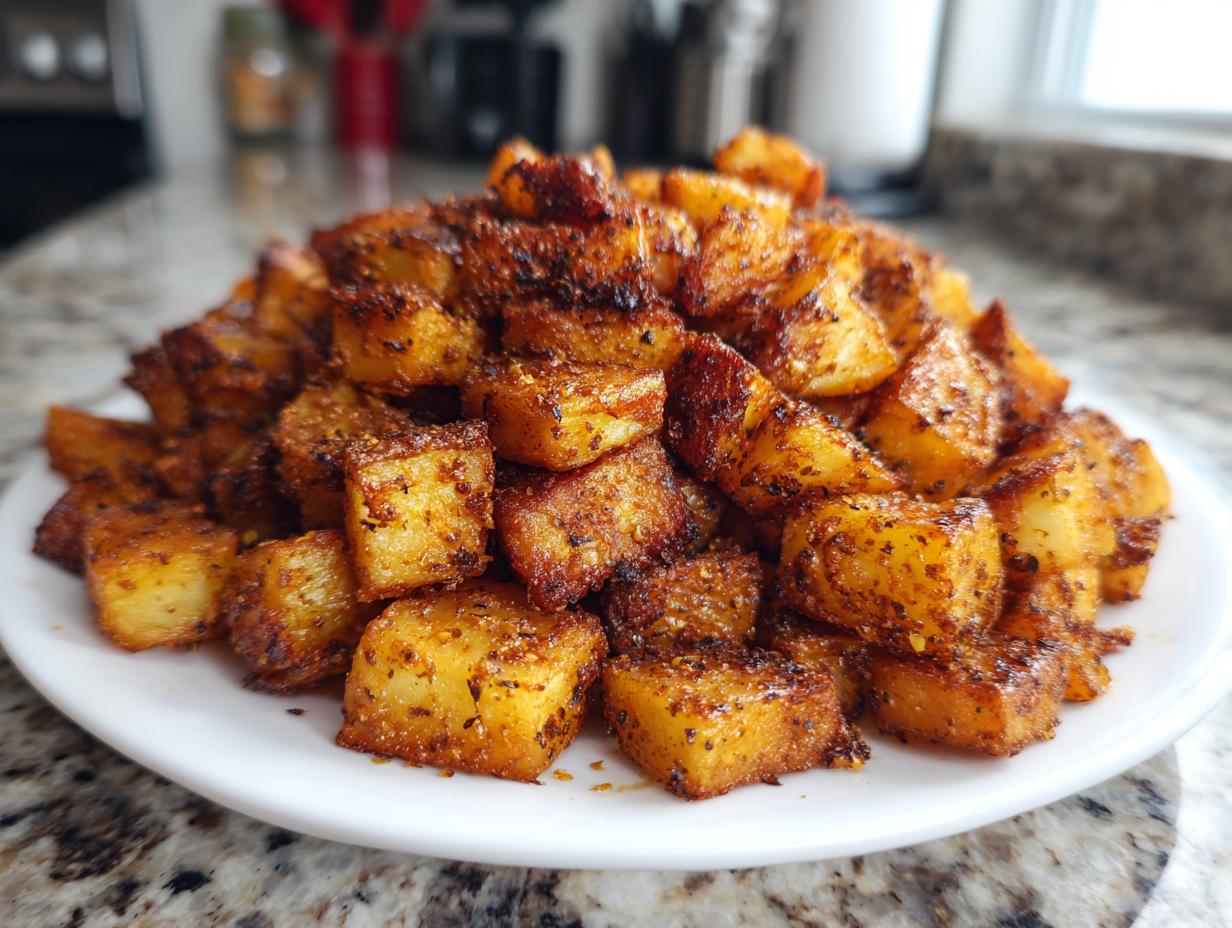
If there is one thing that separates a truly great breakfast from a merely good one, it’s the potatoes. We are talking about those golden, crunchy nuggets that manage to be fluffy and tender on the inside—the kind of breakfast potatoes that make you close your eyes after the first bite. I’ve spent so much time perfecting simple comforts in my kitchen. After the hectic corporate life I left behind, finding that peace in mastering a perfect sear on something as humble as a diced potato? It’s everything.
Forget soggy, undercooked failures! This is my absolute ultimate guide to making potatoes that actually *crisp* using just a trusty skillet because the secret isn’t daring ingredients; it’s all about technique. Trust me, once you nail these steps, your mornings are officially transformed.
- Why These Are the Best Breakfast Potatoes Recipe You Will Ever Make
- Ingredients for Ultimate Crispy Skillet Breakfast Potatoes
- Mastering the Technique: How to Cook Perfect Breakfast Potatoes
- Alternative Methods for Crispy Breakfast Potatoes: Oven Roasted Potatoes and Air Fryer Potatoes
- Tips for Success When Making Seasoned Breakfast Potatoes
- Make Ahead Breakfast Potatoes and Storage Instructions
- Serving Suggestions for Your Classic Breakfast Side
- Frequently Asked Questions About Making Breakfast Potatoes
- Finding More Homemade Happiness in the Kitchen
Why These Are the Best Breakfast Potatoes Recipe You Will Ever Make
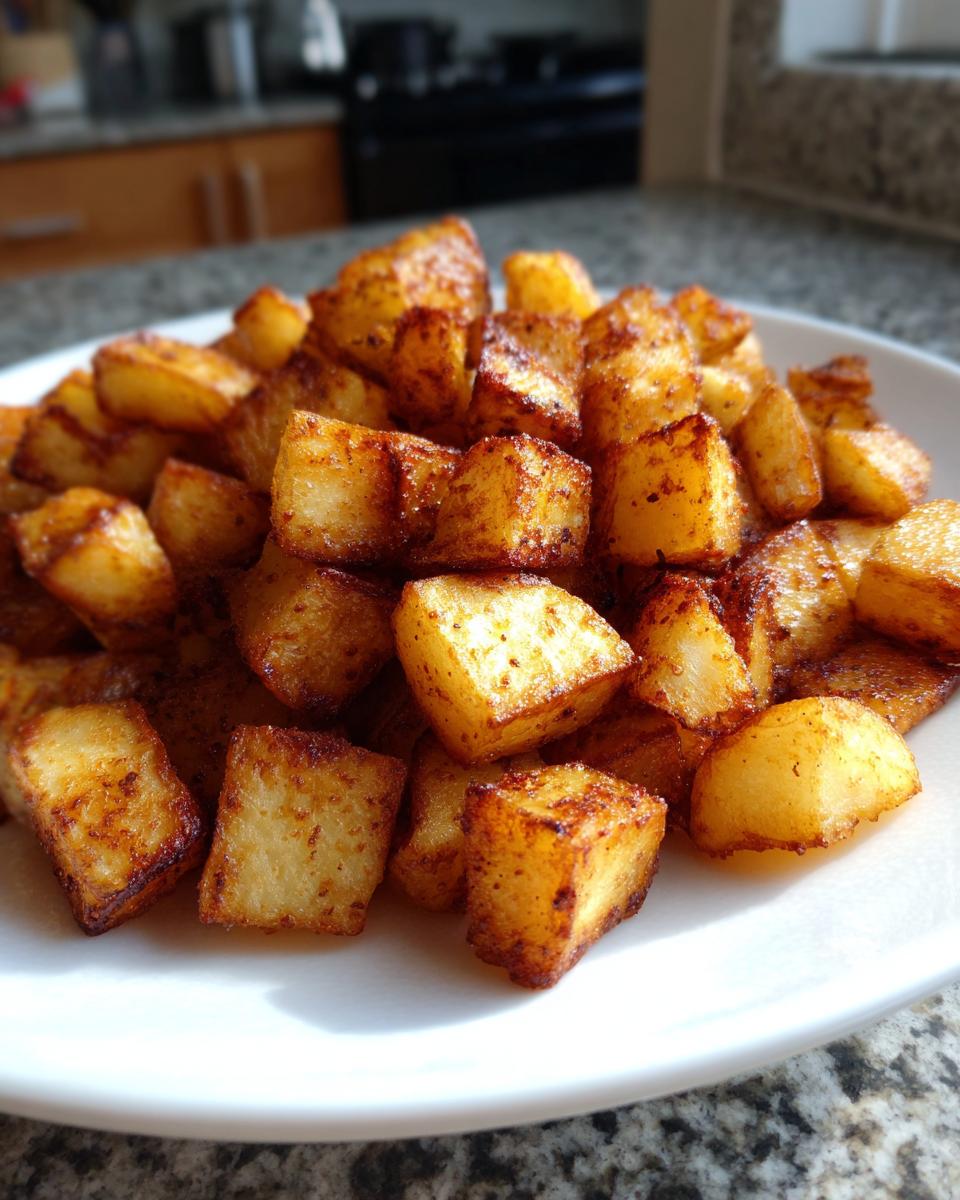
I promise you, once you try this recipe, you’ll stop messing around with softer, less flavorful versions. What sets these apart is achieving that stunning textural contrast we all dream about: perfectly crispy breakfast potatoes on the outside while keeping the center beautifully tender and fluffy. Believe me, I tested batch after batch to figure out the absolute best way to get that fluffy inside crispy outside potatoes magic happening consistently, every single weekend.
This isn’t just some random technique I read online, either. Every measurement and timing detail here has been meticulously checked in my own kitchen to ensure you get that deep golden crunch we’re looking for. It’s my tried-and-true method, and it just works!
Ingredients for Ultimate Crispy Skillet Breakfast Potatoes
Okay, let’s talk about what you need to gather for this masterpiece of a side dish. Getting the right components is half the battle, especially when you’re aiming for that perfect crunch. We keep this simple because the technique is doing most of the heavy lifting in this recipe!
Essential Potato and Seasoning Components for Flavorful Morning Potatoes
You are going to need about two pounds of Russet potatoes, and please make sure you scrub them well, then dice them into uniform, neat little pieces—I’m talking 1/2-inch cubes, nothing too huge. For seasoning, we are using three good tablespoons of a neutral oil like olive or avocado, along with salt and pepper. Don’t forget the flavor boosters: garlic powder, paprika for that gorgeous color, and a tiny bit of onion powder. See? Quality ingredients make all the difference for truly flavorful morning potatoes!
Mastering the Technique: How to Cook Perfect Breakfast Potatoes
Now for the part where we turn those humble cubes into the best breakfast potatoes you have ever tasted. Honestly, the ingredients are easy, but if you skip these technique steps, you’ll end up with sad, limp potatoes. We have to eliminate competition for the hot oil, which means we’re tackling starch and moisture first! For more side dish inspiration, you might want to check out my recipe for chili cheese fries—it uses similar crisping principles!
The Crucial Prep: Soaking and Drying for Crispy Breakfast Potatoes
First things first: you need to soak your diced potatoes in cold water for at least half an hour. This pulls out all that nasty excess starch that stops things from getting properly crispy. After soaking, drain them completely. This next part is non-negotiable: pat those potatoes bone dry. Seriously, use two towels if you have to! Moisture is the absolute enemy when you are trying to achieve those beautiful golden home fries.
Achieving the Perfect Sear: Skillet Potatoes Cooking Method
Once they are dry, toss them with your oil and seasonings—make sure every piece is coated. Get your large, heavy skillet—cast iron is my secret weapon here, it holds heat so beautifully—screaming hot over medium-high heat. Add your potatoes in a single, uncrowded layer. They should sizzle instantly! If they don’t sizzle, your heat is too low, guaranteed. Let them sit for a solid 8 to 10 minutes untouched until the bottoms are deeply brown. You can see a great guide over at The Healthful Ideas showing the visual cues for that first sear! Once they’ve got that color, stir gently and keep cooking, stirring every five minutes, for maybe another 10 to 15 minutes. You’re looking for all sides to be golden brown and tender inside. That’s the secret to amazing skillet potatoes!
Alternative Methods for Crispy Breakfast Potatoes: Oven Roasted Potatoes and Air Fryer Potatoes
I know not everyone has time to stand by a skillet, even though that’s my preferred way to get the very best breakfast potatoes. So don’t worry if your stove space is tight! If you are making a huge brunch spread, you might want to transition to the oven. The recipe notes have the details, but basically, toss the seasoned potatoes, spread them in a single layer on a baking sheet, and roast them at 425°F for about 35 to 40 minutes, flipping halfway through. It’s a slightly different texture, but you still get that wonderful golden exterior!
And if you have an air fryer? Oh my goodness, you are in luck! The air fryer is fantastic for making oven roasted potatoes style crispness without all the oil and heating up the whole kitchen. For the air fryer, you usually just toss the seasoned cubes and cook them at around 390°F until they get super crunchy. It’s honestly fantastic for making air fryer potatoes when you need quick breakfast sides during the week. Either method still gives you that fantastic crunch that makes these potatoes shine!
Tips for Success When Making Seasoned Breakfast Potatoes
Getting incredible results is all about paying attention to details that most people skip over. When you’re making these seasoned breakfast potatoes, remember that the type of potato you use seriously matters! I always push for Russets because their high starch content is exactly what gives you that fluffy interior and firm exterior when fried or roasted.
If you try Yukon Golds, they’ll still taste great, but they are naturally creamier, meaning they might not get that shatteringly crisp crust we are chasing here. Also, watch that heat! After you get that initial good sear on the bottom in the skillet—that’s the payoff for all that drying we did—you must drop the heat down to medium. If you leave it on high, the outsides burn to ash before the insides are even soft. It takes patience, but that careful heat management is what separates burnt outs from truly perfect morning potatoes.
Make Ahead Breakfast Potatoes and Storage Instructions
Look, I know mornings are chaos, even when you plan ahead! That’s why I love that you can totally prep these breakfast potatoes in advance. If you want them truly ready to go for brunch, the best trick is to cook them almost all the way through on the stove, maybe for about 15 minutes, then let them cool completely before storing them airtight in the fridge. If you’re trying the oven method, you can do the same thing there—roast them halfway! Dealing with make-ahead sides is essential if you want to enjoy a relaxed weekend brunch.
When it’s time to serve, you have to reheat them properly to bring that crispiness back. Don’t you dare microwave them unless you enjoy sad, soggy cubes! Instead, spread them out on a hot, dry skillet or better yet, a baking sheet in a hot oven (like 400°F). A quick 5 to 10 minutes of dry heat will revive that golden exterior we worked so hard for. You can find some great pointers on this kind of planning, like figuring out the best meal planning schedule, over at Bare Feet in the Kitchen! If you are planning a huge weekend, maybe keep some delicious braised short ribs in the slow cooker to go with those perfectly crisped potatoes!
Serving Suggestions for Your Classic Breakfast Side
Honestly, once you have these gorgeous, crispy breakfast potatoes ready to go, they practically beg to be eaten! They are the definition of a terrific classic breakfast side. Of course, they are stunning next to simple scrambled eggs, but don’t stop there!
Pile them high next to sizzling bacon or sausage patties. If you’re putting together a big weekend spread, these make incredible brunch potato sides. They fill out any plate beautifully, especially when you have my amazing biscuits and gravy right there alongside them. They are ready for anything!
Frequently Asked Questions About Making Breakfast Potatoes
I know you might still have a few lingering questions, because I certainly did when I was trying to figure out how to stop making sad, pale potatoes! We all want those perfect, crunchy cubes for our quick breakfast sides, so let’s clear up any last confusions before you hit the stove!
Can I use Yukon Gold potatoes instead of Russets for these breakfast potatoes?
You absolutely *can*, but you have to adjust your expectations slightly! Russets are my go-to because they have way more starch, which is what breaks down and crisps up beautifully when it hits that hot oil. Yukon Golds are much creamier, which yields a softer texture overall. They still taste delicious, but they might not get that fantastic, hard exterior crunch that the Russets give you. It’s a slight trade-off for tenderness!
How do I ensure my breakfast potatoes are fluffy inside?
This comes down to heat management after you get that initial amazing sear. Once you’ve flipped them and seen that beautiful golden color on the first side, you immediately need to drop the heat down to medium—or maybe even medium-low if your stove runs hot! That lower, sustained heat is what allows the inside of the potato cube to steam gently and cook through completely without the outside burning black. It takes patience, but that soft interior is worth waiting for!
If you ever find your potatoes are still hard after 20 minutes of cooking, it means you either didn’t dry them enough, or your pan was too crowded and they steamed instead of fried. Don’t worry, we all mess up sometimes; even my perfect grilled cheese sandwich needed a few tries to get the buttering just right! Just remember: dry potatoes hitting high heat for a sear, then lower heat to finish.
Finding More Homemade Happiness in the Kitchen
I really hope you feel as confident about conquering crispy potatoes as I do now! Mastering something satisfyingly simple like these seasoned breakfast potatoes is just the start of bringing that real, homemade joy back into your everyday cooking. My whole goal here at Bliss Batter is to show you that happiness is absolutely homemade.
Don’t let the weekend get away from you without experimenting with other morning favorites! You might want to check out my recipe for pumpkin French toast—it’s another way to make brunch feel totally special without all the fuss. If you’re looking to streamline things, especially when planning your weekend meal planning, having these reliable side dishes ready means less stress and more eating!
If you feel like stepping into bigger territory after mastering these potatoes, my recipe for a perfect roast chicken with vegetables is a fantastic way to bake something wonderful that feeds the whole family. Let’s keep creating those cozy kitchen moments together!
PrintUltimate Crispy Skillet Breakfast Potatoes

Make breakfast potatoes that are perfectly golden and crispy on the outside while remaining tender inside using this simple skillet method. This recipe focuses on technique to achieve maximum crunch.
- Prep Time: 10 min
- Cook Time: 25 min
- Total Time: 35 min
- Yield: 4 servings 1x
- Category: Breakfast Side
- Method: Skillet Frying
- Cuisine: American
- Diet: Vegetarian
Ingredients
- 2 lbs Russet potatoes, scrubbed and diced into 1/2-inch cubes
- 3 tablespoons olive oil or avocado oil
- 1 teaspoon salt
- 1/2 teaspoon black pepper
- 1 teaspoon garlic powder
- 1/2 teaspoon paprika
- 1/4 teaspoon onion powder
- 1/4 cup chopped onion (optional)
Instructions
- Prepare the potatoes: Dice the potatoes into uniform 1/2-inch cubes. Place the cubes in a bowl and cover them completely with cold water. Let them soak for at least 30 minutes. This step removes excess starch, which helps them crisp up later.
- Dry the potatoes thoroughly: Drain the potatoes completely. Spread them out on a clean kitchen towel or several layers of paper towels. Pat them completely dry. Moisture prevents crisping.
- Season the potatoes: In a large bowl, toss the dry potatoes with the olive oil, salt, pepper, garlic powder, paprika, and onion powder until evenly coated.
- Heat the skillet: Place a large, heavy-bottomed skillet (cast iron works best) over medium-high heat. Add the seasoned potatoes to the hot skillet in a single layer. Do not overcrowd the pan; work in batches if necessary. Overcrowding steams the potatoes instead of frying them.
- Cook the first side: Let the potatoes cook undisturbed for 8 to 10 minutes until the bottoms are deeply golden brown and crispy.
- Continue cooking: Stir the potatoes gently, scraping up any browned bits. Reduce the heat slightly to medium. Continue cooking, stirring every 5 minutes, for another 10 to 15 minutes until all sides are golden brown and the potatoes are tender when pierced with a fork.
- Add onions (if using): If you are adding chopped onion, add them during the last 5 minutes of cooking and cook until softened.
- Serve immediately: Remove the potatoes from the heat and serve hot alongside your favorite breakfast items.
Notes
- For the crispiest results, do not skip the soaking and drying steps.
- If you prefer oven roasting, spread the seasoned potatoes on a baking sheet and roast at 425°F (220°C) for 35–40 minutes, flipping halfway through.
- If you are interested in structured eating, look into meal planning options.
Nutrition
- Serving Size: 1 serving
- Calories: 250
- Sugar: 1
- Sodium: 350
- Fat: 12
- Saturated Fat: 2
- Unsaturated Fat: 10
- Trans Fat: 0
- Carbohydrates: 33
- Fiber: 3
- Protein: 4
- Cholesterol: 0