
When I scroll through photos of holiday baking, I always gasp a little bit at those cookies that look absolutely perfect—the kind you see in bakery windows. We all strive for that smooth, glossy finish on our sugar cookies, but getting the **cookie icing** right can feel like this huge, complicated mystery! Well, I’m here to tell you to take a deep breath.
That’s why I created this recipe. As the founder of Bliss Batter, my whole goal is to demystify baking, and getting icing that actually hardens smoothly and looks professional without needing a culinary degree? That’s a huge win for all of us. This recipe is beginner-friendly, uses simple pantry staples, and it dries hard as a rock—perfect for stacking and gifting. Trust me, you’re going to nail this!
I want you to feel that pure, simple bliss the second you see how easy this is. After you nail the sugar cookie base at this link, grab your mixer, because the icing magic happens in about ten minutes!
- Why This is the Best Hardening Cookie Icing Recipe
- Ingredients Needed for Perfect Cookie Icing
- Step-by-Step Guide to Making Your Cookie Icing
- Tips for Decorating with Hardening Cookie Icing
- Drying Time and Storing Your Decorated Cookies
- Making Meal Planning Easier with Prep-Ahead Baking
- Frequently Asked Questions About This Cookie Icing
- Estimated Nutritional Information for Cookie Icing
- Share Your Beautifully Iced Creations
Why This is the Best Hardening Cookie Icing Recipe
Honestly, the best part about this recipe is that it’s been tested and perfected right here in my home kitchen—no fancy equipment needed! I know how frustrating it is when your beautiful designs melt or stay sticky after hours of waiting. This formula cuts out the guesswork so you can concentrate on the fun part: decorating!
Here’s why you should feel confident about this batch of **cookie icing**:
- It sets up beautifully, giving you that professional, hard shell.
- It’s durable—stack those decorated cookies high in your holiday tins!
- Prep time is astonishingly fast; we’re talking about 10 minutes total before you start piping. I know you’ll love how quickly you can get decorating! For other quick fixes, check out my oatmeal cookie recipe next.
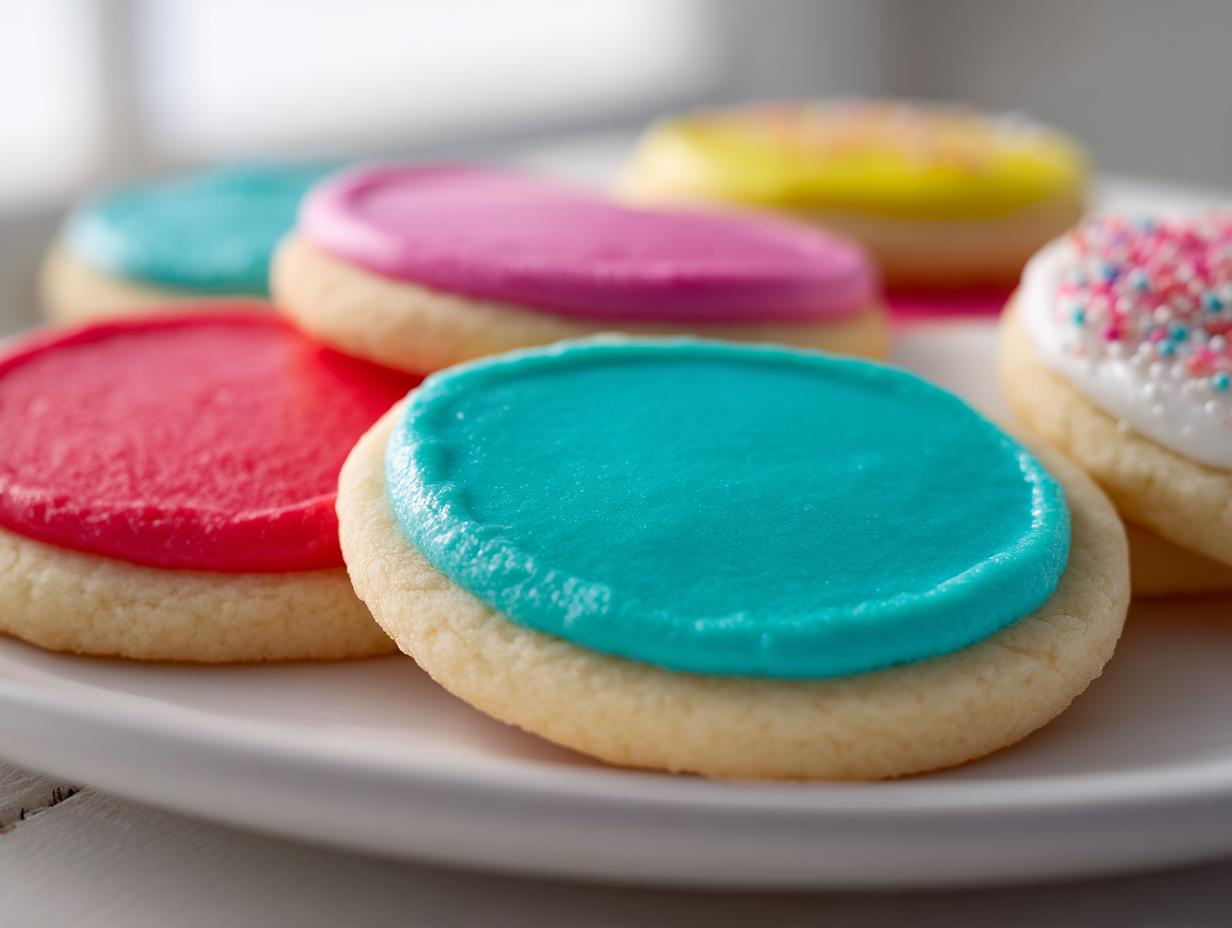
Achieving a Smooth, Glossy Finish with Cookie Icing
That high-shine look that professional bakers get? It totally comes down to two things working together: the meringue powder and how we mix it. The meringue powder is our secret weapon for stability, but the gloss comes from not overdoing it once everything looks perfect.
My biggest tip, echoing my commitment to quality, is to stop the mixer the *second* it looks perfectly smooth and creamy. If you keep beating meringue-based icing for too long after it’s ready, you actually start to introduce tiny air pockets that dry dull instead of glossy. Trust me, once it looks like thick, satiny paint, that’s your cue to start coloring and piping!
Ingredients Needed for Perfect Cookie Icing
Okay, let’s talk supplies! This recipe keeps things ultra simple because I want you decorating, not running to specialty stores. We’re using basic things you probably have right now, just mixed in a specific way. Make sure you sift that powdered sugar—it keeps clumps out, which is essential for smooth **cookie icing**.
For the best, most vibrant colors that don’t thin out your mix unintentionally, always grab gel food coloring if you have it. Liquid drops can ruin the consistency, and we worked too hard to get this perfect!
Ingredient Substitutions and Notes
The star here is the meringue powder. You might wonder why I skip the traditional raw egg whites. It’s simple: safety and consistency! Meringue powder is pasteurized, meaning it’s safe to use without worrying about bacteria, and it just whips up like a dream every single time. It makes this the most reliable **sugar cookie icing** recipe, period.
If you absolutely do not have meringue powder on hand, you can use about one tablespoon of pasteurized egg white powder mixed with about two teaspoons of water to substitute, but honestly, the powder is worth keeping in your pantry just for days like this. It gives you that professional, glossy royal icing hardness we are aiming for!
Step-by-Step Guide to Making Your Cookie Icing
Alright, deep breath! Now we mix. Everything goes into the bowl: the sifted powdered sugar and the meringue powder. Give those a little whisk by hand just to get them introduced to each other before the mixer starts roaring. Then, toss in that vanilla extract and start conservatively with the water—I said 5 tablespoons to begin.
Start your electric mixer on the absolute lowest speed. We don’t want a sugar cloud explosion across the kitchen, right? Mix until it just starts coming together, and then crank it up to medium-high. You need to beat this icing for a solid 3 to 5 minutes. This is where the magic happens, turning that shaggy mess into smooth, thick icing. If it looks way too stiff after beating, add that last tablespoon of water, just a little splash at a time until it feels perfect.
Before you run off to color everything, take a peek at my chai spice cookie recipe for other flavor inspiration! This technique for mixing applies to so many baking components!
Adjusting Cookie Icing Consistency: Outlining vs. Flooding
This is the part that trips up every beginner, but it’s so easy once you know the trick. If you need to pipe borders or write names (the ‘outline’), use the consistency right off the mixer. It should hold a stiff peak and look like thick paste—it needs to stay exactly where you put it.
But for filling in those centers smoothly—that’s called ‘flooding’—you need it runnier. If you draw a line with this pouring consistency, it should self-level and disappear back into the surface within about eight seconds. My visual test is to lift the whisk and drizzle some icing back into the bowl. If that drizzle line slowly settles back into the main puddle without leaving a noticeable trail? You’ve hit the perfect flooding consistency!
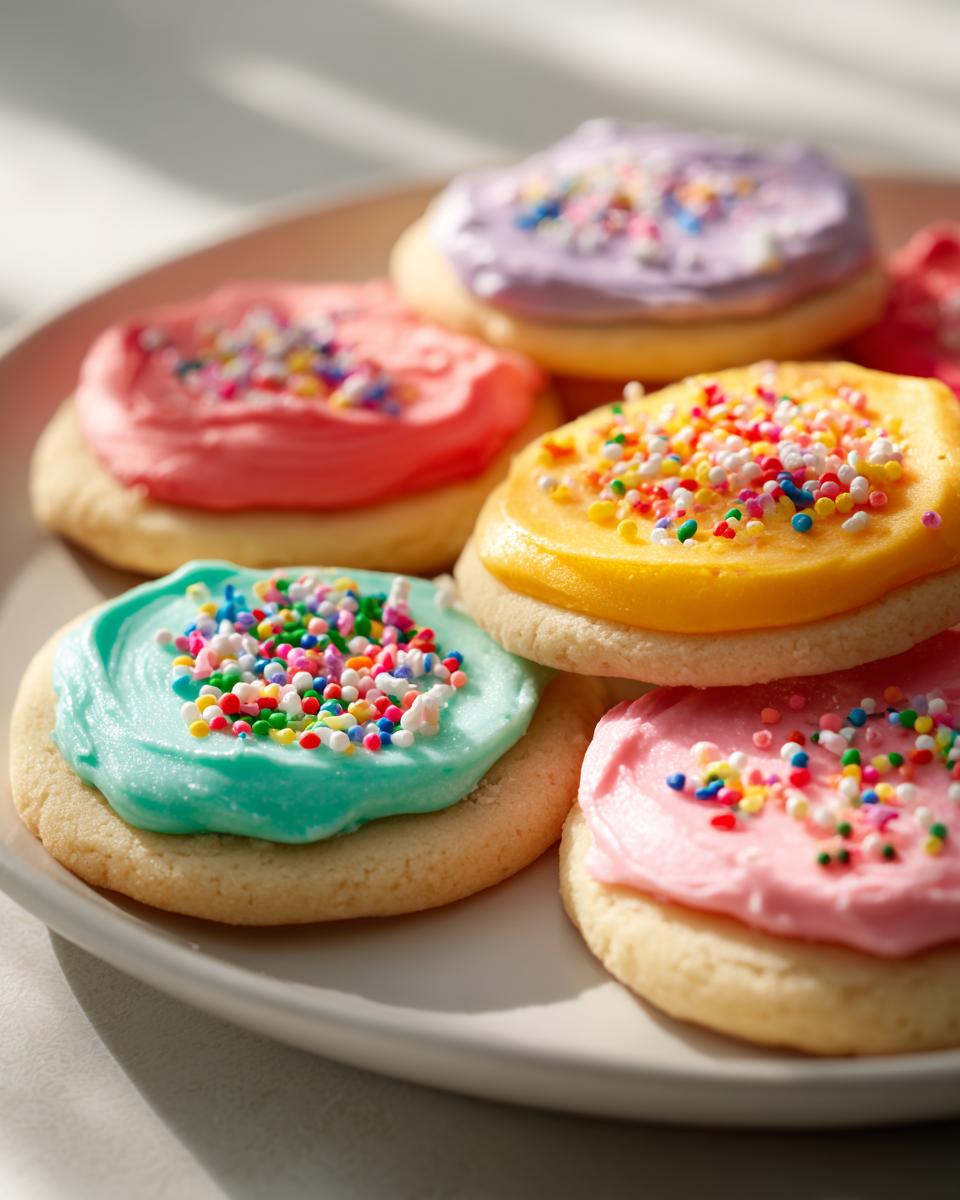
Tips for Decorating with Hardening Cookie Icing
Now that you have your perfectly thinned-out **cookie icing** ready, remember rule number one: your cookies must be totally, completely cool before you even think about decorating them. If the cookie has even a trace of warmth, your beautiful icing is just going to melt into a sad, thin puddle. Don’t rush this part! A cool cookie equals a perfect foundation.
As you work, especially if you are coloring batches and switching between them, you might notice your icing thickening up in the bowl. This is totally normal—humidity is a sneaky thing! If the icing in your piping bag starts fighting you or won’t flow smoothly, don’t panic and don’t add more meringue powder; that will just make it too stiff.
Just take a tiny spoon and add a few drops of water directly into the bowl of icing you are actively using. Mix it gently with a toothpick until it flows nicely again. It’s such a small adjustment, but it saves a whole batch! After icing, you might want a break, and while I love a good pumpkin roll, sometimes you just need a cookie!
I love doing intricate work, and if you feel like you need extra crisp lines, try outlining first! Pipe your borders with the stiffer consistency, let those set for maybe 15 minutes, and *then* go in with your flooding consistency to fill the middle. That technique gives you those gorgeous, crisp edges that really make the whole cookie pop. Master that, and you’ll be unstoppable!
Drying Time and Storing Your Decorated Cookies
Okay, once your cookies are beautifully dressed, the hardest part starts: waiting! This hardening **cookie icing**, which is essentially a stable form of royal icing, needs time to set up properly. You can’t just stack them immediately unless you want a colorful mess.
I always tell people drying time is highly dependent on the weather. If it’s a super dry day, maybe you’ll be fine in three or four hours. But if you’re baking during a humid summer weekend? You could be waiting six, maybe even eight hours for that glossy finish to truly harden all the way through. Don’t rush it! Let them air dry undisturbed at room temperature.
Once they are completely dry—and I mean *totally* dry to the touch—storage is key. Since this icing doesn’t have delicate dairy components like a buttercream, you just need to keep dust and air out. Store your finished cookies in an airtight container at room temperature. Seriously, no need to refrigerate them! This durable finish is why this **cookie icing** is just perfect for gifting or shipping, too. They survive transit much better than a soft glaze.
If you need a savory break after all that sugar, you should really try my slow cooker apple butter recipe. It’s the perfect cozy fall treat while you wait for your cookies to dry!
Making Meal Planning Easier with Prep-Ahead Baking
One of the best ways to reduce stress during busy times, like the holidays, is doing things in batches. You know I love organization—it’s how I kept my events running smoothly for years! This **cookie icing** is a fantastic item to make ahead. You spend ten minutes whipping up a triple batch, seal it tight in a few containers, and stick it in the fridge.
When it’s time to decorate, all you have to do is pull a container out, let it warm up a touch, and start piping! Having this component ready to go makes holiday baking feel less frantic. Thinking about your treats this way is a form of proactive organization, just like using a robust meal planning strategy for your dinners. It lets you spread the joyful work out over several days instead of cramming it all into one chaotic afternoon.
Plus, having this reliable icing base makes it super simple to pivot if you suddenly need to bake extra cookies for an unexpected gathering—you already have the decorations ready to go!
Frequently Asked Questions About This Cookie Icing
I always get flooded with questions after people try this recipe, and that’s a good thing! It means you’re baking and experimenting, and I love that! Many of the unknowns pop up when you’re dealing with something as tricky as **cookie icing**. Here are a few things I hear most often from bakers trying to get that perfect, smooth, hardening finish.
Can I use liquid food coloring instead of gel for this cookie icing?
Oh, you totally *can*, but I really, really advise against it if you want that professional look. Remember how we obsessed over adding water just a drop at a time to hit that perfect consistency? Well, liquid food coloring is mostly water. If you use too much, you’ll thin out your perfect **sugar cookie icing**! It turns your piping consistency into runny soup instantly. Gel colors are super concentrated, so you only need a tiny toothpick dip to get vibrant colors without sacrificing the structure of your royal icing.
How long does this sugar cookie icing last before I need to make a new batch?
This is a great question if you are prepping ahead! If you make a big batch of the base icing—before you add the coloring or too much water—storing it is simple. You can cover that bowl tightly with plastic wrap, pressing the wrap right down onto the surface of the icing to prevent a hard skin from forming. Stored in the fridge, it’s good for up to a week. When you pull it out, you might need to whisk in just a tiny splash of water to loosen it up before you start decorating those amazing cookies! I find having this ready makes baking so much less stressful, almost like using a pre-planned system rather than rushing last minute. If you love planning ahead, maybe check out some great pointers on salted caramel brownies too!
What if my cookies crack after the icing hardens?
A few tiny fissures happen sometimes, but big cracks are usually a sign that the icing dried too fast or was too thick for the cookie base underneath it. When the icing dries super hard and quick, it shrinks slightly, and if the cookie itself is even slightly soft or yielding, the rigid icing layer cracks to accommodate the movement.
Two things to check: First, make sure your cookies are completely cooled—like, room temperature or even slightly chilled. Second, look back at your consistency. If your icing was too stiff to begin with (meaning you were bordering on thick paste rather than smooth paint), that stiffness can lead to cracking. If you find a cracky batch you love anyway, don’t stress! It’s rustic charm!
Estimated Nutritional Information for Cookie Icing
Now, I know most of us aren’t reading this nutrition label because we are planning dessert; we’re reading it to see just how many cookies we can responsibly devour! But since I know some of you are seriously dedicated to keeping track of baking projects, here is the estimated breakdown for this amazing **cookie icing** recipe.
Keep in mind, this calculation is based on the recipe yielding enough icing to coat two dozen regular-sized cookies, and the values below are based on a serving size of about 1/4 cup of the finished, dried glaze. As always with homemade treats, these numbers are estimates because the exact size of your piping application will change things!
- Serving Size: 1/4 cup
- Calories: Approximately 450 per serving
- Total Fat: 0g (Yep, that’s right, we keep it fat-free!)
- Carbohydrates: Around 112g
- Sugar: About 110g (It is icing, after all!)
- Protein: Roughly 1g
Seriously, don’t sweat the numbers too much. The joy is in the taste and how beautiful they make your sugar cookies look. If you’re worried about sugar intake, maybe stick to only outlining the cookies instead of flooding them completely! That’s my practical Baker Claire tip for keeping things manageable.
Share Your Beautifully Iced Creations
Wow, we did it! You’ve conquered the mighty **cookie icing**, and now your sugar cookies are ready to shine. This is my favorite part, seeing all the creativity that comes out when you feel confident about your decorations. I truly hope this recipe gave you that much-needed boost of baking bravery!
If you absolutely loved how smooth and snappy your **sugar cookie icing** turned out, please don’t keep that goodness a secret! I would be so thrilled if you could stop by the top of the post and leave a quick 5-star rating. It helps other new bakers—just like you were ten minutes ago!
And please tag me on social media with photos of your finished masterpieces! Seeing your colorful, glossy decorations is what keeps me inspired every day here at Bliss Batter. It’s proof that you don’t need to be a fancy pastry chef to create something amazing.
If you’re looking for foundational baking wisdom or just want to see what other accessible, joyful recipes I’m working on, you can always check out my About Page. Sometimes, a great technique you learn for icing can completely change how you approach a different dough! Also, for more great tips on getting that hardening finish, check out this resource here.
Thank you so much for baking with me today. Now go show off those beautiful cookies!
PrintEasy Sugar Cookie Icing That Hardens Smoothly

Make professional-looking sugar cookie icing that dries smooth and glossy. This beginner-friendly recipe uses simple ingredients to create durable icing perfect for decorating and gifting.
- Prep Time: 10 min
- Cook Time: 0 min
- Total Time: 10 min
- Yield: Coats approximately 2 dozen cookies 1x
- Category: Dessert
- Method: Mixing
- Cuisine: American
- Diet: Vegetarian
Ingredients
- 4 cups powdered sugar, sifted
- 3 tablespoons meringue powder
- 1/2 teaspoon vanilla extract
- 6 tablespoons warm water (or more, added slowly)
- Gel food coloring (optional)
Instructions
- In a medium bowl, whisk together the sifted powdered sugar and meringue powder until fully combined.
- Add the vanilla extract and 5 tablespoons of the warm water to the dry ingredients.
- Mix on low speed with an electric mixer until the ingredients are just combined.
- Increase the mixer speed to medium-high and beat for 3 to 5 minutes until the icing is smooth and holds soft peaks.
- If the icing seems too thick, add the remaining tablespoon of water, one teaspoon at a time, until you reach a smooth, pipeable consistency.
- For outlining consistency, use the icing as is. For flooding consistency, add a few more drops of water until the icing slowly settles when drizzled.
- Divide the icing into separate bowls if you plan to color it. Add gel food coloring sparingly and mix until the color is uniform.
- Use the icing immediately to decorate your cooled sugar cookies.
- Allow the decorated cookies to sit at room temperature until the icing is completely dry and hard, which may take several hours depending on humidity.
Notes
- For a glossy finish, avoid over-mixing once the desired consistency is reached.
- If the icing becomes too thick while decorating, stir in a few drops of water to restore flow.
- This icing hardens well, making it suitable for stacking cookies or for use in meal planning for holiday cookie boxes.
- If you are looking for alternatives to traditional baking, consider how this recipe compares to specialized options like gluten-free meal delivery services for dietary needs.
Nutrition
- Serving Size: 1/4 cup
- Calories: 450
- Sugar: 110g
- Sodium: 5mg
- Fat: 0g
- Saturated Fat: 0g
- Unsaturated Fat: 0g
- Trans Fat: 0g
- Carbohydrates: 112g
- Fiber: 0g
- Protein: 1g
- Cholesterol: 0mg