
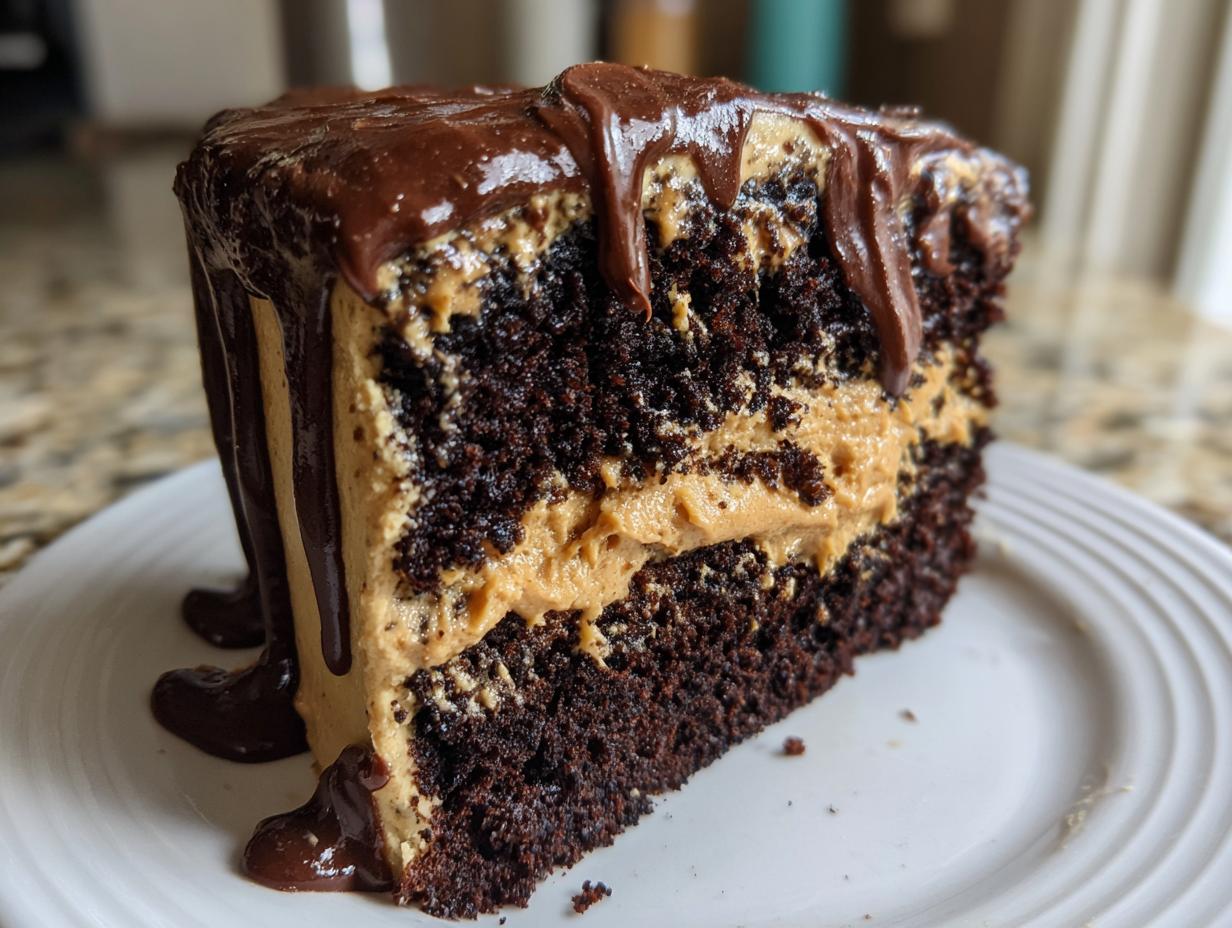
Oh, let’s just get this out of the way: the combination of deep, dark chocolate and salty, creamy peanut butter isn’t just a flavor profile; it’s a life philosophy, right? I’ve spent years perfecting treats in my kitchen, striving to bring that bakery-perfect look home without the baking anxiety. And that’s exactly what this chocolate peanut butter cake delivers! Even though I usually tell stories about my grandmother, I know life gets busy, which is why this show-stopping layer cake utilizes a simple cake mix base. It still results in a rich, decadent dessert you’ll be proud to serve. My whole mission here at Bliss Batter is to give you tested recipes that look complex but are totally accessible. You can find more amazing ideas in our collection of dessert recipes. Trust me, this one is foolproof!
- Why This Chocolate Peanut Butter Cake is Your New Favorite Dessert
- Gathering Ingredients for Your Chocolate Peanut Butter Cake
- Step-by-Step Instructions for the Chocolate Peanut Butter Cake
- Tips for a Perfect Chocolate Peanut Butter Cake Every Time
- Variations on the Classic Chocolate Peanut Butter Cake
- Storage and Make-Ahead for Your Chocolate Peanut Butter Cake
- Serving Suggestions for This Decadent Chocolate Peanut Butter Cake
- Frequently Asked Questions About Making This Chocolate Peanut Butter Cake
- Nutritional Estimates for Your Homemade Dessert
- Share Your Baking Success
Why This Chocolate Peanut Butter Cake is Your New Favorite Dessert
I know what you’re thinking: a layer cake with ganache? That sounds like a whole weekend project. But honestly, this stunner is built for speed! It looks like a fancy bakery creation, but it comes together shockingly fast. That’s why it’s going to become your go-to for birthdays and surprising weekend treats.
- It’s incredibly easy! We use a cake mix base, so you’re already ahead of the game.
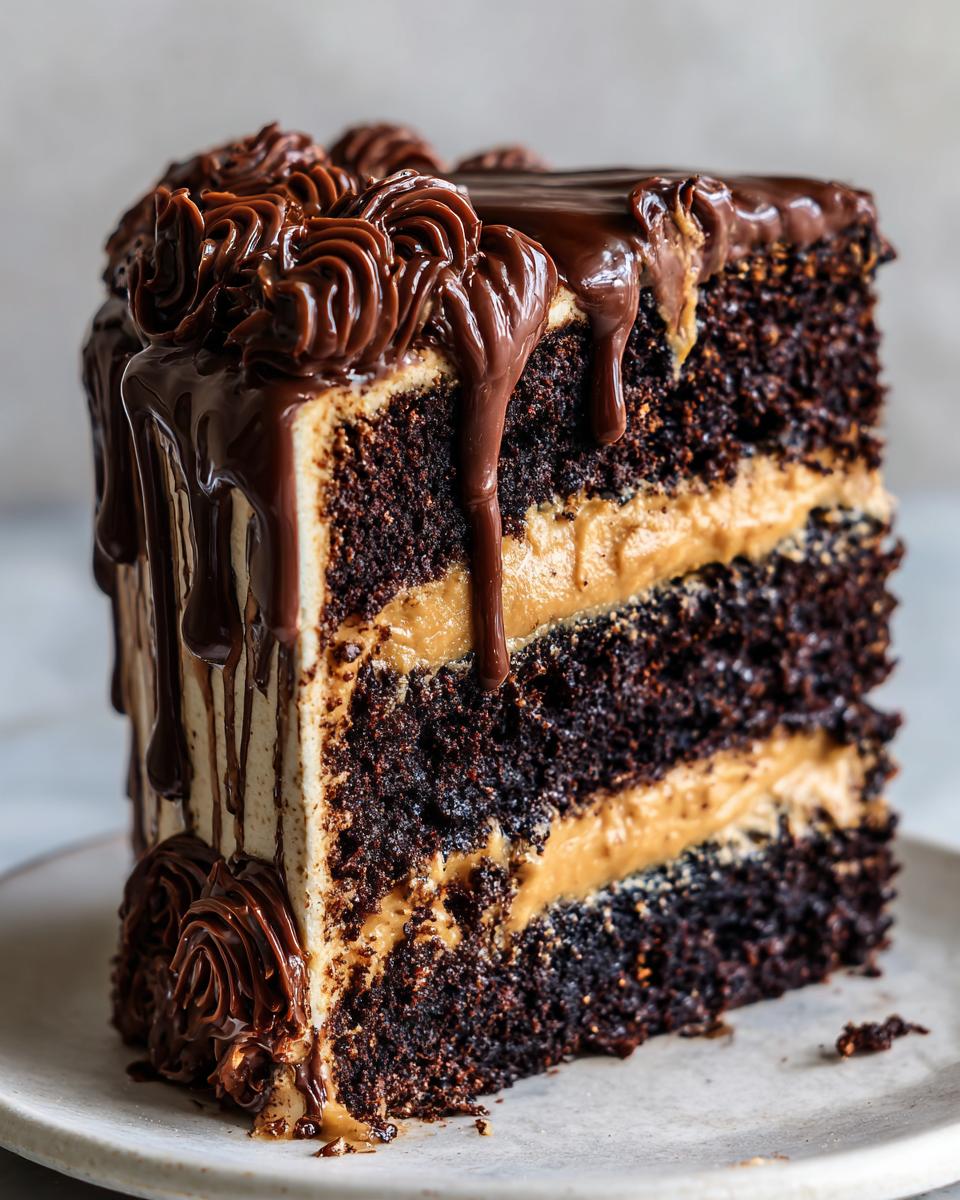
- The flavor combination is pure decadence—rich chocolate hitting that salty, smooth peanut butter.
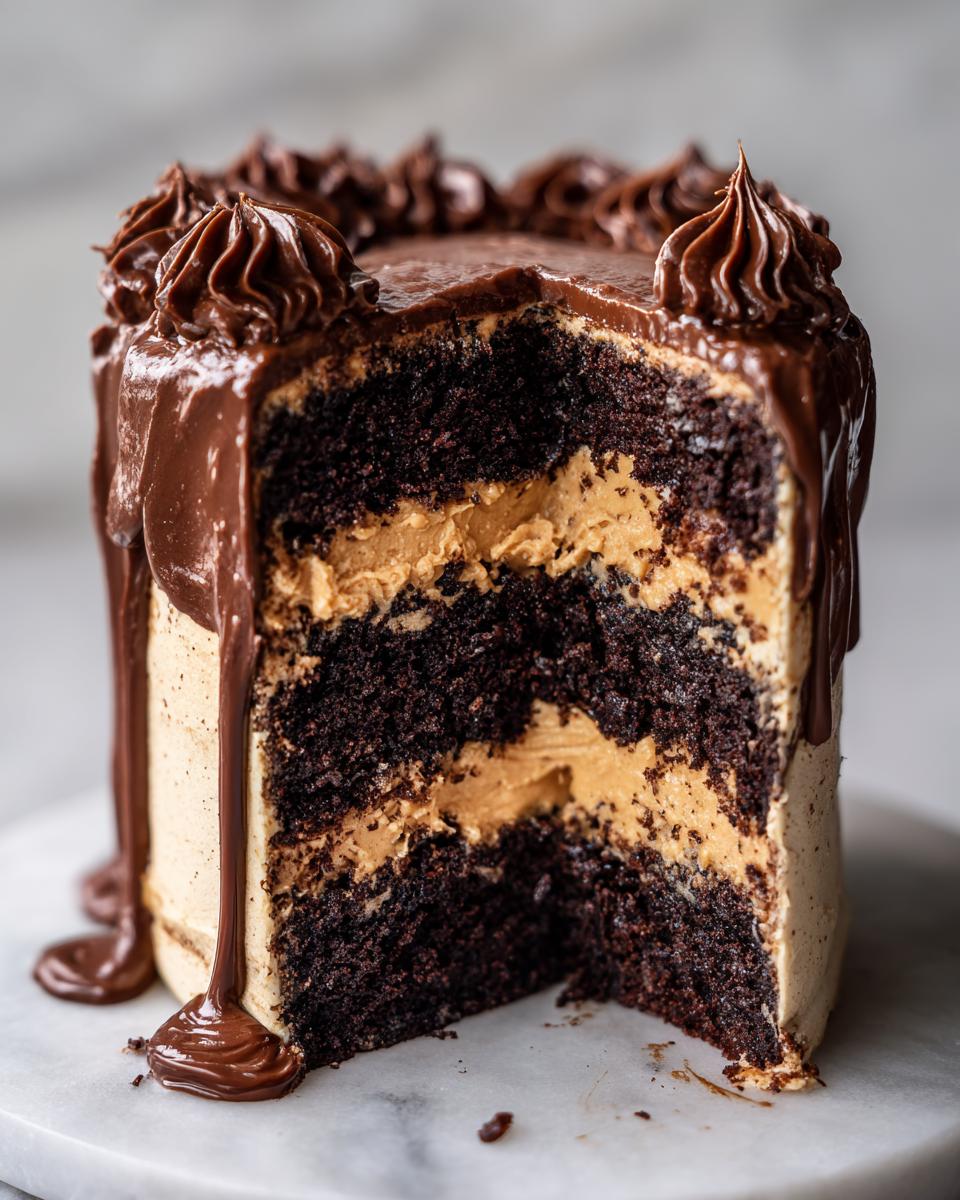
- It delivers that major show-stopping visual thanks to the gorgeous layering and that shiny ganache blanket on top.
Quick Assembly Using Cake Mix
Forget stressing over making scratch cake layers from scratch. We toss that worry out the window! Using your favorite boxed chocolate cake mix means the hard part—getting the cake crumb right—is already done. You just follow the box directions for layer cakes, and boom, you’ve got the structure you need for this glorious chocolate peanut butter cake. It’s all about simplifying the base so you can focus on the fun stuff!
The Ultimate Peanut Butter Frosting Experience
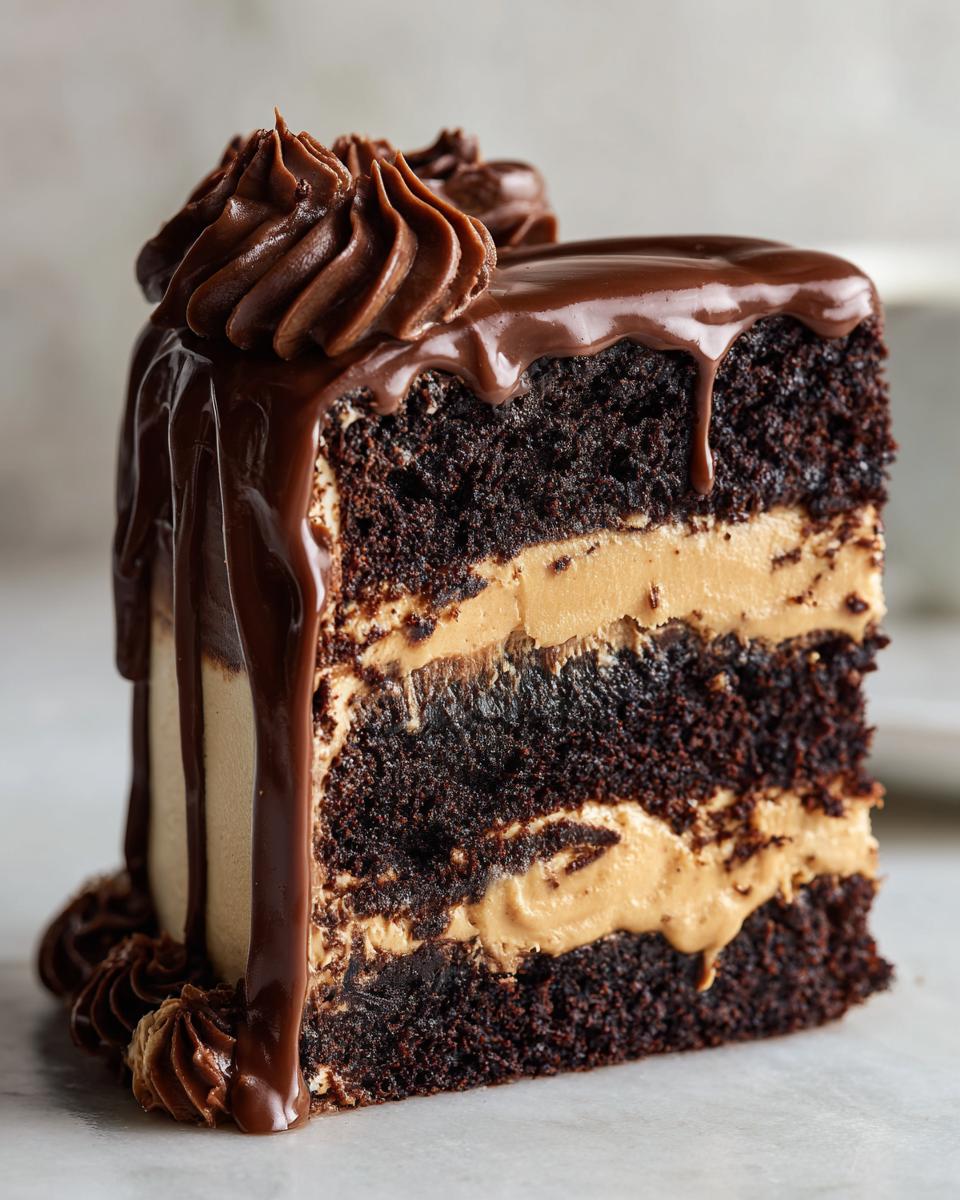
Now, the frosting. Oh, the frosting! This isn’t that crumbly, too-sweet stuff. We make a true buttercream base with real butter and peanut butter, beating air into it until it’s unbelievably light and creamy. It has that perfect sweet and salty balance that contrasts beautifully with the dark chocolate. When you taste that smooth texture melting in your mouth, you’ll know why this frosting is famous in my kitchen!
Gathering Ingredients for Your Chocolate Peanut Butter Cake
Okay, let’s get our supplies lined up! When you’re making a showstopper like this chocolate peanut butter cake, having everything ready makes the process so smooth. Since we are keeping the cake part easy, most of the magic happens in the frosting and the ganache. I always lay out my ingredients first—it’s like prepping your station before a big painting session. If you’re keen on getting fancy with flavors, check out my salted caramel brownies recipe for inspiration later!
For the Chocolate Cake Layers
Since we are leaning into simplicity here, we are using the box mix. Make sure you have all the things the box usually calls for on standby!
- One box of good quality chocolate cake mix
- All the wet ingredients the box asks for—usually eggs, oil, and water—just follow the package directions!
For the Creamy Peanut Butter Frosting
This is where the flavor really shines, so use ingredients you love! Creamy peanut butter is essential here for that perfect, smooth texture.
- 1 cup creamy peanut butter
- 1/2 cup unsalted butter, make sure it’s softened up on the counter first!
- 3 cups powdered sugar (sift it if you have time, but I usually don’t!)
- 1/4 cup milk
- 1 teaspoon vanilla extract
For the Rich Chocolate Ganache Topping
The ganache is just two ingredients, but the technique is everything, so pay attention to the heavy cream!
- 1 cup semi-sweet chocolate chips
- 1/2 cup heavy cream—this needs to get hot!
Step-by-Step Instructions for the Chocolate Peanut Butter Cake
Now that we have our ingredients army lined up, let’s get down to the assembly! Since we are aiming for a truly show-stopping chocolate peanut butter cake, the order we do things in really matters. Don’t rush the cooling—that’s the key to avoiding disaster when frosting time comes around. You can find my absolute favorite scratch chocolate cake recipe in another post, but today we follow the quick route!
Baking and Cooling the Cake Layers
First things first: bake those layers! Prepare your two 8-inch cake pans and whip up that chocolate cake mix exactly as the box tells you to. Get them into the oven and bake them until they are done. When they come out, you absolutely must let them cool completely on a wire rack. If the cake layers are even slightly warm, that glorious peanut butter frosting will melt right off. Patience here pays off, I promise!
Making the Smooth Peanut Butter Frosting
Grab your stand mixer or a good hand mixer for this part—we need volume! Start by beating that softened butter and the peanut butter together until they look smooth and happy. Then, we introduce the powdered sugar and the milk, alternating them in small amounts. This slow addition prevents a sugar cloud explosion and creates that perfectly light and fluffy texture. Stir in your vanilla at the very end. You want this frosting to spread like soft clouds!
Creating the Glossy Chocolate Ganache
This ganache is just elegant. Put your semi-sweet chocolate chips into a heatproof bowl. Heat your heavy cream gently on the stove until it just starts to bubble around the edges—don’t let it boil over! Pour that hot cream right over the chips and walk away for exactly five minutes. Seriously, go check your email. After that rest, whisk it gently until it becomes one smooth, glossy pool of chocolate goodness. Let it sit a bit longer until it thickens up so it drapes nicely over the cake.
Assembling and Finishing Your Chocolate Peanut Butter Cake
It’s time for the fun part! Place one cooled cake layer down. Take about a third of that beautiful peanut butter frosting and spread it evenly across the top. Set the second layer on top. Now, cover the whole thing—top and sides—using the rest of the peanut butter frosting. When it’s all covered, take that slightly thickened ganache and pour it lovingly over the top, letting it cascade down the sides however it wants to drip. Chill the entire magnificent chocolate peanut butter cake in the fridge for at least 30 minutes before you slice into it. This helps everything set beautifully!
Tips for a Perfect Chocolate Peanut Butter Cake Every Time
Even with a simple recipe, sometimes things just don’t look perfect right out of the oven, but don’t worry! That’s when a few seasoned baker’s tricks come in handy. When I’m making this chocolate peanut butter cake, these little adjustments are what take it from “pretty good” to “wow, did you buy this?” Remember, baking is forgiving, especially when chocolate and peanut butter are involved!
Ensuring Level Cake Layers
Sometimes when you use a cake mix, those beautiful layers can dome right up in the middle, leaving you with a wobbly tower if you just stack them. If your layers look like little hills, you need to level them before frosting! Wait until the cakes are completely cool—a bench scraper or a long serrated knife works best for this. Just gently slice off that domed top so you have a nice, flat surface to build your layers on. It’s a tiny step, but it makes all the difference for a stable, professional-looking chocolate peanut butter cake.
Adjusting Frosting Consistency
We’ve all been there: you finish making the peanut butter frosting, and it’s just… not quite right. Maybe your butter was a little too soft and now it’s too loose, or maybe your powdered sugar was heavy and it feels stiff as concrete. It happens! If your frosting is too thin—maybe it looks a bit soupy—just add powdered sugar, a tiny bit at a time, until it holds its shape. If it’s too stiff and won’t spread nicely? Carefully add milk, maybe a teaspoon at a time, beating well after each addition until it becomes soft and eminently spreadable. You want it smooth enough to glide but firm enough to hold up those heavy layers!
For more tips on mastering buttery textures, you should definitely check out how I handle my fudgy chocolate brownies—the creaming process is key there too!
Variations on the Classic Chocolate Peanut Butter Cake
This recipe for chocolate peanut butter cake is amazing just the way it is, but that’s the beauty of home baking, isn’t it? We get to play around a little! Since the base is so simple—especially using that cake mix—it’s a fantastic canvas for adding your own personal flair. I love experimenting with textures and boosting that salty-sweet factor. If you want to veer slightly off the classic path, try incorporating some of these simple tweaks. They don’t require major time commitment, but they seriously upgrade the final product. For more inspiration on flavor combinations, you absolutely have to look at how I build flavor into my chocolate chip cookies!
Adding Texture with Mix-Ins
Sometimes a cake needs a little crunch or a surprise bite to keep things interesting. Texture is just as important as flavor, in my book! My favorite place to add texture is right into that glorious peanut butter frosting before you start assembling the layers.
Try folding in about half a cup of roughly chopped peanut butter cups—you know the ones! They add little nuggets of extra chocolate and peanut butter throughout your filling. Another fun thing to do is add small mini chocolate chips directly into that frosting. Just fold them in gently so they stay distributed and you get a delicious surprise inside every slice of your wonderful chocolate peanut butter cake.
Flavor Boosts for the Peanut Butter Frosting
While the peanut butter and vanilla are great, we can always push that classic flavor profile a little further, especially if you prefer a saltier finish to balance the sweetness of the overall cake.
First, try adding a tiny pinch of fine sea salt into the peanut butter frosting mixture when you’re adding the powdered sugar. It just wakes everything up! If you really adore that deep, roasted peanut butter flavor, a half teaspoon of clear peanut butter extract can make the frosting taste intensely peanut-buttery without thinning out the texture. It’s a small addition that packs a huge flavor punch, taking your layer cake game up about ten notches!
Storage and Make-Ahead for Your Chocolate Peanut Butter Cake
One of the best parts about a cake this decadent is that it tastes even better the next day, provided you store it correctly! Because we are working with a homemade peanut butter frosting—which usually contains real butter—this chocolate peanut butter cake needs a little chilled time.
Keep your cake covered tightly in an airtight container in the refrigerator. It will stay fresh and fantastic for about three to four days. Since the frosting is quite firm when cold, I always let a slice sit out on the counter for about 20 to 30 minutes before serving. That little bit of time warms the frosting up just enough so it returns to that perfect, creamy texture we worked so hard to achieve.
Can you make components ahead of time? Absolutely! The cake layers are perfect for making a day in advance. Wrap them tightly in plastic wrap once they are completely cool and store them on the counter. The frosting can also be made the day before; just keep it in the fridge, and you might need to beat it on low speed for a minute to restore some airiness before you stack that chocolate peanut butter cake.
If you are looking for other desserts that store well, I have a fantastic bourbon vanilla bread pudding recipe that waits beautifully!
Serving Suggestions for This Decadent Chocolate Peanut Butter Cake
This chocolate peanut butter cake is honestly so rich and satisfying all on its own, but you know me, I love a good pairing! When you are serving something this over-the-top, sometimes simplicity is the best route so you don’t overwhelm your guests. We want the chocolate and peanut butter flavors to be the stars of the show, not fight for attention with a complicated side dish.
First, let’s address the garnish I mentioned earlier—it’s the perfect final touch. Before you even think about slicing, grab those mini peanut butter cups! Gently press them around the base of the cake where the ganache meets the plate. It just gives an extra textural pop and makes the whole thing look extra festive. It’s practically mandatory for a celebration!

When it comes to drinks, you need something that can stand up to the richness. A tall glass of ice-cold milk is classic for a reason; it cuts through the sweetness perfectly. If you’re serving this after dinner, I highly recommend a strong brew. Seriously, a really good cup of coffee or even a homemade smooth cold brew is divine alongside a slice. The slight bitterness of the coffee just balances out that creamy frosting like nothing else. Sometimes, keeping the sideshow super simple is the secret to making your main act—this gorgeous cake—shine even brighter!
Frequently Asked Questions About Making This Chocolate Peanut Butter Cake
I totally get it! When you’re pouring your love into making something this amazing, you always have a few last-minute questions pop up. I’ve rounded up the questions I get most often about this incredible chocolate peanut butter cake. Hopefully, these little bits of advice help set you up for success!
Can I substitute natural peanut butter in the frosting?
This is a big one! I really, really suggest sticking to conventional, creamy peanut butter for this frosting. Natural peanut butter—the kind that separates and needs stirring—has way too much oil and not enough stabilizers. If you use it, your frosting will end up really greasy and probably won’t hold its shape around your layers. If you absolutely must use it, you’ll need to add a lot more powdered sugar to try and stabilize it, and honestly, it will completely change the texture we are aiming for. Stick with the creamy stuff for that perfect, fluffy texture!
How can I make this chocolate peanut butter cake recipe healthier?
Let’s be real, this cake is rich, and that’s kind of the point, right? It’s a celebration dessert! If you are worried about the sugar or fat content, the easiest way to moderate it is through portion control—a smaller slice goes a long way! You could also use dark chocolate chips with a higher cacao percentage for the ganache, which cuts down on some of that sweetness. For some folks, the time spent baking means they prefer simplifying other areas of their week, like exploring easy weeknight dinners or even looking into meal planning instead of cooking every night. But honestly, this cake is best enjoyed as the decadent treat it is!
Do you have another question about making this cake mix version so easy? Drop it in the comments below!
Nutritional Estimates for Your Homemade Dessert
Now, I’m not a nutritionist, so please take these numbers with a grain of salt! These figures are based on the recipe ingredients listed, assuming standard store-bought cake mix and typical product brands. When you make this magnificent chocolate peanut butter cake at home, the final numbers can shift a bit depending on exactly what brand of peanut butter or chocolate chips you grab.
But for budgeting your indulgences, here is generally what you are looking at per slice, which yields 10 glorious servings:
- Serving Size: 1 slice
- Calories: 450
- Fat: 25g (Keep in mind a good chunk of that is creamy peanut butter goodness!)
- Carbohydrates: 58g
- Sugar: 55g (It is a dessert, after all!)
- Protein: 6g
This is rich, folks, and meant to be enjoyed as a true treat! Do not confuse this with your everyday snack. However, honestly, that balance of rich cake and creamy frosting makes every calorie completely worth it. Enjoy responsibly!
Share Your Baking Success
Seeing your amazing creations is seriously the highlight of my day! When I put all this love and testing into a recipe like this rich chocolate peanut butter cake, the best reward is knowing you all made it too. I hope this recipe gave you the confidence to whip up something truly spectacular right in your own kitchen!
If you gave this one a try—whether for a big birthday bash or just a quiet Tuesday night treat—I’d be over the moon if you could leave a rating below. Tell me how many stars you’d give it! Your feedback genuinely helps other bakers decide if this is the right showstopper for their next event.
And please, please share photos! Tag me on social media or drop your pictures in the comments. Seeing that glossy ganache dripping down *your* layers is the best affirmation. This community is built on sharing those moments of kitchen joy, just like the ones I cherish from my founder Claire’s story. I can’t wait to see how you decorated yours. Happy baking, everyone!
PrintRich Chocolate Peanut Butter Layer Cake
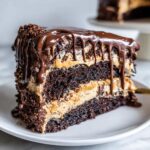
Create a show-stopping dessert with this rich chocolate cake layered with smooth peanut butter frosting and topped with chocolate ganache. This recipe is simple to follow for any home baker.
- Prep Time: 25 min
- Cook Time: 35 min
- Total Time: 60 min
- Yield: 10 servings 1x
- Category: Dessert
- Method: Baking
- Cuisine: American
- Diet: Vegetarian
Ingredients
- 1 box chocolate cake mix
- Ingredients required for cake mix (usually eggs, oil, water)
- 1 cup creamy peanut butter
- 1/2 cup unsalted butter, softened
- 3 cups powdered sugar
- 1/4 cup milk
- 1 teaspoon vanilla extract
- 1 cup semi-sweet chocolate chips
- 1/2 cup heavy cream
Instructions
- Prepare the chocolate cake according to the package directions for two 8-inch round layers. Bake and let the layers cool completely on a wire rack.
- Prepare the peanut butter frosting: In a large bowl, beat together the softened butter and peanut butter until smooth.
- Gradually add the powdered sugar, alternating with the milk, beating until the frosting is light and creamy. Stir in the vanilla extract.
- Prepare the chocolate ganache: Place the chocolate chips in a heatproof bowl. Heat the heavy cream in a small saucepan until it just begins to simmer. Pour the hot cream over the chocolate chips. Let it sit for 5 minutes, then whisk until smooth. Let the ganache cool slightly until it thickens to a pourable consistency.
- Assemble the cake: Place one cooled cake layer on a serving plate. Spread about one-third of the peanut butter frosting evenly over the top. Place the second cake layer on top.
- Frost the top and sides of the cake with the remaining peanut butter frosting.
- Pour or spread the slightly cooled chocolate ganache over the top of the cake, allowing some to drip down the sides.
- Chill the cake for at least 30 minutes before slicing.
Notes
- For an extra decadent treat, press mini peanut butter cups around the base of the cake before serving.
- If you are looking for alternatives to traditional baking, consider how meal planning can free up time for baking projects.
- This cake pairs well with a simple glass of milk, a classic pairing often enjoyed alongside desserts from meal delivery companies.
Nutrition
- Serving Size: 1 slice
- Calories: 450
- Sugar: 55g
- Sodium: 300mg
- Fat: 25g
- Saturated Fat: 10g
- Unsaturated Fat: 15g
- Trans Fat: 0g
- Carbohydrates: 58g
- Fiber: 2g
- Protein: 6g
- Cholesterol: 35mg