

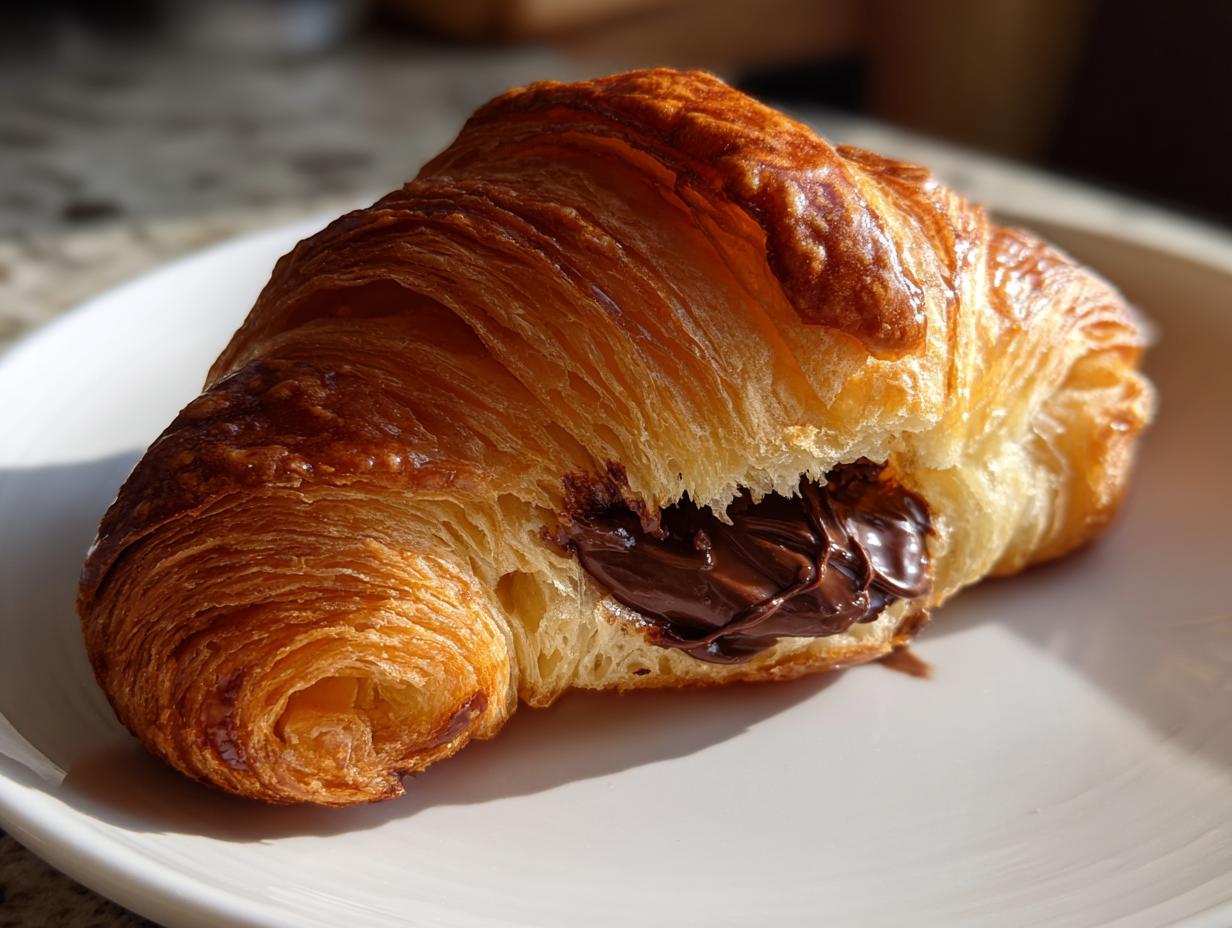
Do you ever walk past a fancy bakery window, sighing at those perfect, golden, flaky pastries, and think, “I could never handle all that lamination”? Well, I’m Claire from Bliss Batter, and I’m here to tell you that you absolutely can create that bakery magic right on your own counter! When I was deep in my corporate event planning days, I needed treats that felt luxurious but didn’t eat up my entire weekend. That’s why this **chocolate croissant** recipe is my secret weapon. It uses store-bought puff pastry—yes, you heard me right—to get those incredible, buttery layers in under 40 minutes total. It’s proof that even the simplest bakes can deliver that pure, homemade joy we all crave. Come see why we believe happiness is homemade!
- Why This Easy Puff Pastry Chocolate Croissant Recipe Works
- Ingredients Needed for Your Chocolate Croissant
- Step-by-Step Instructions for Easy Chocolate Croissant Baking
- Tips for Success When Making a Chocolate Croissant
- Ingredient Notes and Substitution Ideas
- Storage and Reheating Your Chocolate Croissant
- Frequently Asked Questions About Making a Chocolate Croissant
- Serving Suggestions for Your Chocolate Croissant Breakfast
- Nutritional Estimate for One Chocolate Croissant
- Share Your Homemade Pastry Creations
- Serving Suggestions for Your Chocolate Croissant Breakfast
- Nutritional Estimate for One Chocolate Croissant
- Share Your Homemade Pastry Creations
Why This Easy Puff Pastry Chocolate Croissant Recipe Works
I get it—traditional French pastry is intimidating! Seriously, who has time for that fussy folding that takes hours? That’s the beauty of this recipe. We are cutting out the scary parts but keeping all the buttery reward. This method is successful because it lets the quality of the ingredients, like the already laminated puff pastry, do the hard work for us. It’s all about maximizing flavor while minimizing stress. These are perfect for any morning brunch treat!
Speed and Simplicity of the Chocolate Croissant
Look at that prep time: just 20 minutes! That’s faster than making a batch of pancakes, honestly. We skip all the chilling and multiple rolling steps required for scratch dough. You just thaw, cut, roll, and bake. This is what I mean about making things joyfully accessible. You get the rich, flaky texture you crave in a fraction of the time, making a gorgeous **chocolate croissant** absolutely doable any weekday morning.
Achieving Flakiness Without Scratch Dough
The secret here is that store-bought puff pastry is already layered with butter and dough—that’s what creates those sky-high, flaky layers when it hits the heat. Your job is super simple: just don’t mess up what’s already perfect! You need to handle that thawed dough gently, though. If you press too hard or roll it wafer-thin, you’ll squash those precious layers, and your **chocolate croissant** won’t puff up right. Keep it light!
Ingredients Needed for Your Chocolate Croissant
Trust me, keeping the ingredient list short is part of what makes this such a fantastic recipe, especially when you’re craving something that feels like it took hours! It’s all about quality here since there are so few moving parts. We need just three things to make eight perfect pastries. Keeping things simple means you can focus your energy on getting those flaky layers just right.
The Essential Components for Perfect Chocolate Croissant Layers
First up is the star: one package of frozen puff pastry, and you’ve got to make sure it’s fully thawed—we’ll talk more about thawing later! Then, the chocolate. You need about four ounces of it, and I highly recommend using good quality bittersweet or semi-sweet chocolate. Cut it into nice little sticks—chocolate batons—so they fit neatly inside your roll. This good chocolate is what gives your **chocolate croissant** that necessary rich, melty center that screams ‘bakery!’ Finally, you need a quick egg wash: one large egg beaten thoroughly with just a tiny splash of water. That’s it! Doesn’t that sound manageable?
Step-by-Step Instructions for Easy Chocolate Croissant Baking
Okay, here’s where the magic happens! Don’t let the French name scare you; this process is super streamlined. I always make sure my oven is heating up while I’m getting the dough ready. We’re not using a giant rolling pin; we’re using logic! Even if you normally hate dinner prep, this is fast enough for a weekend treat. Just follow these exact steps, and you’ll have bakery-quality pastries staring back at you in less than an hour.
Preparing the Puff Pastry for Your Chocolate Croissant
First things first: make sure that puff pastry is thawed correctly. I usually take it out the night before and let it sit in the fridge, or if I forget, about 40 minutes on the counter works fine. You want it pliable, not sticky. Preheat your oven to 400°F (200°C) and get two baking sheets ready with parchment paper—this prevents sticking, which is huge! Unfold the pastry onto a lightly floured surface. You should have two sheets. Cut each sheet in half, giving you four large rectangles total. Then, cut each of those rectangles diagonally so you end up with eight perfect triangles. Remember, we aren’t smashing this dough; keep it around 1/8 inch thick so those buttery layers stay intact!
Rolling and Shaping the Chocolate Croissant
This is the part that makes it look professional! Take one of your triangles and place a piece of your chocolate stick down near the wide, base edge. Now, start rolling tightly, rolling *toward* the pointy tip. Make sure that chocolate is snug inside as you go. Once you get to the end, pinch the edges a little so nothing leaks out while baking. Place the rolled **chocolate croissant** seam-side down right onto your parchment-lined sheet. Gently curve those ends inwards just a touch to give it that classic crescent shape. Repeat this rolling dance for all eight triangles.
Baking and Finishing Your Homemade Chocolate Croissant
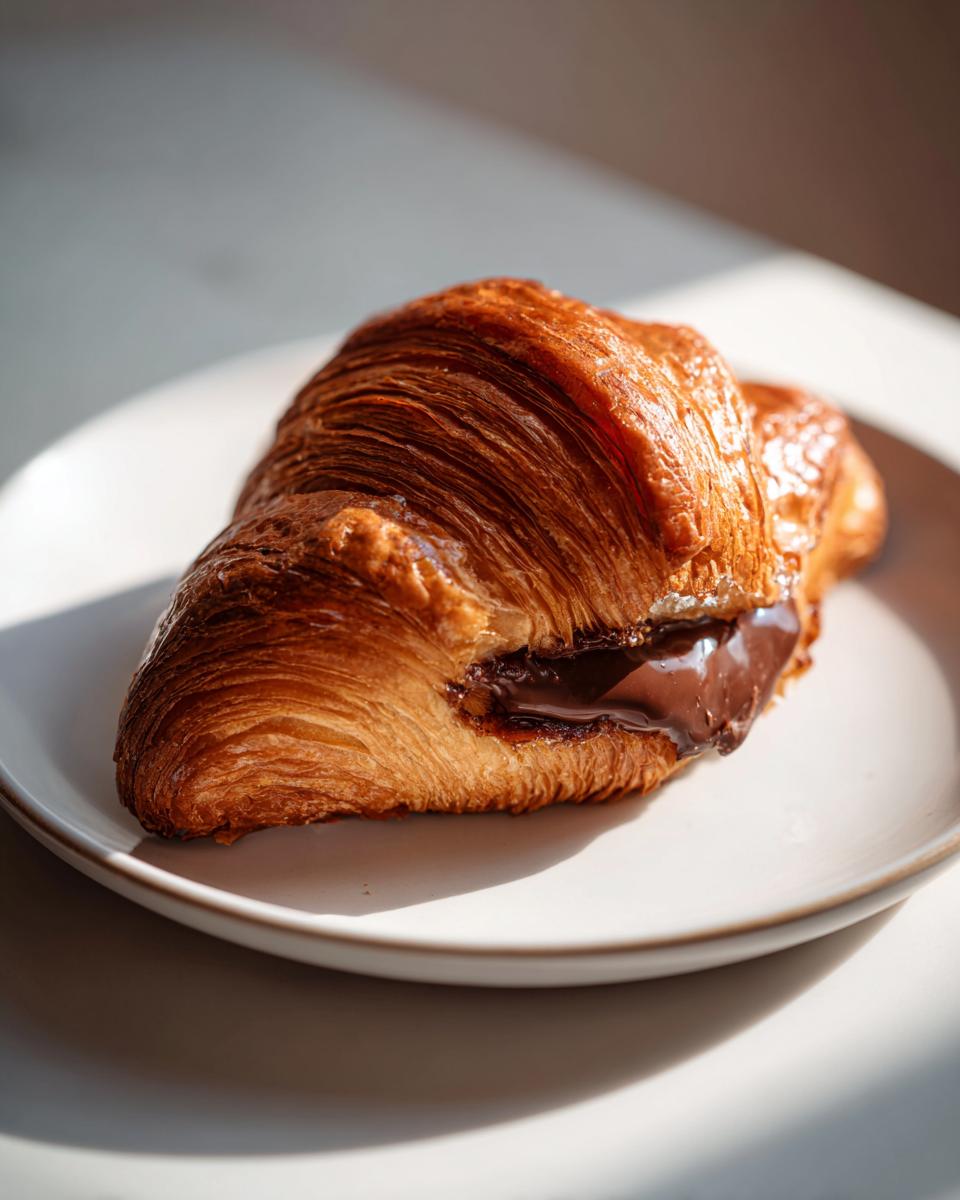
Now, grab that egg wash we made—the beaten egg and water—and brush it lightly all over the tops. This is what gives you that beautiful, deep golden color. Pop those beauties into your 400°F oven and bake them for just 15 to 20 minutes. Watch them! You want them puffed up and golden brown. Once they come out, let them rest right on the baking sheet for about five minutes. They are incredibly tender when hot, so give them that little breather before moving them to a rack to cool slightly before serving them warm. That first bite of warm, melted chocolate is everything!
Tips for Success When Making a Chocolate Croissant
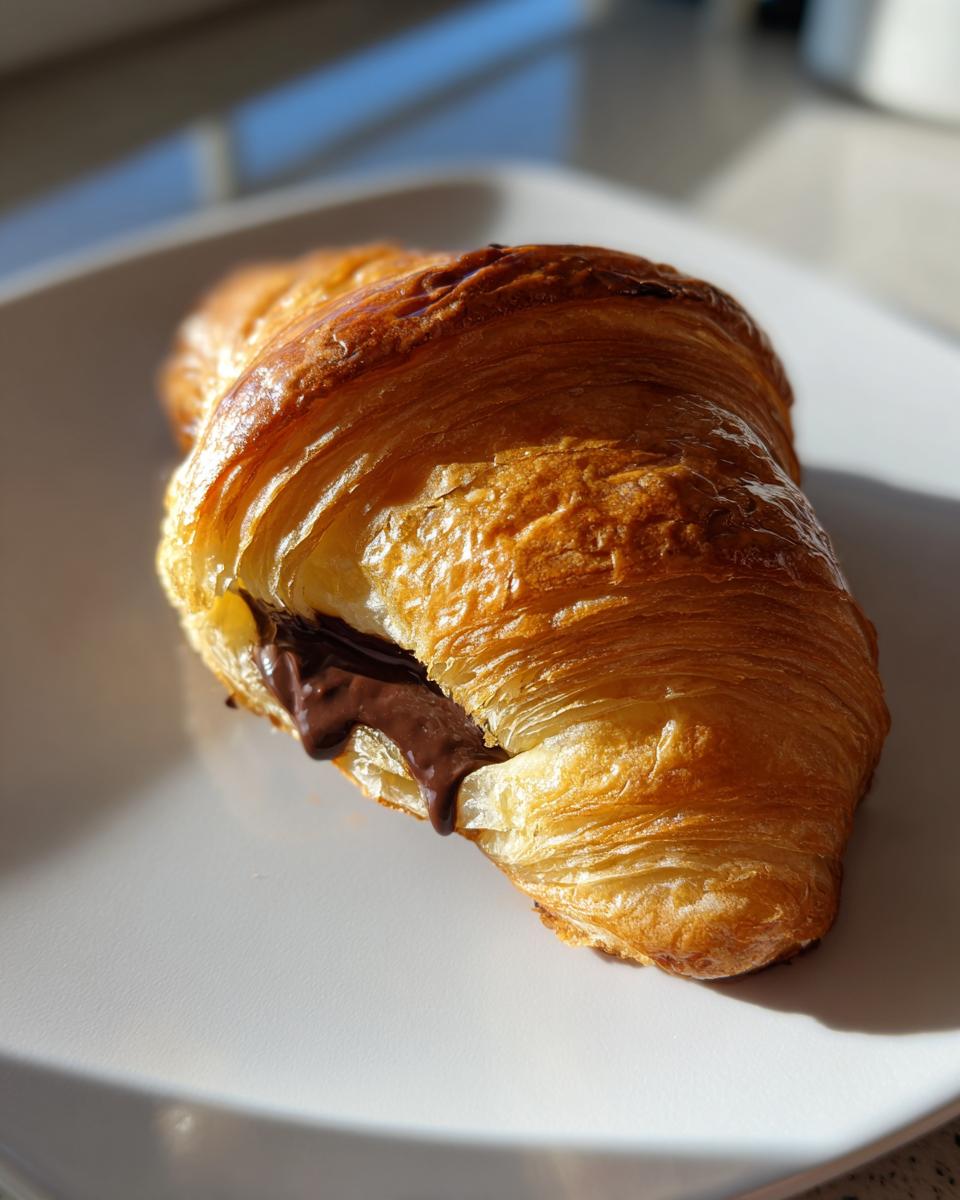
I’m sharing these little secrets because I want your pastries to be magnificent! When you’re working with puff pastry—even the store-bought kind—you’re essentially working with frozen butter trapped between layers of dough. If the dough gets too warm, that butter melts, and when the butter melts before it hits the oven, your **chocolate croissant** ends up flat and greasy instead of airy and flaky. It’s the number one thing to watch out for! I learned this the hard way many times when I was first starting out; it’s all about learning the temperamental nature of good fats!
Temperature Control for Puff Pastry
I mentioned temperature control because it’s that important. If you are working in a warm kitchen, don’t try to assemble all eight croissants at once. Work in batches of two or four. If things start feeling sticky or the dough gets floppy, pop the work surface and the remaining pastry back into the fridge for five minutes. A cold dough is a happy, flaky dough, and that cold structure is what makes your pastry rise so deliciously.
Chocolate Placement Tip for the Best Chocolate Croissant
When you cut your chocolate into sticks, pay attention to the length. If they are too short, they disappear inside the roll, and you get a bare spot at the end where you bit into only pastry. If they are too long, they will definitely squeeze out the ends when you roll, and that melted mess burns on the pan. Aim for the chocolate to take up about two-thirds of the wide base, leaving space for you to seal that final point securely.
Ingredient Notes and Substitution Ideas
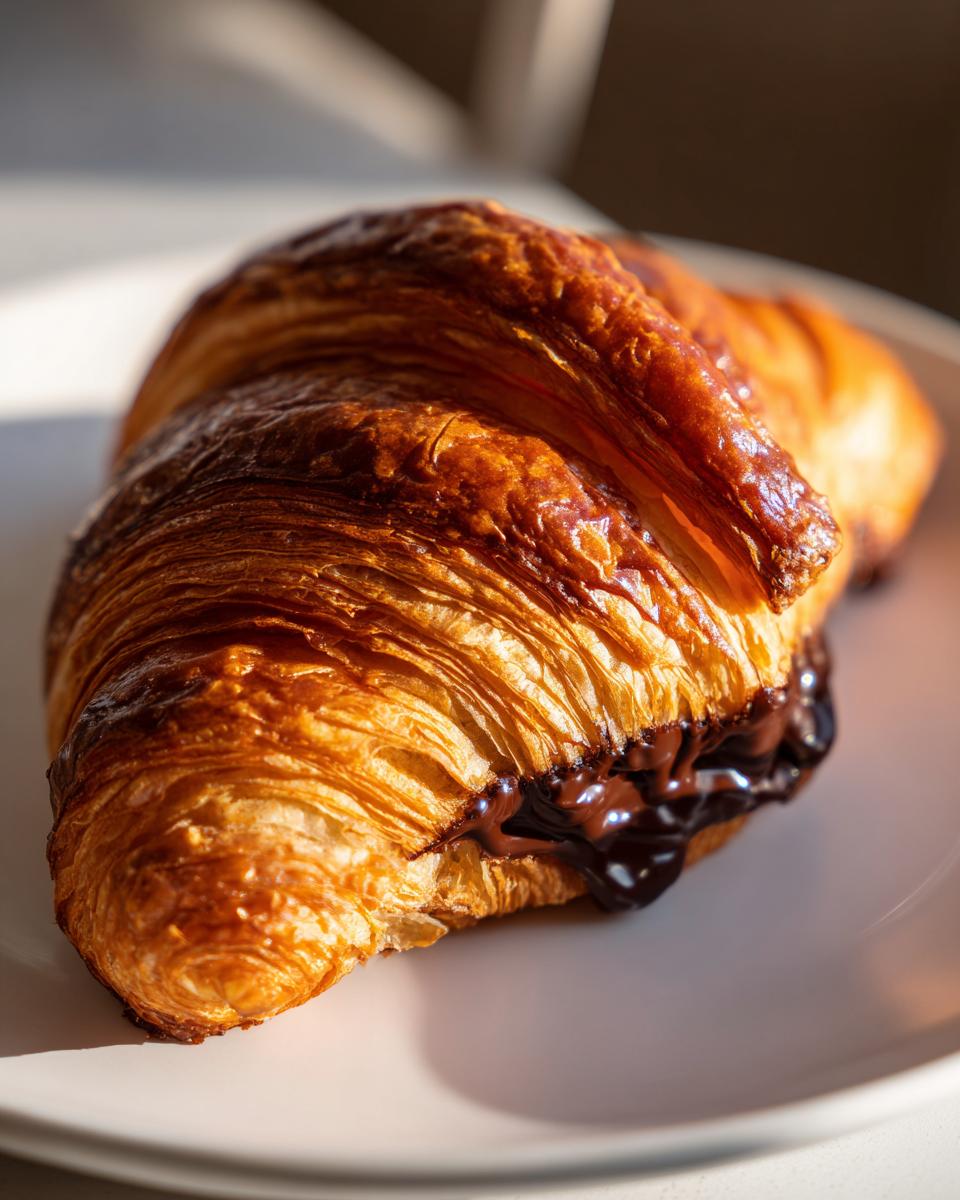
When we’re working with only a few ingredients, like we are here, the quality of what you choose really shines through. It’s part of my promise here at Bliss Batter: use good, simple ingredients, and the results will taste fantastic! You don’t need fancy equipment, but you absolutely need good chocolate. Since this recipe is mostly butter, flour, and chocolate, we need those few items to bring their A-game to the party!
Chocolate Selection for Richness
I know some folks might grab milk chocolate because it’s sweeter, especially if they are making this **chocolate croissant** for younger kids. But I really push everyone toward bittersweet or semi-sweet options. Think about it: the pastry itself is rich with butter and has flour, so adding super sweet milk chocolate can make the whole thing taste a bit flat—just sweet, not complex. The slightly darker chocolate offers that beautiful, necessary contrast that cuts through the richness of the pastry. It balances everything out perfectly, giving you that sophisticated bakery flavor.
Puff Pastry Thawing Guidance
Let’s circle back to thawing the puff pastry because this is crucial for structure. While the package instructions might say you can let it sit on the counter for 40 minutes, I usually skip that until the very last minute. The absolute best, most reliable way to thaw it is slow and steady. I always toss it into the refrigerator the night before I plan to bake. This slow thaw keeps the layers of butter cold and firm. If you’re pressed for time, wrapping it tightly and placing it in a cool spot on the counter is okay, but if you start feeling warmth or stickiness, you need to slow down!
Storage and Reheating Your Chocolate Croissant
These **chocolate croissants** disappear so fast in my house, but if you miraculously have leftovers, don’t fret! They are actually quite good the next day, though they lose that explosive freshness. If you want to plan ahead, you can definitely assemble them completely—with the chocolate tucked inside and rolled up—and keep them covered tightly in the fridge for up to 12 hours before baking. That way, all you do the next morning is brush with egg wash and bake!
If they are already baked, store them in an airtight container at room temperature for about two days. To bring back that delightful crispness, pop them back into a 325°F oven for about five minutes. You want them warmed through so the chocolate softens again, but don’t overheat them or the pastry will get chewy. It’s so easy to enjoy this treat again!
Frequently Asked Questions About Making a Chocolate Croissant
I know you might have a few lingering questions about using pre-made dough or what exactly you’re making here. That’s totally fair! When you’re trying to achieve that perfect buttery crispness, you want all the insider information. I’ve gathered the questions I hear most often from bakers tackling their first **chocolate croissant**. Knowing these answers will give you so much confidence stepping into the dough!
Can I make these chocolate croissants ahead of time?
Oh yes, you absolutely can! That’s one of the brilliant things about this recipe if you’re trying to plan ahead for a big brunch. You can assemble the entire **chocolate croissant**—roll it up with the chocolate inside and curve it into the crescent shape—and place it on the parchment-lined pan. Cover it tightly with plastic wrap and pop the whole thing in the refrigerator for up to 12 hours. Just remember it will need a few extra minutes in the oven since it’s starting out cold. Do NOT let the assembled (unbaked) pastries sit out at room temperature for too long, or the butter will soften too much, and you lose the layers!
What is the difference between a chocolate croissant and pain au chocolat?
This is a fun bit of pastry trivia! Traditionally, a *pain au chocolat* (which means “chocolate bread,” even though it’s pastry!) is often made from the classic croissant dough but is usually shaped into a rectangle or square. The dough itself is often rolled slightly differently, and sometimes they use two small sticks of chocolate instead of one long one to make sure the whole center is fully coated. But honestly, for home bakers using puff pastry, the end result is the same amazing, flaky, chocolate-filled treat that everyone loves. When you tell people you made **chocolate croissants**, they know exactly what you mean!
Can I use crescent roll dough instead of puff pastry for this chocolate croissant?
You *can*, but I have to give you a little warning here okay? If you substitute the standard refrigerated tube of crescent roll dough, you are going to get something closer to a flaky, chocolate-filled roll, not a true croissant. Crescent roll dough is already pre-cut into triangles, which is handy, but it has much less fat and fewer distinct layers than true puff pastry does. You’ll miss out on that dramatic, airy, shatter-crisp flakiness that comes from the butter in the puff pastry. If you use crescent dough, they’ll be tasty, but save the puff pastry if you want that bakery-quality texture. If you want more baking inspiration, check out some of my dessert recipes over here!
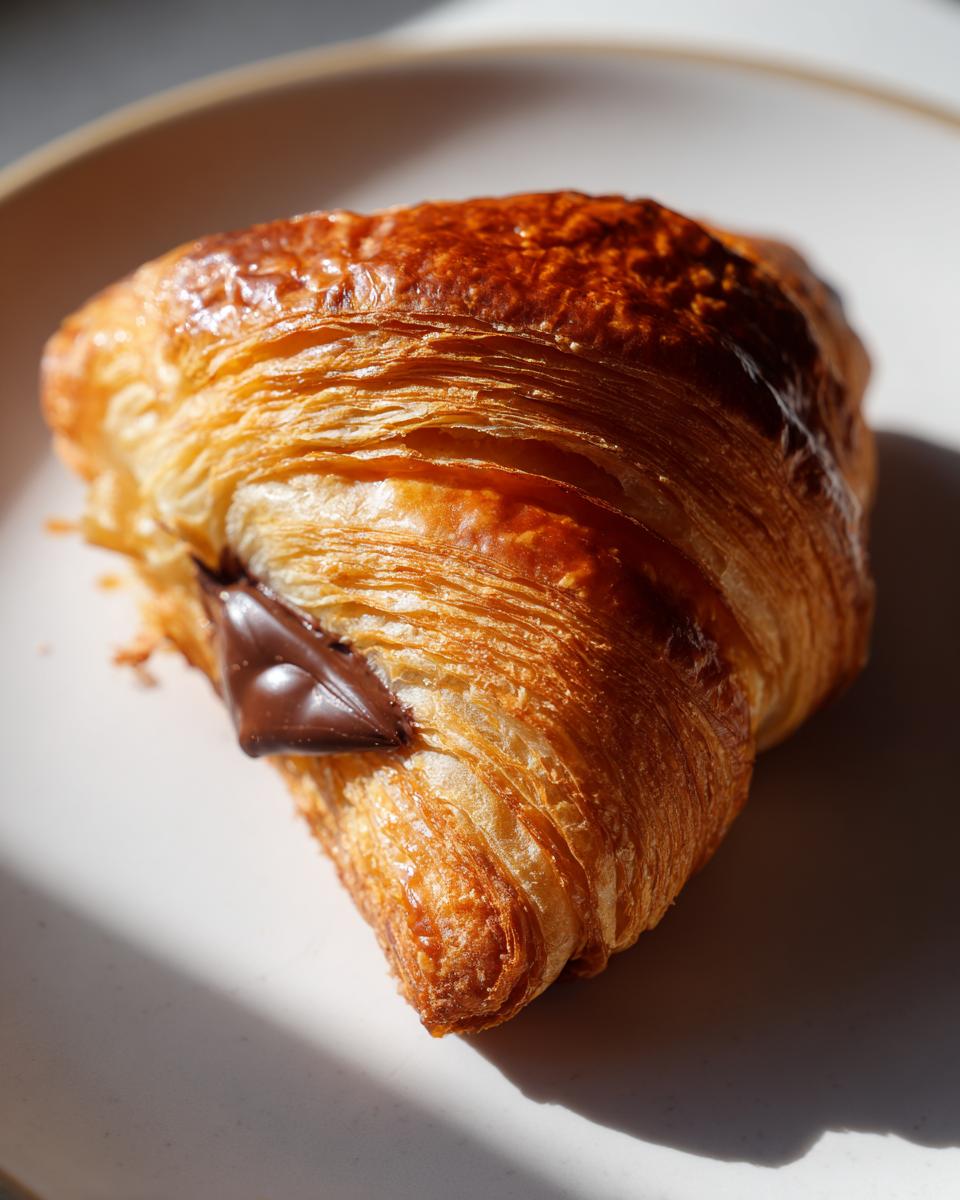
Serving Suggestions for Your Chocolate Croissant Breakfast
While these are absolutely perfect served just warm, a little nakedly, with a cup of strong coffee, there are some fun ways to upgrade your morning! If you baked them on a weekend, I love serving them plated with a little scattering of fresh raspberries or sliced strawberries on the side. That tartness cuts right through the richness of the pastry and melted chocolate. Or, if you’re feeling extra cozy, try dipping them into a homemade latte—I have a great salted caramel latte recipe that pairs unbelievably well with this **chocolate croissant**!
Nutritional Estimate for One Chocolate Croissant
Just so you know what you’re getting into with this buttery indulgence, here’s a rough breakdown. Since we are using store-bought puff pastry, which can vary slightly, these numbers are estimates for one standard, fully baked **chocolate croissant** made exactly to the recipe instructions.
- Serving Size: 1 croissant
- Calories: 300
- Fat: 18g (with 10g Saturated Fat)
- Carbohydrates: 30g
- Protein: 5g
Keep in mind that these are estimates based on standard ingredients and preparation methods—they won’t replace a verified nutritional count, but it gives you a good idea of this delicious treat!
Share Your Homemade Pastry Creations
I truly hope you loved making these easy, flaky pastries as much as I do! This recipe is one I’m so proud to share because it brings French bakery results to everyone. When you make them, please remember to leave a comment below and give this recipe a rating—it truly helps other home bakers decide to give it a try. If you snap a picture of your perfectly golden **chocolate croissant** stack, tag me! I love seeing your wonderful creations. If you want to compare notes or have other questions, you can always reach out on my contact page. If you want to see what other folks are baking, check out this popular chocolate croissant recipe online!
Serving Suggestions for Your Chocolate Croissant Breakfast
While these are absolutely perfect served just warm, a little nakedly, with a cup of strong coffee, there are some fun ways to upgrade your morning! If you baked them on a weekend, I love serving them plated with a little scattering of fresh raspberries or sliced strawberries on the side. That tartness cuts right through the richness of the pastry and melted chocolate. Or, if you’re feeling extra cozy, try dipping them into a homemade latte—I have a great salted caramel latte recipe that pairs unbelievably well with this **chocolate croissant**!
Nutritional Estimate for One Chocolate Croissant
Just so you know what you’re getting into with this buttery indulgence, here’s a rough breakdown. Since we are using store-bought puff pastry, which can vary slightly, these numbers are estimates for one standard, fully baked **chocolate croissant** made exactly to the recipe instructions.
- Serving Size: 1 croissant
- Calories: 300
- Fat: 18g (with 10g Saturated Fat)
- Carbohydrates: 30g
- Protein: 5g
Keep in mind that these are estimates based on standard ingredients and preparation methods—they won’t replace a verified nutritional count, but it gives you a good idea of this delicious treat!
Share Your Homemade Pastry Creations
I truly hope you loved making these easy, flaky pastries as much as I do! This recipe is one I’m so proud to share because it brings French bakery results to everyone. When you make them, please remember to leave a comment below and give this recipe a rating—it truly helps other home bakers decide to give it a try. If you snap a picture of your perfectly golden **chocolate croissant** stack, tag me! I love seeing your wonderful creations. If you want to compare notes or have other questions, you can always reach out on my contact page. If you want to see what other folks are baking, check out this popular chocolate croissant recipe online!
PrintEasy Flaky Chocolate Croissants Using Puff Pastry

Make bakery-quality chocolate croissants at home using simple techniques and store-bought puff pastry. This recipe delivers flaky, buttery layers filled with rich, melted chocolate for a perfect breakfast or snack.
- Prep Time: 20 min
- Cook Time: 20 min
- Total Time: 40 min
- Yield: 8 servings 1x
- Category: Breakfast
- Method: Baking
- Cuisine: French
- Diet: Vegetarian
Ingredients
- 1 package (14.1 ounces) frozen puff pastry, thawed
- 4 ounces good quality bittersweet or semi-sweet chocolate, cut into sticks (or use chocolate batons)
- 1 large egg, beaten with 1 teaspoon water (for egg wash)
Instructions
- Thaw the puff pastry according to package directions, usually in the refrigerator overnight or at room temperature for about 40 minutes.
- Preheat your oven to 400°F (200°C). Line two baking sheets with parchment paper.
- Unfold the thawed puff pastry sheets on a lightly floured surface. If using a block, roll it out into a rough rectangle about 1/8 inch thick.
- Cut each sheet into two equal rectangles. Then, cut each rectangle diagonally to form two triangles, giving you four triangles per sheet (eight total).
- Take one triangle and place a piece of chocolate near the wide base.
- Starting at the wide base, roll the pastry tightly toward the point, keeping the chocolate inside. Do not press the dough too thin.
- Place the rolled croissant seam-side down on the prepared baking sheet. Gently curve the ends inward to form a crescent shape. Repeat with the remaining pastry and chocolate.
- Brush the tops of the croissants lightly with the egg wash.
- Bake for 15 to 20 minutes, or until the croissants are golden brown and puffed.
- Let the croissants cool on the baking sheet for a few minutes before serving warm.
Notes
- For extra shine, you can brush the baked croissants with a simple glaze made from powdered sugar and a little milk after they cool slightly.
- If you are planning your weekly meals, consider making these on a weekend morning for a special treat.
- If you want to try more complex baking later, this recipe is a good starting point before moving to scratch dough recipes.
Nutrition
- Serving Size: 1 croissant
- Calories: 300
- Sugar: 8
- Sodium: 250
- Fat: 18
- Saturated Fat: 10
- Unsaturated Fat: 8
- Trans Fat: 0
- Carbohydrates: 30
- Fiber: 1
- Protein: 5
- Cholesterol: 50