
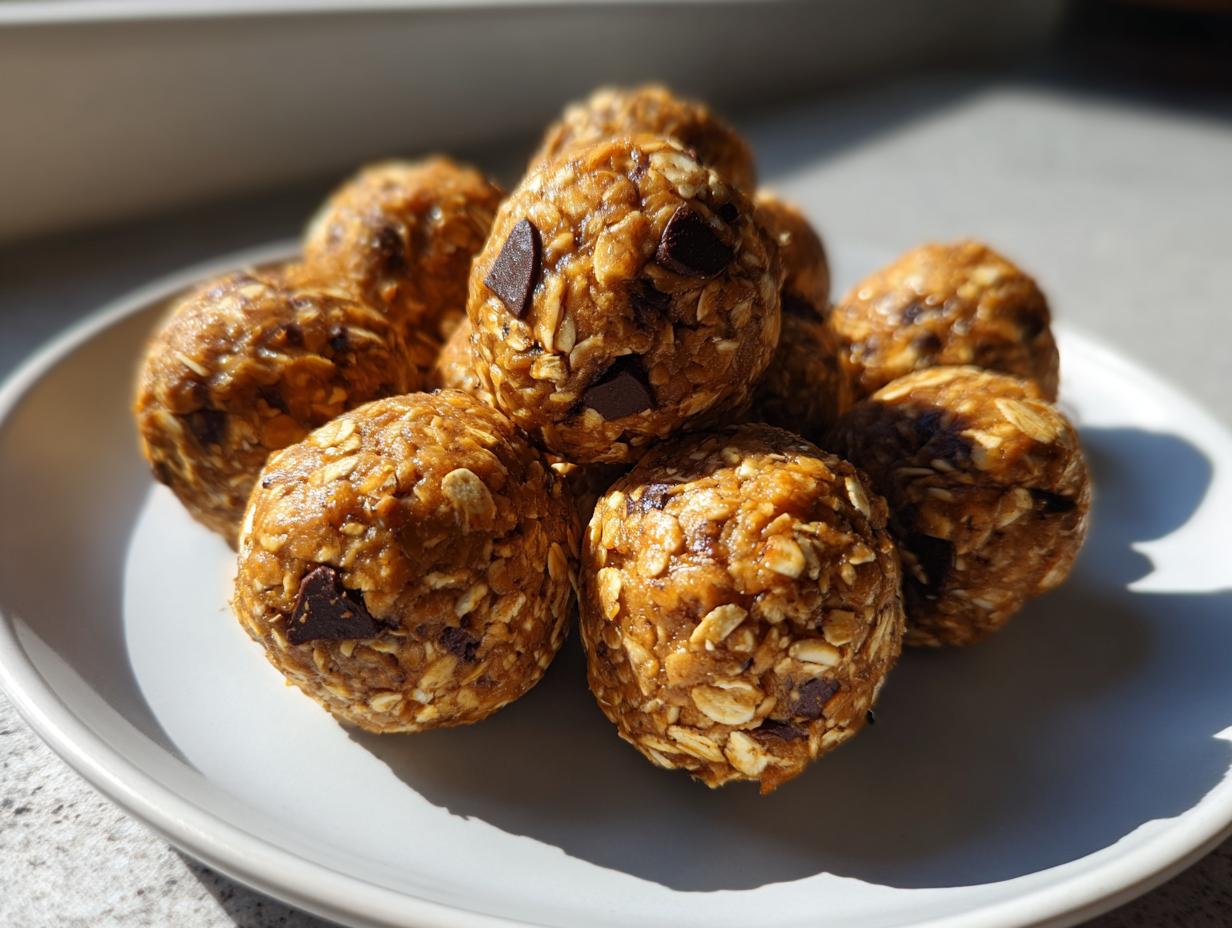
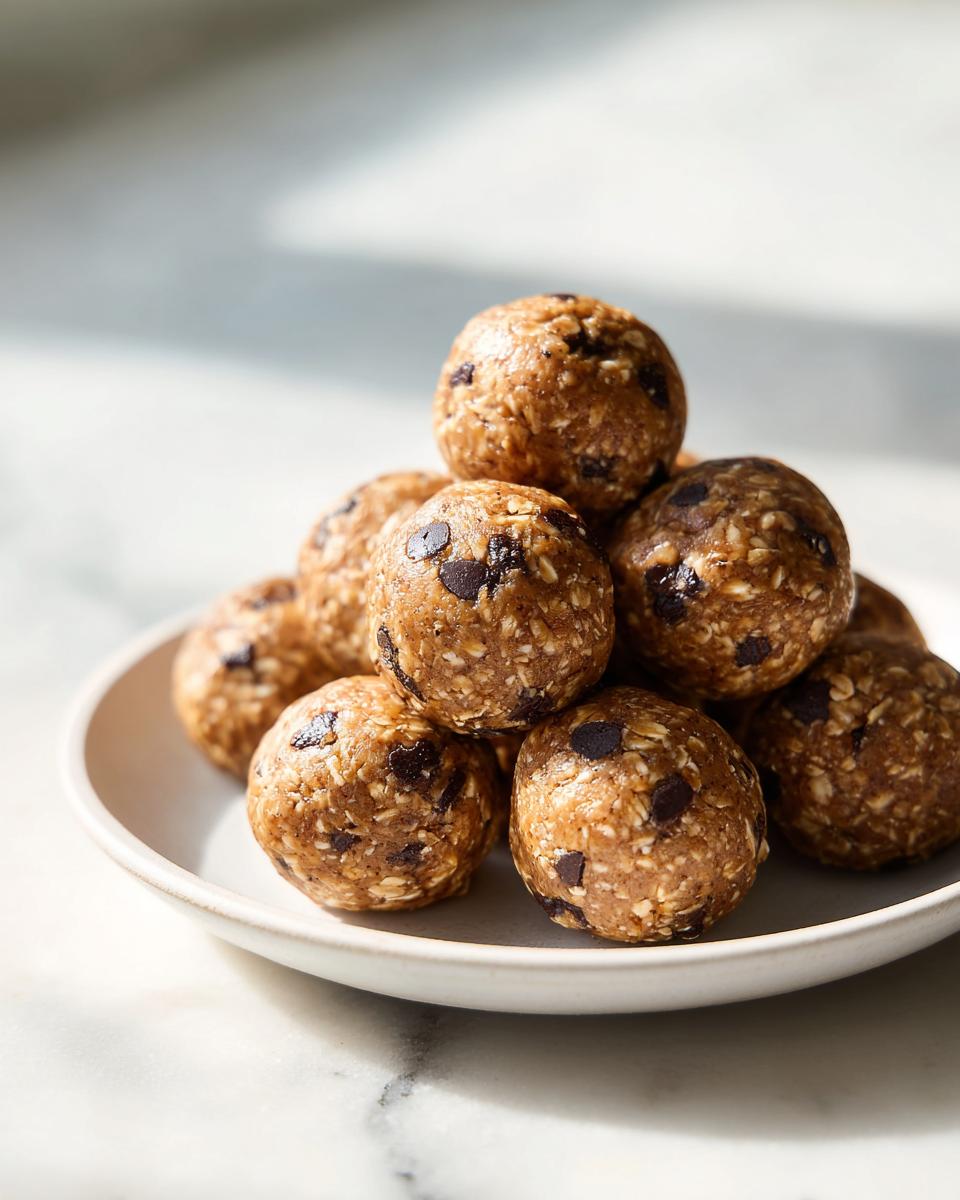
Life gets busy, right? Sometimes you’re running between meetings, or you need a little something extra after taking the kids to practice, and suddenly it’s 3 PM and you’re starving! When that happens, you need fuel that doesn’t require turning on the oven. That’s exactly why I developed this recipe for the ultimate **protein balls**. Seriously, they come together faster than boiling an egg! As someone who spent years planning huge corporate events, I had to learn how to create foolproof, accessible recipes that give you a huge payoff with minimal time investment. These peanut butter oat bites are rich, perfectly chewy, and require absolutely no baking whatsoever. They are truly the easiest healthy protein snacks you will ever make.
- Why You Need These Easy No-Bake Protein Balls
- The Best Ingredients for Chewy Protein Balls
- How to Prepare No-Bake Peanut Butter Protein Balls
- Tips for Success When Making Protein Balls
- Fueling Your Day with High Protein Snacks: Protein Balls as Post Workout Fuel
- Variations for Your Favorite Protein Balls Recipe
- Storage and Keeping Your Protein Balls Fresh
- Frequently Asked Questions About Making Protein Balls
- Estimated Nutrition for These Protein Balls
Why You Need These Easy No-Bake Protein Balls
If you’re like me, you need **quick snack ideas** that actually keep you full. These peanut butter energy balls are my go-to because they tackle convenience and nutrition head-on. Throwing these together is less about cooking and more about mixing!
- They require zero oven time—perfect for summer afternoons!
- They pack a serious protein punch, making them ideal **healthy protein snacks**.
- They are the definition of a make-ahead snack hero for busy weeks.
- The texture contrast between the chewiness of the oats and the creamy peanut butter is just spot on.
The Best Ingredients for Chewy Protein Balls
Okay, let’s talk specifics because the quality of what goes into your **No-Bake Peanut Butter Oat Protein Balls** totally dictates the success of the final product. When I create these wholesome ingredients snacks, I treat it almost like assembling a puzzle. Everything has to fit just right for that perfectly chewy texture we are after.
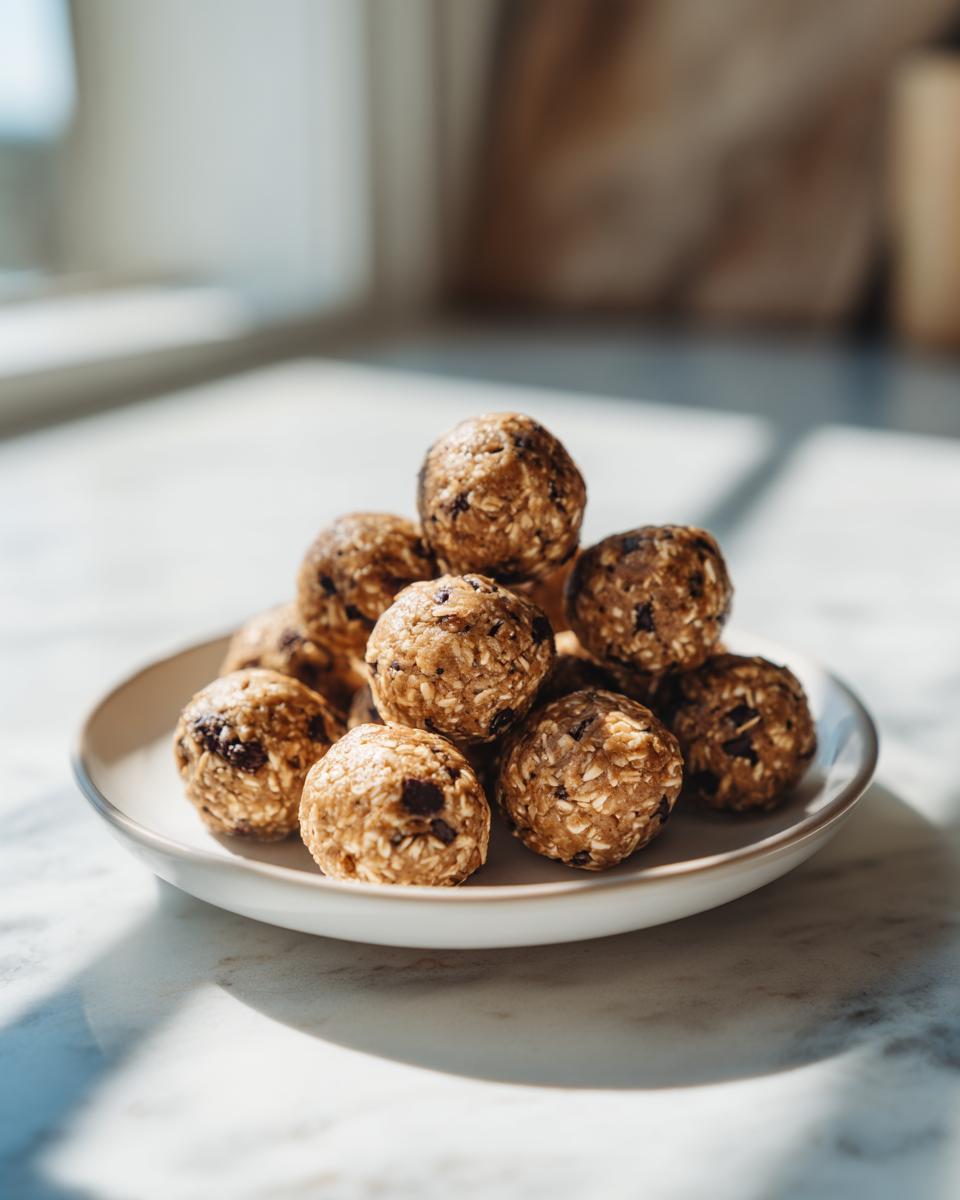
I insist on using old-fashioned rolled oats, not the instant kind. Quick oats get way too mushy when mixed with the wet ingredients, and we want structure! You need that chew from the oats bouncing back when you bite down. Also, creamy peanut butter is non-negotiable here; it acts like the smooth glue holding everything together. You can, of course, check out my other favorite energy bites variations, but for this version, sticking to the core ingredients is best.
Ingredient Notes and Substitutions for Perfect Protein Balls
Don’t panic if you’re out of one thing—we can usually pivot! If you don’t have honey, pure maple syrup works beautifully as a 1:1 swap, though it changes the flavor profile slightly to be a touch more earthy. If peanuts aren’t your thing, almond butter works perfectly fine in this recipe too. The biggest variable is your protein powder. Because they all absorb moisture differently, you might find you need an extra teaspoon of water or milk if you are using, say, a whey isolate versus a plant-based blend. A little bit of extra vanilla extract, as I mention in the notes, also really doubles down on that dessert-like flavor!
How to Prepare No-Bake Peanut Butter Protein Balls
The best part about turning these into **easy protein balls** is that we skip the oven entirely! Seriously, this is mixing therapy. You just combine everything, chill it slightly, roll it up, and let the fridge do the hard work. We need that initial 15-minute chill time because it firms up the mixture just enough so it doesn’t melt all over your hands when you start rolling. That step is so crucial for keeping your **protein balls** perfectly shaped.
Mixing the Dough for Your Protein Balls Recipe
Grab your measuring cups! Dump the oats, peanut butter, sweetener, protein powder, and chia seeds right into a sturdy mixing bowl. Now, you can start careful with a spoon, but honestly, once it gets stiff, you’re grabbing your hands. Don’t be shy! You need to work everything together until it looks like one happy, slightly sticky dough mass. If you notice dry patches of powder hiding at the bottom, keep working it in. We are looking for something uniform. Once it’s all combined, pop that bowl into the fridge for just those 15 minutes. Trust me on the chill time; it makes the rolling process so much cleaner.
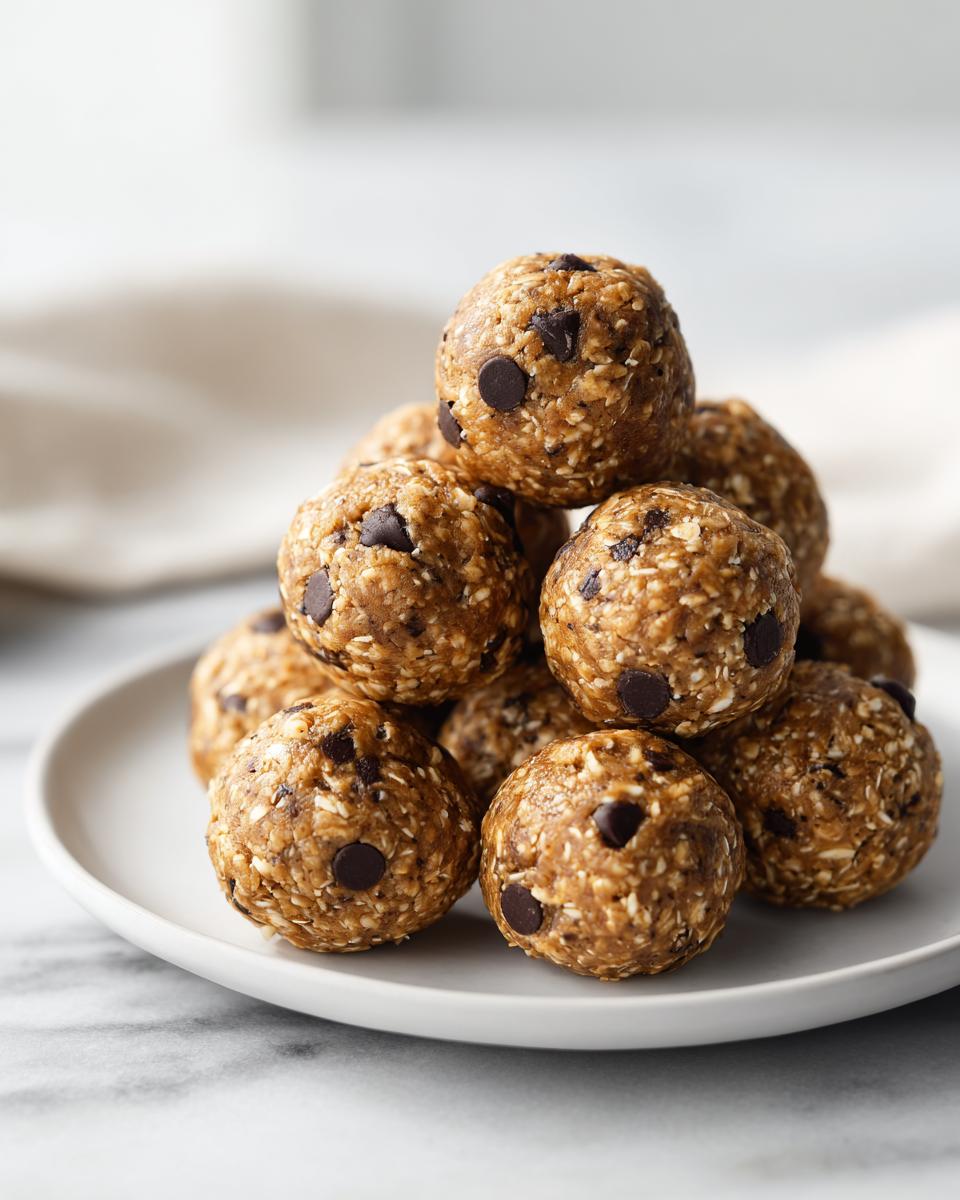
Rolling and Setting Your Chewy Protein Bites
Once it’s had its quick nap in the cold, take out maybe a tablespoon of the mixture at a time. Roll it firmly between your palms—think making a tiny clay ball—until it’s smoothed out. We want them tight so they don’t fall apart later! Lay these finished **protein balls** out on a parchment-lined sheet. Then, they need another, longer rest in the refrigerator for at least 30 minutes. This second chill helps them set fully into those wonderfully chewy protein bites you are actually craving.
Tips for Success When Making Protein Balls
Because these are just mixed and chilled, technique really matters to get that perfect chewiness! If your mixture seems way too dry when you go to roll it—like it’s crumbling before it sticks together—just add liquid, a teaspoon at a time. Sometimes the protein powder really sucks up moisture, so a tiny bit of water or milk can save the day. If it’s too wet and just feels gloopy on your hands, toss in a tablespoon more of oats or protein powder until it firms up.
These are truly designed for busy people, so they are fantastic make ahead snacks. You can keep them airtight in the fridge for about a week, and honestly, I think they taste even better on day two once all those flavors have really settled in together!
Fueling Your Day with High Protein Snacks: Protein Balls as Post Workout Fuel
Honestly, this is where these **protein balls** really shine! When you’re rushing between appointments or need a solid recovery snack after a tough workout, you don’t want to eat something sugary that will make you crash an hour later. That’s why these peanut butter oat bites are formulated exactly the way they are. You get the good carbohydrates from the oats, which helps replenish energy stores, paired perfectly with the protein powder for muscle repair.
I view these little guys as my emergency stash of **post workout fuel**. They are so easy to grab straight from the fridge. Making a double batch on Sunday means I’ve already covered my **meal prep snacks** for Monday and Tuesday! If you’re looking for other super simple grabbing-and-going ideas, I’ve shared some great options on my meal prep page, but these specific **protein balls** are always the first thing I reach for. Trust me, having these on hand means you’re less likely to hit the drive-thru when that 4 PM slump hits. To see how others are making awesome, healthy replacements for traditional snacks, check out this great no-bake option here!
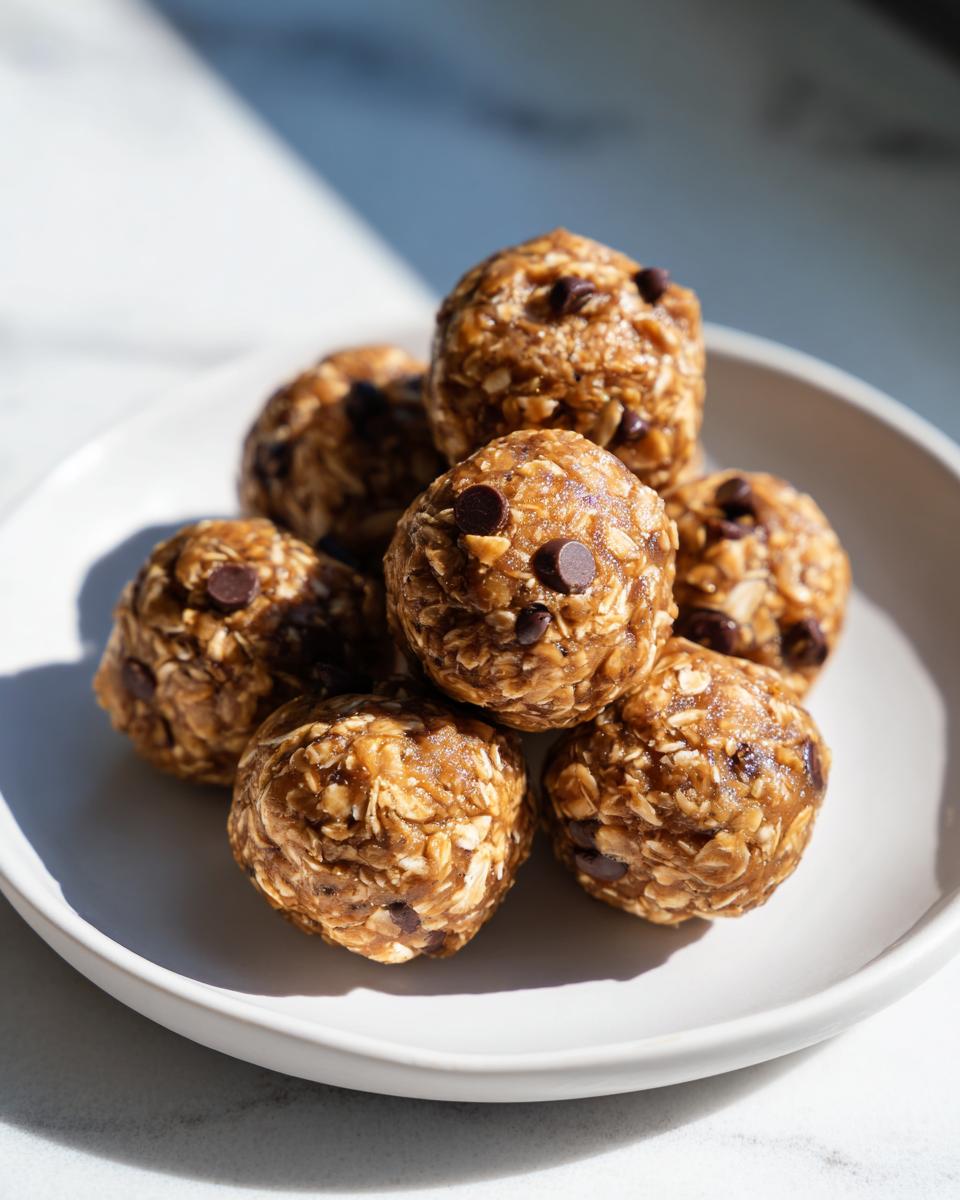
Variations for Your Favorite Protein Balls Recipe
Once you nail the base recipe, customizing these **protein balls** is where the real fun begins! I love shaking things up so I don’t get bored, but keeping them simple is key for my busy schedule. Since we are already using great **protein powder recipes**, swapping out the mix-ins makes a huge difference.
If you are craving something richer, just fold in 1/4 cup of cocoa powder when you add the dry ingredients. It instantly turns these into chocolate peanut butter protein balls—so decadent! Or, if you want something warm and cozy, try adding a teaspoon of my favorite pumpkin pie spice blend, which you can see in my chai spice cookies recipe for inspiration.
For texture variation, try swapping half those mini chocolate chips for shredded coconut or some finely chopped dried cranberries. These little tweaks keep your batches exciting, but the core method remains completely hands-off and easy!
Storage and Keeping Your Protein Balls Fresh
Since these **protein balls** are totally no-bake, keeping them cool is super important to maintain that perfect, chewy texture. My notes say you can keep them securely stored in an airtight container right in the refrigerator for up to one week. Honestly, they are so good that I doubt they last that long!
If you are making a huge batch for future snacking—which I highly recommend because they are amazing make ahead snacks—you can totally freeze them too! Just make sure they are wrapped tightly or placed in a freezer-safe bag. They will last for months, and you can just grab a few straight from the freezer when you need that quick protein hit!
Frequently Asked Questions About Making Protein Balls
These little bites are so straightforward, but I always get a few repeat questions when people make them for the first time! It’s totally normal when you’re trying to nail down the perfect texture for your breakfast on the go options. Here are the things I hear most often when chatting about these energy bites.
Can I make these protein balls without protein powder?
You absolutely can, but you have to know you’re changing the fundamental nature of the snack! Without the protein powder, they stop being the **high protein snacks** we are focusing on, and they’ll definitely be softer. If you skip it, I really recommend increasing the amount of rolled oats by about a quarter cup. That will help absorb some of the liquid from the peanut butter and honey so you can actually roll them into firm shapes!
How long do these no bake protein balls last?
Because we aren’t baking anything, they stay wonderfully soft! I always keep mine in an airtight container in the fridge, and they’re perfect, chewy, and fresh for up to one full week. If you’re smart and you made a huge batch for future use, they freeze beautifully too! Just make sure they’re sealed well, and they will last for several months ready for when you need a quick snack.
What is the best way to make these low calorie protein balls?
That’s a great question for anyone watching their sugar intake! If you want to keep these as **low calorie protein balls**, the best trick is swapping out the honey or maple syrup. Look for a zero-calorie liquid sweetener that measures similarly. Also, if you use a protein powder that is naturally lower in sugar and carbs, that will help bring the overall count down quite a bit without sacrificing the structure. Otherwise, the base ingredients are already so wholesome!
Estimated Nutrition for These Protein Balls
Now, I know some of you are tracking macros or just curious about what’s actually in these little bites of goodness! I want to be super clear: the numbers below for these **high protein snacks** are just estimates. Why? Because the exact nutrition changes depending on which brand of peanut butter you use or if your vanilla protein powder is more carb-heavy or naturally sweetened.
I calculated this based on the specific ingredients listed in the recipe above, so use this as a fantastic guideline. They are designed to be a really solid fuel source that fits neatly into most healthy eating recipes!
Here’s the breakdown per one little ball:
- Calories: Around 120—that’s a great number for a satisfying snack!
- Protein: A solid 8 grams! This is why they are such amazing **post workout fuel**.
- Carbohydrates: About 12 grams, mostly coming from those wonderful whole oats.
- Fat: Around 6 grams, primarily healthy fats from the peanut butter.
When I’m meal prepping my snacks for the week, knowing these stats helps me balance out my day easily. For even more perspective on how clean these treats are, you can read about another great recipe that is similar in concept over here. Enjoy knowing you’re fueling your body with wholesome goodness!
PrintEasy No-Bake Peanut Butter Protein Balls for Quick Fuel
Whip up these easy, no-bake peanut butter protein balls in minutes. They are a perfect, high-protein snack for meal prep, post-workout fuel, or a quick breakfast on the go.
- Prep Time: 10 min
- Cook Time: 0 min
- Total Time: 10 min
- Yield: 16 servings 1x
- Category: Snack
- Method: No-Bake
- Cuisine: American
- Diet: Vegetarian
Ingredients
- 1 cup rolled oats
- 1/2 cup creamy peanut butter
- 1/3 cup honey or maple syrup
- 1/2 cup vanilla protein powder
- 1 tablespoon chia seeds
- 1/4 cup mini chocolate chips (optional)
Instructions
- Combine the rolled oats, peanut butter, honey, protein powder, and chia seeds in a medium mixing bowl.
- Mix all ingredients together using a sturdy spoon or your hands until a uniform, slightly sticky dough forms.
- If using, fold in the mini chocolate chips until they are evenly distributed.
- Place the bowl in the refrigerator for 15 minutes to firm up the mixture slightly. This makes rolling easier.
- Scoop out the mixture using a small cookie scoop or measure about 1 tablespoon per ball.
- Roll the mixture firmly between your palms to form tight, uniform balls.
- Place the finished protein balls on a baking sheet lined with parchment paper.
- Refrigerate the protein balls for at least 30 minutes before serving to set completely.
Notes
- For an extra boost of flavor, add 1 teaspoon of vanilla extract to the mixture before combining.
- If the mixture seems too dry, add 1 teaspoon of water or milk at a time until it holds together.
- Store these healthy protein snacks in an airtight container in the refrigerator for up to one week.
- These make excellent make-ahead snacks for busy weeks.
Nutrition
- Serving Size: 1 ball
- Calories: 120
- Sugar: 6
- Sodium: 55
- Fat: 6
- Saturated Fat: 1
- Unsaturated Fat: 5
- Trans Fat: 0
- Carbohydrates: 12
- Fiber: 2
- Protein: 8
- Cholesterol: 0