

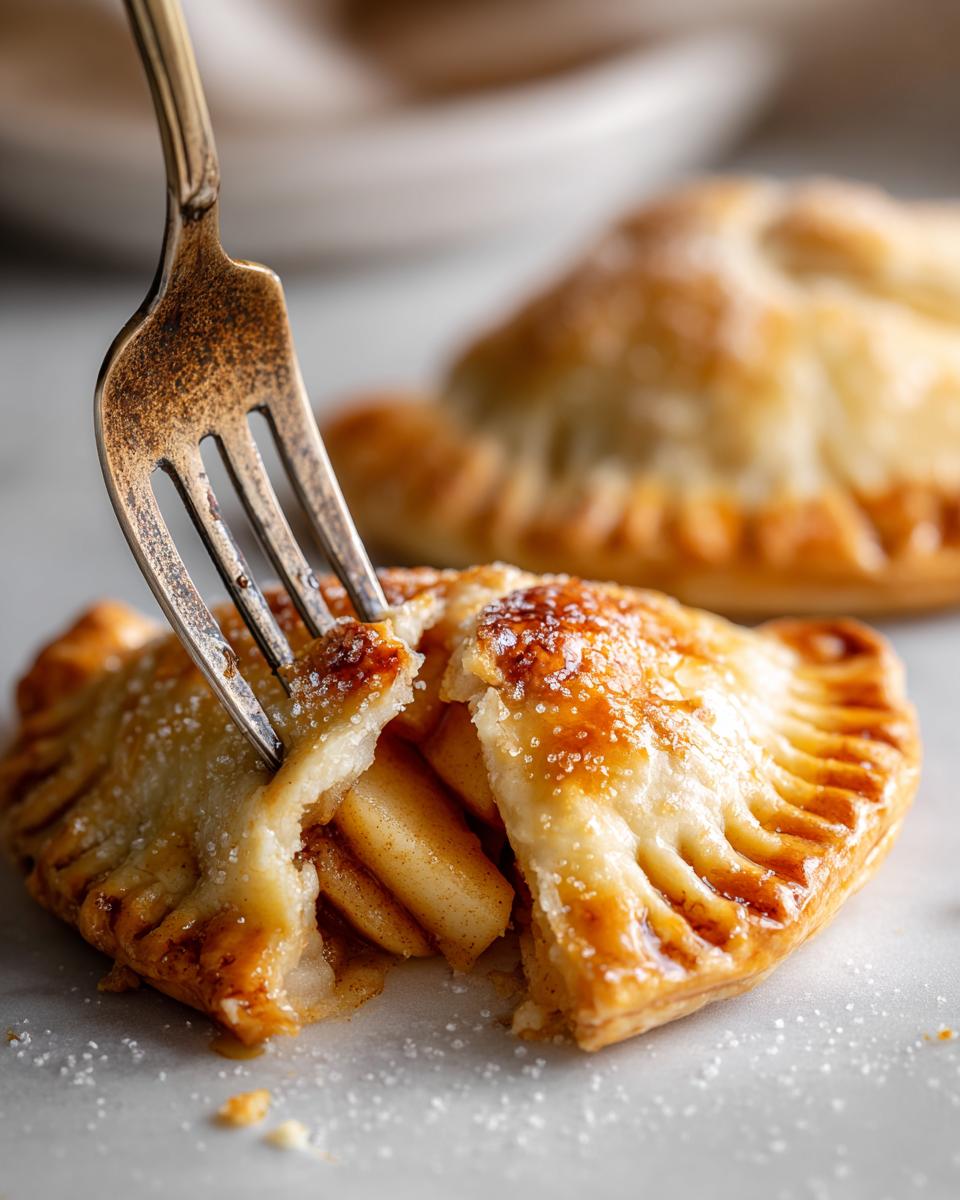
There’s just something magical about a fresh-baked treat, isn’t there? That warm, comforting aroma filling your kitchen, the promise of flaky pastry and sweet, tender fruit inside. It reminds me so much of my grandmother’s kitchen, where every season brought a new reason to bake something special. That’s exactly the feeling I wanted to capture with these adorable Apple Hand Pies. Forget slicing up a whole pie; these little gems are perfectly personal-sized, bursting with spiced apples and wrapped in buttery, flaky crust. Trust me, they’re way easier than you might think, and since we’ve tested and perfected every step here at Bliss Batter, you can bake them with total confidence! You can read more about my baking philosophy and how these recipes come to life on our About Page.
- Why You'll Love These Apple Hand Pies
- Ingredients for Perfect Apple Hand Pies
- Crafting Your Apple Hand Pies: Step-by-Step
- Tips for Perfect Apple Hand Pies Every Time
- Variations for Your Apple Hand Pies
- Serving and Storing Your Apple Hand Pies
- Frequently Asked Questions About Apple Hand Pies
- Nutritional Information for Apple Hand Pies
- Share Your Apple Hand Pie Creations!
Why You’ll Love These Apple Hand Pies
Seriously, what’s not to love? These little beauties pack all the punch of a full-sized apple pie into a delightful, handheld package. Here’s why they’ll become your new go-to:
- Super Portable: Perfect for lunchboxes, picnics, or just grabbing on the go. No plates needed!
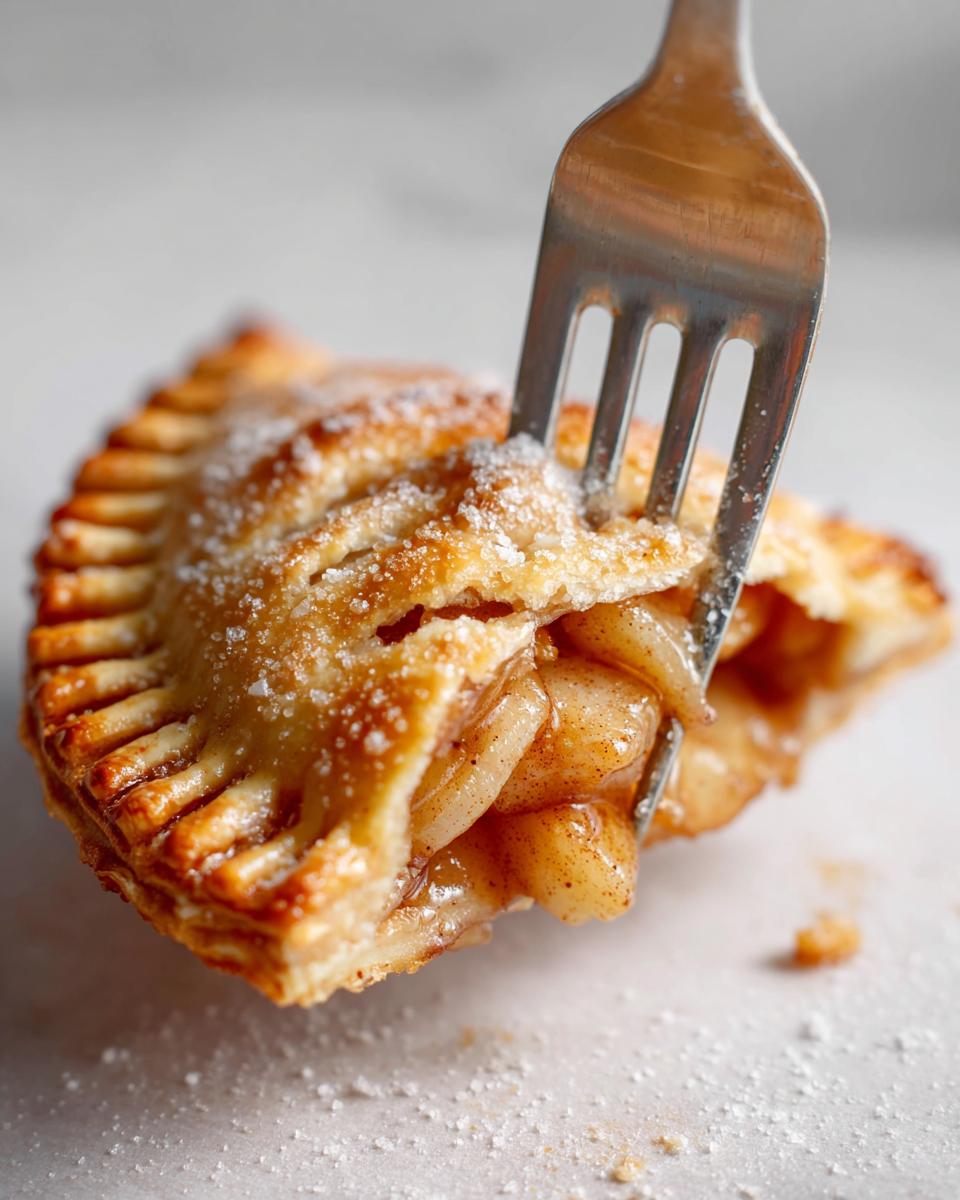
- Just the Right Ratio: For all you crust lovers out there, these give you that perfect bite where you get amazing flaky pastry with every delicious mouthful of apple.
- Easily Customizable: You can tweak the spices, add nuts, or even mix apple varieties.
- Utterly Adorable: They’re just plain cute, and who doesn’t love a charming little dessert?

Ingredients for Perfect Apple Hand Pies
Okay, friends, let’s talk about what makes these Apple Hand Pies so darn special. It all comes down to good ingredients treated right! For the flaky crust, make sure your butter and water are super cold – this is key to getting those wonderful layers. And for the filling? Fresh apples are a must; don’t even think about using those pre-diced ones, they just don’t have the same zing!
- 2 1/2 cups all-purpose flour
- 1 teaspoon salt
- 1 cup (2 sticks) cold unsalted butter, cut into cubes
- 1/2 cup ice water
- 4 cups peeled, cored, and diced apples (about 4 medium apples)
- 1/2 cup granulated sugar
- 1 teaspoon ground cinnamon
- 1/4 teaspoon ground nutmeg
- 1 tablespoon lemon juice
- 1 large egg, beaten (for egg wash)
- 2 tablespoons coarse sugar, for sprinkling
A little note on apples: try to use varieties that hold their shape well when baked, like Honeycrisp, Gala, or Fuji. They give you a nice balance of sweet and tart that’s just perfect!
Crafting Your Apple Hand Pies: Step-by-Step
Alright, let’s get our hands doughy and make some magic! Making these Apple Hand Pies from scratch is honestly so satisfying, and it’s not as tricky as it might seem. Follow these steps and you’ll be well on your way to pie perfection. And don’t worry if your first few crimps aren’t Pinterest-worthy – they’ll taste amazing either way! Think of it like perfecting your Chocolate Chip Banana Bread, each recipe has its own rewarding journey.
Making the Flaky Pie Dough
First things first, we need that gorgeous, flaky crust. Grab a big bowl and whisk together your flour and salt. Now, toss in those cold butter cubes. Use a pastry blender or even your fingertips to cut the butter into the flour until it looks like coarse crumbs with a few pea-sized bits of butter still peeking out. These little butter pockets are our secret to flakiness! Gradually drizzle in the ice water, just a tablespoon at a time, mixing until the dough *just* starts to come together. Seriously, don’t overmix it! Overworking the dough makes it tough. Divide the dough into two discs, flatten them a bit, wrap them up tight in plastic wrap, and pop ‘em in the fridge for at least 30 minutes. This chilling time is super important for a tender crust!
Preparing the Spiced Apple Filling
While the dough is chilling, let’s whip up that delicious apple filling. Grab a medium bowl and toss your diced, peeled, and cored apples with the granulated sugar, cinnamon, nutmeg, and that splash of lemon juice. Give it all a good mix so every single apple piece is coated in those lovely spices. The lemon juice not only adds a little brightness but also helps keep the apples from turning all brown. It’s a simple step, but it makes a difference!
Assembling Your Apple Hand Pies
Okay, dough’s chilled, filling’s ready – time to assemble these cute little individual apple pies! Lightly flour your counter and roll out one disc of dough to about an eighth of an inch thick. You want it nice and even. Then, use a 4-inch round cutter to make your circles. Reroll any scraps gently to get a few more circles – you should get about 8 to 10 pies total depending on how you roll. Now, spoon about 2 tablespoons of that yummy apple filling onto one half of each dough circle, leaving a little border around the edge. This border is where the magic happens! Lightly brush the edges with your beaten egg wash – this acts like glue. Then, fold the other half of the dough over the filling to make a perfect semicircle. Use a fork to crimp those edges firmly shut. This makes sure all that delicious filling stays inside where it belongs! This is similar to how we make our Homemade Cinnamon Rolls, sealing all that goodness in.
Baking to Golden Perfection
Almost there! Place your assembled mini apple turnovers onto a baking sheet lined with parchment paper. Parchment paper is your best friend here, trust me! Now, cut a few small slits in the top of each pie. This is essential for letting steam escape while they bake, so they don’t puff up weirdly and burst. Brush the tops all over with the remaining egg wash – this gives you that beautiful golden sheen. Then, sprinkle generously with coarse sugar. That sugar adds the perfect little crunch and sparkle! Pop them into a preheated oven at 400°F (200°C) and bake for about 20-25 minutes. You’re looking for a gorgeous golden-brown color all over and for the filling to be bubbly and delicious.
Tips for Perfect Apple Hand Pies Every Time
Making these little pockets of joy should be fun, and these tips will help ensure your Apple Hand Pies turn out absolutely amazing. Trust me, it’s all about a few key details! First off, when you’re making the dough, super cold butter and ice water are your best friends. Don’t skip the chilling time – it really makes a difference for that flaky crust you’re dreaming of. For the apples, I always go for a mix; maybe some tart Granny Smiths with sweeter Galas or Honeycrisps. It gives the filling a really nice depth of flavor. To avoid a soggy bottom (nobody wants that!), make sure your filling isn’t too watery before you stuff it into the dough. Also, don’t forget those little vents on top – they’re crucial for letting steam escape and keeping everything happy in the oven. And for that gorgeous golden finish? The egg wash and coarse sugar combo is a winner every single time, just like on our Easy Peach Cobbler!
Variations for Your Apple Hand Pies
Once you’ve mastered these Apple Hand Pies, don’t be afraid to play around a little! You can easily make them your own. Want a little crunch? Toss in some chopped walnuts or pecans with the apples. Feeling like a spice adventurer? Try adding a pinch of cardamom or allspice along with the cinnamon. And for something a little different, especially if you’re craving those lovely, sweet flavors akin to apple empanadas (sweet), a tiny splash of almond extract in the filling can be divine! Using a mix of apples, like tart Granny Smiths with sweet Honeycrisps, also adds a wonderful complexity to the filling.
Serving and Storing Your Apple Hand Pies
These little apple delights are just as wonderful served warm, fresh out of the oven, as they are at room temperature. If you can’t resist, digging into one while it’s still warm is pure bliss! If you happen to have any leftovers (a rare but happy problem!), just store them in an airtight container at room temperature for up to two days. They’re still delicious that way! If you want to warm them up, just pop one in a toaster oven or a regular oven at 300°F (150°C) for a few minutes until they’re nice and cozy again.
Frequently Asked Questions About Apple Hand Pies
Got questions about these delightful Apple Hand Pies? I totally get it! There are always a few things that pop into bakers’ minds. Let’s clear up some common ones right here. Wondering about apples? For the best flavor and texture, I really like using a mix – maybe some tart Granny Smiths to balance the sweetness and some sweeter Honeycrisps or Galas for juiciness and a lovely texture. They hold up so well in the oven! If you’re in a pinch, yes, you *can* use store-bought pie crust, but honestly, homemade is so much better and totally worth the little bit of extra effort, just like when we make our Apple Crisp from scratch. To prevent leaks and keep your pies from getting soggy, make sure you don’t overfill them and really press those edges together well with your fork. Also, those little vents on top are super important for steam to escape! If you’re looking for other simple apple treats, you might love our Apple Cinnamon Overnight Oats for breakfast. If you’re thinking about freezing them, it’s best to freeze them *before* baking. Just assemble them, place them on a baking sheet to freeze solid, then transfer to a freezer bag. Bake from frozen, adding a few extra minutes to the baking time.
Nutritional Information for Apple Hand Pies
Now, I know some of you like to keep track of these things, and that’s totally fine! Here’s an estimate of the nutrition for each of these yummy Apple Hand Pies. Keep in mind, these are just approximate values since everyone’s baking turns out a little bit different, you know? Things like the exact apples you use or how much sugar sticks to the crust can change things up a little bit.
- Serving Size: 1 hand pie
- Calories: 350
- Sugar: 20g
- Sodium: 200mg
- Fat: 18g
- Saturated Fat: 11g
- Unsaturated Fat: 7g
- Trans Fat: 0g
- Carbohydrates: 45g
- Fiber: 3g
- Protein: 4g
- Cholesterol: 50mg
Share Your Apple Hand Pie Creations!
I just can’t wait to see your gorgeous Apple Hand Pies! Did you make them for a special occasion, or just because you felt like baking? Please, pop down below and share your thoughts in the comments, or give the recipe a rating. And if you took some photos, tag me on social media – I absolutely love seeing what you create in your kitchens! It’s these moments, sharing the simple joy of baking, that make everything so worthwhile. If you have any last questions or want to share more, you can always reach out via my Contact Page!
PrintApple Hand Pies

These charming, personal-sized apple pies are perfect for lunches or picnics, offering a delightful crust-to-filling ratio.
- Prep Time: 45 min
- Cook Time: 25 min
- Total Time: 70 min
- Yield: 8-10 hand pies 1x
- Category: Dessert
- Method: Baking
- Cuisine: American
- Diet: Vegetarian
Ingredients
- 2 1/2 cups all-purpose flour
- 1 teaspoon salt
- 1 cup (2 sticks) cold unsalted butter, cut into cubes
- 1/2 cup ice water
- 4 cups peeled, cored, and diced apples (about 4 medium apples)
- 1/2 cup granulated sugar
- 1 teaspoon ground cinnamon
- 1/4 teaspoon ground nutmeg
- 1 tablespoon lemon juice
- 1 large egg, beaten (for egg wash)
- 2 tablespoons coarse sugar, for sprinkling
Instructions
- In a large bowl, whisk together flour and salt. Cut in the cold butter using a pastry blender or your fingertips until the mixture resembles coarse crumbs with some pea-sized pieces of butter remaining.
- Gradually add the ice water, 1 tablespoon at a time, mixing until the dough just comes together. Do not overmix. Divide the dough in half, flatten each half into a disk, wrap in plastic wrap, and refrigerate for at least 30 minutes.
- In a medium bowl, combine the diced apples, granulated sugar, cinnamon, nutmeg, and lemon juice. Toss to coat the apples evenly.
- On a lightly floured surface, roll out one disk of dough to about 1/8-inch thickness. Using a 4-inch round cutter, cut out circles of dough. Reroll scraps as needed. Repeat with the second disk of dough. You should have about 8-10 circles.
- Place about 2 tablespoons of the apple filling onto one half of each dough circle, leaving a 1/2-inch border.
- Brush the edges of the dough with the beaten egg wash. Fold the other half of the dough over the filling to create a semicircle. Crimp the edges with a fork to seal.
- Place the hand pies on a baking sheet lined with parchment paper. Cut small slits in the top of each hand pie to allow steam to escape.
- Brush the tops of the hand pies with the remaining egg wash and sprinkle with coarse sugar.
- Bake in a preheated oven at 400°F (200°C) for 20-25 minutes, or until golden brown and the filling is bubbly.
- Let the hand pies cool on a wire rack before serving.
Notes
- For a richer crust, you can add 1 tablespoon of granulated sugar to the flour mixture.
- If you don’t have coarse sugar, granulated sugar can be used, but coarse sugar provides a nice crunch.
- These hand pies are delicious served warm or at room temperature.
Nutrition
- Serving Size: 1 hand pie
- Calories: 350
- Sugar: 20g
- Sodium: 200mg
- Fat: 18g
- Saturated Fat: 11g
- Unsaturated Fat: 7g
- Trans Fat: 0g
- Carbohydrates: 45g
- Fiber: 3g
- Protein: 4g
- Cholesterol: 50mg