
Oh, the *smell* of Biscoff! Seriously, if you could bottle that spiced, caramelized bliss, we’d all be set for life, right? When life gets hectic—and goodness knows mine used to feel that way managing corporate events—the quickest route to sanity is creating something sweet that requires zero fuss. That’s why I absolutely adore this no-bake biscoff cheesecake. It’s the ultimate crowd-pleaser because it delivers that iconic cookie butter flavor, that unbelievably smooth texture, and the best part? You don’t even have to turn on the oven!
Here at Bliss Batter, my goal as Claire Sterling is simple: take those show-stopping desserts you see everywhere and make them totally doable for your Tuesday night or your next big party. If you also love that deep, rich flavor profile, make sure you check out my decadent salted caramel brownies recipe too! This cheesecake is proof that you can achieve amazing results with foolproof steps. Trust me, once you nail this, it will quickly become your go-to, especially when you need a stellar dessert in just a few hours of chilling time.
- Why This No-Bake Biscoff Cheesecake is Your New Favorite Easy Cheesecake Ideas
- Gathering Ingredients for Your Biscoff Cheesecake
- Step-by-Step Instructions for the No-Bake Biscoff Cheesecake
- Finishing Touches: Drizzling and Setting the Biscoff Cheesecake
- Tips for Success: Perfecting Your Biscoff Dessert Recipes
- Making Variations on the Classic Biscoff Cheesecake
- Serving Suggestions for Your Decadent Dessert Inspiration
- Storage and Reheating Instructions for Leftover Biscoff Cheesecake
- Frequently Asked Questions About Making Biscoff Cheesecake
- Share Your Homemade Cheesecake Creations
- Share Your Homemade Cheesecake Creations
Why This No-Bake Biscoff Cheesecake is Your New Favorite Easy Cheesecake Ideas
I know you’re busy, so I want to shout about why this particular cheesecake recipe belongs on your rotation! It skips the oven entirely, which makes clean-up a dream, and it truly turns simple elements into something dazzling. If you’re looking for creamy chilled desserts that always impress without the high-stakes drama of baking, this is it.
- You get all that spiced cookie butter goodness right in the crust and the filling—it’s double the flavor payoff!
- It’s truly a spectacular example of baking without an oven. Hello, summer dessert win!
- The texture is just unbelievable; smooth, rich, and perfectly set every single time.
Quick Preparation for the Perfect Biscoff Cheesecake
Honestly, you’ll be shocked how fast this comes together. We are talking about maybe 20 minutes of active time before it goes into the fridge! That’s why I stand by this being one of the absolute best no bake cheesecake recipes you’ll ever come across. It’s perfect for those days when you realize you need a dessert fast but still want it to look fancy. I even whipped up some mini versions when I needed cute little no-bake chocolate lasagna style treats for a bake sale!
Texture You Can Trust: Achieving That Creamy Chilled Desserts Finish
The secret sauce for texture here is all about temperature control. We rely on the magic of fully softened cream cheese—no cold lumps allowed!—and whipping the heavy cream separately until those stiff peaks develop. Folding those two components together gently is what guarantees that silky finish. It’s what moves this dessert from ‘good’ to ‘wow, I can’t stop eating this.’
Gathering Ingredients for Your Biscoff Cheesecake
Alright, let’s get shopping! Since this is a no-bake recipe, the quality of what you put in really sings, because there’s no oven heat to mask anything. I’ve listed out everything you need below. Just follow the quantities exactly, and don’t skip the notes on temperature—they truly matter for that perfect texture!
- 1 1/2 cups Biscoff cookie crumbs (about 25 cookies)
- 6 tablespoons unsalted butter, melted
- 16 ounces cream cheese, softened
- 1 cup powdered sugar
- 1 teaspoon vanilla extract
- 1/2 cup heavy whipping cream, cold
- 1 cup Biscoff cookie butter, divided
Notes on Ingredients and Homemade Cheesecake Crust Components
Let’s talk about making life easy, shall we? You absolutely *can* buy pre-made Biscoff cookie crumbs, but honestly, I just toss the whole cookies into my trusty food processor until they look like coarse sand. It takes maybe 30 seconds! If you don’t have a processor, just toss them into a sturdy zip-top bag and crush them with a rolling pin. No tears over dusty sticks—you just get more control!
Now, for the filling, please, please remember the cream cheese needs to get friendly with room temperature before you start mixing. If those blocks are straight from the fridge, you’ll end up with tiny lumps, and nobody wants a lumpy cookie butter cheesecake filling. We are going for silky smooth here. I know I harp on technique a lot, but for the base, sometimes you need a little extra support, which is why I always recommend checking out my tips for making buttermilk biscuits recipe crusts, because it’s all about structure!
Also, notice I asked for the heavy whipping cream to be COLD. That’s key for getting those stiff peaks later on. Temperature control is my secret weapon, even when I’m not actually baking anything!
Step-by-Step Instructions for the No-Bake Biscoff Cheesecake
Okay, now that we have our beautiful ingredients ready, let’s put this masterpiece together! Because this is a no-bake recipe, the process is more assembly than actual cooking, but organization is what keeps everything smooth. We’re going to build it in three main stages: the base, the filling, and the swirl. Don’t rush these steps, especially the chilling moments! If you’re finding yourself wanting more no-bake magic afterward, take a peek at my easy no-bake blueberry cheesecake recipe!
Crafting the Biscoff Cookie Crust Base
First up is that delicious crust. Take your Biscoff crumbs and toss them with the 6 tablespoons of melted butter. You’re looking for a texture that clumps together when you squeeze a bit in your hand—think of it like perfectly damp sand at the beach. Press this mixture firmly and evenly into the bottom of your 9-inch springform pan. Seriously press it down hard; this is what holds everything up later! Once it’s packed tight, pop that pan into the freezer. This chills it down instantly, making sure it stays put when we add the filling. For a super sturdy crust, you *can* bake it for about 8 minutes at 350°F/175°C, as the notes suggest, but honestly, freezing works just fine for me!
Mixing the Creamy Filling for Your Biscoff Cheesecake
Now we tackle the filling! Get your softened cream cheese beating first until it’s totally smooth—we want zero resistance here. Then, add your powdered sugar and vanilla. Mix these just until they combine. I repeat: just combine them! Overmixing at this stage can introduce too much air and make the filling weep later on. In a separate, chilled bowl, whip that cold heavy cream until you see stiff peaks form. When you fold that whipped cream into the cheese mixture, be gentle! Use a spatula and cut straight down the middle, folding it over slowly until it’s just incorporated.
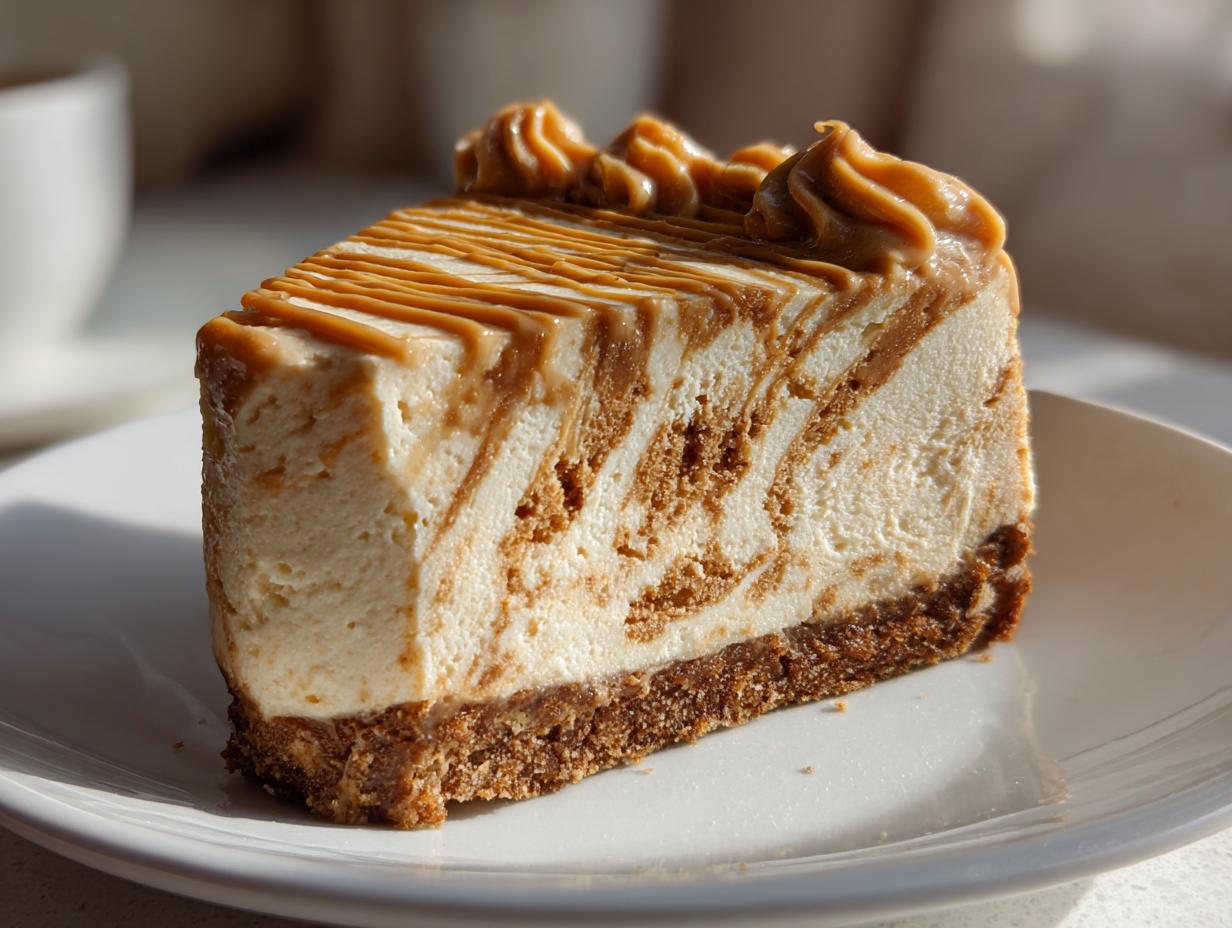
Here’s where the fun flavor comes in! Take about 3/4 cup of your softened Biscoff cookie butter and gently fold it in. Don’t mix it until it’s one uniform color. I actually love seeing those gorgeous swirls of lighter cream cheese mixture against the darker cookie butter—that marbling really shows off the layers in your finished biscoff cheesecake. Spread this lovely mixture evenly over your chilled crust.
For the final step before chilling, melt the remaining 1/4 cup of cookie butter until it’s drippy. Drizzle it over the top, and take a skewer or a thin knife and gently move it around to create those dramatic swirls. Then, cover it loosely and let it chill for at least 6 hours, but overnight is always better so it sets up firm!
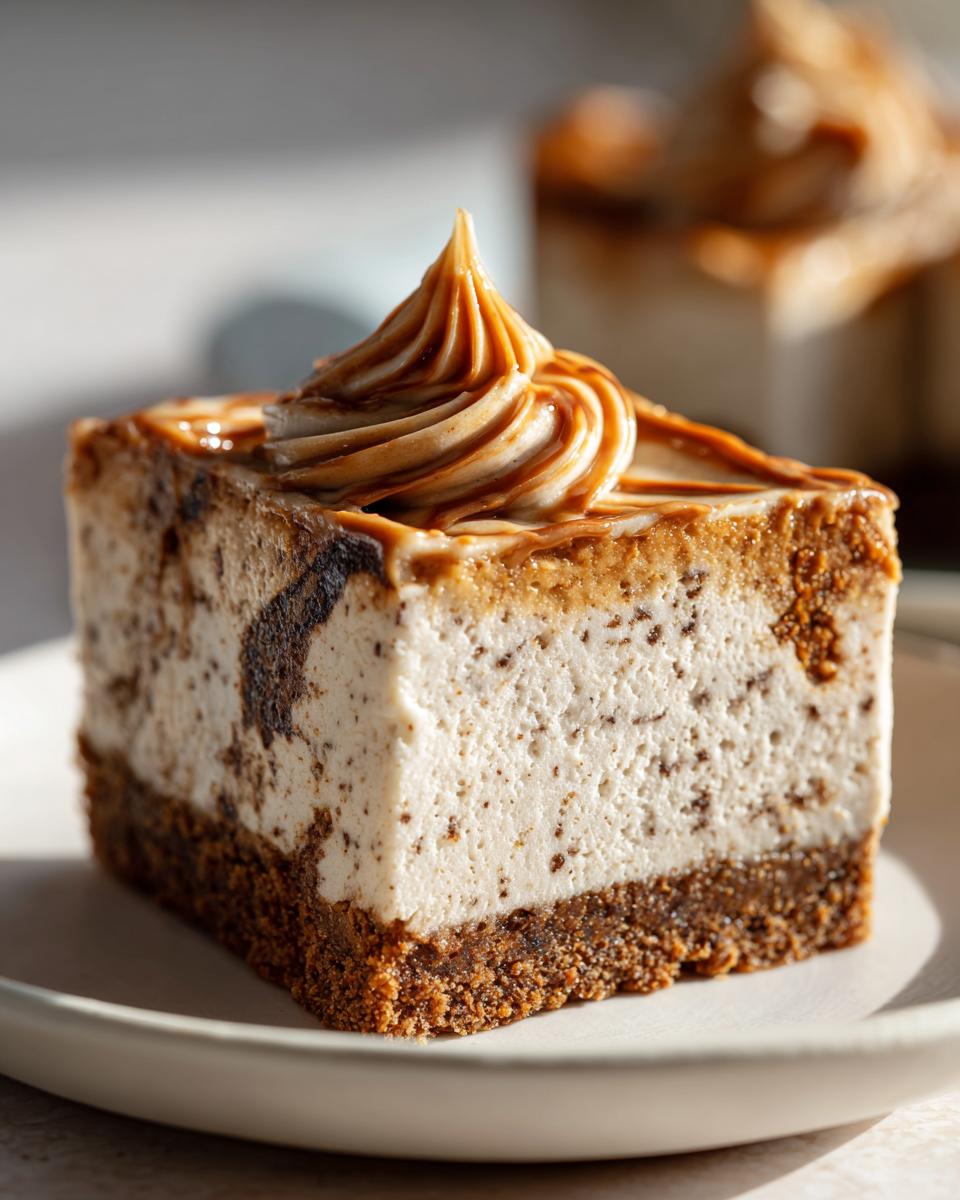
Finishing Touches: Drizzling and Setting the Biscoff Cheesecake
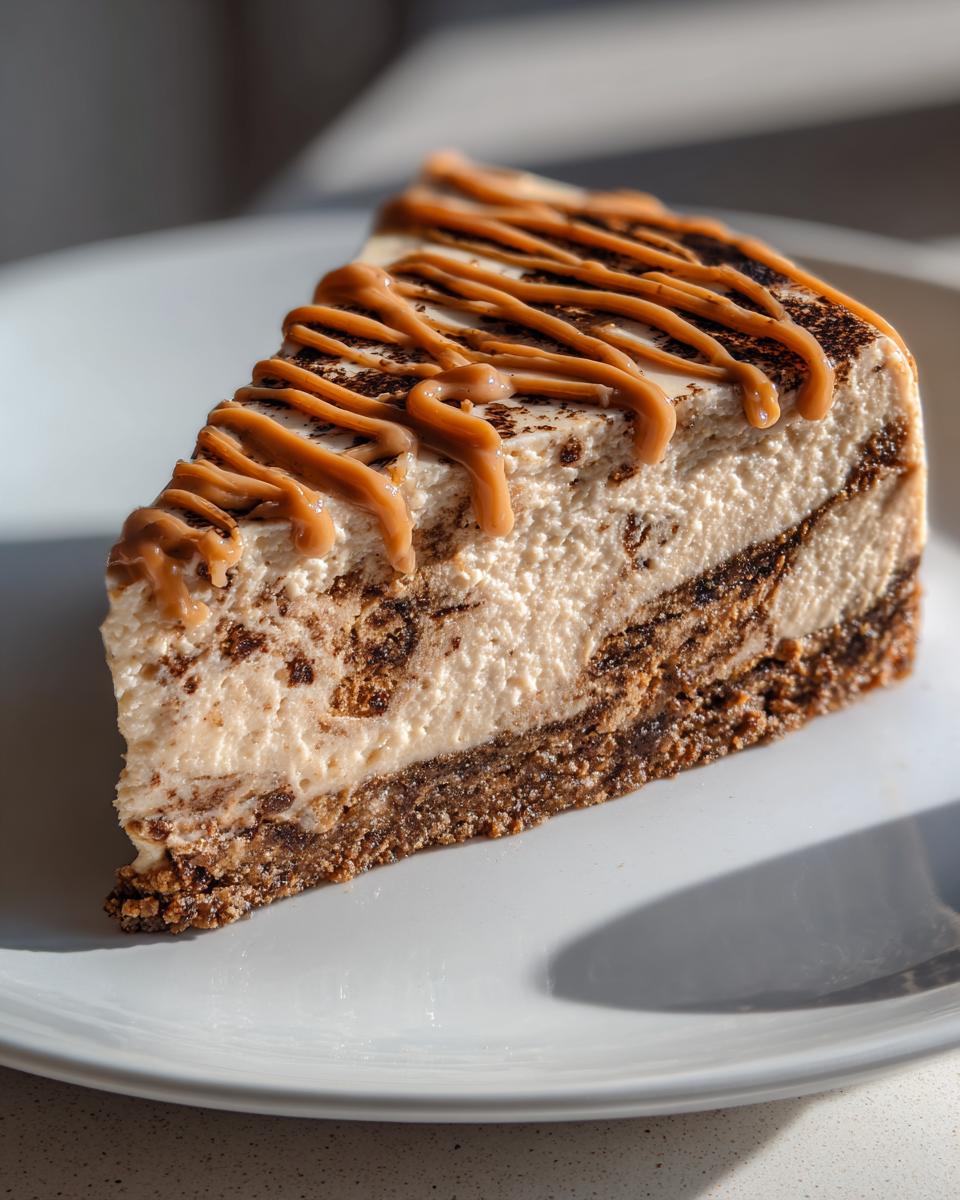
We are so close to dessert perfection right now! Once your creamy filling is settled neatly over that firm, cold crust, it’s time for the glamorous part: the topping. You need to melt that last little bit of Biscoff cookie butter. I usually microwave it in small 15-second bursts. You want it smooth and pourable, almost like maple syrup—don’t let it get too hot or it can melt your beautiful filling underneath!
Once it’s all drizzled on top, grab a toothpick or a thin offset spatula. Gently drag it through the topping to create those lovely, deep brown swirls. It’s an instant visual upgrade and adds another layer of that rich, cookie butter cheesecake flavor right on the surface. It looks fancy, but takes two seconds, I promise!
Now comes the hardest part of all: waiting! For this cheesecake to slice up cleanly and hold its shape like a dream, you absolutely must chill it. Six hours is the minimum I recommend, but for the absolute best, firmest slice that won’t weep on the plate, chill it overnight. Think of it as the final setting stage. While it waits, maybe browse some of my pumpkin cheesecake recipe ideas for next month? But seriously, resisting this incredible dessert for a few more hours is worth the perfect result!
Tips for Success: Perfecting Your Biscoff Dessert Recipes
Even though this is a no-bake dream, there are little secrets I’ve picked up over the years that make the difference between a good treat and an amazing one. This is where we lock in that foolproof quality that Bliss Batter promises! We want the richest, most intense spiced cookie butter flavor possible without any messy drama.
Troubleshooting Common Issues with No Bake Cheesecake Recipes
So, what if things go sideways? Don’t panic, you can almost always fix it! If your filling seems a little too soft after chilling, it usually means your cream cheese wasn’t fully softened when you started, or maybe the heavy cream didn’t get whipped enough before folding. Next time, make sure those cream cheese blocks are perfectly pliable!
If your crust is crumbling when you cut it, it means you didn’t press it firmly enough into the springform pan—remember that ‘wet sand’ texture? Press down like you mean it! For a little extra insurance, you can always pre-bake that crust for 8 minutes, as I mentioned earlier. Don’t let a small stumble stop you from enjoying these amazing chai spice cookies inspired flavors!
Making Variations on the Classic Biscoff Cheesecake
Part of the fun of creating a perfect base recipe like this is knowing you can easily dress it up or swap things out! This biscoff cheesecake is so sturdy and delicious on its own, but sometimes you want to go big, especially if it’s for a holiday or you’re trying to impress someone with some serious gourmet cheesecake variations.
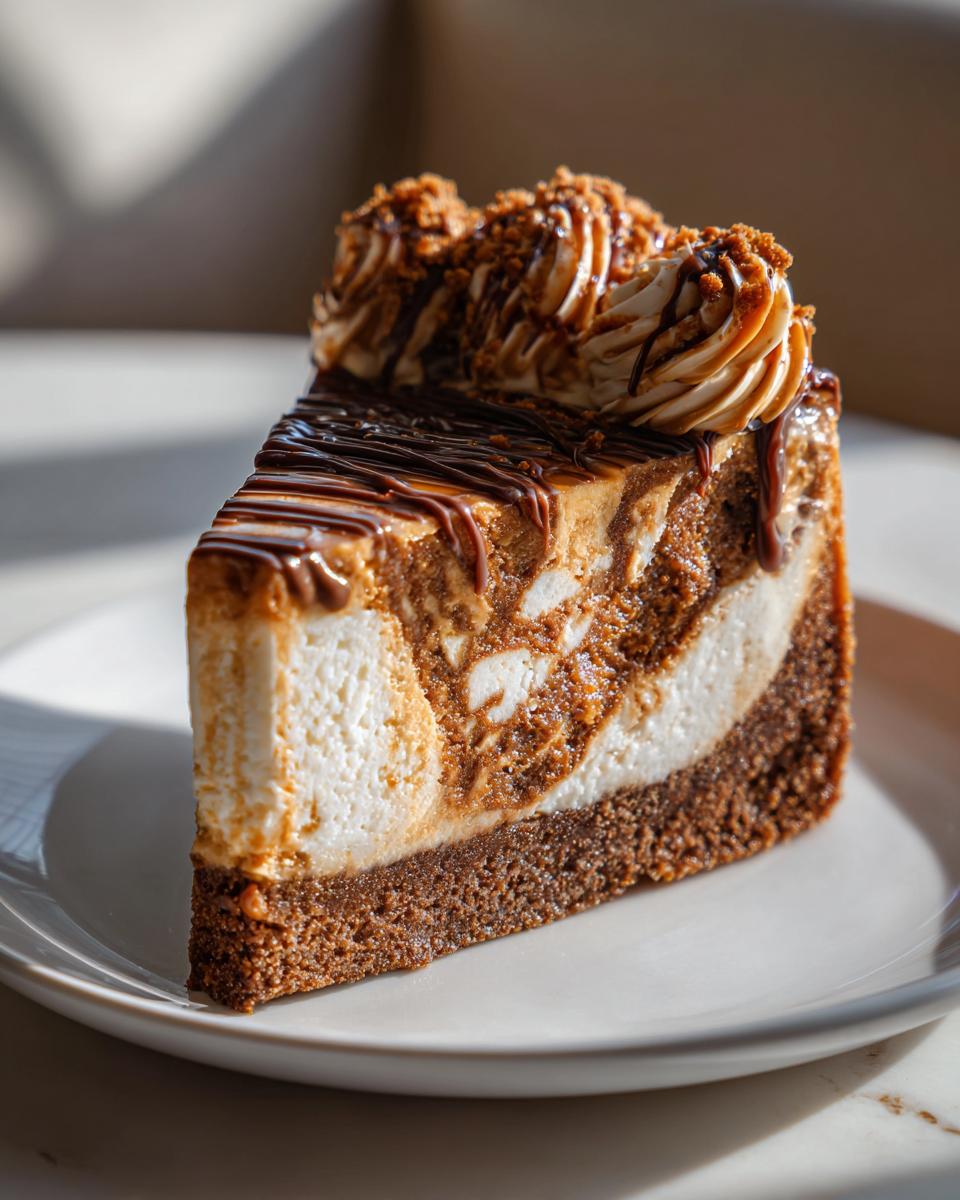
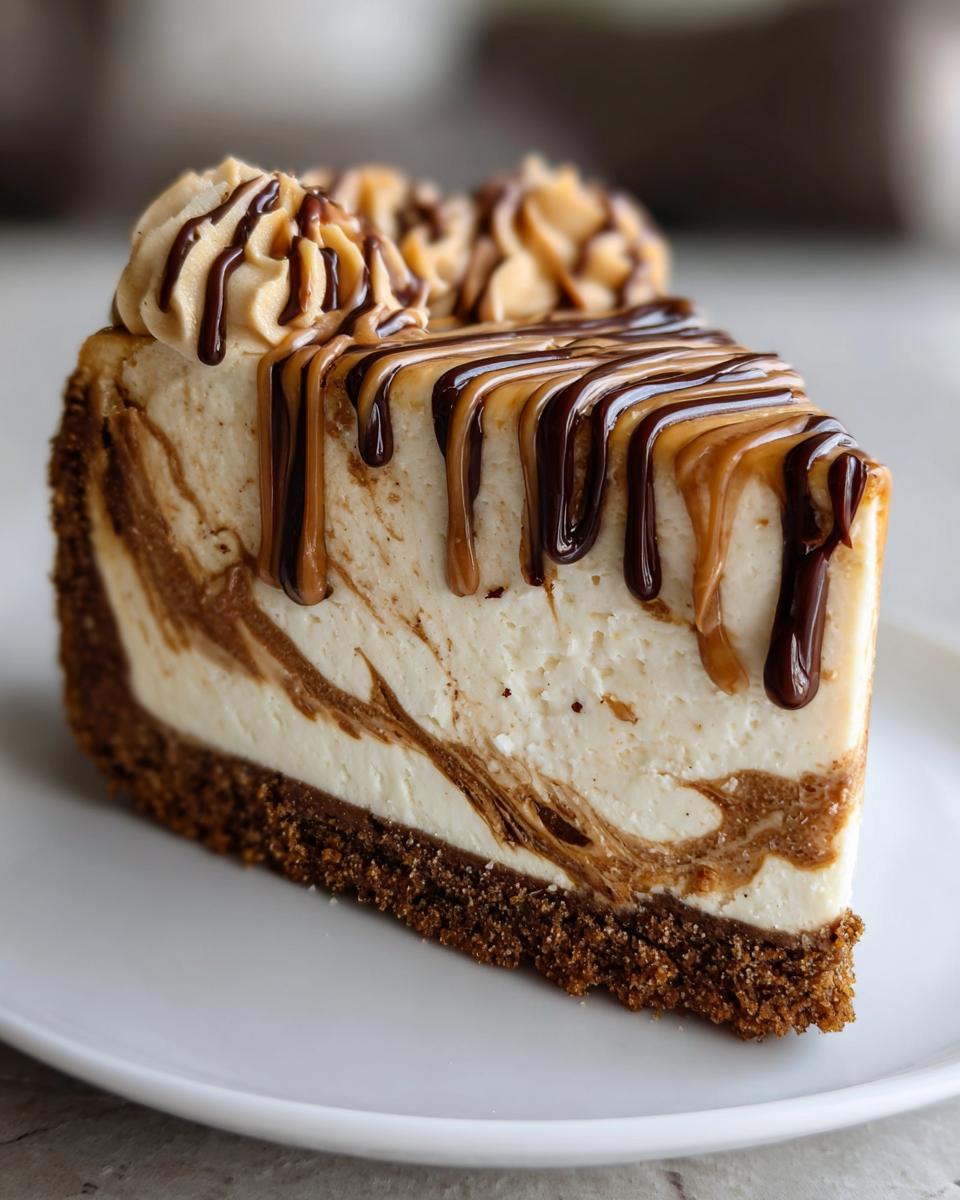
If you’re planning a big event and need impressive yet easy party dessert ideas, don’t hesitate to customize! My thoughts always drift towards adding another layer of decadence, usually involving caramel. Remember in the instructions when we melted the extra cookie butter? That’s your perfect chance to introduce some salted caramel.
You can easily blend 1/4 cup of really good salted caramel sauce right into that melted drizzle for the top. Just swirl it gently with the Biscoff, and boom—instant salty-sweet complexity! If you love caramel, you absolutely must check out how I handle apples when they’re tossed in it over on my caramel apples county fair classic post!
Another fun tweak is playing with the crust down below. While I live for the Biscoff crust, sometimes I’ll crush up half Biscoff cookies and half vanilla wafers for a slightly lighter, crunchier base. Or, if you want a brighter spiced cookie butter flavor, toss a tiny dash of cinnamon or ground cloves into the crumbs before adding the butter. It really enhances that spiced element without overwhelming the main flavor. These little experiments are what make these cookie butter cheesecake recipes truly yours!
Serving Suggestions for Your Decadent Dessert Inspiration
Now for the grand finale! Presentation is everything, even when the dessert tasted incredible straight from the fridge. Since this biscoff cheesecake is already so visually appealing with those beautiful swirls, you don’t need a ton of fuss to make it look stunning on your serving platter.
My absolute favorite way to present this is with just a few classic garnishes. Take a handful of whole Biscoff cookies and sprinkle a few artfully around the base of the pan once you release the springform, or simply arrange two or three on top of each slice right before serving. If you prefer a lighter look, a whisper-light dusting of ground cinnamon right over the top adds warmth and emphasizes that spiced cookie butter flavor.
When it comes to pairing, keep it cozy! This cheesecake is rich, so I usually serve it alongside a strong, deep cup of coffee—like a perfectly brewed French press or perhaps even a slice of my coffee cake to have with it! A nice hot black tea works beautifully too, as it cuts through the richness just enough to make you grab that next forkful. It’s such a simple, elegant dessert experience, done with hardly any effort!
Storage and Reheating Instructions for Leftover Biscoff Cheesecake
The best part about a rich, creamy treat like this? You usually have leftovers, even when you try really hard! Since this is a no-bake recipe, it needs cool, calm conditions to stay perfect. Storing your biscoff cheesecake is super easy, but you have to remember one big rule: keep it cold!
Once your cheesecake is fully set—and please tell me you let it chill overnight!—you need to cover it gently. I highly recommend using a large cake dome or covering the springform pan tightly with plastic wrap. Be careful not to let the plastic touch the beautiful drizzle on top; if you have trouble with that, you can tent a piece of aluminum foil loosely over it. This keeps out any fridge smells and stops the surface from drying out.
It should stay perfectly creamy and delicious in the refrigerator for about 4 to 5 days. Because it’s loaded with cream cheese and heavy cream, it’s not a good candidate for freezing for long periods, and definitely do not try to reheat it! Reheating gelatinous desserts like this just turns them into soup, and nobody wants melted Biscoff sludge. Keep storage strictly to the fridge for the best experience.
If you’re looking for general tips on keeping baked goods fresh so you can enjoy leftovers longer—though this one doesn’t need it—you can always check out my guide on how to keep my moist banana bread with walnuts fresh for nearly a week! These general guidelines help you keep all your favorite lotus biscoff treats tasting like they were just made.
Frequently Asked Questions About Making Biscoff Cheesecake
I totally get it—baking questions pop up the second you look at a recipe! That’s why I always make sure we cover the little details here, so you feel totally confident bringing this gorgeous biscoff cheesecake to life. Don’t worry if you need to make a small swap; we can usually find a way to make it work while keeping that essential spiced cookie butter flavor intact.
Can I substitute graham crackers for the Biscoff crust in this biscoff cheesecake?
Oh, absolutely, you certainly can! If you’re in a pinch, or if you just ran out of Biscoff cookies for the base, graham crackers are a perfectly fine stand-in. They will definitely still create a beautiful, crunchy shell for your filling. However, I need to give you a little heads-up: you’ll lose that deep, caramelized spice note that makes this dessert so unique. The Biscoff crust is really what ties the whole *cookie butter cheesecake* theme together!
If you use graham crackers, I highly recommend mixing in maybe a teaspoon of cinnamon and a tablespoon of brown sugar into the crumbs and butter. That little addition helps mimic some of that spiced depth you’d normally get from the cookies. It keeps it a super quick and easy cheesecake idea, even with the modification!
Do I have to use a springform pan for this recipe?
For a cheesecake, especially one that needs to chill and set firmly, the springform pan is your best friend because it lets you release the sides without flipping the cake over. If you don’t have one, you can use a standard 9-inch round cake pan, but you must line the bottom and sides with parchment paper, letting the paper hang over the edges like little handles. Then, when it’s firm, you gently lift the whole thing out. It’s a bit trickier, but totally doable for these creamy chilled desserts.
Can I make this Biscoff Cheesecake recipe vegan or dairy-free?
That’s a great question, especially since we rely heavily on cream cheese and heavy cream! Making this 100% vegan requires substantial swaps, but it can be done. You would need to use high-quality vegan cream cheese substitutes and a firm vegan block-style cream cheese alternative. For the whipped cream, your best bet is using chilled, full-fat coconut cream (the thick part from the can) whipped separately with powdered sugar.
The crust uses butter, so you’d swap that for melted coconut oil or a vegan butter substitute. It takes a bit more specialized shopping, but these kinds of adaptations are part of what makes exploring the world of pumpkin spice latte real pumpkin flavors fun! Taste-wise, these alternatives are getting better and better, but remember the texture might change slightly since dairy fats behave differently than plant-based ones.
How far in advance can I prepare this cheesecake?
This is one of my favorite party dessert ideas because you can make it completely ahead of time! I always aim to make it the day before I plan to serve it. Six hours is the bare minimum for it to set properly, but chilling overnight (10–12 hours) ensures it’s perfectly firm, especially if you plan to drizzle a heavy topping or garnish it heavily. Make it Saturday, serve it Sunday—easy peasy!
Share Your Homemade Cheesecake Creations
I am so incredibly happy you’re going to try this recipe! Truly, seeing your successes is what keeps me developing these easy, foolproof methods here at Bliss Batter. Once you pull that gorgeous, creamy biscoff cheesecake out of the springform pan, I desperately want to see it!
Snap a picture of your swirled topping and tag me on social media—it always brightens my day to see your delicious results. And please, don’t forget to come back here and leave a star rating and a quick comment letting me know how your crust turned out and if you tried any fun extras like the salted caramel swirl. Your feedback helps other bakers get the confidence they need to start experimenting in their own kitchens. Happy making, and I hope you feel all the bliss!
Share Your Homemade Cheesecake Creations
I am so incredibly happy you’re going to try this recipe! Truly, seeing your successes is what keeps me developing these easy, foolproof methods here at Bliss Batter. Once you pull that gorgeous, creamy biscoff cheesecake out of the springform pan, I desperately want to see it!
Snap a picture of your swirled topping and tag me on social media—it always brightens my day to see your delicious results. And please, don’t forget to come back here and leave a star rating and a quick comment letting me know how your crust turned out and if you tried any fun extras like the salted caramel swirl. Your feedback helps other bakers get the confidence they need to start experimenting in their own kitchens. If you want to learn more about my philosophy or just hang out with other passionate home bakers, check out the About Me page!
Happy making, and I hope you feel all the bliss!
PrintNo-Bake Biscoff Cheesecake: Creamy, Easy Dessert

Create this rich, creamy No-Bake Biscoff Cheesecake using cookie butter for a spiced crust and smooth filling. This easy recipe requires no oven and delivers a show-stopping dessert perfect for any occasion.
- Prep Time: 20 min
- Cook Time: 0 min
- Total Time: 6 hr 20 min
- Yield: 10 servings 1x
- Category: Dessert
- Method: No-Bake
- Cuisine: American
- Diet: Vegetarian
Ingredients
- 1 1/2 cups Biscoff cookie crumbs (about 25 cookies)
- 6 tablespoons unsalted butter, melted
- 16 ounces cream cheese, softened
- 1 cup powdered sugar
- 1 teaspoon vanilla extract
- 1/2 cup heavy whipping cream, cold
- 1 cup Biscoff cookie butter, divided
Instructions
- Prepare the crust: Mix the Biscoff cookie crumbs and melted butter in a bowl until the mixture resembles wet sand. Press the mixture firmly into the bottom of a 9-inch springform pan. Place the crust in the freezer while you prepare the filling.
- Make the filling: In a large bowl, beat the softened cream cheese with an electric mixer until smooth. Add the powdered sugar and vanilla extract, mixing until just combined. Do not overmix.
- In a separate, chilled bowl, whip the cold heavy whipping cream until stiff peaks form. Gently fold the whipped cream into the cream cheese mixture until just incorporated.
- Gently fold in 3/4 cup of the Biscoff cookie butter into the cream cheese mixture until streaks remain; you want a slightly marbled look.
- Spread the filling evenly over the chilled crust.
- Melt the remaining 1/4 cup of Biscoff cookie butter in the microwave in 15-second intervals until smooth and pourable. Drizzle the melted cookie butter over the top of the cheesecake. Use a knife or skewer to gently swirl the topping into the filling for a decorative effect.
- Cover the cheesecake loosely with plastic wrap and chill in the refrigerator for at least 6 hours, or preferably overnight, until firm.
- To serve, carefully release the sides of the springform pan. You can garnish with extra Biscoff cookie crumbs or whole cookies if desired.
Notes
- For the best texture, ensure your cream cheese is fully softened to room temperature before mixing.
- If you prefer a firmer crust, you can bake the crust at 350°F (175°C) for 8 minutes before chilling.
- If you want a salted caramel swirl, substitute 1/4 cup of the Biscoff cookie butter drizzle with salted caramel sauce.
Nutrition
- Serving Size: 1 slice
- Calories: 450
- Sugar: 35g
- Sodium: 280mg
- Fat: 30g
- Saturated Fat: 18g
- Unsaturated Fat: 12g
- Trans Fat: 0g
- Carbohydrates: 40g
- Fiber: 1g
- Protein: 5g
- Cholesterol: 95mg