
When the air turns crisp and you start craving cozy meals, that’s when I have to get my hands on some butter and squash. Forget dry, chewy roasted veggies! I’ve found that the secret to truly comforting **braised butternut** squash is the slow, gentle simmer that locks in every bit of moisture and flavor. It’s a technique that reminds me so much of why I started Bliss Batter—finding peace in simple, perfected methods. I’m Claire, and decades spent planning hectic corporate events taught me that the best things in life, like this incredibly tender squash, happen when you slow down just a little bit. You can read more about my journey to less stress and more homemade happiness on my About Page!
- Why This Braised Butternut Squash Recipe is Pure Bliss
- Gathering Ingredients for Your Braised Butternut
- How to Prepare Tender Butternut Squash Using Braising
- Tips for Success When Making Braised Butternut
- Serving Suggestions for Your Savory Braised Squash
- Storing and Reheating Your Braised Butternut
- Frequently Asked Questions About Braised Butternut
- Understanding the Nutritional Profile of This Braised Butternut
- Share Your Homemade Happiness
Why This Braised Butternut Squash Recipe is Pure Bliss
I tested this approach dozens of times to ensure it meets the Bliss Batter promise—it’s foolproof, I promise! This isn’t just another way to cook squash; it’s the best way to get that melt-in-your-mouth texture.
- It creates flawlessly tender butternut squash every single time, unlike the sometimes dry results from roasting.
- It qualifies as one of my favorite easy braised vegetables—just add liquid and walk away for a bit!
- It’s the perfect warmth and sweetness you need for your fall side dishes. You can find more simple recipes over at our weeknight section!
Gathering Ingredients for Your Braised Butternut
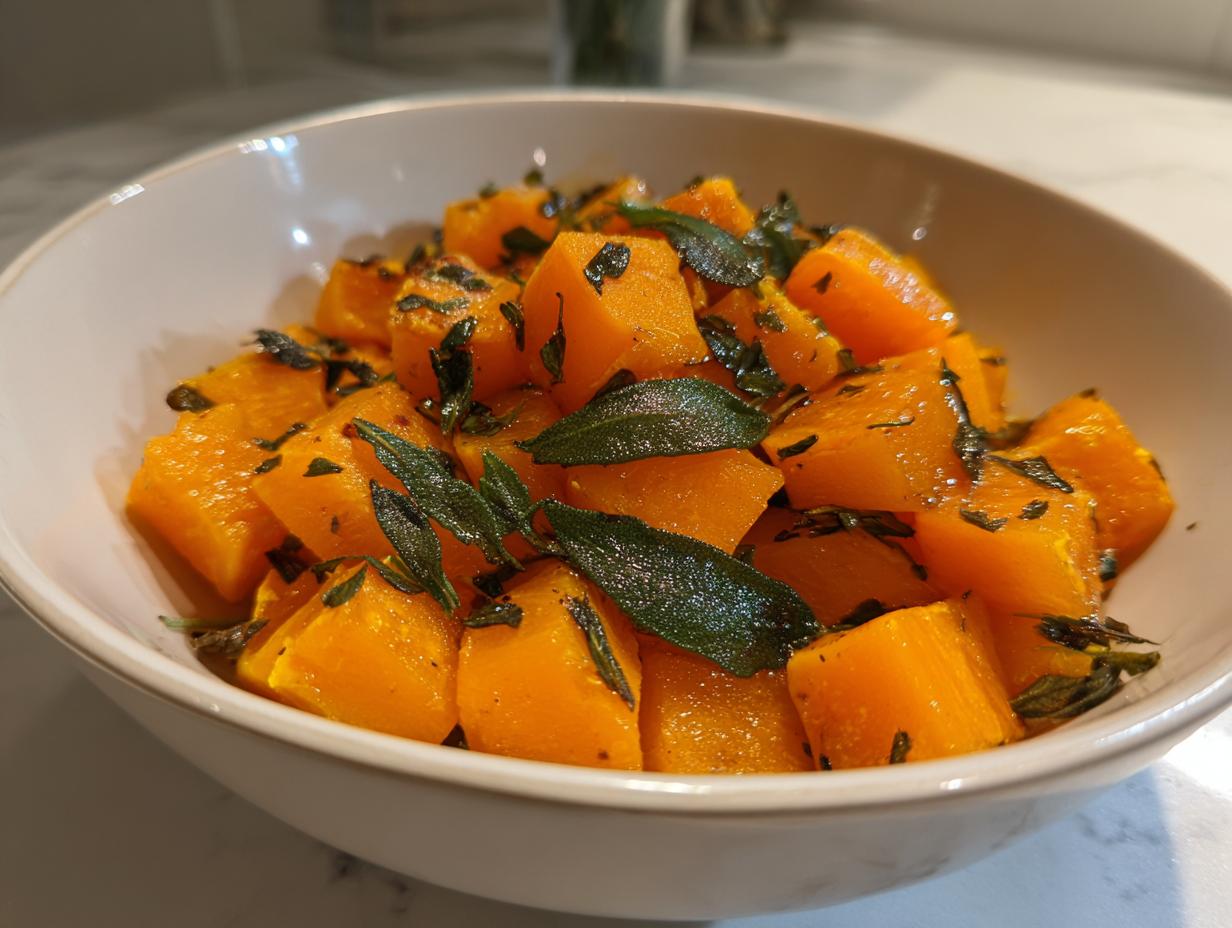
Okay, let’s get our supplies ready! This recipe uses simple elements you probably already have, proving that amazing flavor doesn’t need a ton of fancy steps. We need about two pounds of that gorgeous butternut squash, peeled, seeded, and chopped into nice, even one-inch cubes. Those cubes are key for even cooking! Make sure you have a little onion, thinly sliced, and a few whole sage leaves to really bring in that autumn perfume. I always grab the good, pure maple syrup for this; don’t skimp here!
Also, don’t forget 2 tablespoons of butter and a splash of broth to make our braising liquid. If you want to elevate this side dish to the next level, try melting the butter slowly until it turns nutty brown—that brown butter trick is pure magic and adds such depth. You can see how I use similar fat tactics in my honey butter carrots recipe!
Ingredient Notes and Flavor Swaps
We keep things flexible here at Bliss Batter. If you’re keeping this vegetarian or vegan, just swap that chicken broth for vegetable broth—it works perfectly fine! If you want a slightly sweeter result, especially if you’re serving this to picky eaters, go ahead and sneak in an extra tablespoon of that maple syrup. Remember, measuring your squash into those one-inch cubes ensures they all soak up that savory broth evenly. That’s the secret to consistent, delicious results!
How to Prepare Tender Butternut Squash Using Braising
This is where the actual magic happens! We’re using a Dutch oven or a heavy pot because we need good, consistent heat distribution. Don’t rush the initial steps, though; browning the vegetables is key for that deep, comforting flavor you can’t get from just steaming. Once we seal it up, the squash basically cooks itself until it’s unbelievably soft. You’ll want to check out my guide on general braising techniques if you’re new to this method!
Searing and Building Flavor for Perfect Braised Butternut
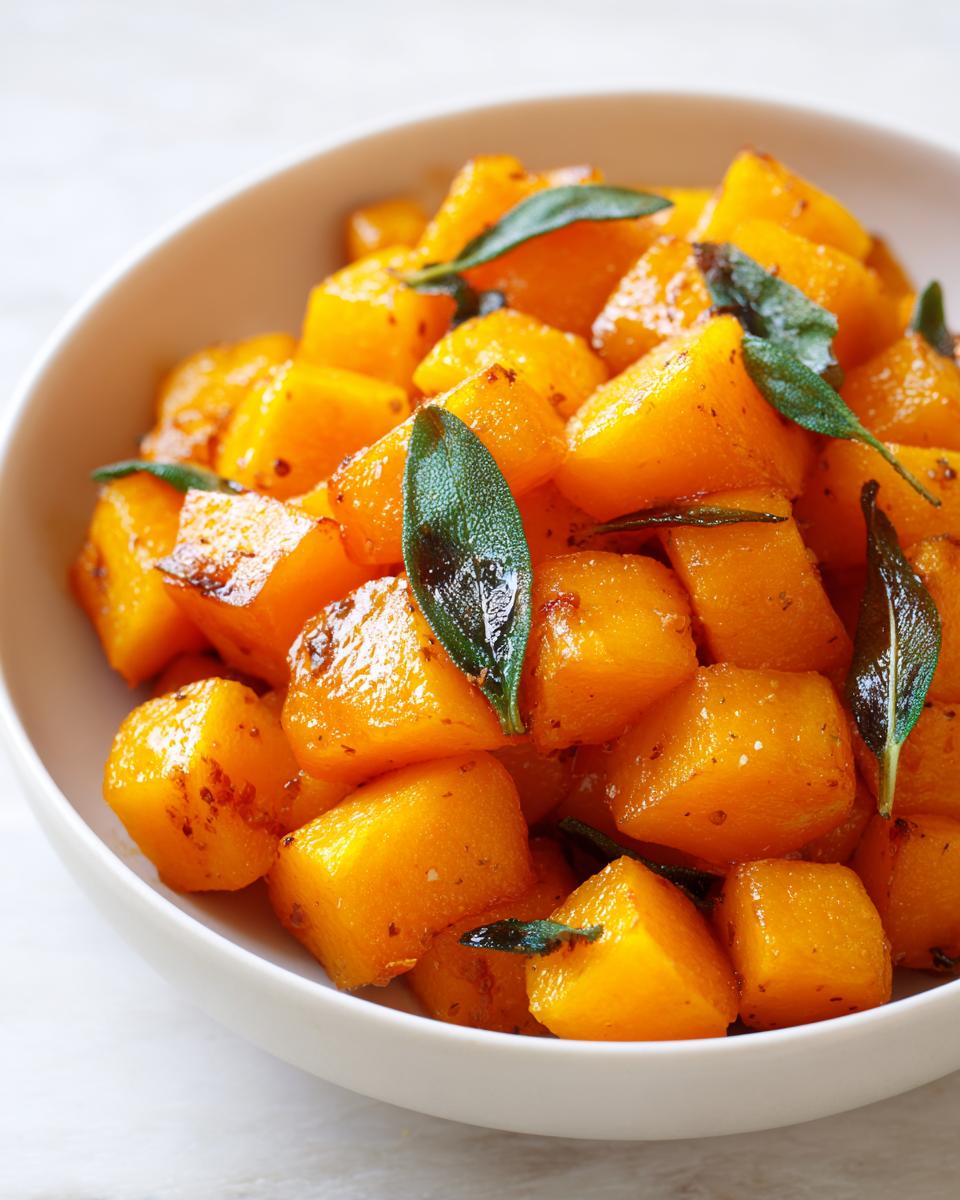
First things first: heat your butter and olive oil in that heavy pot over medium heat. Toss in your cubed squash and the sliced onion. We’re cooking this, stirring every so often, for about five to seven minutes until you see just a little bit of light color starting to develop on the edges of the squash. Next, drop in those beautiful sage leaves and stir for about a minute until you can really smell that earthy fragrance. This initial sear is why this braised butternut tastes so much better than plain steamed squash.
The Braising Process: Achieving Fork-Tender Butternut Squash
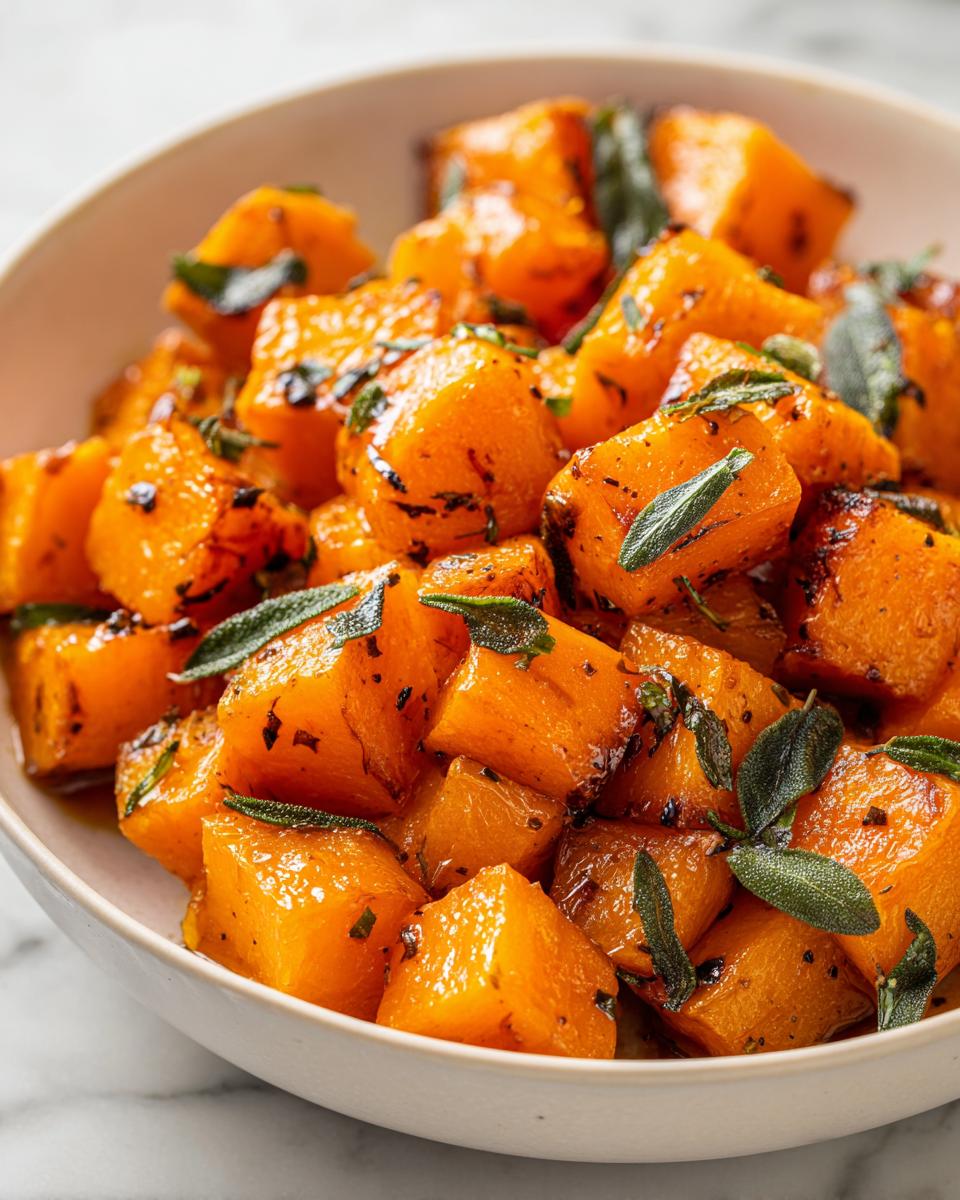
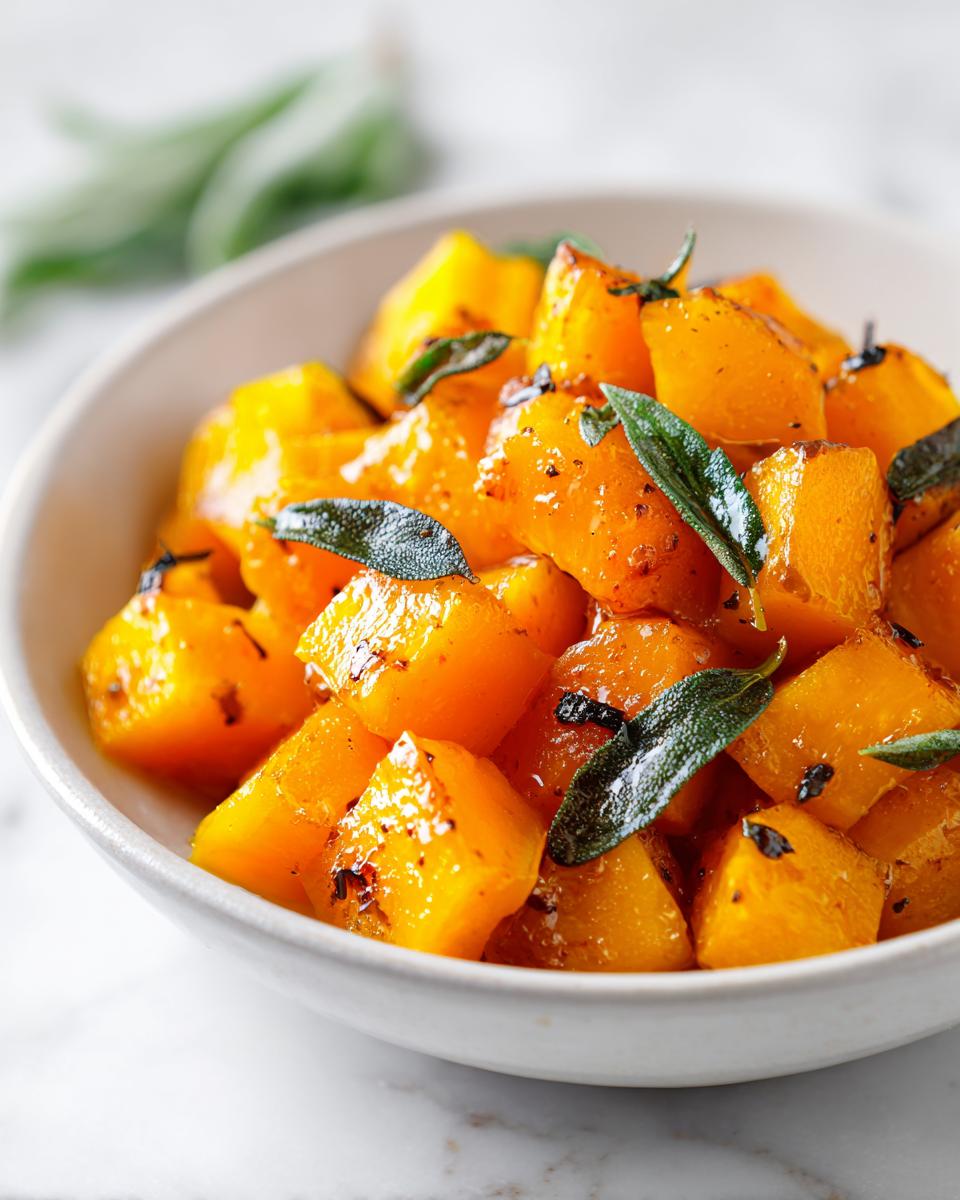
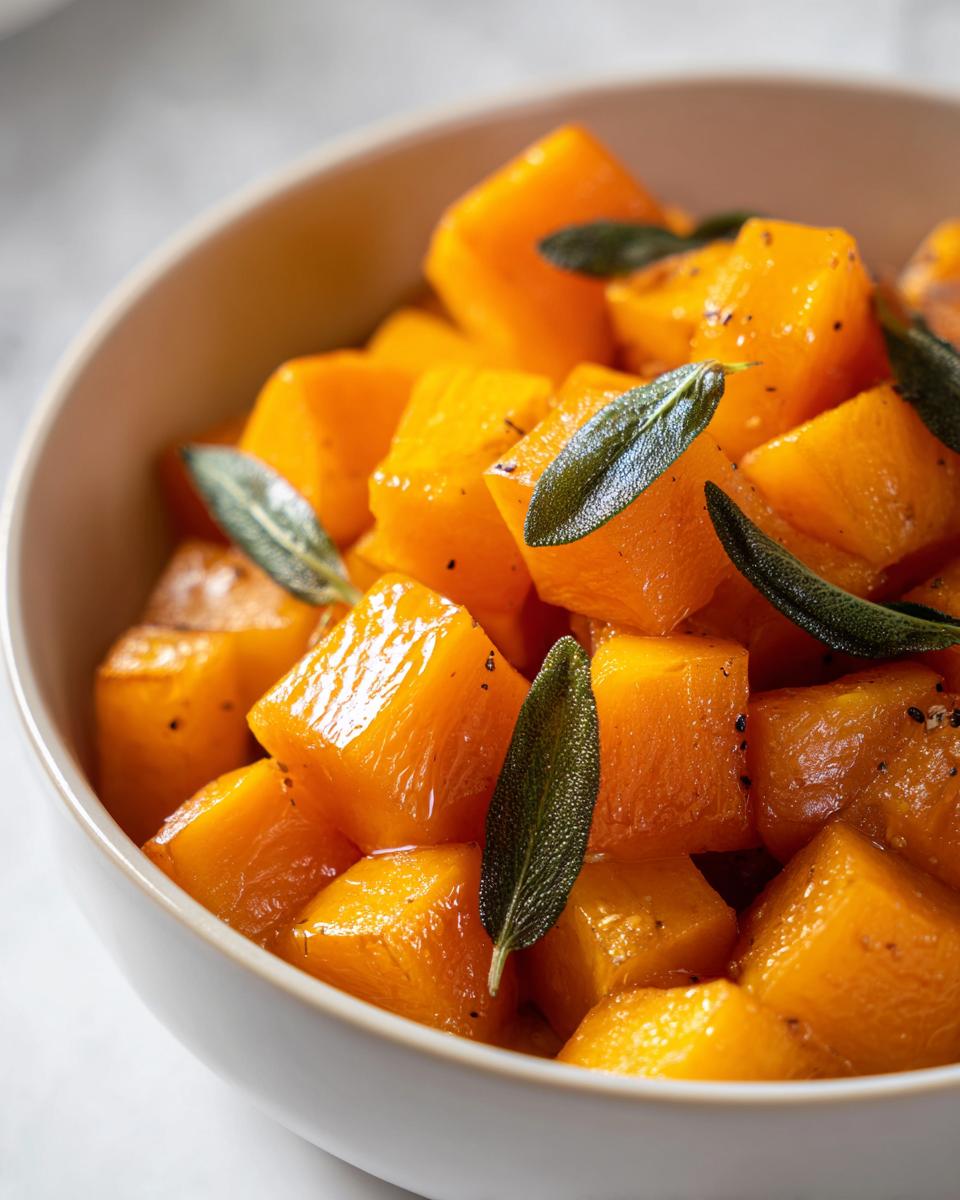
Now for the liquid! Pour in your broth and maple syrup—yes, that’s it! Bring that mixture up to a gentle simmer, and then immediately lower your heat way down to low. Cover the pot tightly and let it go for 15 to 20 minutes. This is the braising time where the squash absorbs all that delicious flavor and gets fork-tender. Once tender, take the lid off and crank the heat just a tiny bit to low-medium. We cook uncovered for two or three minutes more just to let that extra liquid bubble down into a thin, glossy glaze. Don’t let it disappear completely, or it might stick!
Tips for Success When Making Braised Butternut
I want you to have this wonderful experience, so let me pass along a couple of little secrets I learned through trial and error. Getting that perfect, concentrated flavor in the sauce means you should always finish uncovered! When you take that lid off at the end, the excess water evaporates, and you are left with a beautiful, shimmering maple glaze clinging right to your squash. That’s flavor concentration in action, my friends! It’s worth the extra two minutes.
Now, if you’re having a busy day, don’t worry, we have an option for you. This recipe is fantastic in the slow cooker, too! You still need to do that initial 10-minute sear on the stovetop so you get that depth of flavor, but after that, just transfer everything to your slow cooker and let it run on low for about three or four hours. You’ll still get that wonderfully soft, fall-apart texture we’re aiming for!
Serving Suggestions for Your Savory Braised Squash
This braised butternut squash is so versatile; it’s sturdy enough to hold its own as a light main course, but I usually feature it alongside something savory. It truly shines as a perfect partner for roasted chicken or pork loin—the sweetness from the maple plays so nicely against salty meats. If you are planning a big holiday spread, these fit right in with all your best Autumn Harvest Recipes!
For a heartier meal, try spooning the glazed squash right over some fluffy quinoa or creamy polenta. It makes a wonderful, quick weeknight dinner when you need something comforting but don’t want to spend hours in the oven. You can find some great mains to pair this with on my roast chicken page!
Storing and Reheating Your Braised Butternut
The great news is that this squash keeps beautifully! Since we cooked it gently in that savory broth, the leftovers stay nicely moist. Just pop any cooled remnants into an airtight container. It should keep perfectly well in the fridge for about four days—ideal for quick lunches later in the week. You can find some other great leftover ideas over here, too!
When it’s time to eat them again, my preference is reheating them gently on the stovetop over low heat, maybe adding just a tiny splash of water or broth to loosen up that glaze. If you’re in a real rush, the microwave works, but zap them in short 30-second bursts so you don’t end up with overly mushy bits. We want to maintain that just-right tender texture we worked so hard for!
Frequently Asked Questions About Braised Butternut
I know you might have a question or two swirling around, especially if you’re new to the world of winter squash cooking methods! Braising is so reliable, but sometimes details matter when you’re trying to nail that perfect texture. I’ve gathered up the most common things people ask me about making this wonderful dish.
Can I make this braised butternut recipe vegan?
Oh yes, absolutely! It’s so easy to make this a completely vegan delight. For the butter, you can easily swap in a good quality vegan butter stick or even use plain olive oil instead of the butter/oil combo we mentioned. And for the liquid, just switch out that chicken broth for vegetable broth. You keep all the flavor from the sage and maple, and it becomes a gorgeous vegan alternative for your holiday table!
How do I know when my butternut squash is perfectly tender?
This is the most important test for any of our easy braised vegetables! You’re looking for ‘fork-tender,’ and there’s no fancy gadget required. Simply take a regular dinner fork and pierce one of the larger cubes of squash. If the fork slides in with almost no resistance—like you’re pushing through soft butter—then it’s done! If you feel any hard resistance at all, put the lid back on and give it another five minutes of gentle simmering. We want tender, not mushy!
Understanding the Nutritional Profile of This Braised Butternut
I always get asked about the numbers, so here’s a quick look at what you’re serving up! Please remember, because we’re using natural maple syrup and the final amount of liquid reduces down, these figures are just my best estimates based on the ingredients listed. You’re getting a fantastic side dish here!
- Serving Size: 1 serving
- Calories: around 210
- Carbohydrates: about 32g
- Fat: roughly 10g
It’s proof that comfort food doesn’t have to weigh you down too much. You’re getting good fiber from that squash too!
Share Your Homemade Happiness
Now it’s your turn to create some kitchen bliss! I really hope you dive in and make this braised butternut squash. When you do, please come back and leave a star rating—it helps other bakers find perfected recipes like this one. I just love seeing what you all create! If you want to explore some sweet finales after your savory side, check out all our dessert recipes!
PrintSimple Braised Butternut Squash with Sage and Maple
Learn how to make tender, flavorful braised butternut squash perfect as a fall side dish using simple ingredients like sage and maple.
- Prep Time: 15 min
- Cook Time: 25 min
- Total Time: 40 min
- Yield: 4 servings 1x
- Category: Side Dish
- Method: Stovetop Braising
- Cuisine: American
- Diet: Vegetarian
Ingredients
- 2 lbs butternut squash, peeled, seeded, and cut into 1-inch cubes
- 2 tablespoons unsalted butter
- 1 tablespoon olive oil
- 1 small yellow onion, thinly sliced
- 4 fresh sage leaves
- 1/2 cup chicken or vegetable broth
- 2 tablespoons pure maple syrup
- 1/4 teaspoon salt
- 1/8 teaspoon black pepper
Instructions
- Heat the butter and olive oil in a large, heavy-bottomed pot or Dutch oven over medium heat.
- Add the cubed butternut squash and sliced onion to the pot. Cook, stirring occasionally, for 5 to 7 minutes until the squash begins to lightly brown on the edges.
- Add the fresh sage leaves to the pot. Stir for 1 minute until the sage is fragrant.
- Pour in the broth and maple syrup. Bring the liquid to a gentle simmer.
- Reduce the heat to low, cover the pot tightly, and let the squash braise for 15 to 20 minutes, or until the squash is fork-tender.
- Remove the lid. Increase the heat to medium-low and cook for 2 to 3 minutes more, allowing the liquid to reduce slightly into a light glaze.
- Season with salt and pepper. Stir gently to coat the squash evenly before serving.
Notes
- For a richer flavor, use brown butter instead of regular melted butter. Melt the butter slowly until the milk solids toast and turn brown.
- If you prefer a sweeter side dish, increase the maple syrup to 3 tablespoons.
- This recipe works well in a slow cooker; cook on low for 3 to 4 hours after an initial 10-minute sear on the stovetop.
Nutrition
- Serving Size: 1 serving
- Calories: 210
- Sugar: 14
- Sodium: 150
- Fat: 10
- Saturated Fat: 5
- Unsaturated Fat: 5
- Trans Fat: 0
- Carbohydrates: 32
- Fiber: 6
- Protein: 3
- Cholesterol: 15