
Oh, I know that feeling well! It’s 7 PM, the phone rings, and suddenly you have unexpected company arriving in thirty minutes, and your sweet tooth is staging a full-on rebellion. When life throws you a curveball and you need comfort food *now*, you can’t afford to spend hours creaming butter or chilling dough. That’s why I swear by my recipe for cake mix cookie bars. Seriously, they are baking alchemy!
A few years ago, I was hosting a last-minute potluck preparation. My carefully planned dessert fell flat—the oven broke! Faced with an empty table, I grabbed what I had: a box of yellow cake mix, a couple of eggs, and some leftover chocolate chips. What resulted felt almost magical. These bars have that perfect sweet spot—soft, wonderfully chewy, and incredibly simple. As I always say over at Bliss Batter, we focus on creating happiness that’s homemade. Trust me, these are your new go-to for last minute treats.
- Why These Are the Ultimate Customizable Cake Mix Cookie Bars
- Gathering Ingredients for Your Cake Mix Cookie Bars
- Step-by-Step Instructions for Perfect Cake Mix Cookie Bars
- Expert Tips for Next-Level Cake Mix Cookie Bars
- Creative Variations: Making Your Own Customizable Cookie Bars
- Serving Suggestions and Storage for These Easy Cookie Bars
- Frequently Asked Questions About Cake Mix Cookie Bars
- Estimated Nutritional Data for Cake Mix Cookie Bars
- Share Your Blissful Cake Mix Cookie Bars Creations
- Share Your Blissful Cake Mix Cookie Bars Creations
Why These Are the Ultimate Customizable Cake Mix Cookie Bars
What can I say? These truly are the queens of convenience! If you’re like me and value flavor but just don’t have the time for fussy recipes, these cake mix cookie bars are your secret weapon. They are fast, they are reliable, and they are incredible as quick dessert bars.
The real heart of this recipe is making something that tastes homemade and deeply satisfying, using almost zero specialized effort. They come together so fast, which is why they’re perfect for those potluck dessert ideas that pop up at the last second.
Speed and Simplicity: The No Mixer Magic
Forget about dusting off that heavy stand mixer, trust me! This is pure dump-and-stir magic. We are talking about a prep time of barely ten minutes here. If you can stir ingredients in a bowl, you can make these bars. That’s why I call them my favorite no mixer desserts. You save all that time but you don’t sacrifice that essential cookie flavor.
Achieving the Perfect Soft Baked Cookie Bars Texture
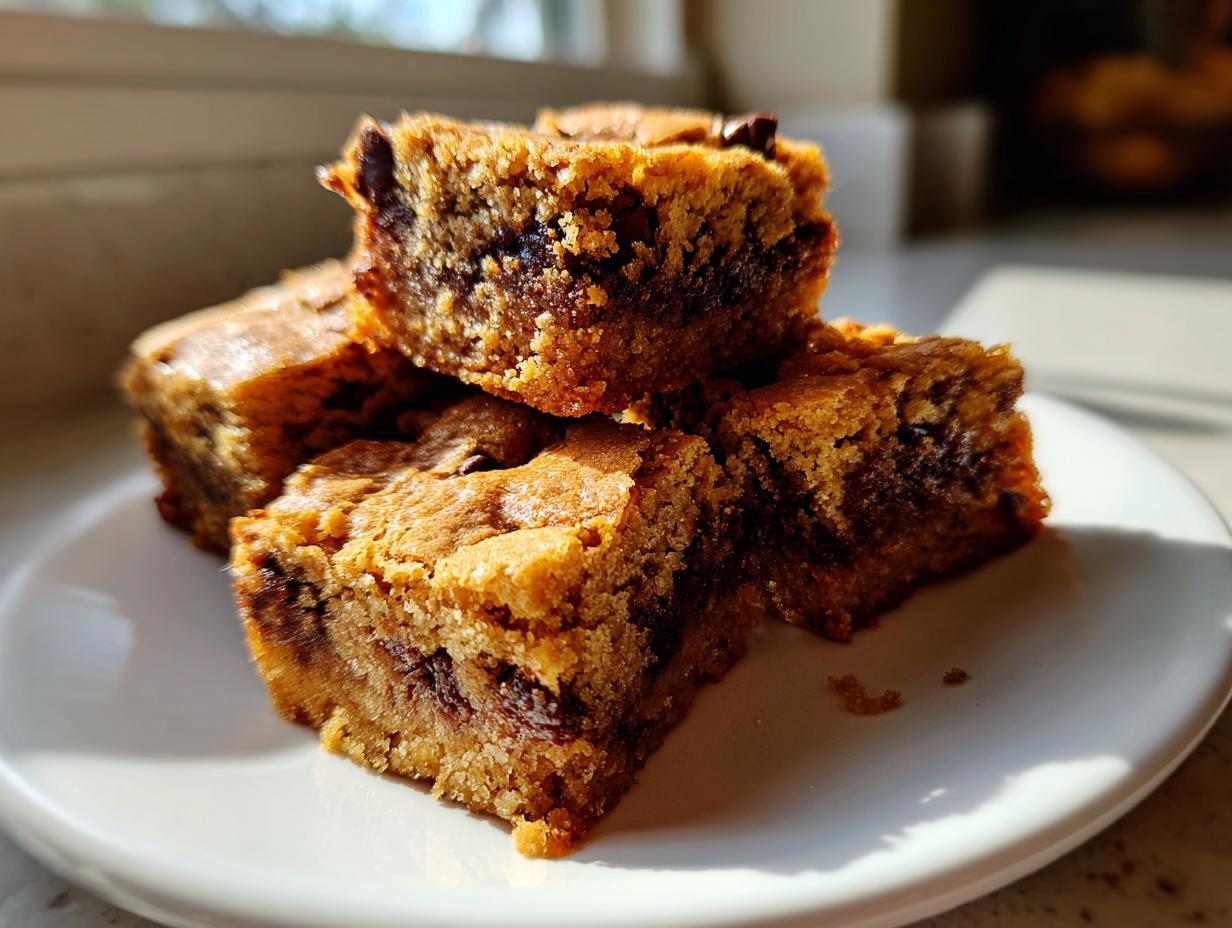
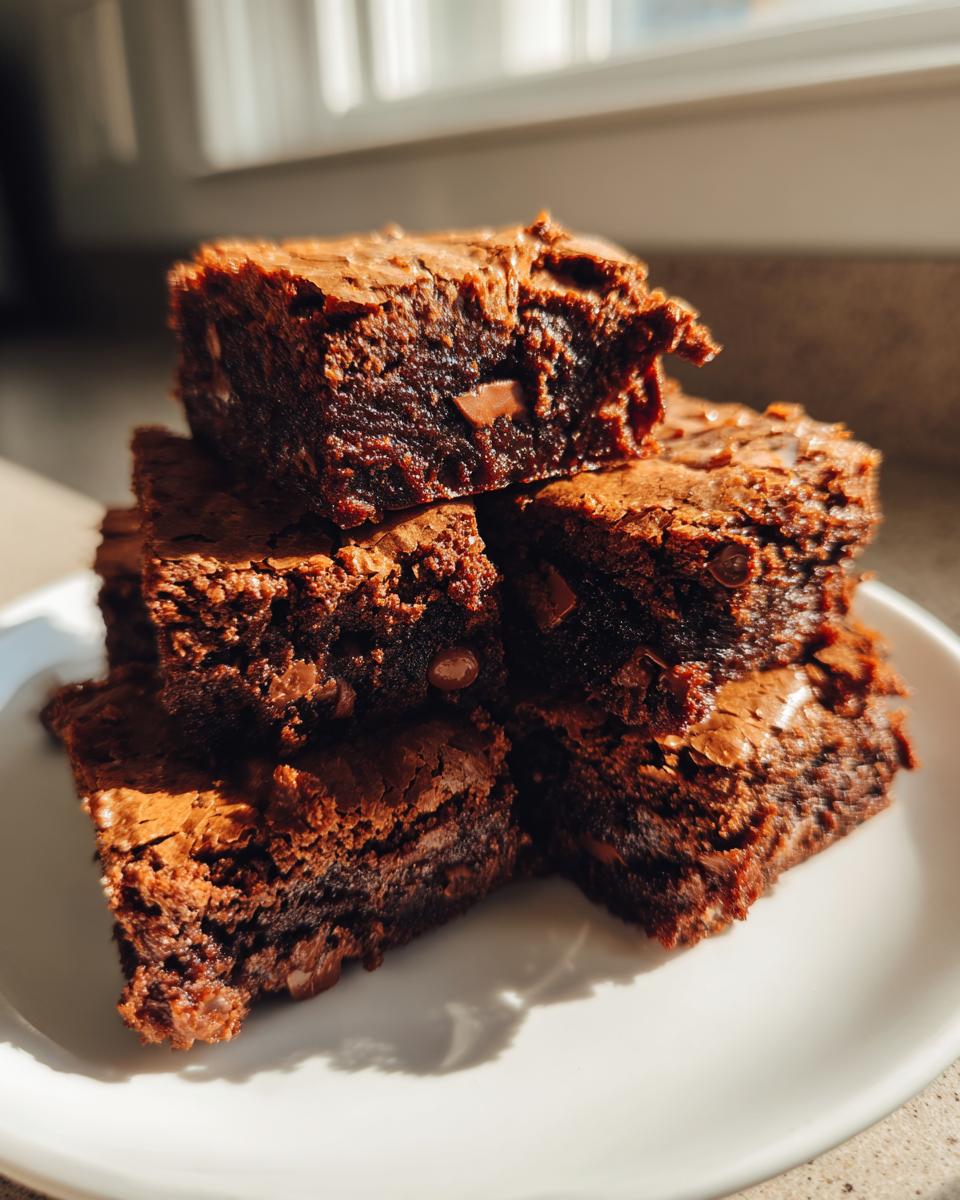
The secret sauce here is that pre-made cake mix. Unlike traditional cookie recipes that rely on perfectly creamed butter to get lift, the flour, leavening, and sugar that are already in the box mix give us this phenomenal result. It creates bars that are delightfully soft and a little bit cakey, but still perfectly dense and chewy. You end up with the most wonderfully soft baked cookie bars imaginable, every single time.
Gathering Ingredients for Your Cake Mix Cookie Bars
The best part about these desserts using cake mix is how simple the ingredient list is! Honestly, you probably have everything you need sitting in your pantry right now. Just make sure you grab one of those standard 15.25 oz boxes—they are the perfect measurement for this bake.
Core Ingredients for Base Cake Mix Cookie Bars
If you want the absolute simplest version, this is your magic trio (or quad, depending on how you count the mix!).
- One box (15.25 oz) cake mix (Yellow, White, or Chocolate are my top picks!)
- 2 large eggs
- 1/2 cup melted butter OR vegetable oil—melted butter gives better flavor, but oil keeps them super soft!
Customizable Add-Ins for Flavor Variations
Okay, now for the fun part! This is where you get to make these specifically *yours*. We are talking about turning them into truly customizable cookie bars. You get to be the architect!
- About 1 cup total of anything you love: semi-sweet chocolate chips, colorful M&Ms, chopped nuts, or even holiday sprinkles work wonders.
Step-by-Step Instructions for Perfect Cake Mix Cookie Bars
Following these steps to make your dessert recipes is so straightforward, you’ll wonder why you haven’t been using cake mix your whole life! Remember, the key to that incredible, soft texture is patience during the mixing and cooling stages. Don’t rush anything here, and you’ll be rewarded.
Prep Work: Pan Lining and Oven Temperature
First things first, let’s get that oven ready. Preheat it to 350°F (175°C). Now, for the pan—this is a huge time saver! Grab a standard 9×13 inch baking pan and line it really well with parchment paper. I mean it, let that parchment paper hang over the sides like little handles! If you don’t, you’ll struggle trying to lift these beautiful bars out later.
Mixing the Dough: Keep It Simple
In your bowl, toss in the cake mix, the two eggs, and your melted butter or oil. Mix it all together just until everything comes together into a cohesive dough. Stop stirring the *second* you don’t see any dry streaks of mix left. Seriously, don’t keep going! Overmixing is the enemy of those soft, chewy bar recipes we love.
Once that’s done, gently fold in any of your chosen add-ins—chocolate chips, nuts, whatever you picked! Then, press that marvelous dough evenly into your prepared pan. It should spread pretty easily.
Baking and Cooling for Chewy Bar Recipes
Pop it into that preheated oven for about 18 to 22 minutes. You’re looking for the edges to just start looking light gold. Don’t wait until the middle looks totally dry; trust me on this one. A toothpick inserted near the middle should come out with moist, maybe slightly gooey, crumbs attached. That’s the sign of a perfect, soft-baked bar!
Now, this is the hardest part: You must let them cool completely in that pan on a wire rack. If you try to cut them hot, they’ll turn into a gooey mess. Once they are fully cooled—and I mean totally—use those parchment paper handles to lift them out and slice them up. Enjoy!
Expert Tips for Next-Level Cake Mix Cookie Bars
Even though this recipe is incredibly simple, I’ve figured out a few little tricks over the years rolling these out for friends and family. These small adjustments really push these cake mix cookie bars from merely good to absolutely unforgettable! It’s important to know the little nuances, even when we aren’t breaking out the big stand mixer for a batch of my salted caramel brownies.
Ingredient Swaps for Richer Cake Mix Cookie Bars
We talked about using melted butter versus oil, but let me emphasize that butter wins for depth of flavor! If you have the time, letting your eggs sit on the counter for about 30 minutes before you start is never a bad idea, even when you are just mixing by hand. Room temperature ingredients sometimes blend just a little more smoothly into the batter, which helps maintain that soft texture we are aiming for when we make these chewy bar recipes.
Troubleshooting Common Issues
Here’s where you can save yourself potential sadness! If your bars come out a little too crumbly and dry, nine times out of ten you left them in the oven maybe three minutes too long. Remember, we want moist crumbs on the toothpick! Conversely, if you find your finished product feels dense and tough, I bet you mixed the dough too much after adding the flour from the cake mix. Just mix until no major streaks remain!
Creative Variations: Making Your Own Customizable Cookie Bars
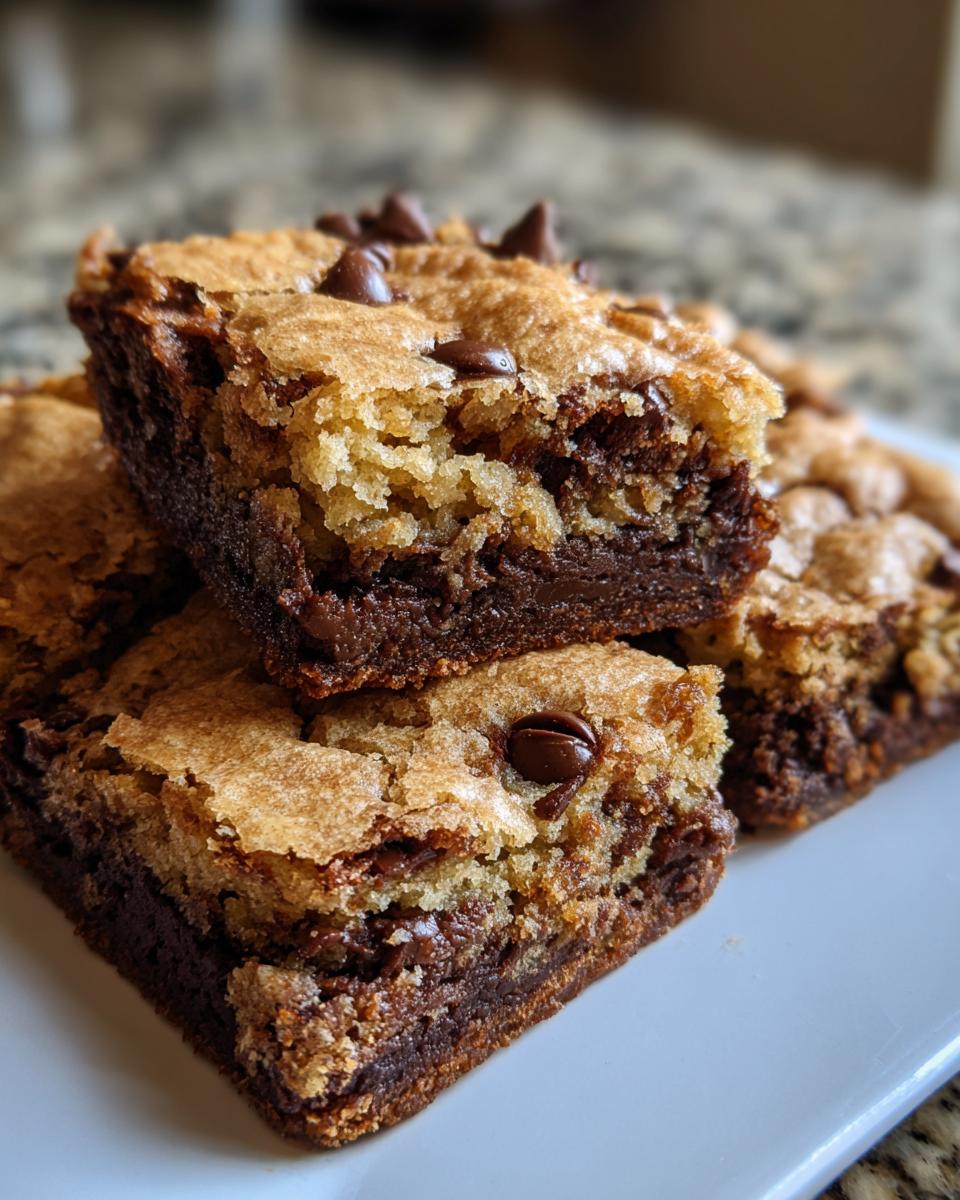
This recipe truly earns the title of ultimate, because the variations are endless! I love that you can keep the base ingredients—the mix, the eggs, the fat—the same and completely change the dessert every single time you bake. It’s honestly the best way to cater to everyone, whether you’re making these for a big family function or just craving something specific. This is where we take those simple chocolate chip cookie bars and turn them into something brand new!
I’ve been told by friends that you can use almost any leftover candy or baking chips you find in the bottom of your pantry, and they end up right! These customizable cookie bars are fantastic for holidays because you can swap the chocolate chips for green and red M&Ms for Christmas!
Peanut Butter Swirl Cake Mix Cookie Bars
Oh man, if you are a peanut butter lover, you absolutely have to try this swirl! It takes an extra minute, but the payoff is huge. You are going to divide your dough into two batches. Take about two-thirds of the basic dough and mix in about half a cup of creamy peanut butter directly into that larger portion. Then, you layer it in your pan: plain dough on the bottom, peanut butter dough on top.
Don’t smooth it out flat! Grab a butter knife and gently swirl the two layers together. You don’t want to blend them completely; you want those ribbons of flavor showing through. When you cut them, you get that beautiful marbled look. I think these are some of the best easy cookie bars I’ve ever made!
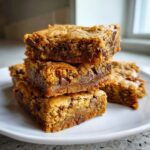
Snickerdoodle Style Bars using Yellow Cake Mix Recipes
If you happen to grab a box of yellow or white cake mix instead of chocolate, don’t stash it away for later—make Snickerdoodle style bars! This takes advantage of those wonderfully simple yellow cake mix recipes many of us already have on hand.
Once you have pressed your base dough evenly into the pan, you need the topping. Mix up 2 tablespoons of regular white sugar with about 1 teaspoon of cinnamon. Don’t be shy with the cinnamon; give it a good, even sprinkle all over the top. When it bakes, that sugar melts and creates the perfect slightly crackly, sweet crust that mimics that classic Snickerdoodle! They are truly fantastic easy cookie bars!
Serving Suggestions and Storage for These Easy Cookie Bars
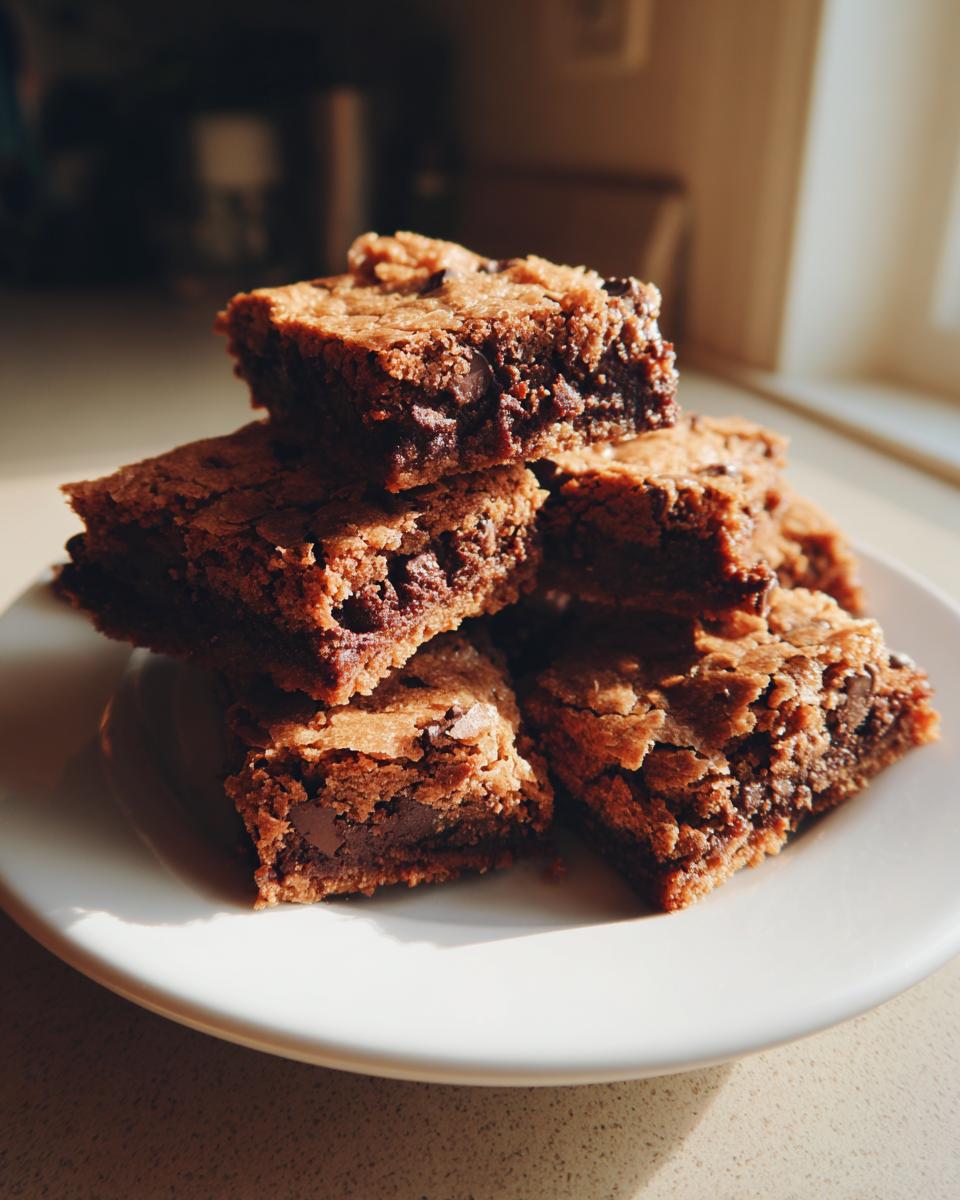
Okay, so you’ve baked these beauties, and they smell unbelievably good cooling on the counter. Now what? That’s half the fun! These easy cookie bars are so versatile, which makes them perfect for almost any social gathering you can think of. If you made the chocolate chip version, they are always a guaranteed hit at the very next potluck dessert ideas comes up.
Best Ways to Enjoy Your Soft Baked Cookie Bars
While these bars are fantastic just eaten straight out of the pan, I really love serving them slightly warm—just pop a square in the microwave for about 10 or 15 seconds until it’s gooey again. That’s the moment to add a scoop of vanilla bean ice cream on top. Talk about next-level comfort! For a less decadent treat, they are wonderful alongside a hot mug of coffee or a big cold glass of milk. They are just that good, whether you dress them up or eat them plain.
How Long Do Cake Mix Cookie Bars Last?
Because this recipe uses that cake mix and the fat source (butter or oil), they actually stay surprisingly fresh! To keep that wonderful, soft texture—which is what we are after with these family friendly baking treats—you need to store them correctly. Once they are totally cooled, place them in an airtight container. I don’t typically chill mine; room temperature seems to keep them the chewiest.
I find they are perfectly fantastic for about three days, sometimes even four, if stored right. If you happen to make a huge batch (and you probably will!), you can freeze baked bars too. Just make sure you stack them neatly between sheets of wax paper in a sturdy container. When you want to enjoy one later, let it thaw on the counter for an hour before diving in!
Frequently Asked Questions About Cake Mix Cookie Bars
When I share these simple recipes, I always get a flood of questions! It’s wonderful to see so many of you eager to jump into baking with these easy bases. I thought I’d put together answers for some of the most common things folks ask about these perfect cake mix cookie bars so you can bake with total confidence.
Can I use a different type of cake mix for these cake mix cookie bars?
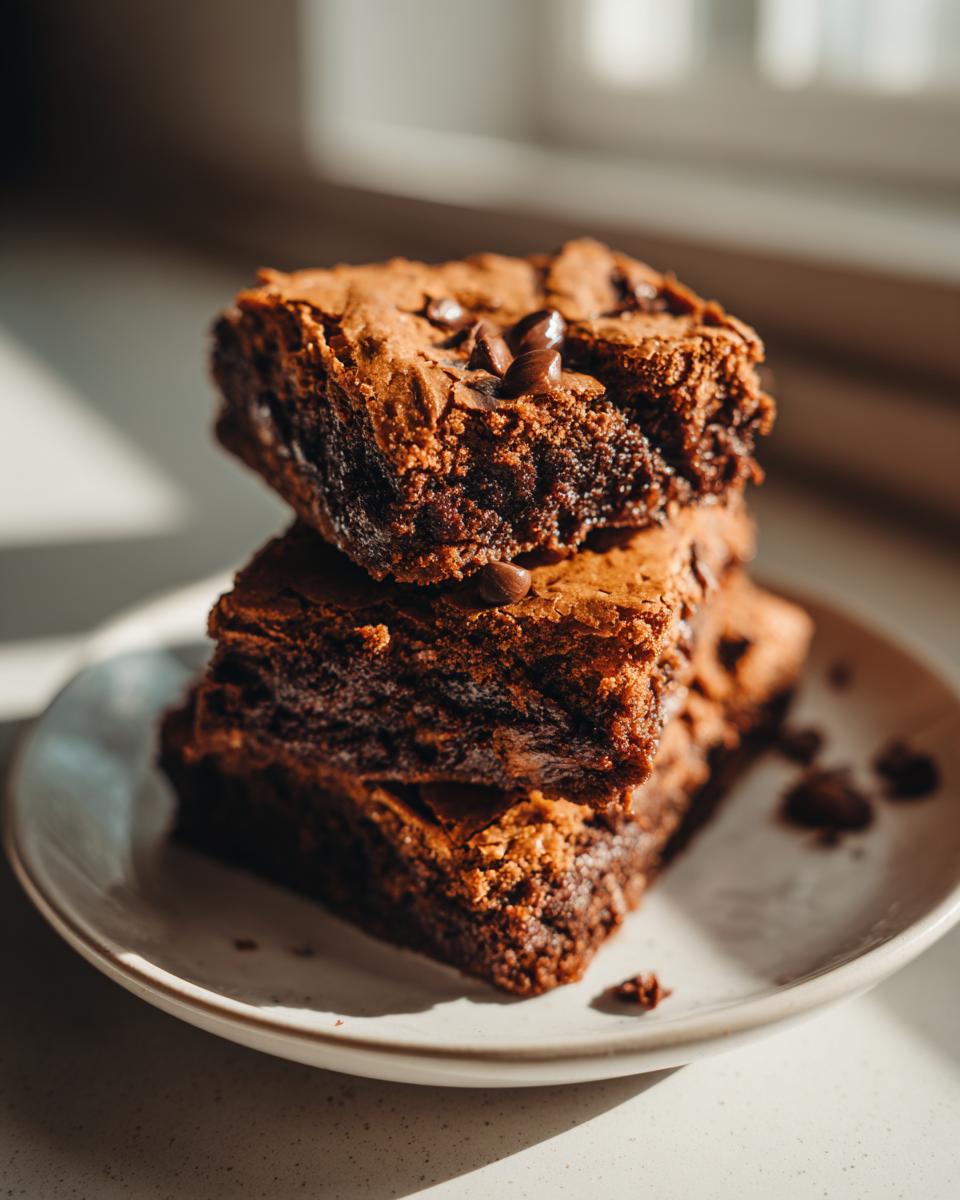
Oh, absolutely! That’s the beauty of starting with the mix. Yellow or white cake mix gives you that classic, slightly vanilla flavor that lets your add-ins shine. If you switch to chocolate cake mix, though, you’ll end up with a much fudgier, intensely chocolatey bar—which is also amazing, but heads up, the texture will be slightly less cakey and maybe a bit denser. Boxed lemon or strawberry mixes are fantastic for summer fruity variations, too!
Are these truly a 3 ingredient dessert?
They certainly can be! If you just mix the cake mix, the eggs, and the melted butter (or oil, if you prefer), you have a legitimate 3 ingredient dessert right there. They’ll bake up perfectly fine, a little softer and plainer, almost like a thin blondie. But honestly, that recipe only calls for one cup of add-ins, and that little bit extra pushes them over the edge into truly special chewy bar recipes territory!
Can I freeze these chewy bar recipes?
Yes, yes, and yes! These are fantastic for making ahead, which makes you look like a total baking hero when you need last minute treats! Once they are completely cooled, stack them in an airtight container, making sure to put a piece of parchment paper or wax paper between the layers so they don’t stick together. They keep beautifully frozen for up to three months. When you want one, just pull a square or two out and let it thaw on the counter for about an hour. They taste just as chewy and wonderful!
Estimated Nutritional Data for Cake Mix Cookie Bars
Now, I always preach about enjoying your baking and not worrying too much about the numbers, especially when you’re making something this easy and comforting! But for those of you who like to keep track, here is the estimated nutritional breakdown for these cake mix cookie bars based on the standard recipe using yellow cake mix and oil.
Just a little friendly note from my kitchen to yours: Please remember these are estimates! The exact values will shift depending on which brand of cake mix you use, and whether you substitute oil for melted butter. But it gives you a good ballpark idea for the whole pan of simple sheet pan cookies!
- Serving Size: 1 bar
- Calories: 180
- Sugar: 18g
- Sodium: 150mg
- Fat: 10g
- Saturated Fat: 3g
- Carbohydrates: 22g
- Protein: 2g
Share Your Blissful Cake Mix Cookie Bars Creations
That’s it—you made it! You’ve got the ultimate, foolproof recipe for cake mix cookie bars, and I bet your kitchen smells incredible right now. I never feel better than when I know I’ve given someone an easy path to baking happiness. I truly hope these become one of your favorite quick dessert bars when you need that sweet fix fast!
I’d absolutely love to see what you came up with! Did you stick to the classic chocolate chips, or did you go wild with one of the customized options? Leave me a comment below and tell me your favorite flavor variation—those stories make my day! And if you loved this recipe and want to see more blissfully simple bakes, please rate this recipe with 5 stars!
If you’re enjoying these simple treats, you should definitely check out more of my straightforward recipes over on the contact page for more ways to bring joy into your home kitchen!
PrintUltimate Customizable Cake Mix Cookie Bars: Quick, Chewy, and Easy
Make these soft, chewy cake mix cookie bars using just a few staple ingredients. This foolproof recipe is fast to prepare and perfect for potlucks or any sweet craving.
- Prep Time: 10 min
- Cook Time: 20 min
- Total Time: 30 min
- Yield: 24 bars 1x
- Category: Dessert
- Method: Baking
- Cuisine: American
- Diet: Vegetarian
Ingredients
- 1 box (15.25 oz) cake mix (Yellow, White, or Chocolate recommended)
- 2 large eggs
- 1/2 cup melted butter or vegetable oil
- 1 cup add-ins (chocolate chips, M&Ms, nuts, or sprinkles)
Instructions
- Preheat your oven to 350°F (175°C). Line a 9×13 inch baking pan with parchment paper, leaving an overhang for easy removal.
- In a medium bowl, combine the dry cake mix, eggs, and melted butter or oil. Mix until just combined. Do not overmix.
- Fold in your chosen add-ins, such as chocolate chips or M&Ms, until evenly distributed throughout the dough.
- Press the dough evenly into the prepared baking pan.
- Bake for 18 to 22 minutes, or until the edges are lightly golden and a toothpick inserted near the center comes out with moist crumbs attached.
- Let the bars cool completely in the pan on a wire rack before lifting them out using the parchment overhang.
- Cut into squares and serve.
Notes
- For a richer, softer bar, substitute the oil with 1/2 cup of melted, unsalted butter.
- To make Peanut Butter Swirl Bars, reserve 1/3 of the dough and mix 1/2 cup of creamy peanut butter into the remaining 2/3 of the dough. Layer the plain dough, then the peanut butter dough, and swirl gently with a knife before baking.
- Use a white or yellow cake mix for a Snickerdoodle variation; after pressing the dough into the pan, mix 2 tablespoons of sugar with 1 teaspoon of cinnamon and sprinkle evenly over the top before baking.
Nutrition
- Serving Size: 1 bar
- Calories: 180
- Sugar: 18
- Sodium: 150
- Fat: 10
- Saturated Fat: 3
- Unsaturated Fat: 7
- Trans Fat: 0
- Carbohydrates: 22
- Fiber: 1
- Protein: 2
- Cholesterol: 25