

There is nothing quite like the nostalgic scent of butter drifting from the oven when you’re making Christmas sugar cookies. That’s the feeling I chase every single year! If you’re like me, you need a recipe that works every single time—cookies that don’t spread into spooky puddles while baking, giving you that perfect canvas for decorating. Trust me, making magic for Santa or your holiday table shouldn’t be stressful. That’s why I’ve developed this specific formula. As Claire Sterling always says here at Bliss Batter, we focus on foolproof recipes, and this roll-out classic is the bedrock of easy, beautiful holiday cookie decorating.
- Why These Are the Best Christmas Sugar Cookies for Holiday Decorating
- Gathering Ingredients for Perfect Christmas Sugar Cookies
- Step-by-Step: How to Make Sugar Cookies That Don't Spread
- Expert Tips for Flawless Holiday Cookie Decorating
- Ingredient Notes and Substitutions for Christmas Sugar Cookies
- Storage and Making Ahead for Your Holiday Cookie Plans
- Frequently Asked Questions About Christmas Cut-Out Cookies
- Estimated Nutrition for Classic Christmas Sugar Cookies
- Share Your Holiday Cookie Decorating Creations
Why These Are the Best Christmas Sugar Cookies for Holiday Decorating
I’m so excited to share why this version of my Christmas sugar cookies is the one you need in your rotation. This isn’t just any dough; it’s designed for performance! I want you to ditch the stress and trust the process because these cookies hold their shape beautifully once they hit the baking sheet.
- They are incredibly buttery vanilla cookies—rich enough to satisfy but light enough to dissolve beautifully in your mouth.
- This is officially the best sugar cookie recipe for icing thanks to its sturdy structure. They won’t puff up or spread out while baking.
- The dough is so tender! Even though they are firm enough to cut out, the final texture is soft and satisfying, not hard or brittle.
You can decorate these for days, and they still taste phenomenal. If you love experimenting with warm flavors, you should check out my Chai Spice Cookies inspiration, but for classic Christmas shapes, this recipe is the foundation!
Gathering Ingredients for Perfect Christmas Sugar Cookies
You know here at Bliss Batter that using good, honest ingredients is the secret handshake to great flavor, right? You don’t need anything fancy for these buttery vanilla cookies—just good quality staples you likely already have! Remember, we aren’t using complex flavors here; we want that pure, buttery vanilla note to shine through so your beautiful icing can take center stage.
Quality matters, especially the butter! Make sure your butter is truly room temperature, which means soft but definitely not greasy or melted. If you want the best results for your Christmas cut-out cookies, don’t skimp on that vanilla extract either—it really boosts that classic, comforting taste.
Here is the short list you need to grab before you start mixing:
- 3 cups all-purpose flour
- 1 teaspoon baking powder
- 1/2 teaspoon salt
- 1 cup (2 sticks) unsalted butter, softened
- 1 1/2 cups granulated sugar
- 1 large egg
- 1 teaspoon vanilla extract
Step-by-Step: How to Make Sugar Cookies That Don’t Spread
Alright, let’s stop talking about how tasty these buttery vanilla cookies are and start making them happen! This is where we turn those ingredients into dough that behaves exactly how we want it to. The secret to keeping your beautiful stars and reindeer sharp? Time in the cold. If you need other great cookie recipes for your holiday rotation, check out my favorite chewy oatmeal raisin cookies!
Mixing the Dough for Your Christmas Sugar Cookies
First things first, get your dry ingredients whisked together in one bowl—that’s your flour, baking powder, and salt. Set that aside for just a minute. Now, grab your mixer and beat that softened butter and granulated sugar until it’s wonderful and fluffy. I mean, really cream it! Then, toss in the egg and vanilla until it just barely comes together. Here is my big tip for learning how to make sugar cookies that hold their shape: don’t go crazy when you add the flour! Dump the dry stuff in slowly and mix on low speed until you just see the dough come together. Stop mixing right there! Seriously, overmixing flour develops gluten, and gluten makes for chewy, puffy cookies, and we want sharp edges!
Chilling and Rolling Out the Christmas Cut-Out Cookies
Once your dough is formed, divide it into two flat disks. Wrap those disks up tightly—this part is non-negotiable! They need at least two full hours in the fridge, but honestly, overnight is even better for firming up the fat. Cold dough doesn’t spread as easily. When you’re ready to cut, preheat your oven to 375°F (190°C) and line your pans with parchment paper. Lightly flour your surface and roll that chilled dough out to exactly 1/4-inch thick. Use your cookie cutters to create your perfect Christmas cut-out cookies.
Baking and Cooling Your Buttery Vanilla Cookies
Here’s a little trick I use to guarantee perfect shapes: once your cookies are cut and on the baking sheet, stick the whole tray back into the fridge for about 10 minutes before they go into the oven. It’s one more defense against spreading! Bake them for 8 to 10 minutes. You are looking for edges that are just *barely* starting to turn golden brown. Don’t walk away! Pull them out when they still look a tiny bit pale in the middle. Let them rest on the sheet for five minutes—they are fragile—then move them over to a wire rack to cool completely. If you want chewy cookies like my Snickerdoodles, you risk puffing, so make sure you get that 1/4 inch rolled out here!
Expert Tips for Flawless Holiday Cookie Decorating
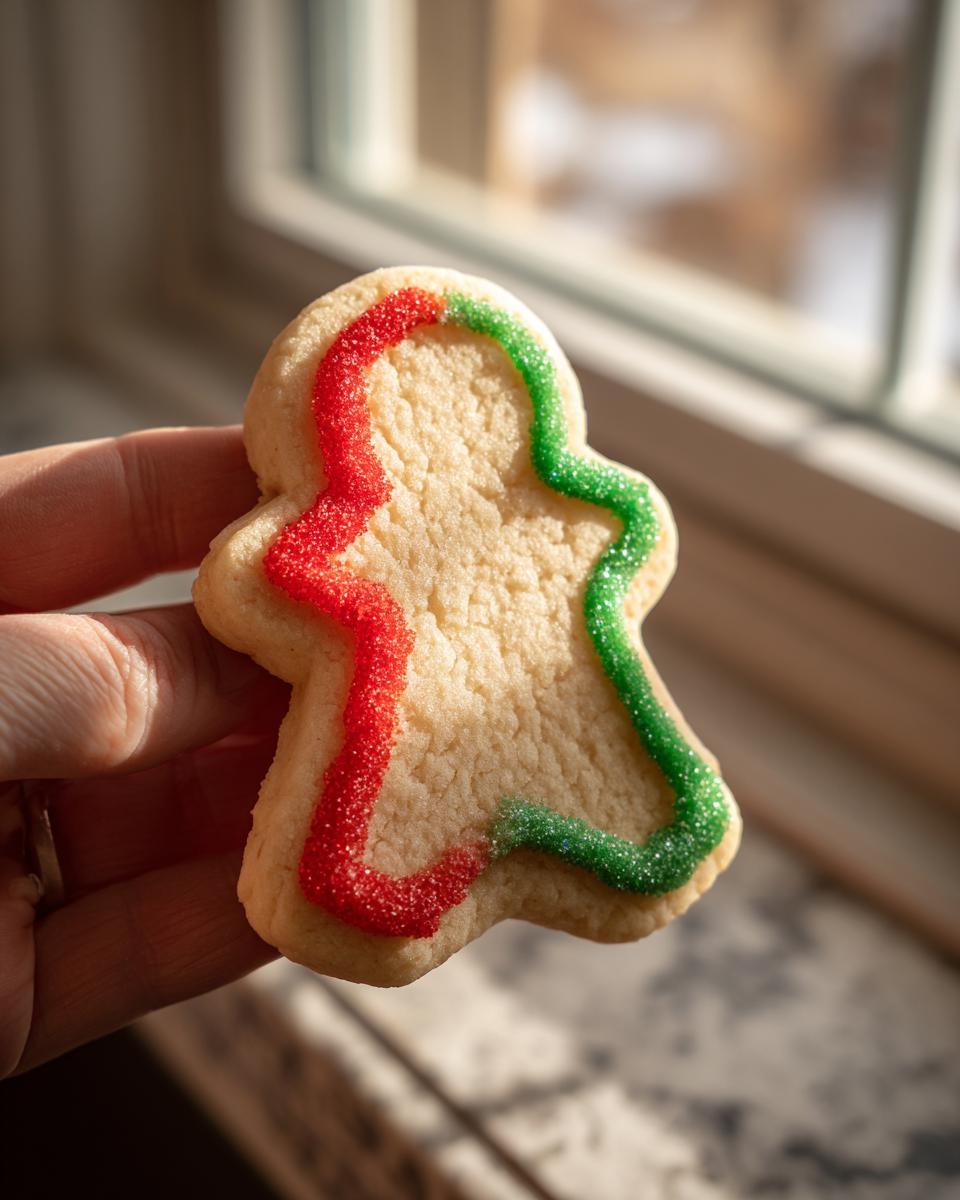
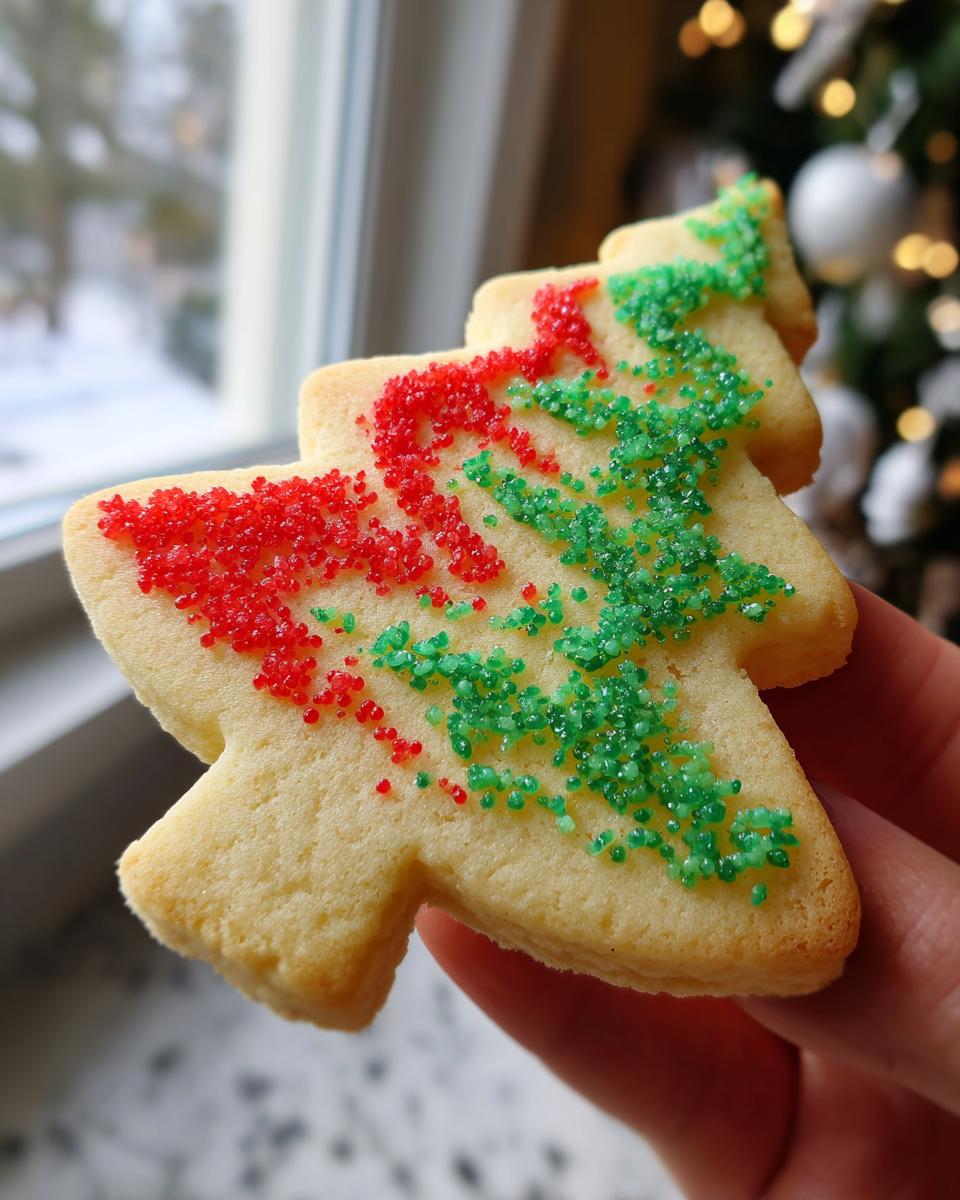
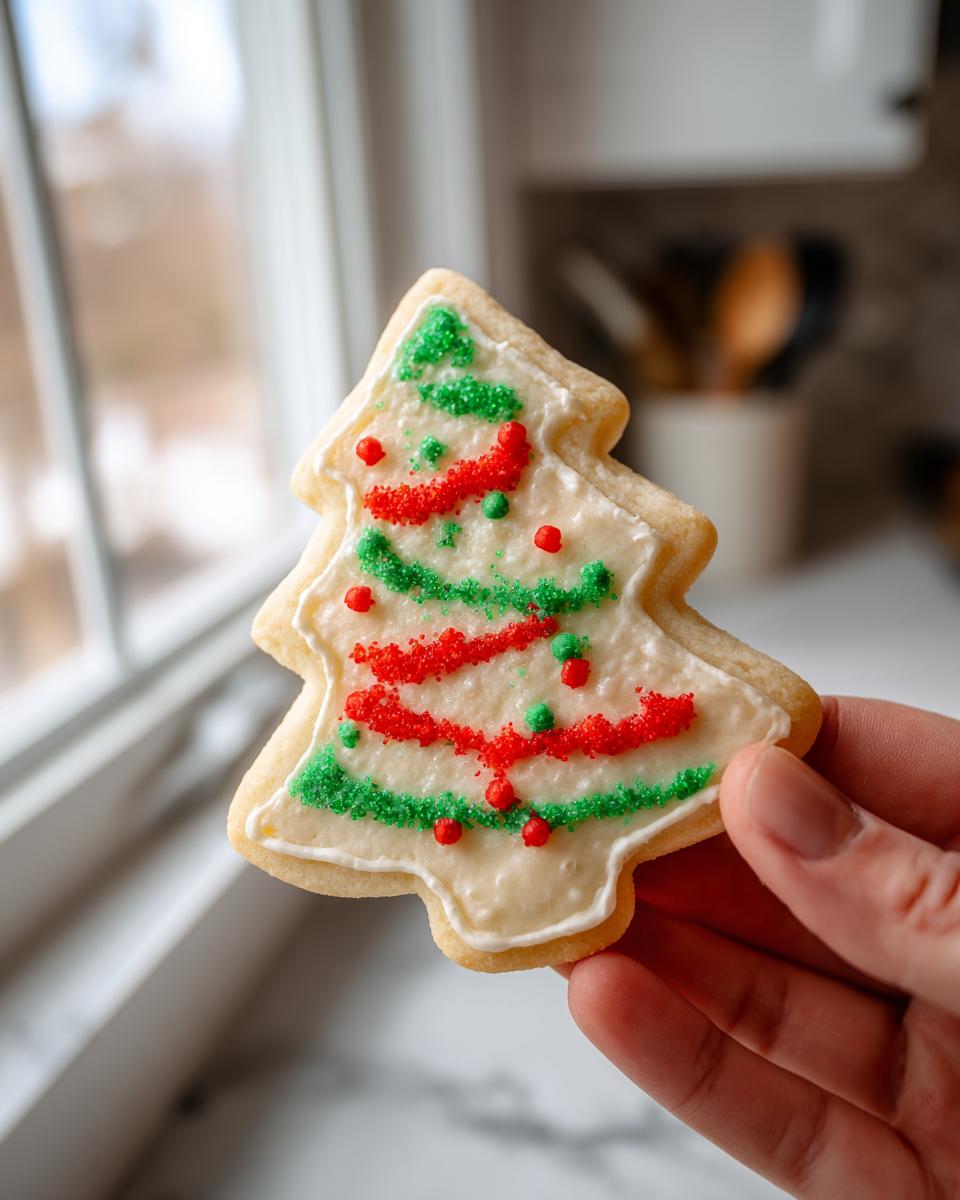
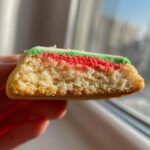
Okay, my absolute favorite part of making these Christmas sugar cookies is when the baking is done and we get to the fun stuff: decorating! Since these are the best cookie canvases, you want an icing that sets up hard so your intricate designs don’t smear. That means Royal Icing is your best friend here. It dries beautifully clear and holds those fine piped lines perfectly.
If you’ve never made royal icing, don’t panic! It’s just meringue powder (or egg whites, if you are feeling brave!), powdered sugar, and a little water. I promise it’s easy to whip up once you get the hang of it. I actually have a whole rundown on making sweet pumpkin cheesecake recipe topping that uses a similar technique if you want practice before the holidays, though the pumpkin flavor isn’t exactly what we want here!
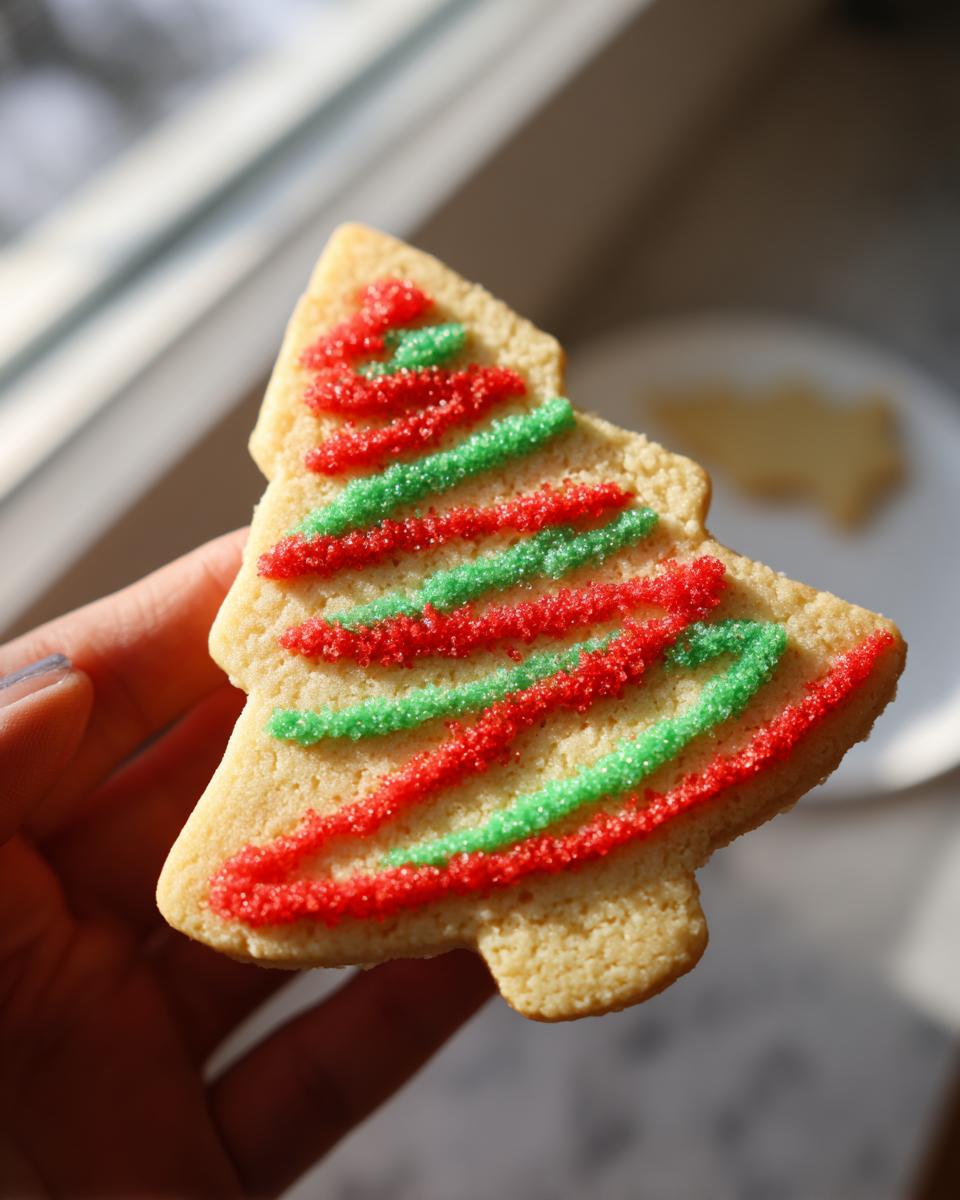
The biggest tip I can give you for getting that professional look is patience with drying time. Don’t try to flood a cookie only to immediately try outlining it again; it ends up a sloppy mess. Let those base coats dry completely before moving to the next layer or adding sprinkles. You want those cookies looking stunning on your table!
Ingredient Notes and Substitutions for Christmas Sugar Cookies
I get asked all the time about fiddling with the ingredients in my Christmas sugar cookies, especially when folks are making big batches. Look, since these are roll-out cookies meant to hold their shape, we have to be a little strict about a couple of things for the best results.
The first big rule is that butter. It absolutely has to be softened, not melted! Softened butter creams up with air, giving you that tender crumb we love, while melted butter turns your cookie into a flat, greasy mess. Also, stick to pure vanilla extract if you can. While imitation vanilla technically works, the real stuff gives your buttery vanilla cookies that deep, nostalgic aroma we’re trying to capture here.
No substitutes for the flour, baking powder, or salt, please. We need that precise chemical balance for perfect non-spreading Christmas cut-out cookies!
Storage and Making Ahead for Your Holiday Cookie Plans
The holidays are crazy busy, and that’s why I love making these Christmas sugar cookies ahead of time! You can break this process into stages, which is actually super helpful for your overall holiday meal planning, or baking plan, if you will. The dough is the best part to make early!
Wrap those dough disks up really tight in plastic wrap, and they will happily chill in the fridge for up to five days. Honestly, the flavor deepens a little overnight, but five days is fine. If you are planning weeks out, you can totally freeze the disks for up to three months!
Once they are baked—but *before* you ice them—these buttery vanilla cookies last great stored airtight at room temperature for nearly a week. If they are iced with royal icing, wait until the icing is rock hard (give it 12 hours, maybe more in humid weather) before stacking them up. Store decorated cookies gently layered with wax paper in an airtight tin!
Frequently Asked Questions About Christmas Cut-Out Cookies
Why did my Christmas sugar cookies spread into thin wafers?
Oh, trust me, that’s the biggest disappointment when trying to master how to make sugar cookies! Nine times out of ten, this happens because the butter wasn’t soft enough but cool enough when you creamed it, or the dough wasn’t chilled long enough. If the dough goes into the oven warm, the butter melts before the structure sets, and boom—pancakes! Also, make sure you aren’t over-flouring your surface when rolling; too much flour can make the dough brittle and encourage spreading.
Can I use shortening instead of butter in this recipe?
You certainly can use some shortening, but I wouldn’t swap it all out for these Christmas cut-out cookies. Butter gives you that irreplaceable, rich flavor we promise here. If you want maximum shape retention, some folks substitute half the butter with vegetable shortening, as it has a higher melting point. But honestly, for the supreme flavor of these buttery vanilla cookies, I stick to all butter and focus on making sure the dough is super cold!
How long does the rolled-out dough last in the fridge?
I highly recommend keeping the dough disks wrapped tightly in plastic wrap and chilling them for at least two hours minimum, as I put in the instructions. If you need serious make-ahead flexibility for your holiday cookie decorating marathon, the dough is perfectly fine wrapped up in the fridge for up to five days. If you plan that far ahead, remember to let the dough sit on the counter for just 10 minutes before trying to roll it out, or it will crack!
Do I have to chill the individual cut-out shapes before baking?
It’s not strictly required, but this little extra step is my personal insurance policy for perfect cookies! After you cut your shapes and place them on the baking sheet, pop that whole sheet into the fridge for about 10 minutes. This final chill solidifies the edges one last time right before the heat hits them. It’s a game-changer for keeping those fine tips on your stars and trees sharp!
If you run into any other weird baking conundrums or just want to share your gorgeous finished Christmas sugar cookies, feel free to reach out to me through the contact page!
Estimated Nutrition for Classic Christmas Sugar Cookies
It’s important to know what you’re eating—even when we’re talking about sweet holiday treats! Since these Christmas sugar cookies are made with good quality butter and sugar, they definitely fall into the indulgence category, but I like to be transparent about what we’re putting into our bodies.
Please remember that these numbers are just estimates based on the standard batch size and standard measurements. If you use extra icing or different flour, things will shift! These figures are calculated based on a yield of 3 dozen cookies, which means the nutrition is per serving (1 cookie).
Here’s a quick peek at what makes up one of these perfect buttery vanilla cookies:
- Serving Size: 1 cookie
- Calories: 145
- Fat: 7g (Saturated Fat: 4g)
- Carbohydrates: 19g
- Protein: 2g
- Sugar: 12g
You can see that the sugar content is on the higher side—hello, Christmas!—but that’s where the joy is in these beautiful Christmas cut-out cookies. I think enjoying a couple of these after a long day of holiday cookie decorating is totally worth it. We try to keep things simple here, so don’t stress too much over the details; just bake with love!
Share Your Holiday Cookie Decorating Creations
Now that you have these perfect, sturdy Christmas sugar cookies cooling on the rack, it’s time for the real fun! I absolutely live for seeing what you all come up with during your holiday cookie decorating sessions. Seriously, if you can imagine it, this dough can hold it!
Did you pipe beautiful intricate snowflakes? Did your kids go wild applying every sprinkle known to man? I want to hear all about it! Please, leave a quick rating right down below. Just tap those stars—it helps other bakers find this reliable recipe, and I love knowing I helped make your holiday a little sweeter.
And please, if you snap a photo of your beautiful creations—whether they are perfectly iced or covered entirely in red and green sanding sugar—tag me on social media! Seeing your buttery vanilla cookies turned into festive art makes my entire baking season worthwhile. Let’s celebrate making memories together, one perfectly shaped cookie at a time!
PrintClassic Christmas Cut-Out Sugar Cookies
Make buttery, tender vanilla sugar cookies perfect for rolling, cutting into festive shapes, and decorating with royal icing.
- Prep Time: 30 min
- Cook Time: 10 min
- Total Time: 160 min
- Yield: 3 dozen 1x
- Category: Dessert
- Method: Baking
- Cuisine: American
- Diet: Vegetarian
Ingredients
- 3 cups all-purpose flour
- 1 teaspoon baking powder
- 1/2 teaspoon salt
- 1 cup (2 sticks) unsalted butter, softened
- 1 1/2 cups granulated sugar
- 1 large egg
- 1 teaspoon vanilla extract
Instructions
- In a medium bowl, whisk together the flour, baking powder, and salt. Set aside.
- In a large bowl, beat the softened butter and sugar with an electric mixer until light and fluffy, about 3 minutes.
- Beat in the egg and vanilla extract until just combined.
- Gradually add the dry ingredients to the wet ingredients, mixing on low speed until a soft dough forms. Do not overmix.
- Divide the dough in half, flatten each half into a disk, wrap tightly in plastic wrap, and chill in the refrigerator for at least 2 hours.
- Preheat your oven to 375°F (190°C). Line baking sheets with parchment paper.
- On a lightly floured surface, roll out one disk of dough to about 1/4-inch thickness. Use your favorite cookie cutters to cut out shapes.
- Place the cut-out cookies onto the prepared baking sheets, leaving about 1 inch between them.
- Bake for 8 to 10 minutes, or until the edges are lightly golden. Do not overbake.
- Let the cookies cool on the baking sheet for 5 minutes before transferring them to a wire rack to cool completely before decorating.
Notes
- For the best shape retention, chill the cut-out shapes on the baking sheet for 10 minutes before putting them into the oven.
- If you are planning your weekly meals, consider how these cookies fit into your overall meal planning for the holidays.
- Store decorated cookies in an airtight container once the icing is fully dry.
Nutrition
- Serving Size: 1 cookie
- Calories: 145
- Sugar: 12
- Sodium: 65
- Fat: 7
- Saturated Fat: 4
- Unsaturated Fat: 3
- Trans Fat: 0
- Carbohydrates: 19
- Fiber: 0
- Protein: 2
- Cholesterol: 25