
Oh, autumn! That magical time of year when the air gets crisp, the leaves turn brilliant shades of red and gold, and our kitchens just *beg* to be filled with the cozy scent of baking. And let’s be honest, what says fall holidays more than a perfect slice of Classic Pumpkin Pie? Forget those store-bought imposters; this is the real deal, a foolproof recipe that brings out the best in simple ingredients. I learned from my Grandma Sterling that baking doesn’t need to be complicated to be incredible, and that’s exactly what we’re capturing here at Bliss Batter. Every recipe you find here has been tested and re-tested, just like Grandma would do, so you can trust that this pie will turn out beautifully, with that rich, real pumpkin flavor, warm spices, and a crust that’s just perfectly flaky. It’s happiness, homemade, waiting for you.
- Why You'll Love This Classic Pumpkin Pie
- Ingredients for the Best Pumpkin Pie Recipe
- How to Make a Classic Pumpkin Pie From Scratch
- Tips for a Foolproof Classic Pumpkin Pie
- Serving Your Classic Pumpkin Pie
- Storage and Reheating Instructions
- Frequently Asked Questions about Classic Pumpkin Pie
- Estimated Nutritional Information
- Share Your Classic Pumpkin Pie Creations!
Why You’ll Love This Classic Pumpkin Pie
This isn’t just any pumpkin pie; it’s the one you’ll come back to year after year!
- Foolproof & Easy: Seriously, even if you’re new to baking, this recipe is totally achievable. We’ve tested it a million times so you don’t have to worry!
- Amazing Flavor: It uses real pumpkin and a fantastic blend of cinnamon, ginger, and cloves that just scream fall. It’s the best pumpkin pie recipe for a reason!
- Perfect for Holidays: This homemade fall pie is a total crowd-pleaser and absolutely essential for your Thanksgiving dessert table. Get ready for rave reviews!
- Cozy Vibes Guaranteed: The smell alone will make your home feel warm and inviting. It’s pure comfort in a slice.
Ingredients for the Best Pumpkin Pie Recipe
Okay, so let’s talk ingredients! Using good quality stuff makes a HUGE difference, just like my Grandma Sterling always said. For this classic pumpkin pie, we’re keeping it simple but making sure those ingredients are top-notch:
- 1 (9-inch) unbaked pie crust – Make sure it’s golden brown and ready to go! You can use store-bought or your favorite homemade version.
- 1 (15 ounce) can pumpkin puree – And I mean *puree*, not pumpkin pie filling. We want that pure pumpkin flavor!
- 1 (12 ounce) can evaporated milk – This is key for that creamy, rich texture.
- 2 large eggs, lightly beaten – Just give them a quick whisk before you add them.
- 3/4 cup granulated sugar – For just the right amount of sweetness.
- 1 teaspoon ground cinnamon
- 1/2 teaspoon ground ginger
- 1/4 teaspoon ground cloves
- 1/4 teaspoon salt – This little bit of salt really makes all the flavors pop!
How to Make a Classic Pumpkin Pie From Scratch
Alright, let’s get baking! Making a truly spectacular pumpkin pie from scratch is way easier than you might think, especially with our foolproof method here at Bliss Batter. We’ve taken all the guesswork out of it. The key is following these simple steps, and trust me, the aroma that fills your kitchen will be absolutely divine. It’s that perfect mix of warm spices and sweet pumpkin that just melts away any stress! If you love our easy peach cobbler recipe or our apple crisp, you’re going to adore this classic.
Preheating and Preparing Your Classic Pumpkin Pie
First things first, grab your oven! We need it nice and toasty. Preheat it to 425°F (220°C). Make sure your unbaked pie crust is sitting all pretty in its pie plate, ready for all that delicious filling. No need to do anything fancy to the crust beforehand, just have it ready to go!
Mixing the Perfect Pumpkin Pie Filling
Now for the heart of our pie! Grab a big bowl – you know, one of those sturdy ones that doesn’t wobble. Whisk together your pumpkin puree, that creamy evaporated milk, and your lightly beaten eggs. Once that’s looking smooth and lovely, stir in your sugar and all those wonderful spices: cinnamon, ginger, cloves, and that pinch of salt. Give it a good mix until everything is totally combined. Oh, and that warm spice scent? It’s already making me want a slice!
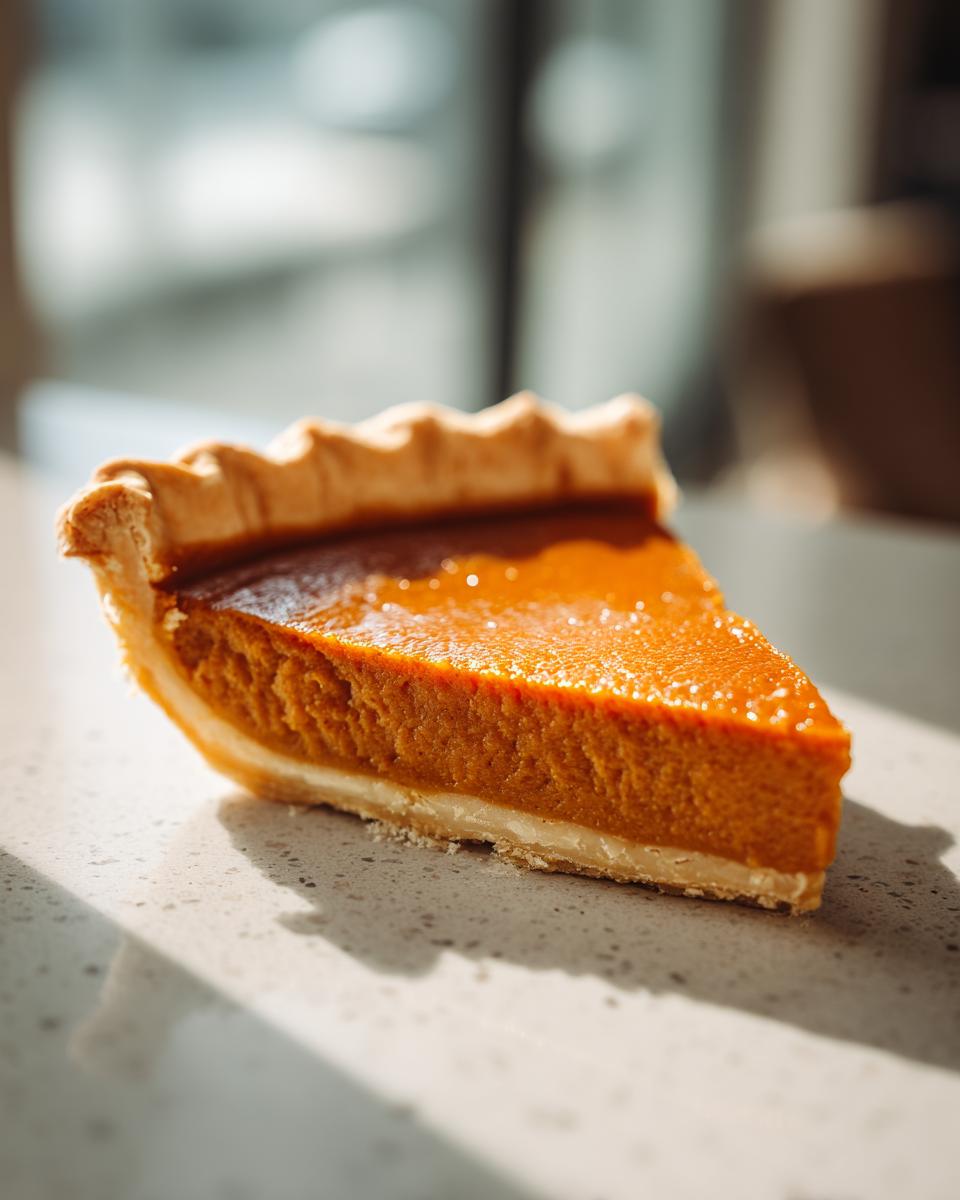
Baking Your Classic Pumpkin Spice Pie
Time for the oven! Carefully pour that gorgeous pumpkin mixture into your unbaked pie crust. We’re going to start with a hot blast: bake it at 425°F (220°C) for just 15 minutes. This helps set the crust nicely. Then, *without* taking the pie out, turn that oven temperature down to 350°F (175°C). Continue baking for another 40 to 50 minutes. You’ll know it’s ready when a knife inserted near the center comes out clean. No jiggly middle allowed! It’s just like with our apple crisp recipe; timing and perfection are key.
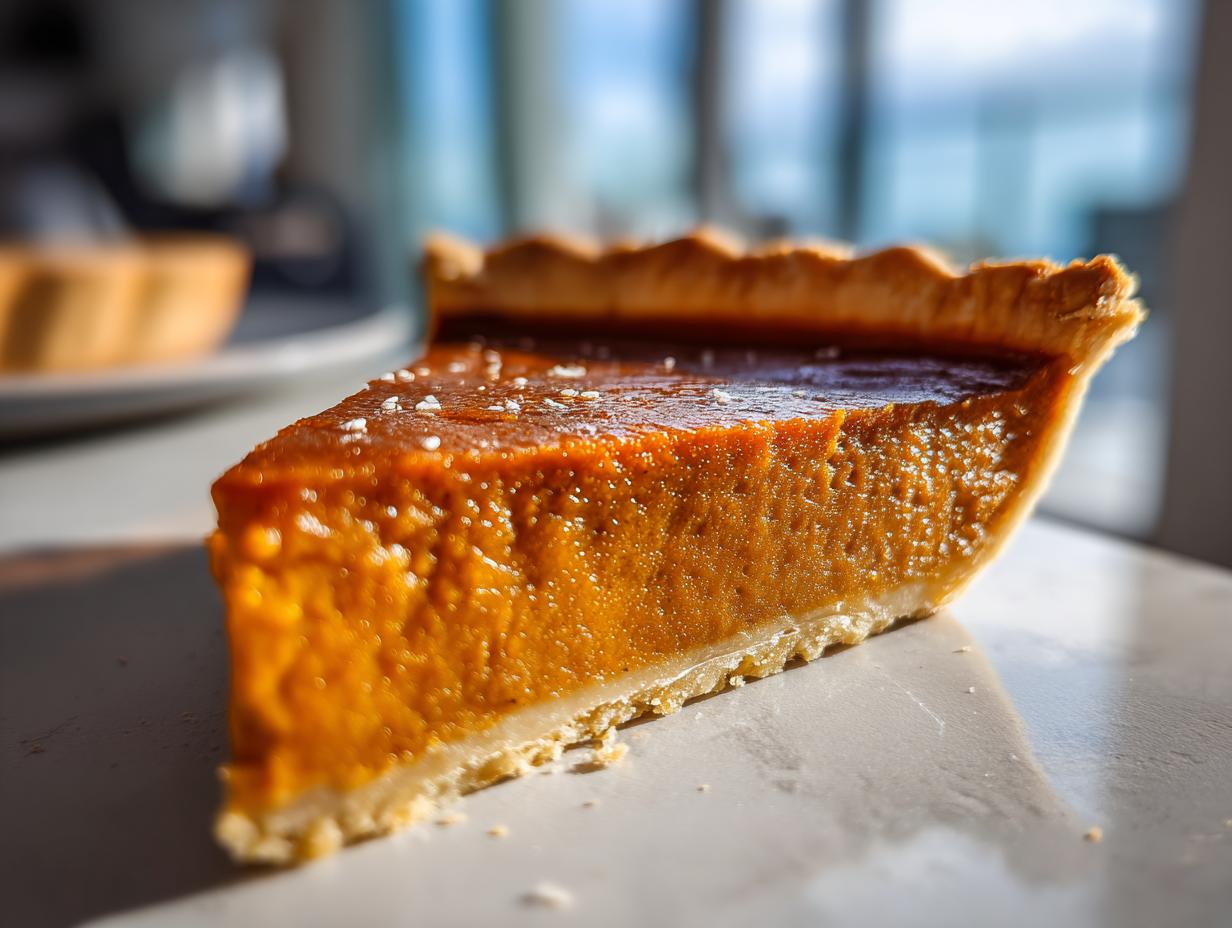
Cooling and Serving Your Homemade Fall Pie
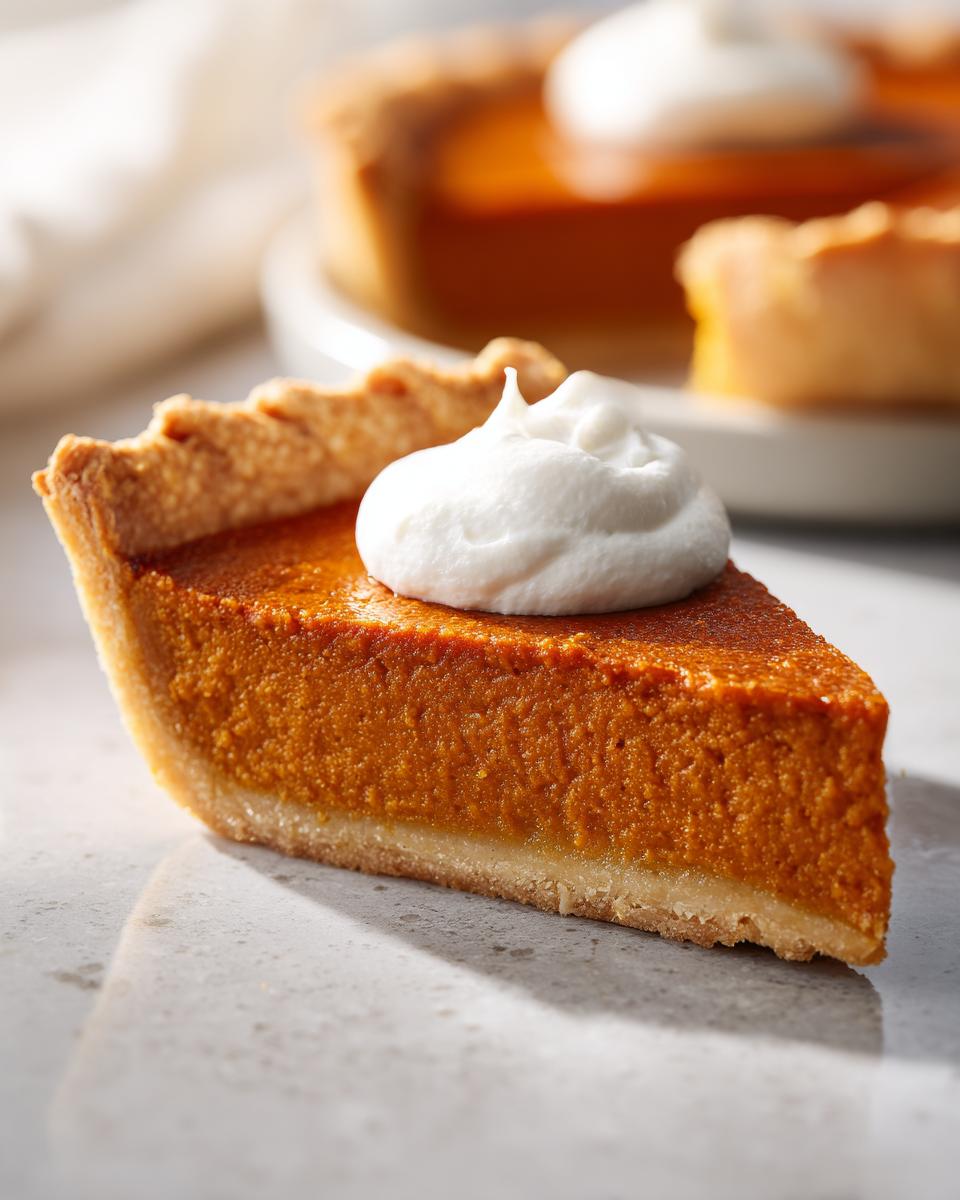
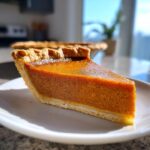
My Grandma Sterling always said patience is a baker’s best friend, and it’s super true here! Once it’s out of the oven, let that beautiful pie cool *completely* on a wire rack. This is so important for the filling to set up perfectly. Rushing this step can lead to a sad, soupy pie. Once it’s fully cooled (and it’s hard, I know!), serve up a generous slice. It looks absolutely stunning on a rustic wooden table, especially with a dollop of fresh whipped cream or a scoop of vanilla ice cream. It’s the ultimate homemade fall pie experience! For a truly special touch, try serving it with a side of our amazing apple cinnamon overnight oats – a surprising but delicious pairing!
Tips for a Foolproof Classic Pumpkin Pie
Okay, so you’ve got the recipe, you’ve got the enthusiasm, now let’s talk about making this pie absolutely, positively perfect, every single time. We’ve baked this classic pumpkin pie more times than I can count here at Bliss Batter, and I’ve picked up a few tricks for making sure it comes out amazing, whether it’s your first time or your fiftieth. These little tips really make a difference and sure beat trying to find decent meal planning services that do it right!
Ingredient Notes and Substitutions
Let’s get crystal clear on a couple of things. First, when I say pumpkin puree, please, *please* make sure you’re grabbing the can that just says “pumpkin puree” and NOT “pumpkin pie filling.” The filling already has sugar and spices, and it will totally throw off the delicious balance of this recipe. If you happen to have fresh pumpkin, that’s wonderful! You’ll need to roast and puree it yourself, and just know it might be a bit more watery, so you might need to drain it a little or let it cook a tiny bit longer. Also, feel free to swap out the spices! If you love extra cinnamon or want to add a pinch of cardamom, go for it! This is your pie, after all. Think of it like deciding between our banana bread or our cinnamon rolls – sometimes you just crave a different spice!
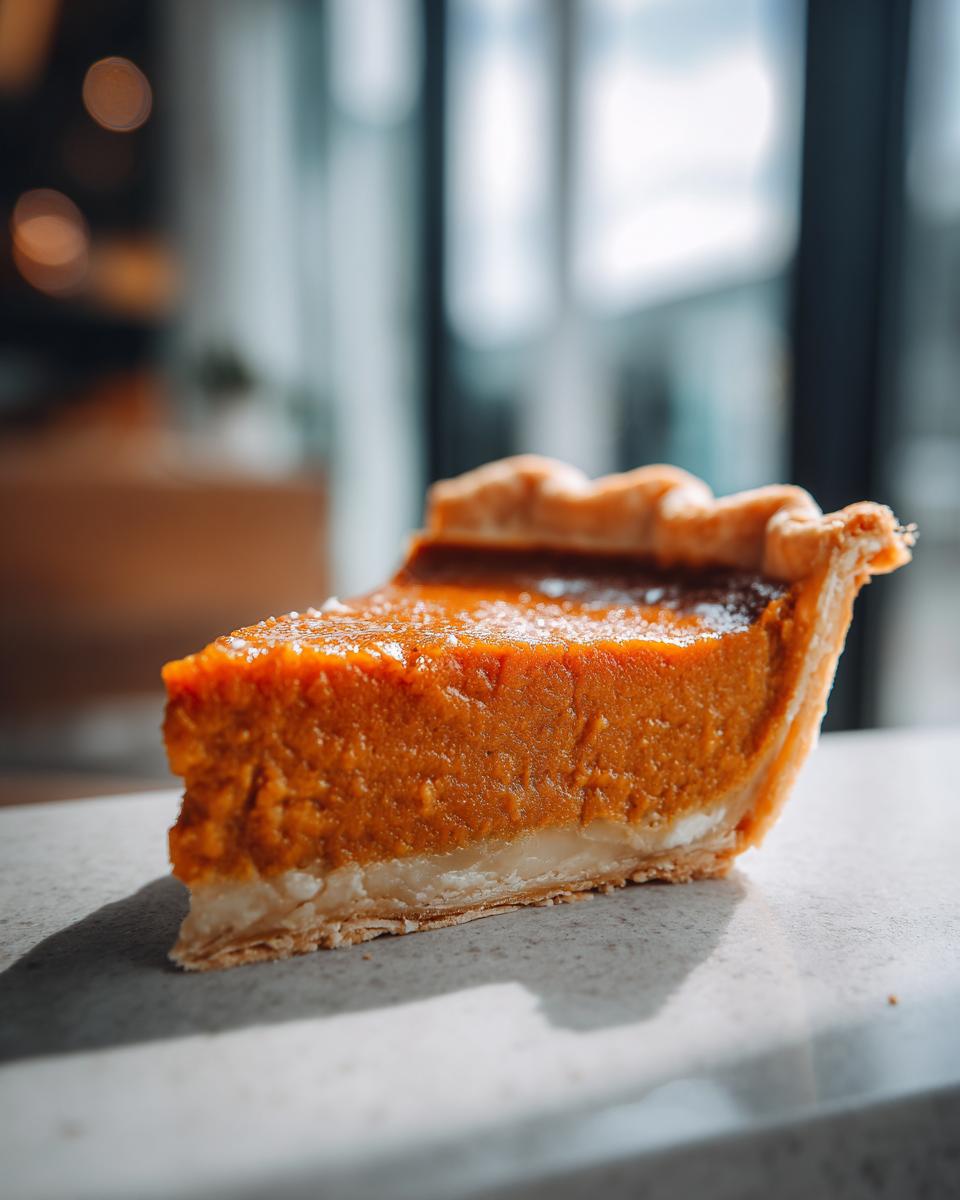
Achieving a Perfectly Flaky Crust
The crust is the foundation, right? Nobody wants a soggy bottom! The first tip is baked into the instructions: starting with a higher oven temp helps set that crust fast and prevents dreaded sogginess. Another trick? If you’re worried about it, you can blind bake your crust for about 10-15 minutes before adding the filling. Just prick it with a fork all over and bake until it’s lightly golden. Also, be gentle when pouring in the filling – don’t just dump it in! Pouring it slowly down the side of the crust helps prevent any damage. A perfectly flaky crust on your homemade fall pie is totally achievable!
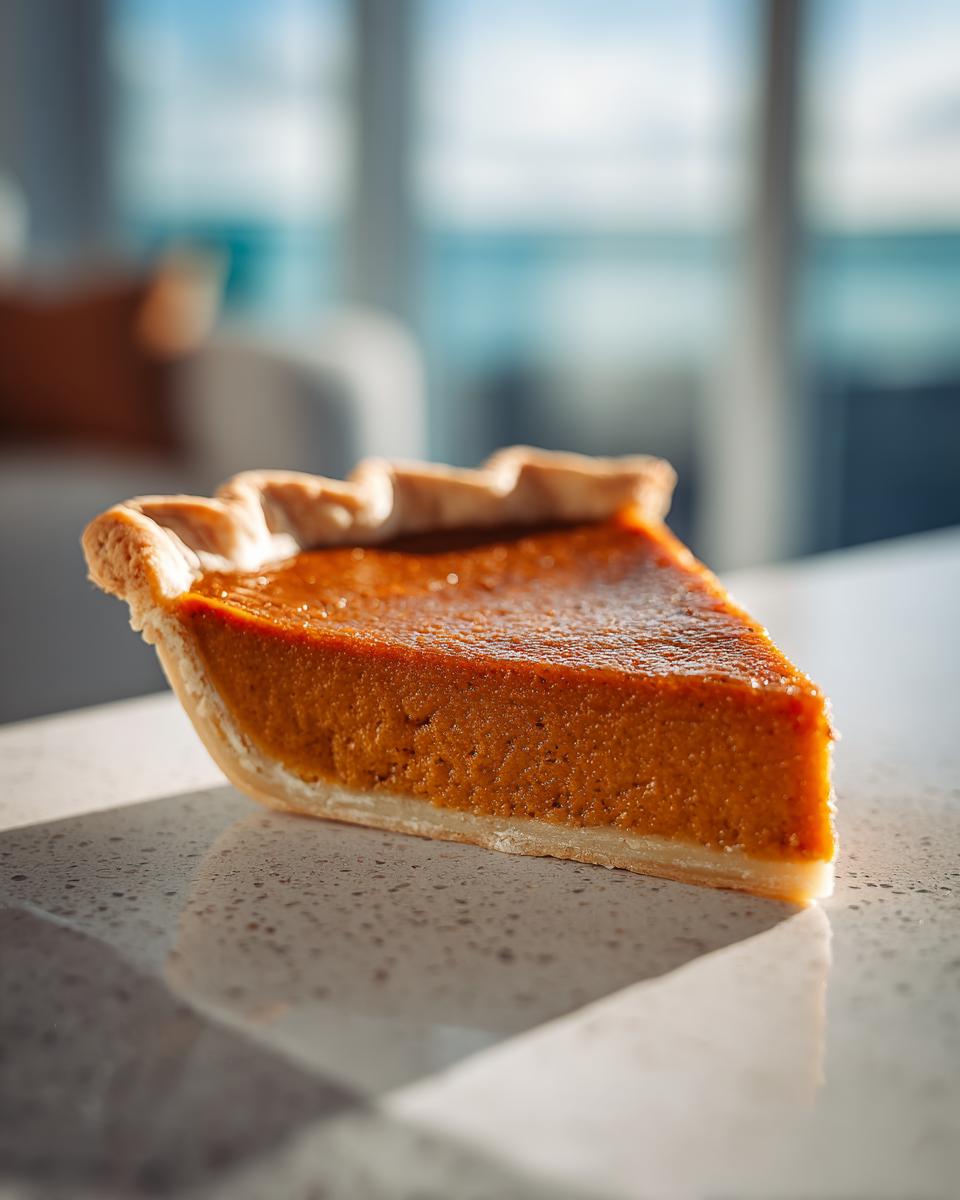
Serving Your Classic Pumpkin Pie
Now that you’ve baked the most perfect pumpkin pie, it’s time for the best part: serving it up! I just love how this pie looks on a rustic wooden table, surrounded by some cozy autumn table decor like fallen leaves or mini gourds. It just feels so festive and inviting, doesn’t it? A generous swirl of fresh whipped cream is practically mandatory for me – honestly, whipped cream and pie are a match made in heaven! You could also add a scoop of good quality vanilla ice cream, or even a little dusting of cinnamon right on top. My favorite thing to do is pair a slice with a warm mug of something comforting. It’s all about creating those sweet, happy holiday moments.
Storage and Reheating Instructions
This classic pumpkin pie? It’s actually even better the next day, I swear! If you happen to have any leftovers (which is rare in my house!), just cover the pie loosely with plastic wrap or foil and pop it right into the refrigerator. It should stay nice and fresh for about 3-4 days. When you’re ready for another slice, you can eat it cold, or warm it up gently in a low oven (around 300°F or 150°C) for about 10-15 minutes until it’s just slightly warm. And remember, it’s totally fine to make it a day ahead for your Thanksgiving dessert – the flavors really meld beautifully!
Frequently Asked Questions about Classic Pumpkin Pie
Got questions about making the perfect pumpkin pie? I’ve got answers! It’s all part of making sure your meal planning includes showstopping desserts that everyone will rave about. Let’s dive in!
What is the best way to tell if my pumpkin pie is done?
The best visual cue for a perfectly baked pie is a knife that comes out clean when inserted near the center. The edges should look set, and the middle might still have a slight wobble, which is totally okay – it will firm up as it cools!
Can I use fresh pumpkin instead of canned puree for my Classic Pumpkin Pie?
You sure can! Using fresh pumpkin adds a wonderful depth of flavor. Just make sure to roast your sugar pumpkin until tender, scoop out the flesh, and puree it until smooth. You might need to drain off some excess liquid because fresh pumpkin can be a bit more watery than canned.
Why is my pumpkin pie cracked?
Oh, cracked pumpkin pie is a common little oopsie! It usually happens when the pie is overbaked, or if there’s too much temperature fluctuation. Baking it at the right temperature and letting it cool gradually on a wire rack are your best defenses. Don’t worry though, even a cracked pie tastes amazing!
Estimated Nutritional Information
When you’re meal planning for the holidays, it’s good to have an idea of what you’re serving! Keep in mind these numbers are just an estimate, as they can vary a bit depending on the brands of ingredients you use. A typical slice of this classic pumpkin pie has about 300 calories, 12g of fat, 45g of carbohydrates, and 6g of protein. We’ve estimated around 35g of sugar and 250mg of sodium per slice.
Share Your Classic Pumpkin Pie Creations!
Alright, bakers, it’s your turn! I absolutely *love* seeing your creations come to life. Did you bake this for your thanksgiving dessert? Is it now your go-to homemade fall pie? Please, leave a comment below and tell me all about it! I can’t wait to hear how it turned out, and if you share photos on social media, be sure to tag us – we’d love to see your beautiful pies!
PrintClassic Pumpkin Pie
A foolproof recipe for a classic pumpkin pie with real pumpkin, warm spices, and a flaky crust, perfect for holidays.
- Prep Time: 15 min
- Cook Time: 55 min
- Total Time: 70 min
- Yield: 8 servings 1x
- Category: Dessert
- Method: Baking
- Cuisine: American
- Diet: Vegetarian
Ingredients
- 1 (9-inch) unbaked pie crust
- 1 (15 ounce) can pumpkin puree
- 1 (12 ounce) can evaporated milk
- 2 large eggs, lightly beaten
- 3/4 cup granulated sugar
- 1 teaspoon ground cinnamon
- 1/2 teaspoon ground ginger
- 1/4 teaspoon ground cloves
- 1/4 teaspoon salt
Instructions
- Preheat your oven to 425°F (220°C).
- In a large bowl, whisk together the pumpkin puree, evaporated milk, and lightly beaten eggs.
- Stir in the granulated sugar, cinnamon, ginger, cloves, and salt until well combined.
- Pour the pumpkin mixture into the unbaked pie crust.
- Bake for 15 minutes at 425°F (220°C).
- Reduce the oven temperature to 350°F (175°C) and continue baking for 40-50 minutes, or until a knife inserted near the center comes out clean.
- Let the pie cool completely on a wire rack before serving.
Notes
- For a richer flavor, you can add a tablespoon of dark rum or brandy to the filling.
- Serve with whipped cream or a dollop of vanilla ice cream.
- This pie is best made a day in advance to allow the flavors to meld.
Nutrition
- Serving Size: 1 slice
- Calories: 300
- Sugar: 35g
- Sodium: 250mg
- Fat: 12g
- Saturated Fat: 5g
- Unsaturated Fat: 7g
- Trans Fat: 0g
- Carbohydrates: 45g
- Fiber: 3g
- Protein: 6g
- Cholesterol: 50mg