
Oh, you know those mornings when you just crave a coffee that’s super smooth, not bitter at all, and easy on your stomach? I totally get that! For years, I was chasing that perfect cup, and honestly, sometimes regular hot coffee just felt a little too harsh. That’s how I discovered the magic of making my own cold brew coffee right at home. It’s ridiculously simple, I promise! I remember my first batch was in a giant mason jar on a lazy weekend, and it was a game-changer – so mellow and flavorful. It’s become my go-to for that little pick-me-up without any of that acidic bite.
- Why You'll Love This Easy Cold Brew Coffee
- The Perfect Cold Brew Coffee Ratio and Ingredients
- How to Make Cold Brew Coffee: Step-by-Step
- Storing Your Cold Brew Coffee Concentrate
- Serving and Enjoying Your Cold Brew Coffee
- Frequently Asked Questions about Cold Brew Coffee
- Tips for the Perfect Cold Brew Coffee Every Time
- Nutritional Information for Cold Brew Coffee
- Share Your Homemade Cold Brew Creation!
Why You’ll Love This Easy Cold Brew Coffee
Seriously, making your own cold brew coffee is such a treat! It’s unbelievably smooth, way less acidic than regular coffee, and the best part? You can make a big batch ahead of time and have chilled coffee ready for days. It’s perfect for those crazy mornings when you just need to pour and go, or even for whipping up fancy iced drinks.
The Perfect Cold Brew Coffee Ratio and Ingredients
Okay, so let’s talk about making the best cold brew coffee! It’s shockingly simple, really. You only need two main things, and the ratio is super forgiving. I use about 4 cups of cold water to 1 cup of coarsely ground coffee beans. That’s it! This is a great starting point for your cold brew coffee ratio, but you can totally play around with it once you get the hang of it. And, of course, using good quality beans makes a HUGE difference. Freshness really does matter for that amazing flavor!
Choosing the Best Grind Size for Cold Brew
This is one of those little secrets that makes a big difference for your cold brew coffee. You definitely, absolutely want to use a coarse grind. Think of it like chunky breadcrumbs. If you use too fine of a grind, it’s like using espresso grounds, and you’ll end up with a muddy mess that’s bitter and hard to strain. A coarse grind lets the coffee release its flavor slowly without getting bitter, and it makes straining SO much easier. Trust me, skip the fine stuff here!
Ingredient Spotlight: Coffee Beans
When it comes to coffee beans, I’m a bit of a stickler! For cold brew, I love a medium to dark roast – they tend to have deeper, chocolatey notes that shine through the slow brewing process. But honestly, use what you love! Just make sure they’re fresh. Buying beans from a local roaster who can tell you when they were roasted is always a win in my book. It really makes all the difference in that final cup!
How to Make Cold Brew Coffee: Step-by-Step
Alright, let’s get down to business and make some delicious cold brew coffee! It really couldn’t be simpler. First things first, grab your big jar or pitcher. Dump in your 4 cups of cold water and then add your 1 cup of coarsely ground coffee. Give it a gentle stir, just enough so all those coffee grounds get nice and wet. You don’t want to over-stir, just make sure there are no dry spots. Then, cover it up tight – plastic wrap works, or a good lid – and pop it into the fridge. That’s it for this part! See? Told you it was easy! If you love easy recipes like this, you should totally check out my chocolate chip banana bread – it’s a crowd-pleaser!

How Long to Steep Cold Brew: Finding Your Sweet Spot
Now, the big question: how long to steep cold brew? The general rule is between 12 and 24 hours. I usually aim for about 18 hours, but honestly, it’s all about what you like! If you’re a fan of a stronger, more intense flavor, you can go closer to 24 hours. If you prefer something a little milder, 12 hours is a great start. My advice? Try it at 18 hours first, taste it, and then next time, adjust the time up or down until you nail your perfect cup. It’s all about personalizing your coffee!
How to Filter Cold Brew Without Cheesecloth
Okay, so after all that steeping, you’ve got this coffee concentrate, but it’s full of grounds. We need to get them out! You absolutely can do this without cheesecloth. My go-to is a fine-mesh sieve. Just place it over another jar or pitcher and pour the coffee through. You might get a few little floaty bits, so I often line the sieve with a coffee filter (like the kind you use for a drip machine) for an extra-smooth finish. If it still seems a little cloudy, just do a second strain! The goal is a nice, clean cup of cold brew coffee.
Storing Your Cold Brew Coffee Concentrate
Once you’ve got that gorgeous coffee concentrate, you’ll want to store it properly so you can enjoy it for days! The big question is always, how long does cold brew last in the fridge? Mine usually stays fantastic for a good week when I keep it in an airtight container. I just pour it into a cute mason jar or a sturdy squeeze bottle and seal it up tight. That keeps all the fresh flavor locked in and prevents it from picking up any funky fridge smells. It’s so handy to just reach in and grab some whenever you need that smooth caffeine fix!
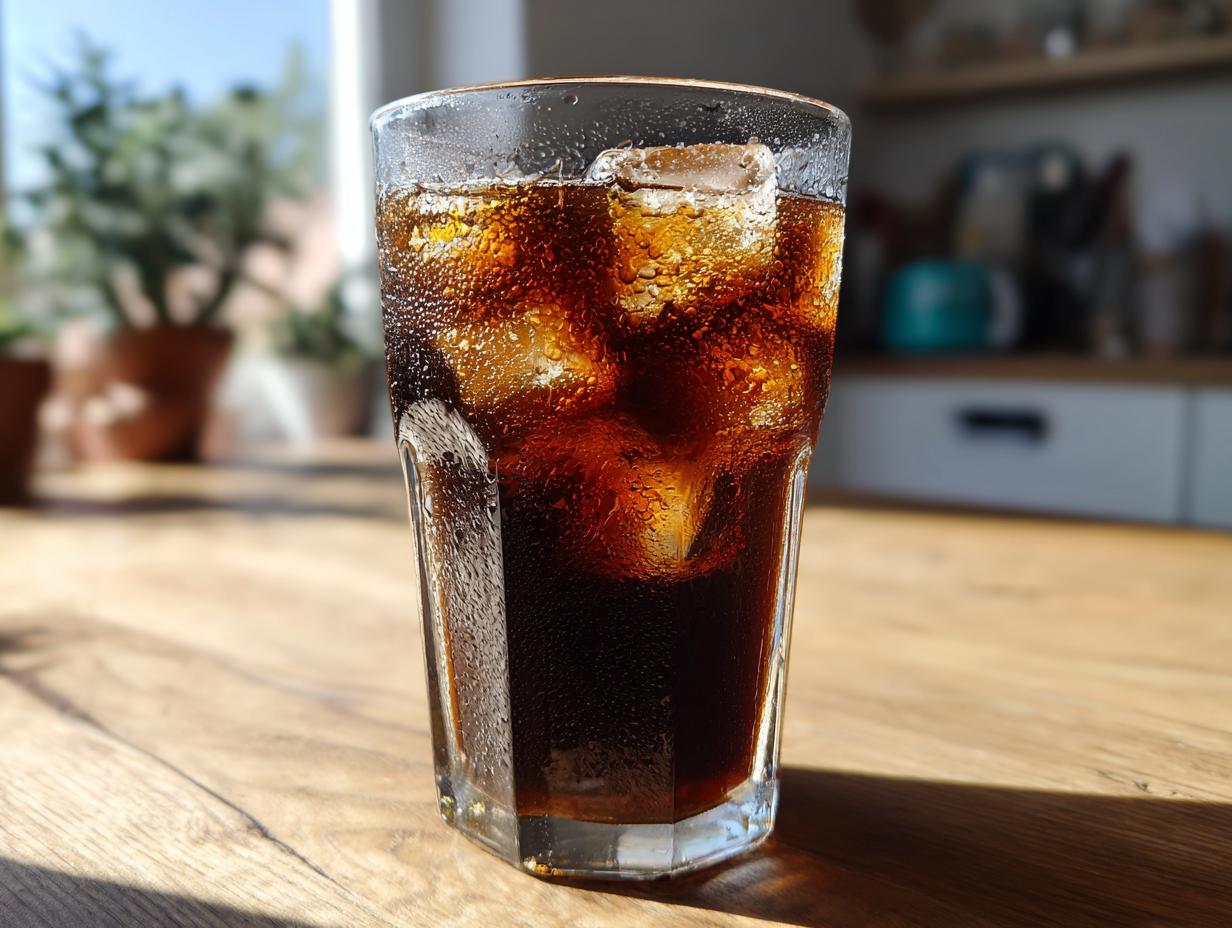
Serving and Enjoying Your Cold Brew Coffee
So, you’ve got this amazing cold brew coffee concentrate! Now for the fun part – drinking it! Since this stuff is pretty concentrated, you’ll want to dilute it. A great starting point is a 1:1 ratio of your concentrate to water or milk. I love using oat milk or almond milk myself! Pour it over a big glass of ice, maybe add a touch of sweetener if you like – a little maple syrup or honey works beautifully. It’s your coffee, so make it exactly how you love it! If you want to try something a little different with your drinks, my Authentic Horchata recipe is wonderfully refreshing too!
Cold Brew vs. Iced Coffee: What’s the Difference?
It’s super common to mix these up, but cold brew vs. iced coffee are actually quite different! Regular iced coffee is just hot coffee that’s been chilled down, often with ice. This can sometimes make it taste a bit more bitter or acidic. Our cold brew coffee, on the other hand, is brewed cold from the start. That slow, gentle process extracts all the yummy flavor without all the harsh acids, giving you that super smooth, mellow taste that everyone raves about. It’s a totally different experience!
Make-Ahead Cold Brew Concentrate Tips
The beauty of this recipe is definitely the “make-ahead” part. Having your make-ahead cold brew concentrate ready to go means you can have a fancy coffee drink in seconds. To really lean into that, I love making a big batch on Sunday. It makes my weekday mornings so much easier! Plus, having a dedicated pitcher or a cute mason jar of cold brew easily accessible makes your whole coffee station feel like a little DIY coffee bar. It’s all about those little touches that make your space feel special, you know?
Frequently Asked Questions about Cold Brew Coffee
Got questions about making your own cold brew coffee? I’ve totally got you covered! It’s super popular for a reason, but there are always a few things people wonder about. Let’s dive in!
Can I use pre-ground coffee for cold brew?
While you *can* use pre-ground coffee, it’s really best to use a coarse grind specifically for cold brew. If all you have is pre-ground, try to find one that’s labeled “for French press” or something similar, and give it a quick pulse in a grinder if you have one to make it a bit coarser. Fine grounds can make your cold brew coffee bitter and will definitely make it harder to strain out all those pesky little coffee particles!
What kind of beans are best for cold brew?
Honestly, any good quality coffee bean you enjoy works! I find that medium to dark roasts really bring out delicious, chocolatey, or nutty notes that are just perfect for cold brew. They have a natural richness that comes through even without the heat. But if you’re a fan of a lighter roast, go for it! Just make sure they are freshly roasted for the best flavor. It’s all about what makes you happy!
Is cold brew stronger than hot coffee?
That’s a great question! When you make it as a concentrate, yes, it actually has more caffeine by volume than typical hot drip coffee. This is because you use more coffee grounds relative to the water. However, since we usually dilute our cold brew concentrate with water or milk (like in a 1:1 ratio!), the final drink often ends up having a very similar, or sometimes even slightly less, caffeine content than a standard cup of hot coffee. It really depends on how much concentrate you use and how much you dilute it!
How can I make my cold brew less bitter?
Bitterness is usually a sign of over-extraction, which often comes from using too fine of a grind or steeping for way too long. Make sure you’re using that coarse grind we talked about and try playing with your steeping time. Maybe cut it down to 16 or 18 hours instead of 24. Also, double-check that your water isn’t too hot if you’re doing a variation; cold is best! If you love easy make-ahead ideas, you might also enjoy my Apple Cinnamon Overnight Oats – they’re so good!
How long does cold brew last in the fridge?
Your homemade cold brew coffee concentrate should last for about 7 to 10 days when stored properly in an airtight container in the refrigerator. I find a mason jar or a sealed pitcher works perfectly! After about a week, the flavor might start to fade a little, but it’s still safe to drink. It’s amazing how long you can keep this delicious make-ahead coffee on hand, kind of like having that perfect cup ready whenever you need it, just like my homemade cinnamon rolls!
Tips for the Perfect Cold Brew Coffee Every Time
Making amazing cold brew coffee at home really comes down to a few simple but important things. I’ve learned a lot from my own experiments (and a few watery, weak batches!), so here are my top tips to get that smooth, delicious flavor every single time. It’s all about paying attention to those little details!
Use Good Quality Water
Something I didn’t even think about at first is water quality! If your tap water has a strong taste, your coffee will too. Try using filtered water – it really makes a difference in bringing out the pure coffee flavor. It’s like how using good butter makes my brown butter chocolate chip cookies sing!
Be Consistent with Your Grind
I can’t stress this enough: coarse grind, coarse grind, coarse grind! A consistent, coarse grind is your best friend for cold brew. It helps prevent over-extraction, which is what causes bitterness. If you can, invest in a good burr grinder. It’s a game-changer compared to those blade grinders that give you an uneven mix of fine dust and big chunks. Evenness is key!
Don’t Over-Extract (or Under-Extract!)
Remember that steeping time? It’s the sweet spot between getting enough flavor and getting bitterness. I usually stick to about 18 hours. If you go too short, it can taste weak or sour. If you go too long, it can get a bit too strong and sometimes even bitter. Experimenting is the fun part, but starting around 18 hours is a safe bet for a rich but smooth flavor.
Proper Storage is Key
Once you’ve strained your beautiful cold brew coffee concentrate, make sure you put it in an airtight container. Whether it’s a mason jar, a sealed pitcher, or a French press you’re using for storage, keeping it covered prevents it from absorbing smells from your fridge and keeps it tasting fresh for that full week. Enjoy every last drop!
Nutritional Information for Cold Brew Coffee
So, you’re probably wondering about the nutritional side of things, right? Since we usually dilute our cold brew coffee with water or milk, it’s pretty low in calories and sugar! A typical serving (think about 1 cup, diluted with water and maybe a splash of unsweetened milk) usually has around 5 calories and almost no sugar or fat. Of course, this is just an estimate, and what you add — like sweeteners or cream — will change that! It’s a wonderfully guilt-free way to get your caffeine fix.
Share Your Homemade Cold Brew Creation!
Alright, now that you’ve brewed up your own amazing cold brew coffee, I’d absolutely LOVE to hear about it! Did you try it? What did you think? Drop a comment below and let me know your favorite way to enjoy it, or maybe rate this recipe if you loved it! And if you snap a pic of your gorgeous cold brew setup, tag me on social media – I can’t wait to see your creations! If you have any last-minute questions, feel free to reach out via my contact page!
PrintEasy Cold Brew Coffee

Learn how to make smooth, low-acid cold brew coffee at home with this simple recipe. Perfect for a make-ahead coffee boost.
- Prep Time: 5 min
- Cook Time: 12-24 hours (steeping)
- Total Time: 12-24 hours 5 min
- Yield: About 3 cups concentrate 1x
- Category: Beverage
- Method: Steeping
- Cuisine: American
- Diet: Vegetarian
Ingredients
- 4 cups cold water
- 1 cup coarsely ground coffee beans
Instructions
- Combine cold water and coarsely ground coffee in a large jar or pitcher.
- Stir gently to ensure all coffee grounds are saturated.
- Cover and refrigerate for 12 to 24 hours. The longer it steeps, the stronger the flavor.
- Strain the coffee concentrate through a fine-mesh sieve lined with cheesecloth or a coffee filter. You may need to strain it twice to remove all sediment.
- Store the cold brew concentrate in an airtight container in the refrigerator for up to 1 week.
- To serve, dilute the concentrate with water or milk to your preference (typically a 1:1 ratio of concentrate to liquid). Add ice and sweetener if desired.
Notes
- Use a coarse grind for best results to prevent over-extraction and bitterness.
- Experiment with different steep times to find your preferred flavor strength.
- For a smoother brew, you can use a French press to steep and then press the plunger down before straining.
- Cold brew coffee lasts in the fridge for up to 1 week.
Nutrition
- Serving Size: 1 cup (diluted)
- Calories: 5
- Sugar: 0g
- Sodium: 2mg
- Fat: 0g
- Saturated Fat: 0g
- Unsaturated Fat: 0g
- Trans Fat: 0g
- Carbohydrates: 1g
- Fiber: 0g
- Protein: 0g
- Cholesterol: 0mg