
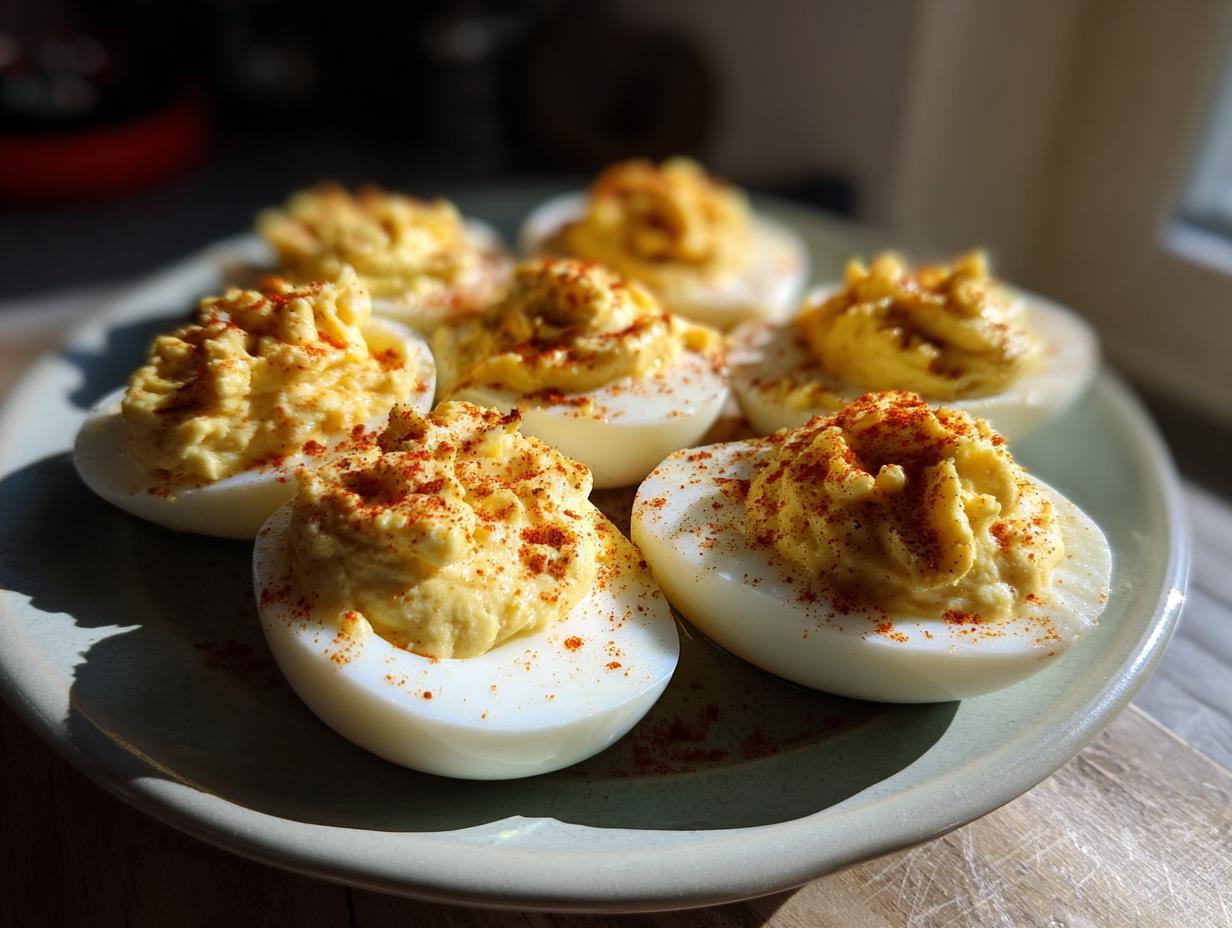
Oh, deviled eggs! Just saying the name brings back such warm memories, doesn’t it? They’re those little party stars that vanish faster than you can say “potluck”! My Grandma Claire, the founder of Bliss Batter, always said that the best memories are made in the kitchen, and these classic deviled eggs are proof. She’d watch them disappear at family gatherings, a huge smile on her face. This recipe isn’t just about making deviled eggs; it’s about capturing that perfect, creamy yolk filling and that classic tang that everyone knows and loves. We’ve tweaked and tested it just enough to make sure yours come out absolutely perfect, every single time. Get ready to serve up a batch of pure happiness!
- Why This Deviled Eggs Recipe is a Keeper
- The Best Way to Boil Eggs for Deviled Eggs
- Gathering Your Ingredients for Classic Deviled Eggs
- Crafting the Creamy Yolk Filling for Deviled Eggs
- Assembling Your Perfect Deviled Eggs
- Garnishing and Serving Your Deviled Eggs
- Tips for Success with Your Classic Deviled Eggs Recipe
- Frequently Asked Questions About Deviled Eggs
- Nutritional Information (Estimated)
Why This Deviled Eggs Recipe is a Keeper
Honestly, why do we keep coming back to deviled eggs? Because they’re just THAT good! This recipe is a keeper for so many reasons. First off, it’s ridiculously easy – I mean, who doesn’t love a recipe that practically makes itself? Plus, the flavor is just spot-on classic every single time. You get that perfect creamy yolk filling, just the right amount of tang, and a texture that’s super satisfying. Whether it’s a big holiday feast, a casual picnic, or just a spontaneous get-together, these deviled eggs are always a massive hit. They’re the perfect party appetizer that never disappoints!
The Best Way to Boil Eggs for Deviled Eggs
Alright, let’s talk about the foundation of *truly* great deviled eggs: perfectly boiled eggs. Seriously, getting this right makes all the difference, especially when you’re aiming for that easy-to-peel shell and a yolk that’s cooked just right – not rubbery, not chalky. The best way to boil eggs for deviling starts with a little trick I learned from Grandma herself. Grab your eggs (and here’s a little secret: slightly older eggs, like a week out of the carton, peel SO much easier than super fresh ones!) and pop them into a saucepan. Cover them with cold water by about an inch. Then, bring that water to a rolling boil over high heat. Once it’s boiling like crazy, turn the heat down to a simmer and let them cook for about 10-12 minutes. That simmer time is key! Once they’re done, drain off that hot water like lightning and immediately fill the pan with a glorious ice bath. Let those eggs chill out in there completely. This stops the cooking dead in its tracks and makes peeling an absolute breeze. Trust me, this is the magic step!
Gathering Your Ingredients for Classic Deviled Eggs
Alright, let’s get everything ready so we can whip up those perfect deviled eggs! You’ll need six large eggs to start – those are the stars of the show. We’ll also need a quarter cup of mayonnaise, because what’s a creamy yolk filling without it, right? For that little kick of tang, grab a teaspoon of yellow mustard and the same amount of white vinegar. And of course, salt and pepper to taste – you’ll be the judge of how much you like! Finally, a little sprinkle of paprika on top is traditional and just looks so pretty. That’s it! Simple, classic ingredients that come together to make something totally delicious.
Crafting the Creamy Yolk Filling for Deviled Eggs
Now for the fun part – making that dreamy filling! Once your eggs are perfectly boiled and peeled, gently scoop out those beautiful yellow yolks into a medium bowl. Mash them up with a fork until they’re as smooth as can be. This is where those creamy yolk filling tips really come into play. Don’t be afraid to really get in there and mash! Once you’ve got a nice, smooth base, add in your mayonnaise, that teaspoon of tangy yellow mustard, a little splash of white vinegar, and of course, salt and pepper to taste. Mix it all up until it’s wonderfully creamy and well combined. Claire always says not to overmix at this stage; you want it smooth but not gluey. Taste it and adjust those seasonings – this is your chance to make it *your* perfect deviled egg. The consistency should be like a thick, luscious frosting! It’s super similar to making a delicious egg salad, but destined for tiny egg white boats.
Tips for a Silky Smooth Deviled Egg Filling
Getting that super silky smooth filling is totally achievable! After you’ve mashed the yolks with a fork, really take your time. Press down and break them up until there are no big lumps left. If you’re feeling fancy, or if your yolks are being a little stubborn, a small whisk can work wonders too. For an absolutely foolproof, ultra-smooth texture that’s restaurant-worthy, you could even give the yolks a quick pulse in a food processor before adding the other ingredients. If your mixture feels a tad too thick, just stir in another tiny drizzle of mayonnaise or vinegar until it reaches that perfect, pipeable consistency. You want it smooth enough to easily spoon or perhaps even pipe, but sturdy enough to hold its shape.
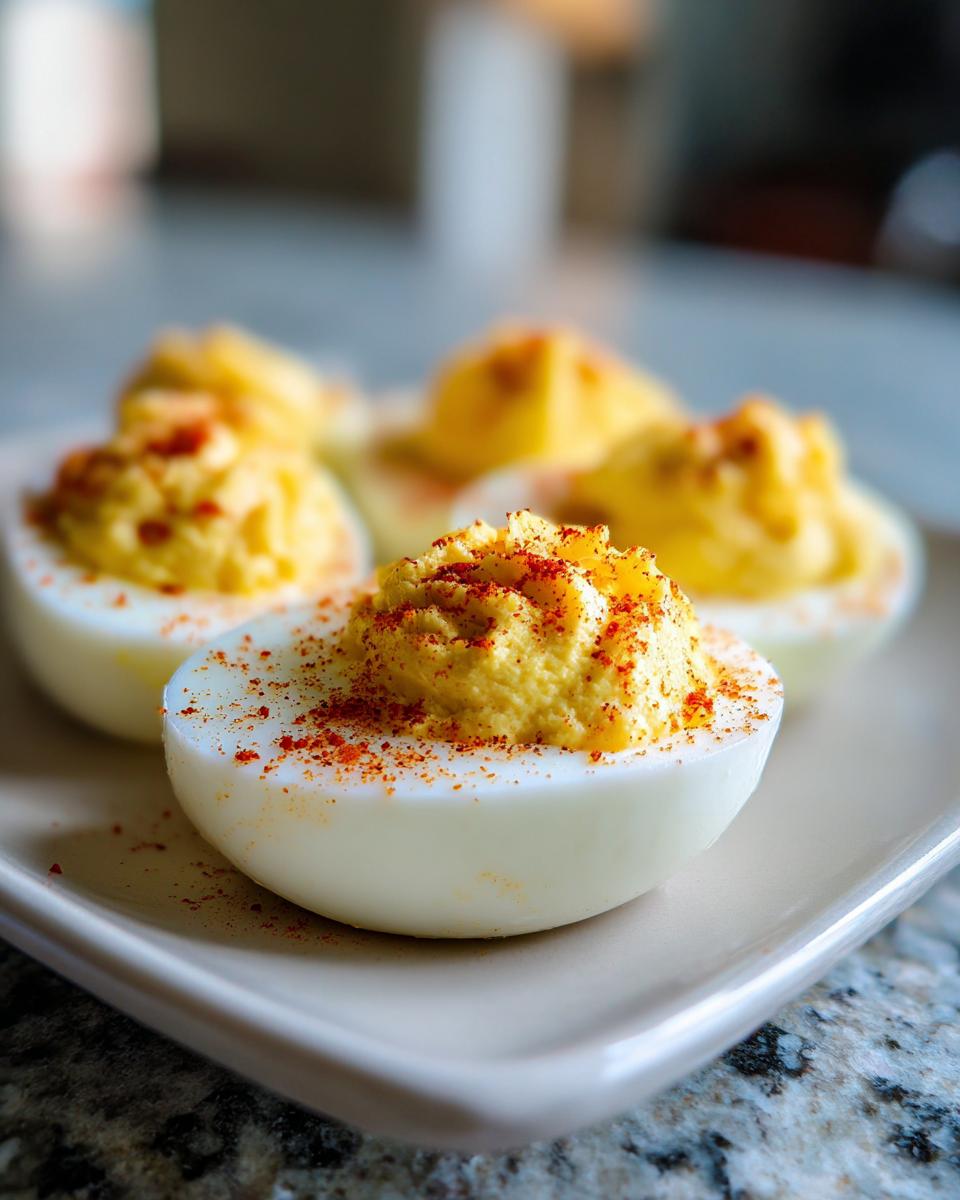
Assembling Your Perfect Deviled Eggs
Alright, the moment you’ve been waiting for to create those picture-perfect deviled eggs! Now that you’ve got that luscious, creamy yolk filling, it’s time to put it all back into those neat little egg white boats. You can absolutely just use a teaspoon to carefully spoon the filling into each half. Take your time and get a nice, generous mound in there. But if you want to feel a little fancy, grab a pastry bag with a star tip – it makes those deviled eggs look so professional and festive, just like the ones in my spooky deviled eggs recipe! Piping them gives them an extra special flair that really elevates them for any party. Both ways work beautifully, but either way, make sure they look as good as they taste!
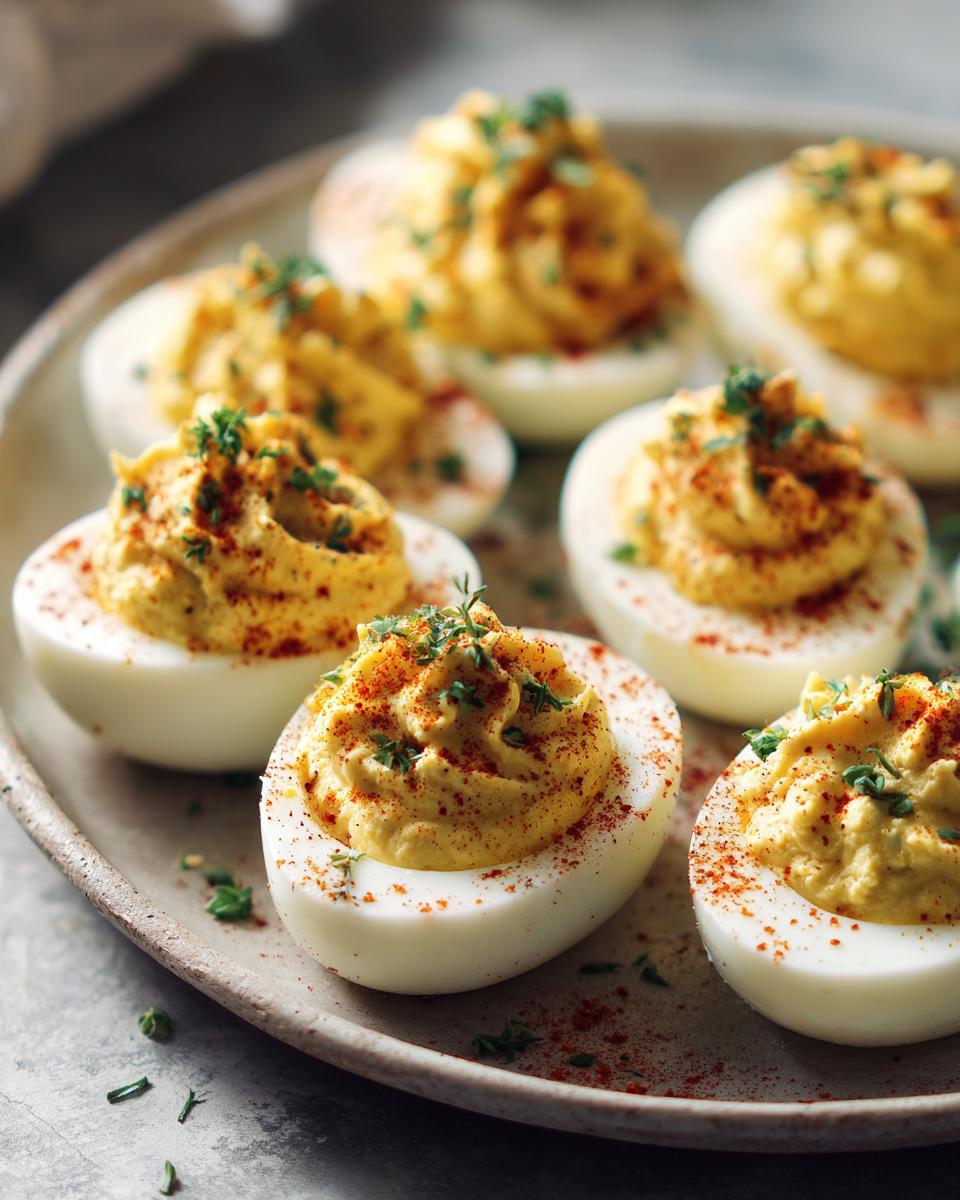
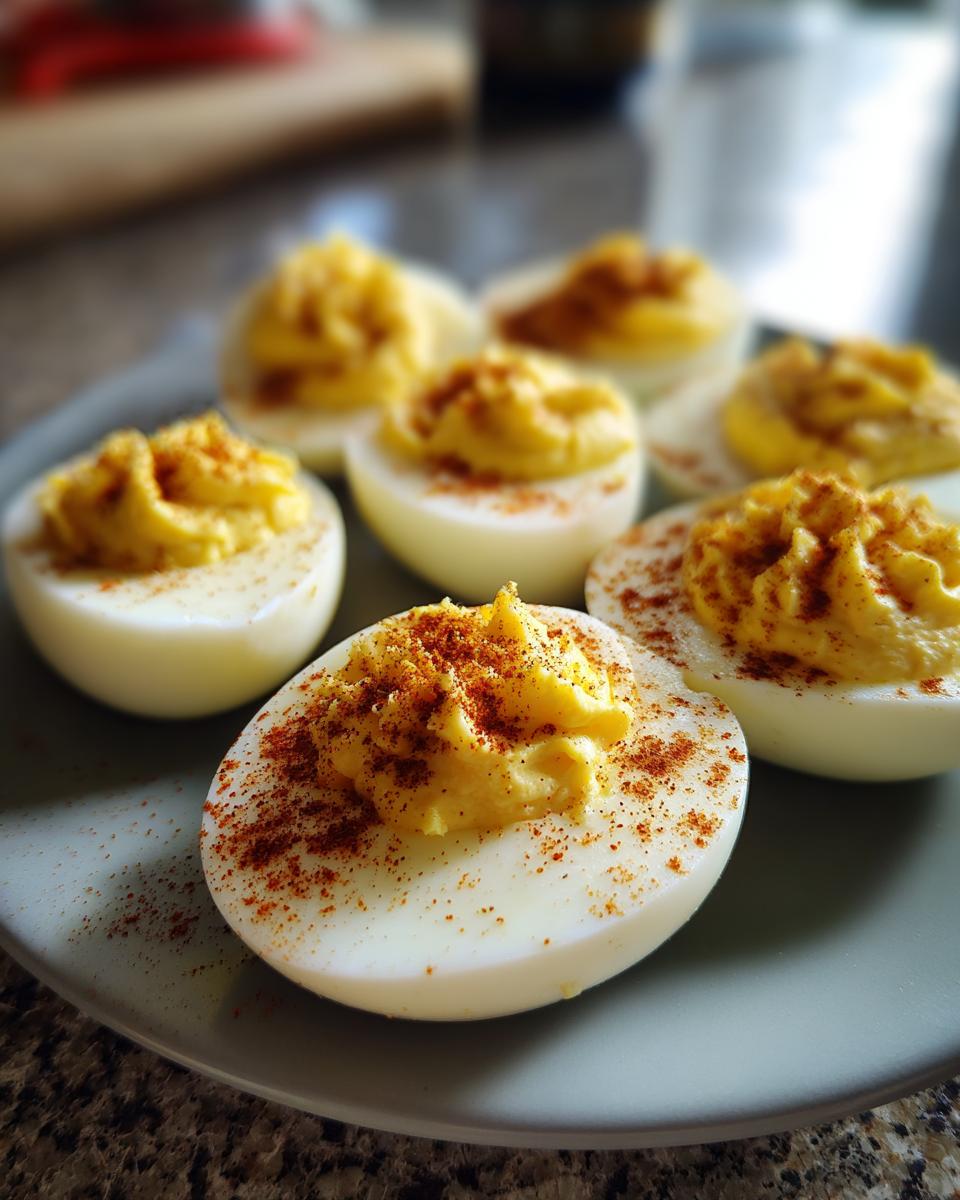
Garnishing and Serving Your Deviled Eggs
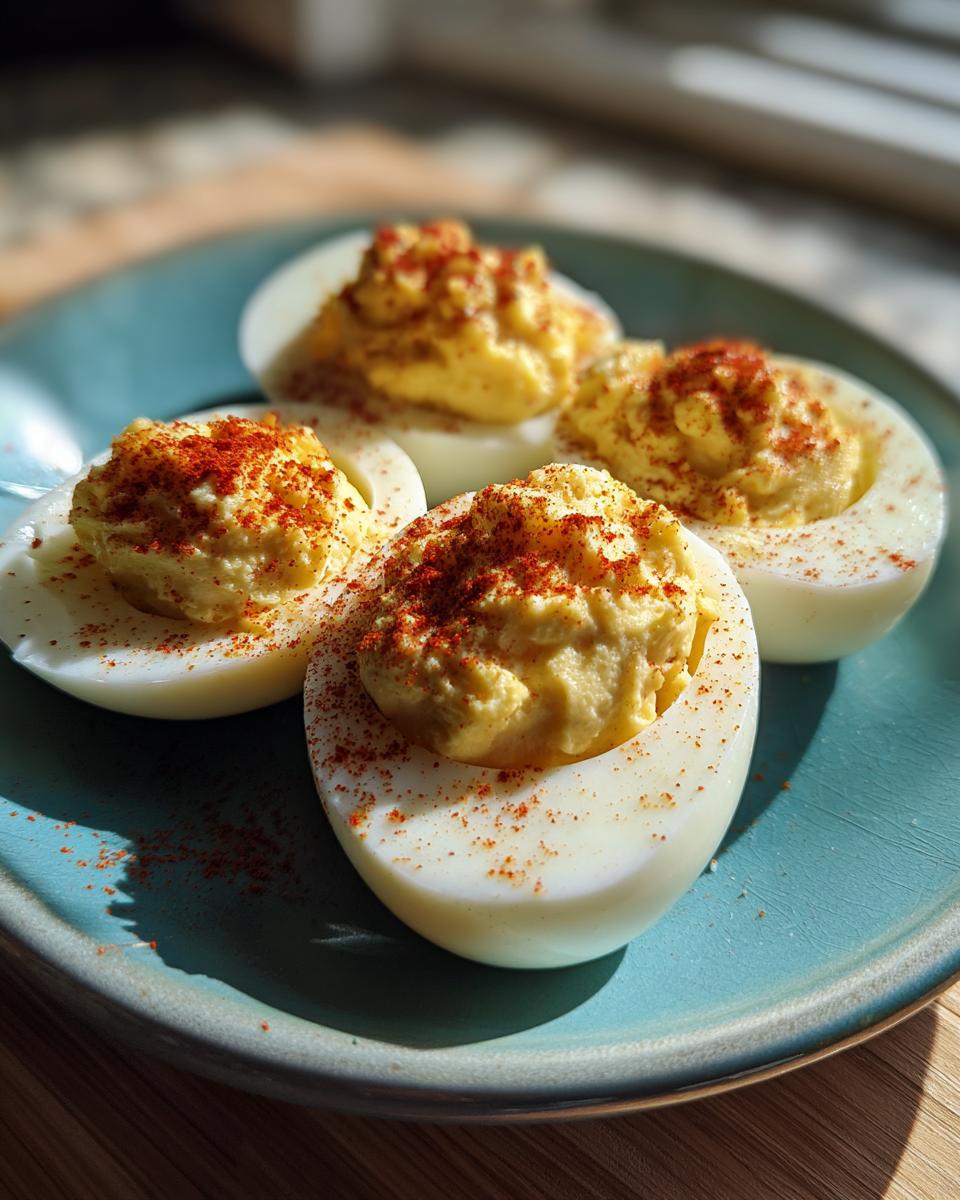
Okay, almost there! The final flourish for your absolutely gorgeous deviled eggs. Traditionally, a little sprinkle of paprika is how we finish them off. It gives them that pop of color and a hint of warmth. But honestly, don’t stop there if you’re feeling creative! You could add a tiny sprig of fresh parsley or chives, a dash of cayenne for a little heat, or even some crispy bacon bits if you’re feeling indulgent. Arrange them artfully on a platter – they’re such beautiful little party appetizers eggs, and they truly shine as the center of attention. They look amazing next to other bites like my loaded potato skins, too!
Tips for Success with Your Classic Deviled Eggs Recipe
Alright, you’ve got the recipe, you know the steps, but let’s talk about those little insider secrets that take your classic deviled eggs recipe from good to absolutely unforgettable! First, remember what I said about older eggs for peeling? It’s a game-changer! Also, don’t rush that ice bath after boiling; it really helps prevent that unsightly green ring around the yolk and makes peeling a dream. When you’re mashing those yolks, aim for that super smooth consistency – no one wants a lumpy deviled egg! And if you’re making them for a party, you can totally get a head start. Just keep the filling separate from the egg white halves and assemble them closer to serving time so they stay nice and fresh. Think of it like getting your ingredients ready for a beautiful pie crust – preparation is key for a flawless finish, similar to how we prepare lasagna layers for perfection!
Frequently Asked Questions About Deviled Eggs
Got questions about making the absolute best deviled eggs? I’ve got answers! These little bites are so popular, it’s no wonder people want to get them just right. Let’s dive into some common queries to make sure your next batch is a total hit!
Making Deviled Eggs Ahead of Time
Yes, you absolutely can! It’s a lifesaver for parties. The trick is to store the empty egg white halves and the yolk filling separately in airtight containers in the fridge. Assemble them a few hours before serving so they don’t get soggy. They’re best enjoyed within 24 hours. Trying to get ahead of the game? These are a perfect make-ahead snack!
Creative Deviled Egg Filling Variations
While the classic is divine, why not play around? Stir in some finely chopped dill pickles or relish for extra zing. A dash of sriracha or a bit of mashed avocado can make them wonderfully creamy and spicy. For a savory twist, a little crumbled bacon or even some finely chopped chives can really up the flavor game. You can find tons of fun ideas similar to what we do with party dips or even queso!
Nutritional Information (Estimated)
Just a heads-up, these numbers are estimates and can change a bit depending on the brands you use, especially for the mayo! But for about 2 deviled egg halves, you’re looking at roughly 70 calories, 5g of fat, 3g of protein, 1g of carbohydrates, and less than 1g of sugar. Pretty reasonable for such a delicious party starter, right?
Classic Deviled Eggs Recipe

Learn how to make perfect deviled eggs, a beloved appetizer for any gathering. This recipe ensures a creamy yolk filling and a balanced flavor that will disappear quickly.
- Prep Time: 15 min
- Cook Time: 15 min
- Total Time: 30 min
- Yield: 12 deviled egg halves 1x
- Category: Appetizer
- Method: Boiling
- Cuisine: American
- Diet: Vegetarian
Ingredients
- 6 large eggs
- 1/4 cup mayonnaise
- 1 teaspoon yellow mustard
- 1 teaspoon white vinegar
- Salt, to taste
- Black pepper, to taste
- Paprika, for garnish
Instructions
- Place eggs in a saucepan and cover with cold water. Bring to a boil, then reduce heat and simmer for 10-12 minutes.
- Drain hot water and immediately fill the pan with ice water. Let eggs cool completely.
- Peel the cooled eggs and slice them in half lengthwise.
- Gently scoop out the yolks into a medium bowl.
- Mash the yolks with a fork until smooth.
- Add mayonnaise, mustard, vinegar, salt, and pepper to the mashed yolks. Mix until well combined and creamy.
- Spoon or pipe the yolk mixture back into the egg white halves.
- Sprinkle with paprika before serving.
Notes
- For perfectly boiled eggs, use older eggs (about a week old) as they peel more easily.
- Chill the eggs in ice water immediately after boiling to stop the cooking process and make them easier to peel.
- You can pipe the filling using a pastry bag with a star tip for a more decorative presentation.
- Consider adding finely chopped pickles or relish for extra flavor.
Nutrition
- Serving Size: 2 halves
- Calories: 70
- Sugar: 0.5g
- Sodium: 60mg
- Fat: 5g
- Saturated Fat: 1.5g
- Unsaturated Fat: 3.5g
- Trans Fat: 0g
- Carbohydrates: 1g
- Fiber: 0g
- Protein: 3g
- Cholesterol: 75mg