
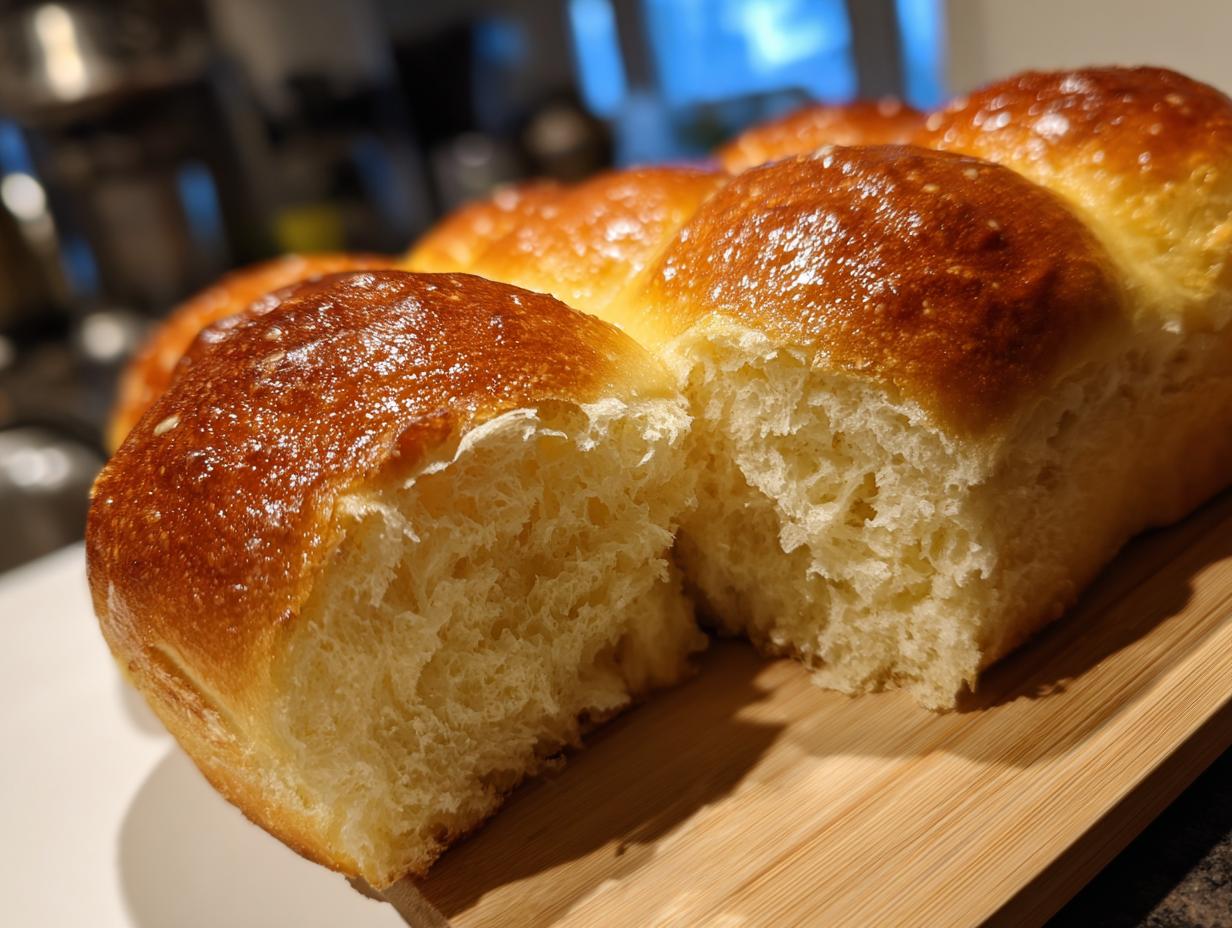
Oh, there’s just nothing like the smell of freshly baked bread filling your home, is there? It’s that cozy, inviting aroma that just screams “holiday!” And let me tell you, these homemade dinner rolls? They are the absolute crowning glory of any festive meal. Imagine this: passing around a basket of these warm, fluffy rolls, each one perfectly golden and impossibly soft, ready to soak up all that delicious gravy. Honestly, my own grandmother used to bake rolls like these, and the memory alone makes me want to bake another batch right now! She had this way of making everything feel so special, so loved, and using simple ingredients to create magic. That’s exactly what we’re doing here – bringing that bakery-quality goodness right into your own kitchen, making your holiday table even more unforgettable.
- Why You'll Love These Homemade Dinner Rolls
- Ingredients for Soft Yeast Rolls
- Mastering the Art of Fluffy Roll Recipe
- Tips for Make Ahead Dough for Rolls
- Serving Suggestions for Your Thanksgiving Bread Side
- Frequently Asked Questions About Dinner Rolls
- Estimated Nutritional Information
- Share Your Homemade Dinner Roll Creations!
Why You’ll Love These Homemade Dinner Rolls
Seriously, these rolls are a no-brainer for your holiday table! Here’s why you’ll adore them:
- So Easy to Make: You won’t believe how simple these are. They’re perfect for beginner bakers, I promise!
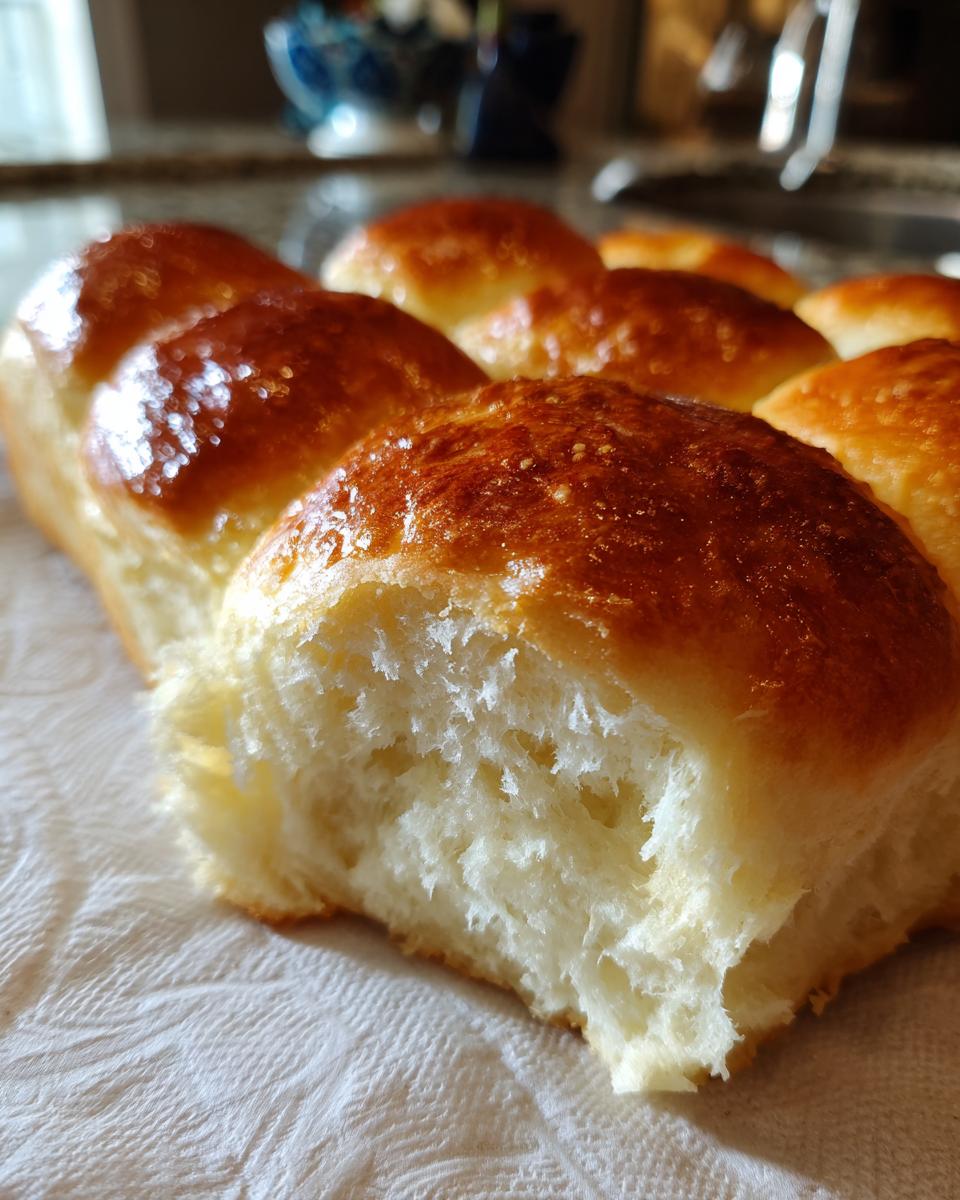
- Unbelievably Soft & Fluffy: The texture is just melt-in-your-mouth dreamy, begging for a generous dollop of butter.
- Buttery Goodness: That little hint of butter baked right in and brushed on top? Pure magic!
- Holiday Table Ready: Elevate your Thanksgiving or Christmas dinner with these gorgeous, homemade beauties that are so much better than store-bought.
Ingredients for Soft Yeast Rolls
Okay, gathering your ingredients is the first fun step! For these amazing soft yeast rolls – the kind that make your house smell like a dream – you’ll need just a few pantry staples. Using good quality stuff really makes a difference, like real butter and fresh eggs!
- 1 cup warm milk (think cozy bathwater temps, around 105-115°F – too hot kills the yeast, too cold makes it lazy!)
- 2 ¼ teaspoons active dry yeast (that’s one little packet!)
- ¼ cup granulated sugar (a little food for our yeast friends)
- ½ cup unsalted butter, melted and slightly cooled
- 2 large eggs, lightly beaten (make sure they’re room temp if you can!)
- 1 teaspoon salt (essential for flavor and dough structure)
- 4 cups all-purpose flour, plus a bit extra for dusting (start with this, you might need a smidge more depending on your kitchen’s humidity!)
- 2 tablespoons unsalted butter, melted (this is for that gorgeous golden brush on top – don’t skip it!)
Mastering the Art of Fluffy Roll Recipe
Alright, let’s get our hands doughy! This is where the magic really happens, transforming simple ingredients into those gorgeous homemade dinner rolls everyone raves about. Don’t be intimidated; it’s just a few simple steps, and I’ll walk you through each one. Trust me, the end result is SO worth it!
Preparing the Dough for Homemade Dinner Rolls
First things first, we gotta get our yeast party started! In a big bowl, I pour in that warm milk, sprinkle in the yeast and sugar, and give it a little swirl. Let it sit for about 5-10 minutes until it gets all foamy and bubbly – that’s how you know your yeast is alive and ready to work! Then, I stir in the slightly cooled melted butter, those beaten eggs, and the salt. Now, dump in most of that flour. Mix it all up with a spoon or your hands until it’s just combined and pulls away from the sides; you want a soft, shaggy dough. Turn it out onto a floured surface – and this is important – knead it for about 8 to 10 minutes. You’re looking for it to become smooth and elastic, like a baby’s bum, seriously! If it feels too sticky, add a *tiny* bit more flour, but don’t overdo it. A little stickiness is good!
First Rise: Letting Your Dinner Rolls Dough Bloom
Pop that beautifully kneaded dough into a lightly greased bowl. Give it a gentle turn to coat all sides in that little bit of oil. Cover it up snugly with plastic wrap, and find a nice, warm spot for it to hang out. Think of it like giving your dough a cozy blanket! Let it rise for about an hour to an hour and a half, or until it’s pretty much doubled in size. It’s amazing to watch it puff up like that!

Shaping and Second Rise for Fluffy Rolls
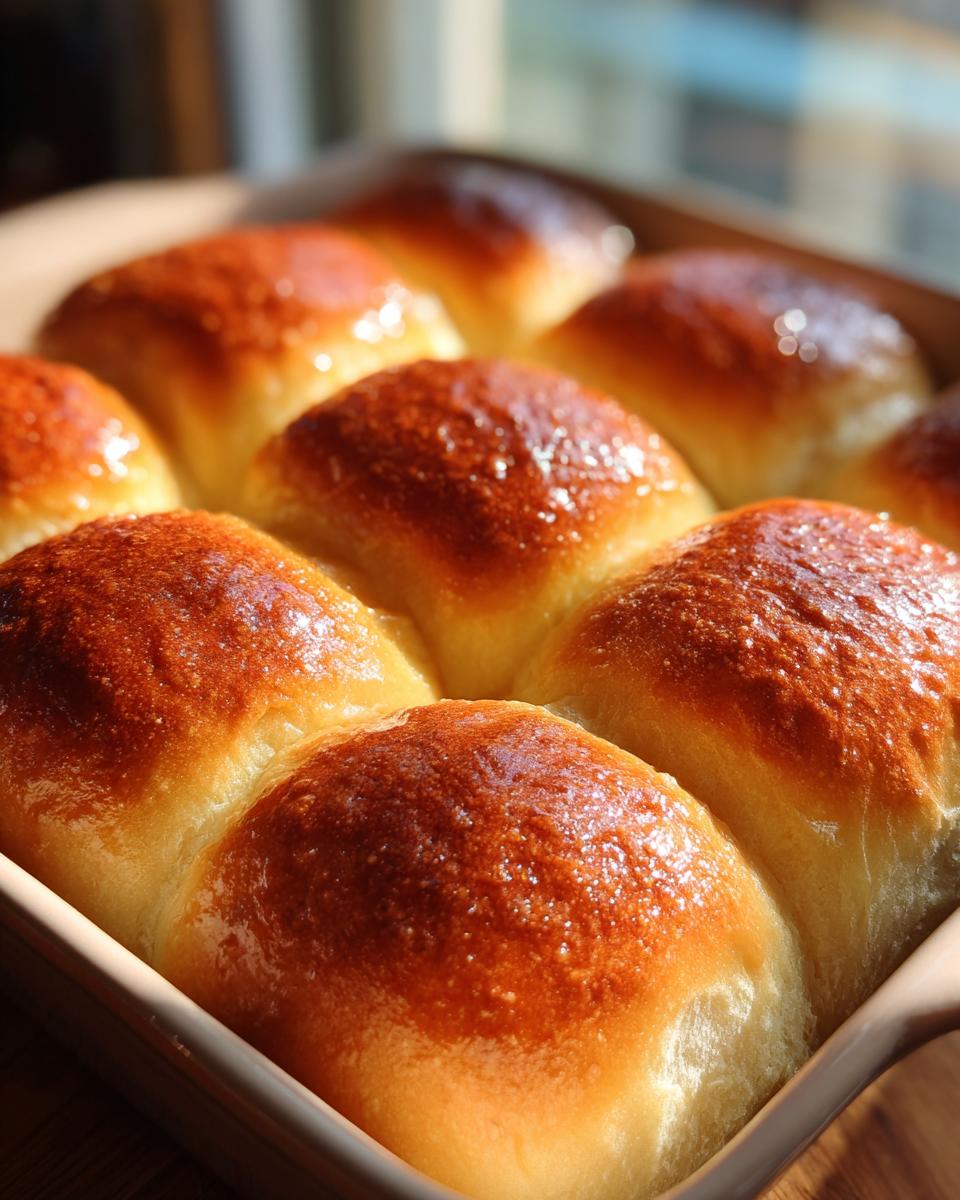
Once our dough has done all its rising, give it a good punch right in the center to release all that air. It’s kind of therapeutic, honestly! Then, turn it out onto your lightly floured surface again. Now, divide that dough section into 12 to 16 equal pieces. I usually just eyeball it, but if you want them super uniform, you can use a scale. Roll each piece into a nice, smooth ball. Place these little dough balls into a greased 9×13 inch baking pan, leaving about an inch of space between each one. They need room to snuggle up and grow! Cover the pan again and let them have their second nap, about 30-45 minutes, until they look puffy and are nearly touching each other.
Baking Your Perfect Dinner Rolls
While those rolls are getting plump, preheat your oven to 375°F (190°C). Once the rolls look perfectly puffed and ready to go, slide that pan into the hot oven. Bake them for about 15 to 20 minutes. You’re looking for that gorgeous, golden-brown color on top – they should smell absolutely divine! As soon as they come out of the oven, while they’re still piping hot, brush the tops generously with that extra melted butter. Oh, the smell! It’s heavenly. This step is key for that extra special buttery finish that makes them irresistible.
Tips for Make Ahead Dough for Rolls
Okay, so you’re hosting a big holiday feast, and the last thing you want to be doing is wrestling with sticky dough when everyone’s already arrived, right? I get it! That’s the beauty of this recipe: you can totally get ahead of the game with the make ahead dough for rolls. After your dough has done its first rise and looks all puffy, just punch it down gently, pop it into a well-sealed container or a zip-top bag, and tuck it into the fridge overnight. It’ll slow down the yeast activity like a charm. In the morning, pull it out, let it sit on the counter for about 30 minutes to warm up a bit, and then you can shape and bake as usual. It’s my secret weapon for stress-free holiday baking! Honestly, if you’re planning a whole spread, thinking ahead like this is key, kind of like how I plan my seasonal cocktails with a touch of maple bourbon.
Serving Suggestions for Your Thanksgiving Bread Side
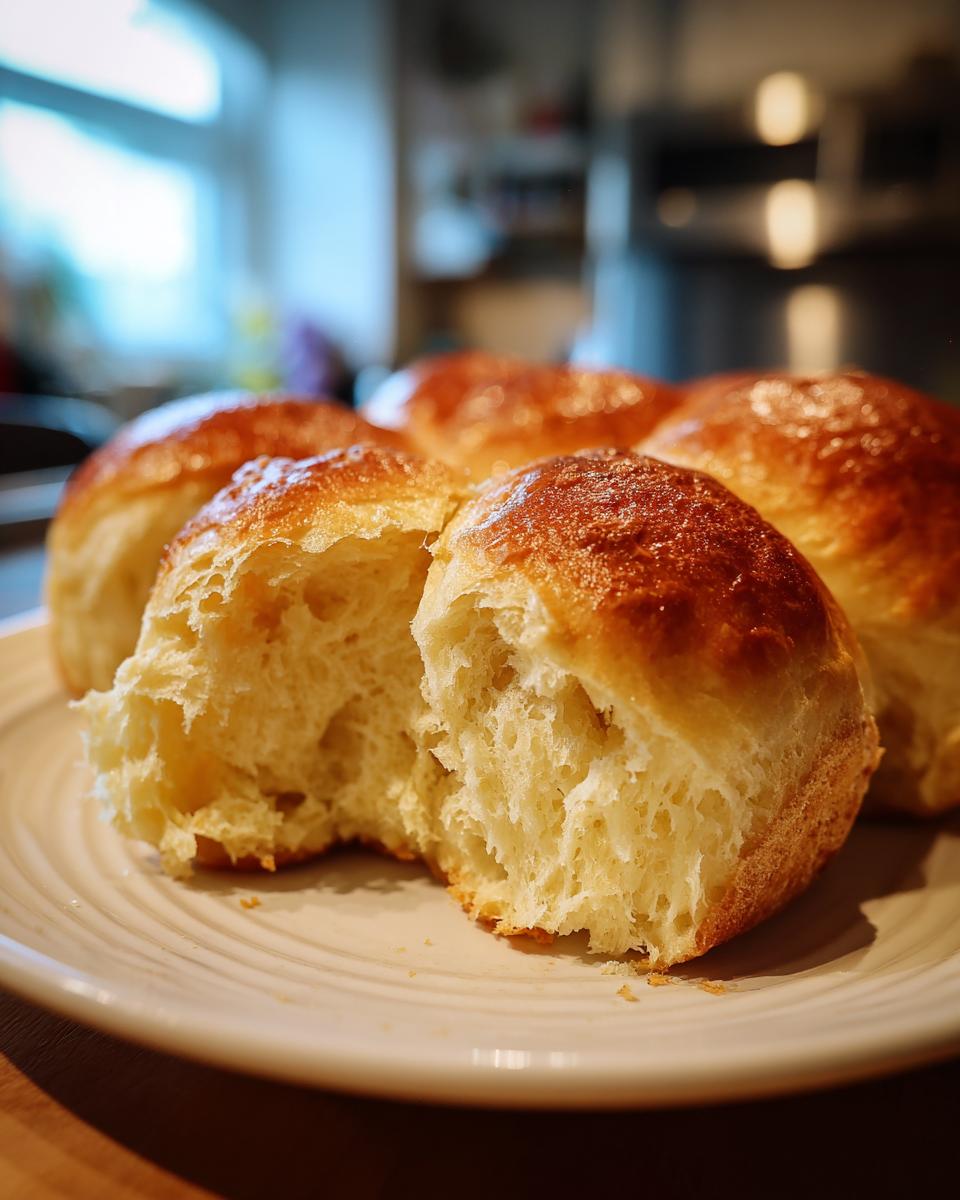
Now that you’ve got these gorgeous homemade dinner rolls cooling, what are you going to serve them with? Well, this Thanksgiving bread side is pretty much the perfect match for anything! They are absolutely divine alongside a classic roast turkey, soaking up all those savory juices and rich gravy. But honestly, they’re also fantastic with braised short ribs, honey-glazed ham, or even just a big bowl of comforting soup. Anytime you want to add that extra special touch to your holiday feast, these rolls fit right in!
Frequently Asked Questions About Dinner Rolls
Got questions about whipping up these delightful homemade dinner rolls? I’ve got answers! It’s totally normal to have a few queries when you’re venturing into bread making, especially when you want them perfect for your Thanksgiving bread side.
Can I use instant yeast instead of active dry yeast for my dinner rolls?
You totally can! If you’re using instant yeast, you can skip the “proofing” step where we let the yeast get foamy. Just mix it right in with the dry ingredients. It usually works a bit faster, so keep an eye on that rise time!
My dinner roll dough didn’t rise. What could be wrong?
Oh no, that’s a bummer! Usually, it’s one of three things: your yeast might be old or dead (give it that warm water test first!), your water was too hot or too cold when you activated it, or maybe your kitchen was just too chilly for a good nap. Try finding a warmer spot, like a slightly warm oven (turned off!) or near a sunny window.
How do I get my homemade dinner rolls extra soft?
The secret to super soft fluffy roll recipe goodness? Don’t add too much flour when kneading – a little sticky is better than tough! Also, make sure you knead long enough until the dough is smooth and elastic, and don’t overbake them; pull them when they’re just golden brown.
Estimated Nutritional Information
Just a heads-up, these numbers are estimates, okay? They can totally change depending on the exact ingredients you use, like the brand of butter or flour. But generally, one of these delicious rolls will set you back around 200 calories, with about 8g of fat (5g of that’s the good saturated kind), 5g of protein, 28g of carbs, and roughly 5g of sugar. They’re just the perfect little bite to make your meal feel extra special!
Share Your Homemade Dinner Roll Creations!
I absolutely LOVE seeing what you bake up in your kitchens! When you make these homemade dinner rolls, please snap a pic and tag us on social media, or leave a comment below to tell me how they turned out. Knowing you guys are enjoying these baked goods makes my heart so happy. Check out our privacy policy if you have any questions about sharing!
PrintSoft and Fluffy Homemade Dinner Rolls
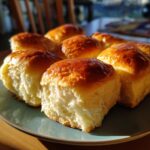
Bake soft, fluffy homemade dinner rolls with a buttery golden top for your holiday table. This recipe yields delicious rolls that are perfect for any special occasion.
- Prep Time: 25 minutes
- Cook Time: 20 minutes
- Total Time: 2 hours 45 minutes
- Yield: 12-16 rolls 1x
- Category: Bread
- Method: Baking
- Cuisine: American
- Diet: Vegetarian
Ingredients
- 1 cup warm milk (105-115°F)
- 2 ¼ teaspoons active dry yeast
- ¼ cup granulated sugar
- ½ cup unsalted butter, melted
- 2 large eggs, lightly beaten
- 1 teaspoon salt
- 4 cups all-purpose flour, plus more for dusting
- 2 tablespoons unsalted butter, melted (for brushing)
Instructions
- In a large bowl, combine warm milk, yeast, and sugar. Let stand for 5-10 minutes, until foamy.
- Stir in the melted butter, beaten eggs, and salt.
- Gradually add the flour, mixing until a soft dough forms.
- Turn the dough out onto a lightly floured surface and knead for 8-10 minutes, until smooth and elastic.
- Place the dough in a greased bowl, cover with plastic wrap, and let rise in a warm place for 1-1.5 hours, or until doubled in size.
- Punch down the dough and divide it into 12-16 equal pieces. Shape each piece into a ball.
- Place the dough balls into a greased 9×13 inch baking pan, leaving about 1 inch between them.
- Cover the pan and let the rolls rise for another 30-45 minutes, or until puffy.
- Preheat your oven to 375°F (190°C).
- Bake for 15-20 minutes, or until golden brown.
- Brush the tops of the warm rolls with melted butter.
Notes
- For make-ahead rolls, you can refrigerate the dough overnight after the first rise. Punch it down, cover tightly, and refrigerate. In the morning, let it come to room temperature for about 30 minutes before shaping and baking.
- You can also freeze baked rolls. Let them cool completely, then wrap them tightly in plastic wrap and then foil. Reheat in a 350°F oven for 10-15 minutes.
Nutrition
- Serving Size: 1 roll
- Calories: 200
- Sugar: 5g
- Sodium: 200mg
- Fat: 8g
- Saturated Fat: 5g
- Unsaturated Fat: 3g
- Trans Fat: 0g
- Carbohydrates: 28g
- Fiber: 1g
- Protein: 5g
- Cholesterol: 40mg