
Oh, friend, you know how much I love that pure, simple joy of making something wonderful right in my own kitchen? Well, it doesn’t get much simpler—or more rewarding—than whipping up a batch of authentic homemade yogurt. Forget those pricey containers filled with unnecessary stabilizers! Here at Bliss Batter, we believe in stripping things back to the basics, just like my grandmother taught me. You truly don’t need one of those fancy countertop yogurt makers, either. With just milk and a little patience, I’m going to show you how easy it is to get that perfectly creamy result right on your stovetop. Trust me, once you taste this fresh batch, you won’t go back!
- Why Making Homemade Yogurt is Worth Your Time
- Ingredients for the Easiest Authentic Homemade Yogurt Recipe
- Selecting the Best Milk for Homemade Yogurt Success
- Step-by-Step Instructions for Culturing Homemade Yogurt at Home Process
- Tips for Thick Homemade Yogurt and Achieving Creamy Yogurt Recipe Instructions
- How to Make Yogurt Without a Yogurt Maker: Incubation Alternatives
- Troubleshooting Runny Homemade Yogurt and Other Common Issues
- Storing and Preserving Your Homemade Yogurt Starter
- Understanding Your Results and Next Steps
Why Making Homemade Yogurt is Worth Your Time
I know what you’re thinking: why bother adding another step to my day? Honestly, when I started experimenting with DIY yogurt at home, I was skeptical too. But the difference in taste is night and day compared to what you buy at the store. When you make it yourself, you control everything! It saves you a surprising amount of money in the long run, especially if you love yogurt for breakfast every single day. Plus, it feels good knowing exactly what’s going into your food—no stabilizers, thickeners, or weird additives required. That first spoonful of truly fresh, creamy yogurt makes all the gentle stirring and waiting worthwhile!
- Purity: Zero preservatives or artificial ingredients. Just milk and live cultures!
- Cost Effective: Making large batches is significantly cheaper than buying quality brands weekly.
- Perfect Texture: You learn the secrets to achieving that ultimate creamy yogurt recipe instructions you’ve been searching for.
- Ultimate Freshness: The flavor is bright and clean in a way that store-bought yogurt just can’t match.
Controlling Flavor and Tang in Your Homemade Yogurt
This is my favorite part as a baker—it’s all about micro-adjustments! The speed and intensity of the bacterial action determine the final flavor. If you like a very mild yogurt, pull it before the full ten hours. Are you craving that sharp, complex tang that screams fresh dairy? Let it culture a little longer! It truly gives you control over the final taste profile.
Ingredients for the Easiest Authentic Homemade Yogurt Recipe
Okay, let’s talk supplies! When we are making true homemade yogurt, the ingredient list has to be wonderfully short. You don’t need a pantry full of specialty items for this one. You need high-quality milk—I always go with whole milk because it gives the best texture—and, critically, a really good, plain starter yogurt that has live, active cultures. Don’t grab the flavored stuff! I also have an optional secret weapon to help you get those thick homemade yogurt tips nailed down: a tiny bit of dry milk powder.
- 1 half gallon whole milk (or your favorite kind of milk!)
- 2 tablespoons plain yogurt with live active cultures (this is your starter!)
- 1 teaspoon milk powder (optional ingredient for extra thickness)
Selecting the Best Milk for Homemade Yogurt Success
Now, let’s get into what I think is one of the biggest secrets to truly amazing homemade yogurt: the milk! While you absolutely can use 2% or even skim milk, I always reach for whole milk. Why? Fat equals creaminess, plain and simple. The higher fat content helps create that satisfying, luxurious mouthfeel we are chasing when we make yogurt from scratch.
If you prefer to go dairy-free, you can certainly use oat milk or soy milk, but the results will be much thinner because they lack the necessary milk proteins. If you go that route, definitely add that milk powder, or maybe try making Greek yogurt banana bread next, since that recipe handles moisture differently! Finding the best milk for homemade yogurt really depends on your preference for thickness and flavor, but for classic results, whole milk is my go-to.
Step-by-Step Instructions for Culturing Homemade Yogurt at Home Process
Alright, time to put on my apron! This is where we start the actual culturing yogurt at home process. I know it looks like a few steps, but trust me, once you do it once, you’ll feel like a total pro. We are sticking to the stovetop method here, so grab a heavy pot where your milk won’t scorch easily. The whole point is keeping things gentle but precise, which is what makes our homemade yogurt turn out so incredible.
Heating and Cooling the Milk for Homemade Yogurt
First up, we need to gently heat that milk. Pour it into your pot and keep the heat on medium-low. You’re aiming for 180 degrees Fahrenheit—don’t boil it wildly, just get it hot while stirring often so the bottom doesn’t stick! Once it hits 180°F, immediately take it off the heat. Now comes the careful part: you must let it cool down to that magic zone between 110 and 115 degrees Fahrenheit. If it’s too hot, you’ll kill your cultures; if it’s too cool, they won’t wake up properly!
Tempering and Combining the Natural Yogurt Starter Culture
While the milk is cooling, prepare your starter. Take a small little bowl—don’t use the main pot for this! Scoop out about a cup of that warm milk and gently whisk in your 2 tablespoons of natural yogurt starter culture. You want that starter yogurt nice and smooth so it doesn’t just plop into the larger batch. Once that small amount is fully incorporated, pour that tempered mix back into the main pot of warm milk and give it a very gentle stir to combine everything evenly.
Incubation: Finding the Best Temperature for Yogurt Incubation
Now for the waiting game! Pour your mixture into some clean jars or whatever container you’re using and cover them—loosely is fine. We need a consistent warmth, which is the best temperature for yogurt incubation we talked about: around 110°F. If you don’t have a fancy machine, my favorite hack is to just turn your oven light on and close the door. That tiny bit of warmth is often plenty! If your kitchen is chilly, try a cooler filled with warm water bottles instead. Six to ten hours is the goal, and you can find more complete instructions on making yogurt from scratch if you want to explore your Instant Pot, but this low-tech method works like a charm!
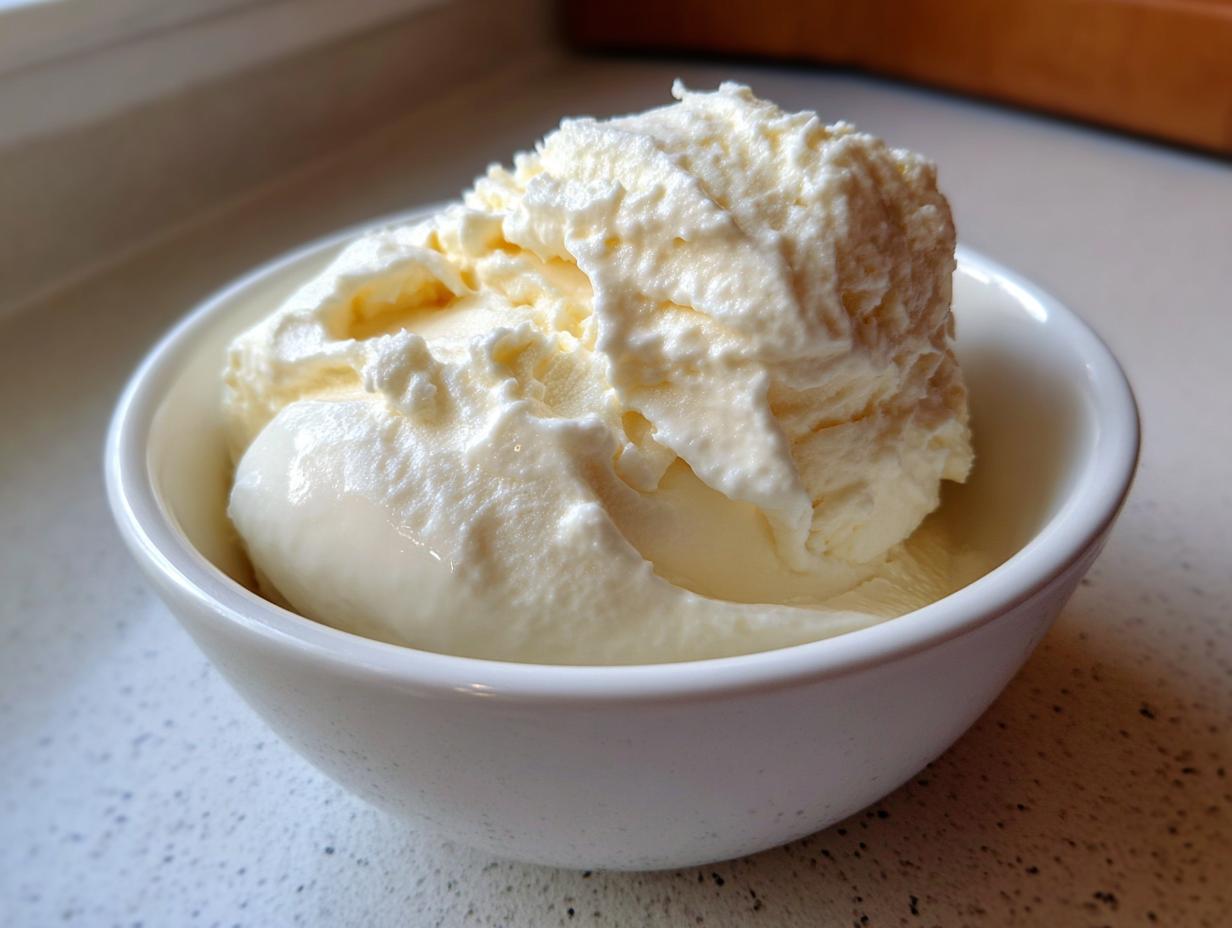
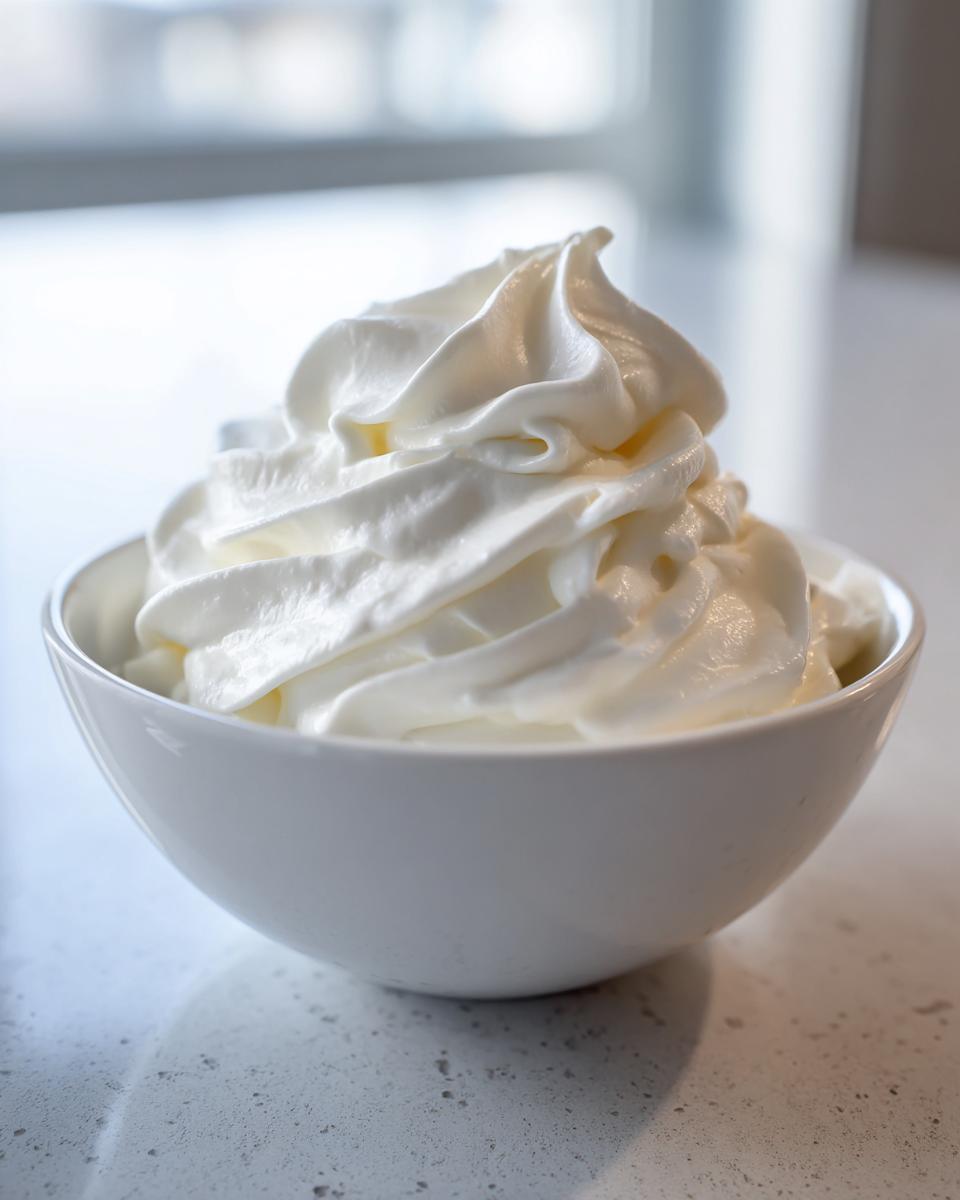
Tips for Thick Homemade Yogurt and Achieving Creamy Yogurt Recipe Instructions
So, you’ve let your homemade yogurt culture, and now you’re eager for that incredibly thick texture. Don’t worry, achieving those glorious results you see online is easier than you think! Remember that optional teaspoon of milk powder I mentioned? That’s one of my favorite easy tricks for ensuring you get those great thick homemade yogurt tips every time. It simply adds a little extra milk protein, which gives the finished product more structure.
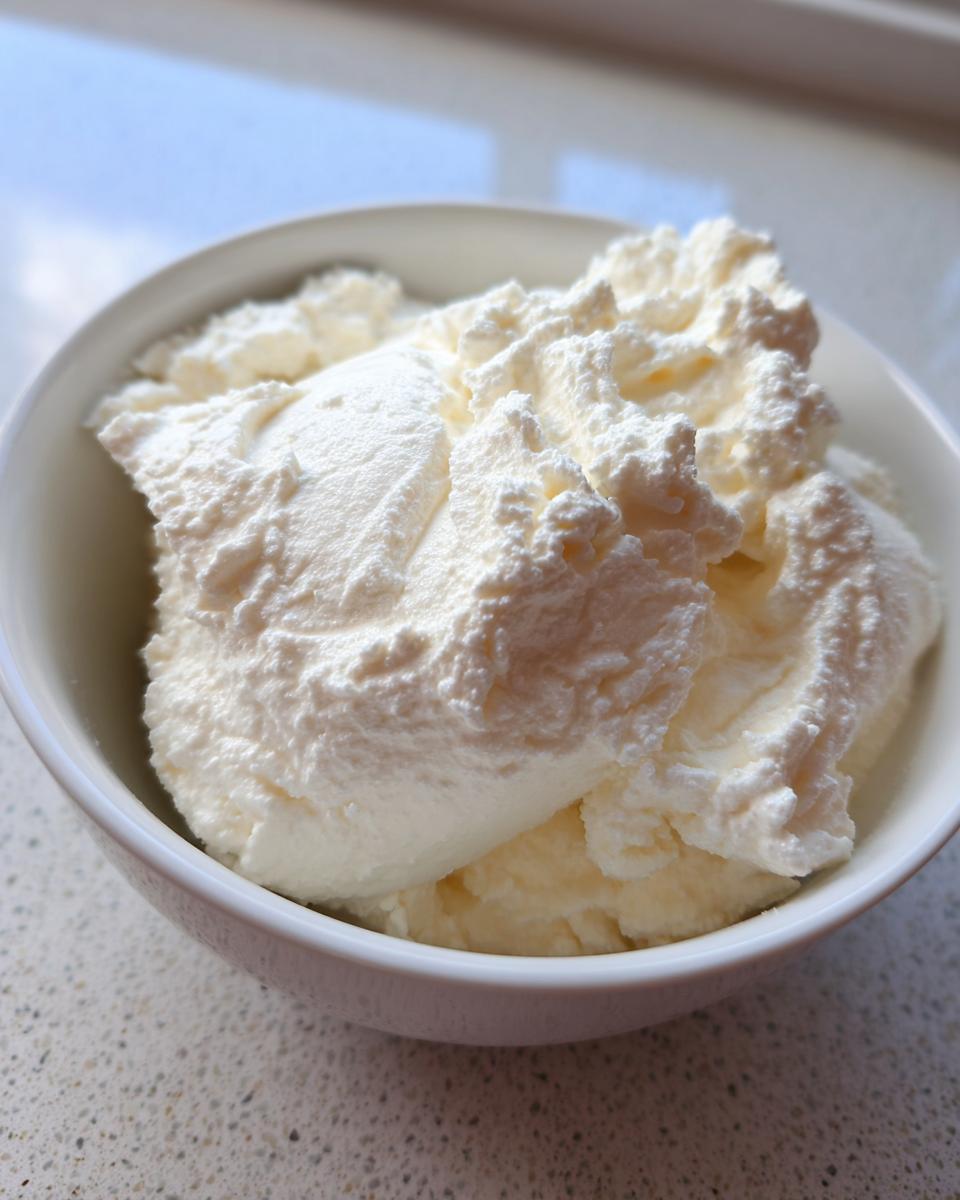
If you want that truly decadent, spoonable Greek texture, there’s only one way to go: straining! Once your yogurt is perfectly chilled, you gently spoon it into a colander lined very carefully with cheesecloth or a clean, thin kitchen towel. You let the watery whey drip out over several hours in the fridge. It’s hands-off magic! For a standard breakfast yogurt, just skipping the straining gives you wonderful creamy yogurt recipe instructions right out of the jar. If you decide to strain it, save that whey—it’s amazing for things like baking bread or adding protein to a smoothie, kind of like using it in my Greek yogurt banana bread!
How to Make Yogurt Without a Yogurt Maker: Incubation Alternatives
A dedicated yogurt maker sounds nice, but honestly? It just takes up extra precious counter space! The real beauty of making homemade yogurt is that you can accomplish the entire culturing process using things you already have lying around the house. We just need to keep the mixture warm—around 110°F—for that incubation period. This is where we prove just how easy this process is!
My absolute favorite no-fuss method is using your oven, but with the heat *off*! You just switch on the internal oven light. Often, that small amount of radiant heat is the perfect little incubator. If your oven’s light runs too hot, watch it closely for the first hour, but usually, it holds steady right where we need it. Another great option, especially if you’re worried about light exposure, is using a large, well-insulated cooler. Just fill it with warm water bottles—make sure the water temperature is safe and not scalding—and nestle your yogurt containers inside. It keeps the warmth in beautifully!
Troubleshooting Runny Homemade Yogurt and Other Common Issues
Even the best bakers have a flop now and then, and making homemade yogurt is no exception! Don’t panic if your beautiful mixture doesn’t set up quite right. The first thing folks worry about is usually runny yogurt, and I’ve got a straightforward tip for next time: try heating your milk a little hotter, up to 185°F, before you cool it down for the cultures. That extra heat helps the proteins bond better.
If you find your yogurt separating, it almost always means your incubation temperature got too high or you agitated it too much during that long cultural hold. For any issues related to troubleshooting runny homemade yogurt, remember that chilling it thoroughly in the fridge for that final six hours is non-negotiable; it firms up a *lot* once it gets cold!
Storing and Preserving Your Homemade Yogurt Starter
We’ve made this amazing homemade yogurt, but a big bonus is that you don’t have to run to the store to start the next batch! Always remember to save about two tablespoons of your fresh, finished yogurt before you eat any of it. That saved batch is your perfect preserving homemade yogurt starter for next time. Just cover that little bit tightly!
Once chilled, how long does it last? Well, because it’s so fresh and has no preservatives, I find my sealed containers of homemade yogurt are best used within about two weeks when kept in the fridge. But honestly, when it tastes this good, it never lasts that long anyway! Reuse your starter a few times, and if you notice the tang getting a bit too strong or the texture changing, just grab a fresh carton of store-bought yogurt to kickstart your cultures again.
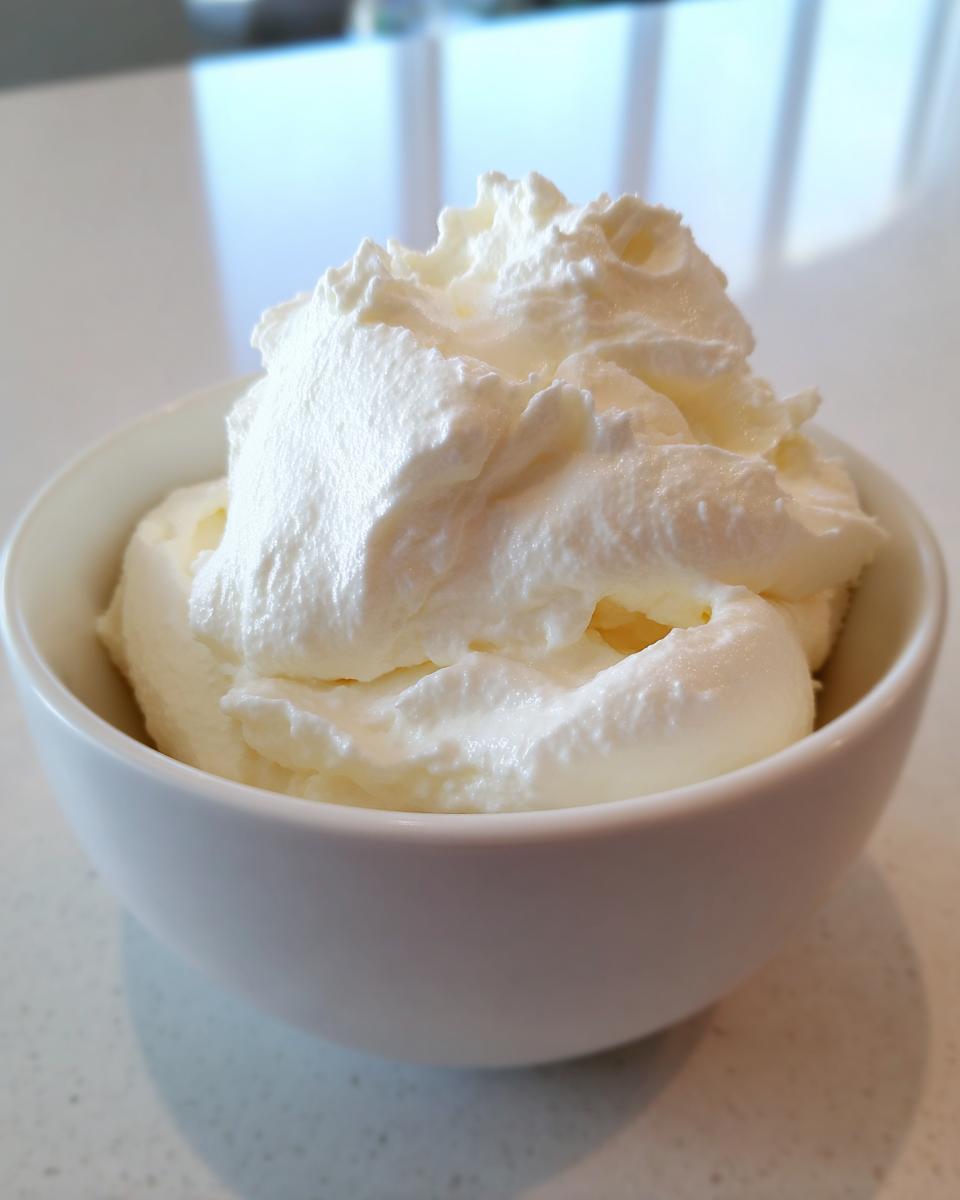
Understanding Your Results and Next Steps
Once your homemade yogurt has finished its long, delicious chill time in the refrigerator, it’s ready for the best part! Honestly, I rarely add anything other than a drizzle of real maple syrup to mine, but you can dress it up however you like. It’s absolutely decadent layered with fresh berries and a handful of your favorite crunchy granola. If you’re feeling extra creative, you could even swirl some homemade jam into it before serving!
If you’re feeling ambitious and want to use this fresh batch in something truly spectacular, consider whipping up some incredible apple pancakes this weekend and using the yogurt as a topping instead of sour cream. Enjoy tasting the difference true freshness makes!
PrintThe Easiest Authentic Homemade Yogurt Recipe (No Special Equipment Needed)

Learn how to make creamy, thick yogurt at home using just milk and a starter culture. This simple stovetop method works without a dedicated yogurt maker.
- Prep Time: 10 min
- Cook Time: 15 min
- Total Time: 10 hr 25 min
- Yield: 6 servings 1x
- Category: Dairy
- Method: Stovetop Incubation
- Cuisine: American
- Diet: Vegetarian
Ingredients
- 1 half gallon whole milk (or preferred milk type)
- 2 tablespoons plain yogurt with live active cultures (your starter)
- 1 teaspoon milk powder (optional, for thicker yogurt)
Instructions
- Heat the Milk: Pour the milk into a heavy-bottomed pot. Heat the milk slowly over medium-low heat until it reaches 180 degrees Fahrenheit on a thermometer. Stir often to prevent scorching the bottom.
- Cool the Milk: Remove the pot from the heat. Allow the milk to cool down to between 110 and 115 degrees Fahrenheit. This temperature is crucial for the cultures to thrive.
- Temper the Starter: In a small bowl, mix your 2 tablespoons of starter yogurt with about one cup of the warm milk until smooth. This prevents shocking the culture.
- Combine: Pour the tempered starter mixture back into the main pot of warm milk. Stir gently to combine everything thoroughly.
- Incubate: Pour the mixture into clean jars or a single container. Cover loosely. You must keep the yogurt warm (around 110 degrees Fahrenheit) for 6 to 10 hours. You can use an oven with just the light on, a cooler filled with warm water bottles, or an Instant Pot on the ‘Yogurt’ setting (if available).
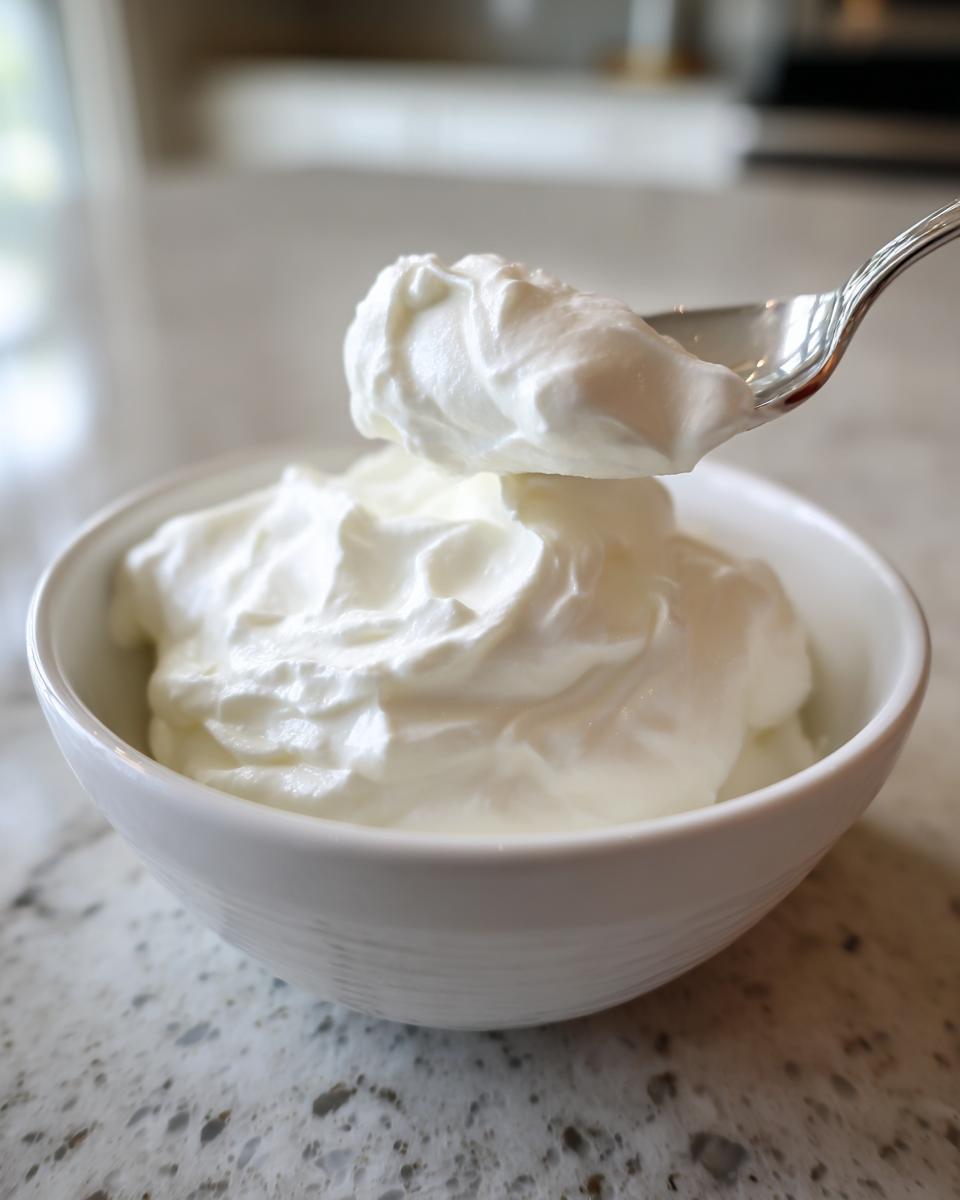
- Check for Set: After 6 hours, gently tilt a jar. If the yogurt is set and pulls away cleanly from the side, it is done. Longer incubation results in tangier yogurt.
- Chill: Once set, cover the containers tightly and move them to the refrigerator. Chill for at least 6 hours before serving. This stops the culturing process and helps the yogurt firm up.
Notes
- For Greek-style yogurt, strain the finished yogurt through cheesecloth set over a bowl for 2 to 4 hours to remove whey.
- You can save 2 tablespoons of this batch to use as the starter for your next batch. Keep it refrigerated.
- If your yogurt is runny, try heating the milk to a higher temperature (185 degrees Fahrenheit) next time, or add milk powder.
Nutrition
- Serving Size: 1 cup
- Calories: 150
- Sugar: 12
- Sodium: 60
- Fat: 8
- Saturated Fat: 5
- Unsaturated Fat: 3
- Trans Fat: 0
- Carbohydrates: 12
- Fiber: 0
- Protein: 10
- Cholesterol: 25