
There is just something about the smell of baking bread that screams *home*, isn’t there? For me, that aroma is doubled when it’s heading towards pizza night! Forget lukewarm delivery boxes; we’re making the absolute **Best Easy Homemade Pizza Dough Recipe** from scratch, and guess what? It’s shockingly simple. My mission here at Bliss Batter is to make those bakery-quality textures—soft, pillowy, yet with that satisfyingly chewy bite—accessible for any Tuesday night. This **pizza dough recipe** uses just six basic pantry staples, proving you don’t need a fancy imported setup to create delicious, scratch-made pizza magic right now. It truly is my go-to for finding peace after a hectic day. When you master this base, you’ll be making incredible things, like my amazing homemade cheese pizza in no time!
- Why This is the Best Easy Homemade Pizza Dough Recipe for Beginners
- Simple 6 Ingredient Pizza Dough Recipe Components
- How To Make Pizza Dough From Scratch: Step-by-Step Instructions
- Tips and Tricks for Mastering Homemade Pizza Dough
- Storing Your Pizza Dough Recipe Leftovers
- Serving Suggestions for Your Crispy Bottom Pizza Recipe
- Frequently Asked Questions About Our Pizza Dough Recipe
- Estimated Nutritional Breakdown for This Pizza Dough Recipe
- Share Your From Scratch Pizza Night Creations
Why This is the Best Easy Homemade Pizza Dough Recipe for Beginners
I honestly believe this is the perfect starting point for anyone who thinks making bread is too hard. It’s the best **pizza dough recipe** because it gives you such a massive texture payoff for very little effort. Seriously, you only need six basic ingredients. No weird stuff, no complicated long ferments needed just to get good flavor!
- It’s quick enough for a weeknight—we’re talking ready for the oven in about two hours total.
- The texture isn’t just ‘okay’; it’s that beautiful soft interior with a great chew.
- It’s incredibly beginner-friendly! If you can mix ingredients, you can master this dough.
If you’re looking for ways to keep your week moving without resorting to packaged stuff, check out some of my other ideas for easy Weeknight Dinners. This dough is the star!
Achieving That Perfect Chewy Pizza Crust Tutorial
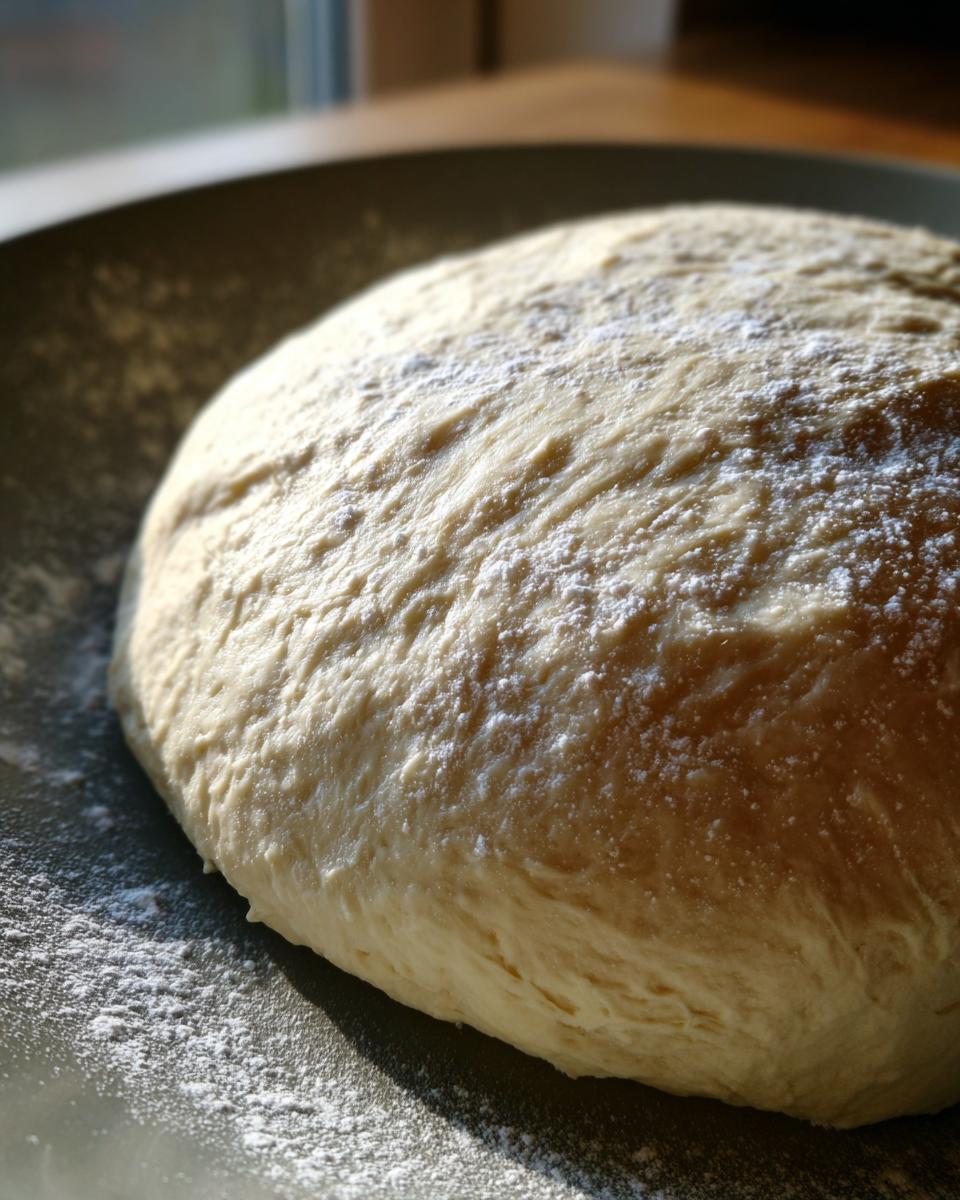
The secret to that chewiness is actually in the rising, my friend. That 90-minute rest lets the yeast wake up and develop those wonderful gluten strands that give you that satisfying mouthfeel. Unlike a true *no knead pizza dough alternative*, this recipe requires just a few minutes of work to get the gluten structure started correctly.
When you punch it down after the rise, you’re just setting the stage for a crust that’s soft but springs back when you poke it. That’s the sign of a successful **chewy pizza crust tutorial** experience!
Simple 6 Ingredient Pizza Dough Recipe Components
When we talk about a great **pizza dough recipe**, we don’t need to hide behind a huge list of esoteric items. Nope! This is about pure, simple baking. These are the basic components that bring our **homemade pizza crust recipe** to life. Honestly, using good quality flour makes a huge difference here—it’s got the character to hold air and give you that beautiful rise we want!
Essential Ingredients for Your Homemade Pizza Crust Recipe
I learned early on that great results come from perfect measurements, especially with yeast doughs. Don’t skip the temperature details! You need:
- 1 1/2 cups warm water (Make sure it’s 105°F to 115°F, not hotter, or you’ll stun the yeast!)
- 2 1/4 teaspoons active dry yeast (that’s just one standard packet, easy peasy)
- 1 teaspoon granulated sugar (just a little treat for the yeast to wake up)
- 3 3/4 cups all-purpose flour, plus more for dusting (use bread flour later if you want extra chew!)
- 2 tablespoons olive oil, plus more for the bowl (use the good stuff if you can!)
- 1 1/2 teaspoons salt (don’t skimp, this adds the flavor backbone)
How To Make Pizza Dough From Scratch: Step-by-Step Instructions
Okay, deep breath! Making dough from scratch always feels like a huge accomplishment, but I promise you, following these steps for our **pizza dough recipe** is so straightforward. We are going step-by-step, so no rushing, just following along until you have that perfect smooth ball ready for its nap. Think of this as a calm, meditative hour in your kitchen—it is worth every second!
Activating the Yeast and Mixing the Dough
First things first: we need to wake up the yeast, which is the very soul of our dough! In a nice big bowl, whisk together that warm water, the yeast, and that little dose of sugar. Now, this is where you have to stop and watch! Let this mixture sit for 5 to 10 minutes until it becomes foamy. That foaminess is the yeast saying, “Hello, I’m alive and ready to work!” Once it’s bubbly, stir in your olive oil and the salt before we start adding the heavy stuff.
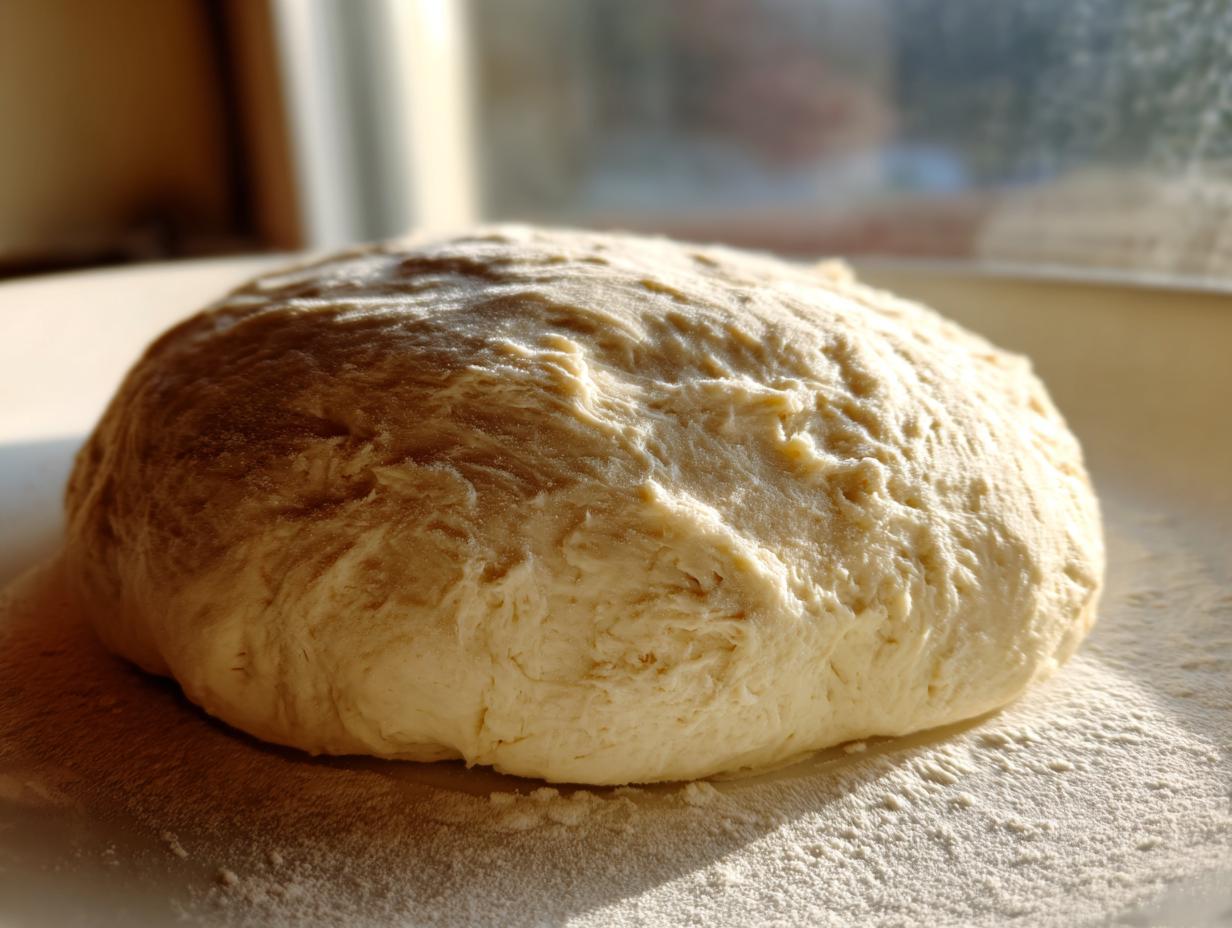
Kneading for a Perfect Fluffy Pizza Base
Next up is the fun, slightly muscular part: kneading! Turn that shaggy mess onto a lightly floured surface—and I mean lightly! Then, you need to knead the dough for a good 5 to 7 minutes. You’re looking for it to transform from something sticky and ugly into a dough that feels smooth and elastic when you tug it. If it’s still sticking uncomfortably to your hands, dust on a tiny bit of extra flour, but be careful! Too much flour and you lose the magic of that **perfect fluffy pizza base**.
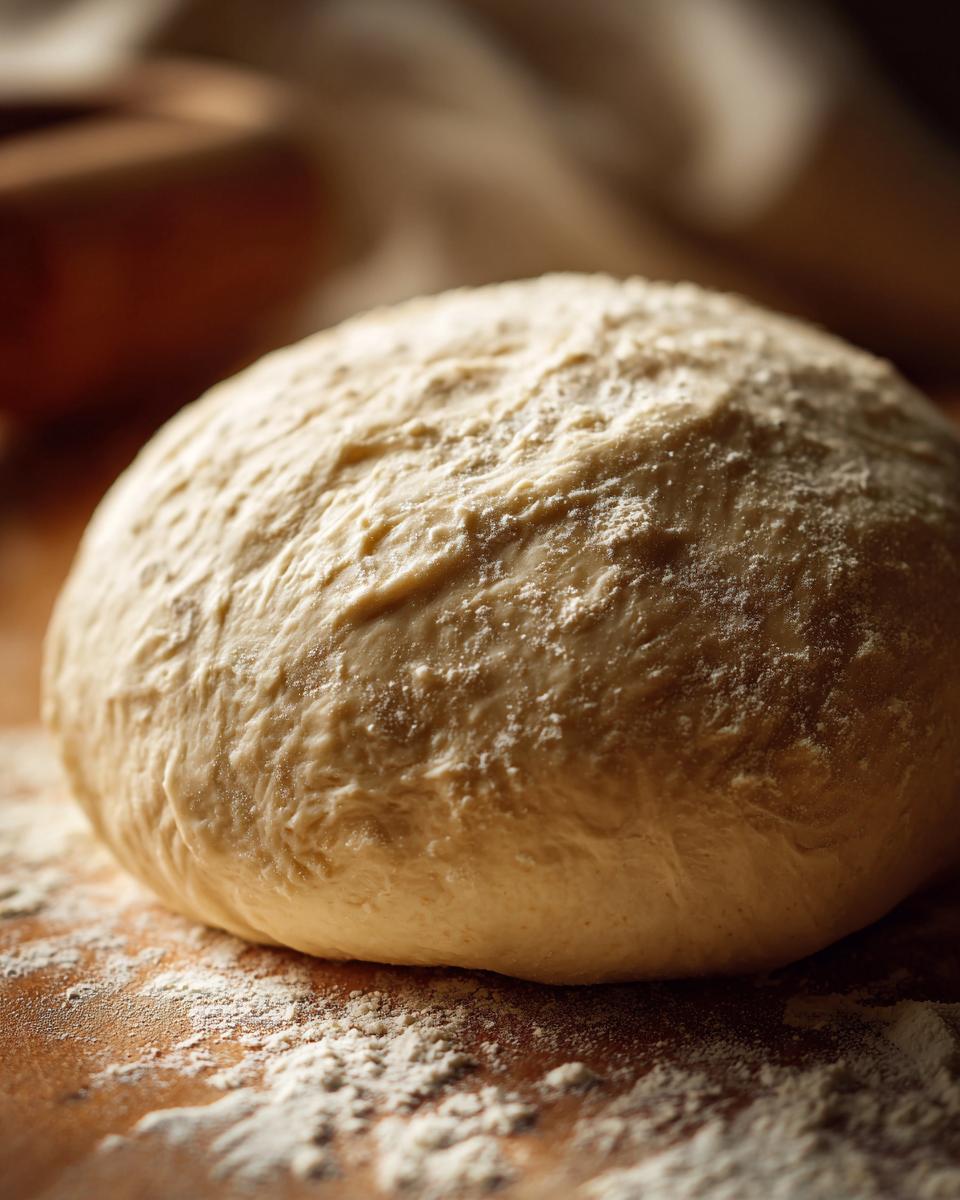
The Essential Rise Time for Your Pizza Dough Recipe
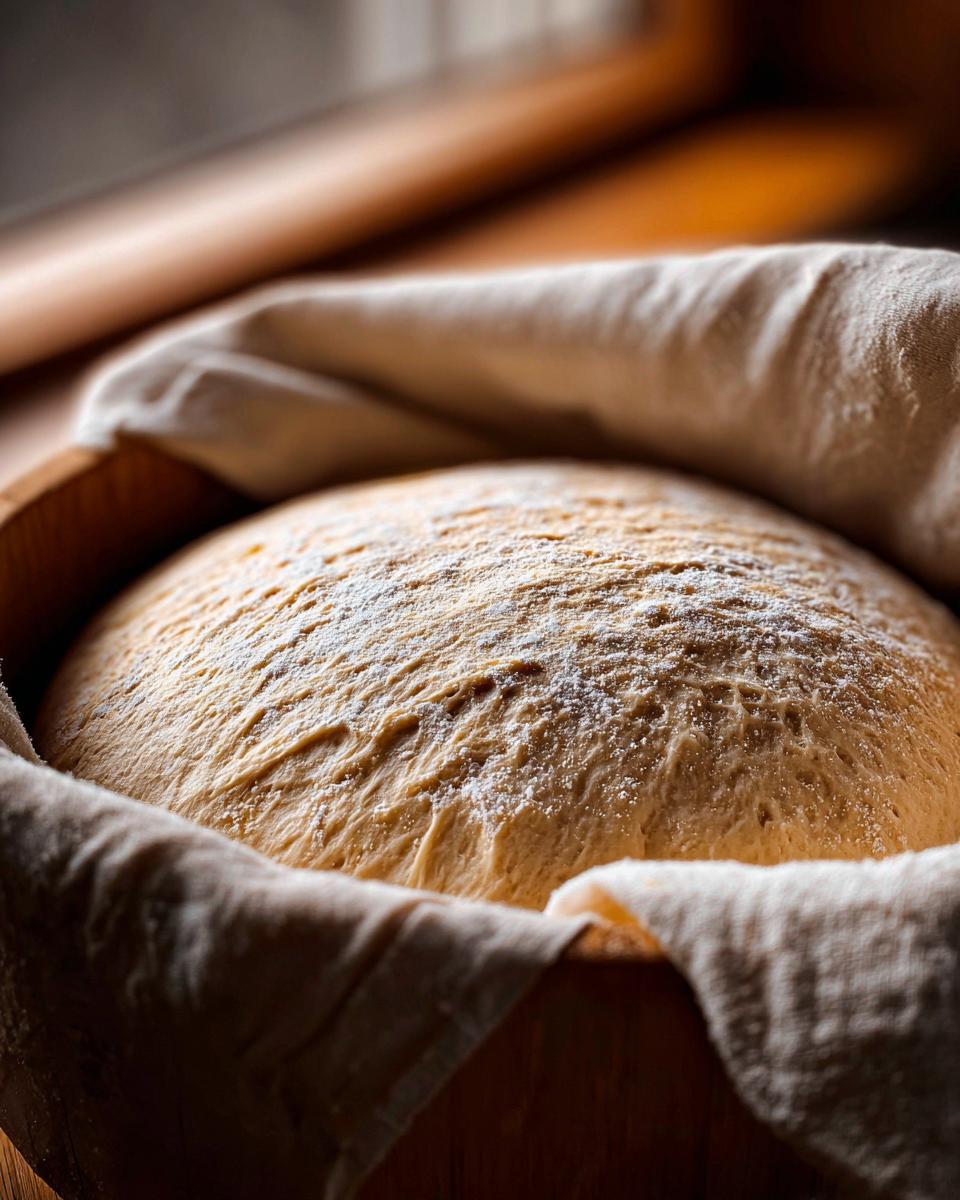
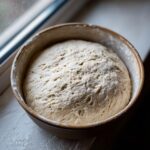
Once you have that beautiful, smooth ball, we get to the patience part! Lightly coat a clean, large bowl with a drizzle of olive oil—this stops it from sticking to the sides while it rests. Place the dough in there, flip it over so it gets coated everywhere, and cover it tightly. Now, pop it somewhere warm! This slow rise is absolutely essential for the **pizza dough recipe** because it’s what builds the complex flavor and that wonderful, airy texture. Let it cozy up in a warm spot for about 1 to 1.5 hours, or until it looks satisfyingly doubled up. You know you’ve done it right when you gently punch it down and it sighs back at you!
If you want to see how I finish this dough off the Italian way, check out my deep dive on getting that pizzeria crust!
Tips and Tricks for Mastering Homemade Pizza Dough
It’s one thing to follow the steps, and another thing entirely to master the dough, right? Since we are committed to making you feel super confident, I wanted to share a few of my favorite things I’ve learned over the years that take this simple base and turn it into something truly impressive. These little secrets are what bridge the gap between a good crust and an amazing, **artisan pizza dough** experience. Don’t worry about needing tons of special equipment; these tips stick to the basics!
Ingredient Swaps for Artisan Pizza Dough Secrets
If you really want to go for that incredible chewiness—that texture you find in those fancy brick oven places—you can swap out some of that all-purpose flour for bread flour. Bread flour has more protein, which builds stronger gluten nets. Also, remember that water temperature I mentioned? If your water is even slightly too cold, your yeast will be grumpy and slow, making the texture suffer. A happy yeast makes for great **artisan pizza dough secrets** being unlocked!
Make Pizza Dough Tonight: Timing Adjustments
I know life is busy, and sometimes you need that pizza *tonight*! The good news is that while a longer, slow cold ferment in the fridge builds fantastic flavor, this recipe is designed to deliver for a **quick yeast dough recipe** scenario. Ninety minutes of rising time is usually perfectly sufficient for a great bake if your kitchen is reasonably warm. If you have time later, great, but don’t stress if you need dinner on the table sooner!

Speaking of baking, if you’ve ever made my pumpkin beer bread, you know I love a good hearty base. This dough offers that same kind of satisfying texture!
Storing Your Pizza Dough Recipe Leftovers
Now, this is a fantastic bonus about using an active yeast **pizza dough recipe**: you don’t have to use it all at once! Most evenings, a full batch is almost too much, and I certainly don’t want to waste any of that hard work. The best way to handle leftovers is right there in the fridge.
Once the dough has done its first rise and you’ve gently punched it down (Step 7 in the instructions!), lightly oil the pieces you want to save and wrap them *really* tightly. I mean completely sealed with plastic wrap or tuck them into an airtight container. This keeps the dough from drying out completely. You can keep that dough happy in the refrigerator for up to three days. Isn’t that handy? You get one great pizza tonight and another pizza ready to go later this week!
But here is the most crucial part if you’re saving it: you absolutely must let it come back to life before you try to stretch it. Don’t rush this! Pull the dough out of the fridge about 90 minutes before you plan to shape your next pizza. It needs time to warm up so the gluten relaxes and it becomes pliable. If you try to roll it out cold, it snaps back constantly! Trust me, giving it that warm-up time makes shaping so much easier.
Serving Suggestions for Your Crispy Bottom Pizza Recipe
Now that you’ve mastered the dough foundation, the real fun begins! This crust is so versatile; its slight chewiness means it handles rich sauces and heavy toppings beautifully. For a classic vibe, you can’t go wrong with my recipe for pepperoni pizza recipe—it’s always a crowd-pleaser. Because this dough results in such a satisfyingly robust base, it holds up perfectly against a pile of fresh mozzarella and basil.
If you’re keeping it slightly lighter, this **crispy bottom pizza recipe** pairs unbelievably well with a simple side! I often serve mine alongside a big bowl of creamy classic tomato soup recipe, especially when the weekend weather is cool. It brings back those nostalgic comfort feelings associated with homemade food.
Frequently Asked Questions About Our Pizza Dough Recipe
I know when you’re trying a new **pizza dough recipe**, sometimes a few extra details just click everything into place. That’s totally normal! I’ve gotten so many helpful questions over the years about this dough, so I wanted to pull a few of the most common ones right here. It’s all about building confidence so your next **from scratch pizza night** is a total success!
Can I use bread flour in this pizza dough recipe?
Oh, yes, you absolutely can! If you look back in my notes, I mentioned this little secret. If you swap out some or all of the all-purpose flour for bread flour, you are going to notice a textural difference. Bread flour has higher protein content, and that creates a stronger gluten structure. This means you get that fantastic, slightly stronger chew that mimics those high-end pizzerias. It’s a simple swap that really elevates the crust quality!
What is the difference between this and a No Knead Pizza Dough Alternative?
That’s a really smart question. The main difference comes down to texture and time. With a *no-knead pizza dough alternative*, you rely on a very long, slow rest (often overnight in the fridge) for the texture to develop, and you skip the hands-on kneading process. In this recipe, we actively knead for those few minutes, which forces the gluten to align and develop quickly. This means you get a great, pliable dough that’s ready in about two hours, giving you that lovely, balanced chewiness that I love so much, without waiting until tomorrow for dinner!
How long does the dough need to rise if my kitchen is cold?
Yeast hates the cold, just like us! If your kitchen is chilly—maybe it’s winter or you’ve got drafty windows—that 90-minute rise time might stretch out to two or even three hours, and that’s frustrating when you’re hungry. Here’s my favorite trick: find a spot that stays a consistent 75°F or so. My go-to move is placing the covered bowl inside your oven, but **make sure the oven is definitely turned OFF**. Just turn the little internal light on; that tiny bit of heat is usually perfect for creating a cozy, consistent environment for your dough to thrive. It really speeds things up and ensures you get that beautiful rise for your deep dish pizza recipe inspiration later!
Estimated Nutritional Breakdown for This Pizza Dough Recipe
Okay, let’s talk fuel! When you are bringing everyone together for a *From Scratch Pizza Night*, you want to have a general idea of what’s in that wonderful crust you just worked so hard to create. I want to be super clear here: these numbers are estimates. I calculated them based on the full yield of the entire batch, assuming we divide the dough into two equal balls for two medium pizzas. This is fantastic information if you’re tracking macros, but remember, the toppings you add later are going to change the final tally!
This breakdown is for half of the dough (one dough ball):
- Serving Size: 1/2 dough ball
- Calories: About 450! (Worth it for homemade goodness, I promise!)
- Carbohydrates: 90g
- Protein: 15g
- Fat: 4g (Mostly healthy fat from that lovely olive oil)
- Sugar: 2g (Just the tiny bit added for the yeast)
- Sodium: 550mg
- Fiber: 4g
- Cholesterol: 0mg
See? Pretty straightforward! It’s mostly fantastic complex carbs to give you energy for an evening of family fun. This base is a powerhouse, and it doesn’t come with any of that processed additives you find in store-bought stuff. It’s pure, simple goodness, just the way I like it around here at Bliss Batter!
Share Your From Scratch Pizza Night Creations
Now that you have wrestled your dough into submission and baked up a heavenly crust, the absolute best part of all this effort is hearing from you! I pour my heart into developing these recipes to make your life easier and your meals tastier, and knowing they worked for you means everything. Did you manage that perfect chew you were aiming for? Are you already planning the toppings for next week?
Please, please drop a rating below and tell me how your **from scratch pizza night** went! Even if you had a little dough-related hiccup, tell me about it! We are all learning together here at Bliss Batter, and your feedback helps other bakers feel confident trying this **pizza dough recipe** next.
If you managed to snap a picture of your glorious finished pie—maybe you tried an authentic Italian topping combination, or just kept it wonderfully simple—I would absolutely love to see it! Tag me on social media or send it over. It brings me such joy to see the delicious creations happening in your kitchens, far away from mine! If you need more inspiration or want to know more about the philosophy behind making baking accessible, you can always read a little more about my story here. And hey, if you’re looking for more speedy dough ideas, check out this great resource I found, Fast Pizza Dough, for comparison!
PrintThe Best Easy Homemade Pizza Dough Recipe (Soft, Chewy Crust)
Make the best homemade pizza dough from scratch tonight. This simple recipe uses only six basic ingredients to create a soft, chewy crust perfect for weeknight pizza.
- Prep Time: 20 min
- Cook Time: 15 min
- Total Time: 2 hours 35 min
- Yield: 2 medium pizzas 1x
- Category: Dinner
- Method: Baking
- Cuisine: American
- Diet: Vegetarian
Ingredients
- 1 1/2 cups warm water (105°F to 115°F)
- 2 1/4 teaspoons active dry yeast (one standard packet)
- 1 teaspoon granulated sugar
- 3 3/4 cups all-purpose flour, plus more for dusting
- 2 tablespoons olive oil, plus more for the bowl
- 1 1/2 teaspoons salt
Instructions
- In a large bowl, combine the warm water, yeast, and sugar. Let this mixture sit for 5 to 10 minutes until it becomes foamy. This shows the yeast is active.
- Add the olive oil and salt to the yeast mixture and stir briefly.
- Gradually add the flour, one cup at a time, mixing with a wooden spoon until a shaggy dough forms.
- Turn the dough out onto a lightly floured surface. Knead the dough for 5 to 7 minutes until it becomes smooth and elastic. If the dough sticks, add a small amount of extra flour, but avoid adding too much.
- Lightly coat a large, clean bowl with olive oil. Place the dough ball in the bowl and turn it over so the top is lightly coated with oil.
- Cover the bowl tightly with plastic wrap or a clean kitchen towel. Place the bowl in a warm spot and let the dough rise for 1 to 1.5 hours, or until it has doubled in size. This step develops the flavor and texture.
- Gently punch down the risen dough. Divide it into two equal pieces for two medium pizzas, or use the entire batch for one large pizza.
- Shape the dough into your desired pizza crust shape on a lightly floured surface or pizza peel. Top with your favorite sauce and toppings and bake according to your pizza recipe instructions.
Notes
- For a chewier crust, use bread flour instead of all-purpose flour.
- If you are making pizza tonight, a 90-minute rise is usually enough time for a great result.
- You can store the unrisen dough in the refrigerator for up to 3 days, covered tightly. Let it come to room temperature before shaping.
Nutrition
- Serving Size: 1/2 dough ball
- Calories: 450
- Sugar: 2
- Sodium: 550
- Fat: 4
- Saturated Fat: 1
- Unsaturated Fat: 3
- Trans Fat: 0
- Carbohydrates: 90
- Fiber: 4
- Protein: 15
- Cholesterol: 0