
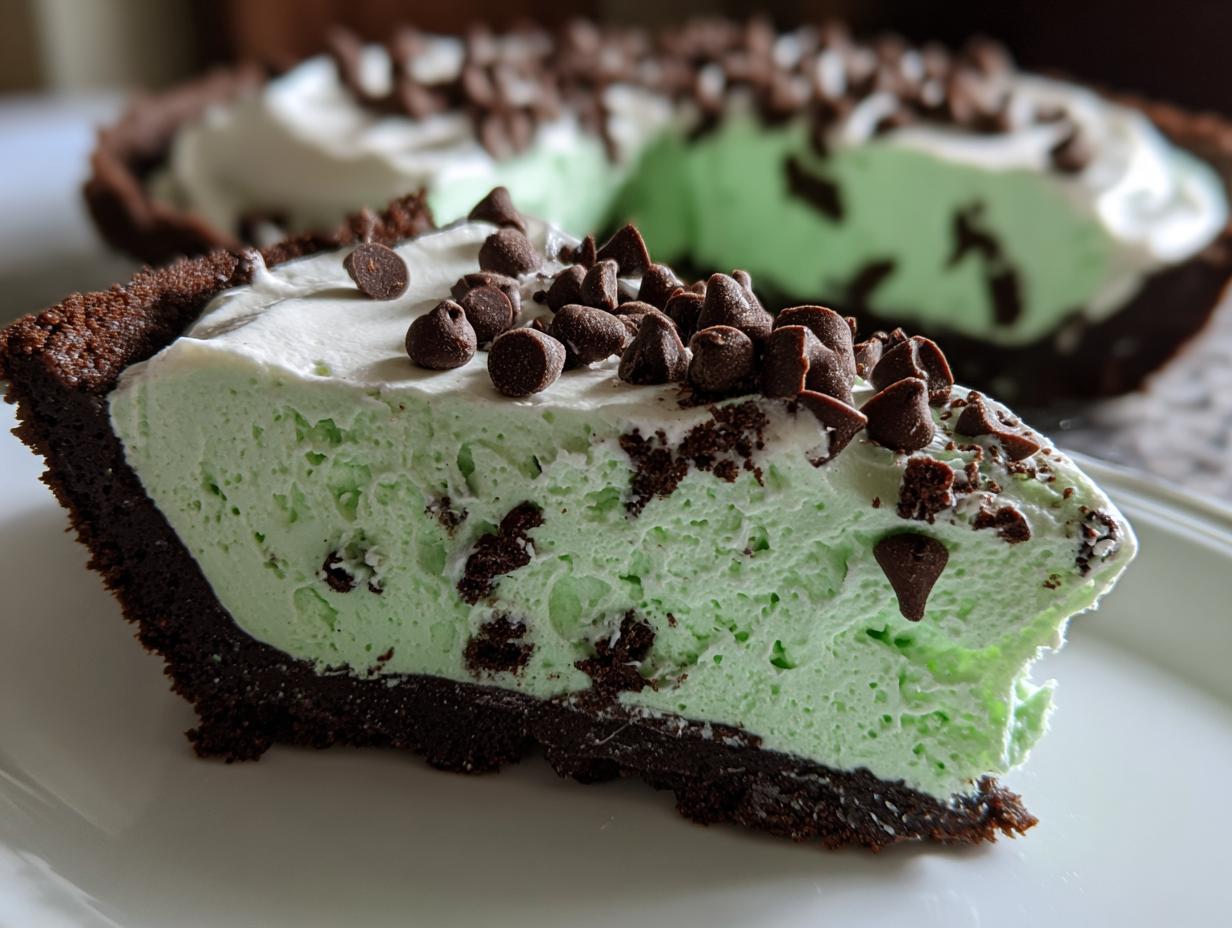
When the weather heats up, or honestly, whenever I just don’t want to fuss with the oven, I reach for my list of favorite no-bake desserts. And at the very top, shining green and utterly delicious, is the one, the only, Grasshopper Pie. This isn’t just any pie; it’s that retro, creamy, mint chocolate dream we all remember, made unbelievably easy for today’s busy cooks. Trust me, I spent ages perfecting this recipe right here in my kitchen so it slides out of the pan perfectly every time, ensuring it’s truly family-friendly without an ounce of alcohol. If you love easy chilling desserts, you absolutely must try this incredibly simple version, which reminds me a bit of my famous no-bake chocolate lasagna. It’s pure, cool bliss!
- Why This No Bake Grasshopper Pie Recipe is Your New Family Favorite
- Gathering Ingredients for Your Grasshopper Pie Recipe
- Step-by-Step Instructions for the No Bake Mint Pie
- Tips for Success with Your Easy Chocolate Mint Dessert
- Serving Suggestions for This Retro Mint Dessert
- Storage and Make-Ahead Tips for Grasshopper Pie
- Frequently Asked Questions About Grasshopper Pie
- Estimated Nutritional Data for This Mint Chocolate Delight
- Share Your Homemade Grasshopper Pie Creations
Why This No Bake Grasshopper Pie Recipe is Your New Family Favorite
I have tested countless ways to get that perfect, dreamy texture for this pie. I promise you, this recipe is the one that keeps giving! It’s all about nailing that balance between the rich chocolate crust and the light, airy filling. I wouldn’t share it if I hadn’t made it at least four times until it was absolutely foolproof. It’s the ultimate simple make-ahead dessert that impresses everyone.
- Zero Oven Time: That’s right—this is a true no bake mint pie. Perfect for those hot days when turning on the stove feels like a crime!
- Flavor Explosion: You get that classic, refreshing mint paired perfectly with deep chocolate in every single bite.
- Unbeatable Texture: The filling sets up beautifully, achieving that cool and creamy, almost mousse-like consistency we all crave in a great Grasshopper Pie.
Honestly, it’s the easiest way to make a dessert that tastes like you worked all day. If you love my fudge recipe, you’ll understand why I want this rich chocolate element everywhere!
The Appeal of a Cool and Creamy Pie
When people search for this pie, they want something light and airy, not dense or heavy. That’s exactly what we achieve here! By whipping the cream separately and gently folding it in, we trap all that beautiful air. This results in a filling that feels like velvet melting on your tongue. It’s the perfect, refreshing summer pie finish after a big meal, or honestly, a perfect afternoon snack straight from the fridge. It’s reminiscent of the best parts of my no-bake cheesecakes—cool, smooth, and ready when you are!
Gathering Ingredients for Your Grasshopper Pie Recipe
Okay, let’s talk about what you need for this gorgeous, easy chocolate mint dessert. Since this is my tried-and-true non alcoholic grasshopper pie, we are relying on pure mint extract for that blast of freshness, not any fancy liqueurs. I always say, using quality ingredients makes the process easier! Think about your cream cheese and heavy cream—make sure they are fridge-cold when you need them, especially that cream! You can find tips on how I choose ingredients for my savory bakes, like my buttermilk biscuits, but for this pie, the real structure comes from the right ratios here.
Oreo Crust Pie Components
The base is crucial, it needs to be sturdy enough to hold that creamy grasshopper filling! Don’t skimp on those chocolate cookies; they are the backbone of this dessert.
- 1 1/2 cups chocolate cookie crumbs (Trust me, that’s about 30 whole cookies, crushed fine!)
- 1/4 cup unsalted butter, melted until nice and liquidy.
Creamy Grasshopper Filling Ingredients
This is where the magic happens, creating that fluffy, minty layer! Make sure you have your tools ready—a stand mixer or a good hand mixer is going to make this filling truly light.
- 8 ounces cream cheese, softened perfectly—let it sit out for at least an hour!
- 1 cup powdered sugar (for the base mixture).
- 1 teaspoon pure vanilla extract.
- 1 teaspoon mint extract—don’t let this sit too long once it’s in the bowl!
- 1-2 drops green food coloring (Only if you want that classic, bright look! It’s totally optional, though).
- 1 1/2 cups heavy whipping cream, cold—super cold is key for stiff peaks.
- 1/4 cup powdered sugar (This is just for adding fluffiness to the whipped cream).
- 1/2 cup mini chocolate chips (These get folded in last for lovely little chocolate surprises).
- Shaved chocolate or extra cookie crumbs (For the grand finale garnish!).
Step-by-Step Instructions for the No Bake Mint Pie
Alright, now that we have all our beautiful ingredients lined up, it’s time for the fun part! Since this is a no-bake recipe, our ‘cooking’ is really just mixing and chilling, which is my favorite kind of kitchen activity. We need to be deliberate about how we mix the filling, though, because we don’t want to deflate all that air we’re about to whip in. Follow these steps exactly, and you’ll have the most gorgeous grasshopper pie ready for tomorrow’s dinner!
Preparing the Chocolate Cookie Crust
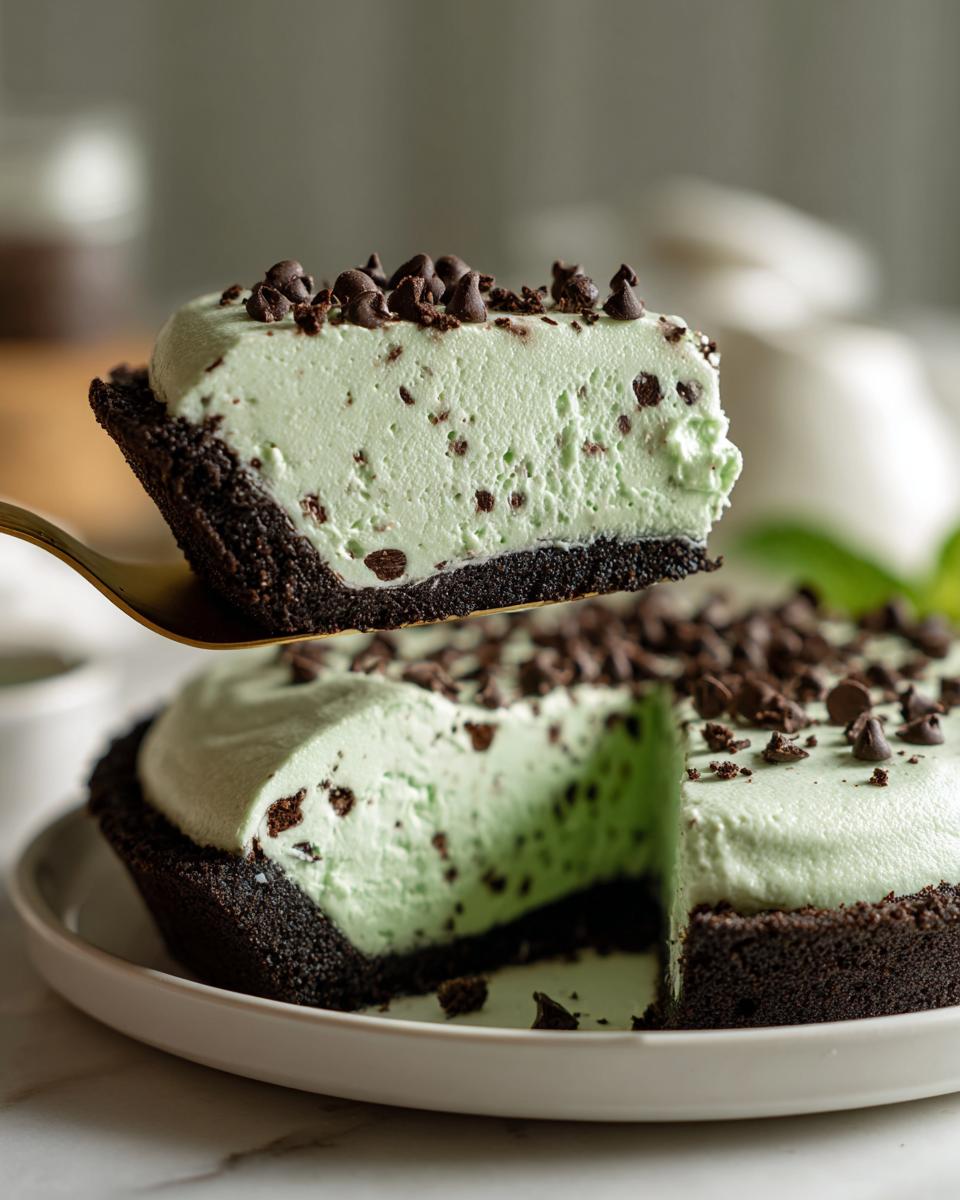
First thing’s first: the base! Grab your chocolate cookie crumbs and that melted butter. You just toss them together in a bowl—it should look like wet, dark sand. Don’t be shy here; you need to press it really firmly into the bottom and up the sides of your 9-inch pie plate. I use the bottom of a measuring cup to really pack it down tight. This density is what keeps it from crumbling when you slice it later. Once it’s packed, slide it into the freezer while you handle the creamy filling. A frozen crust sets up super fast!
Creating the Fluffy Creamy Grasshopper Filling
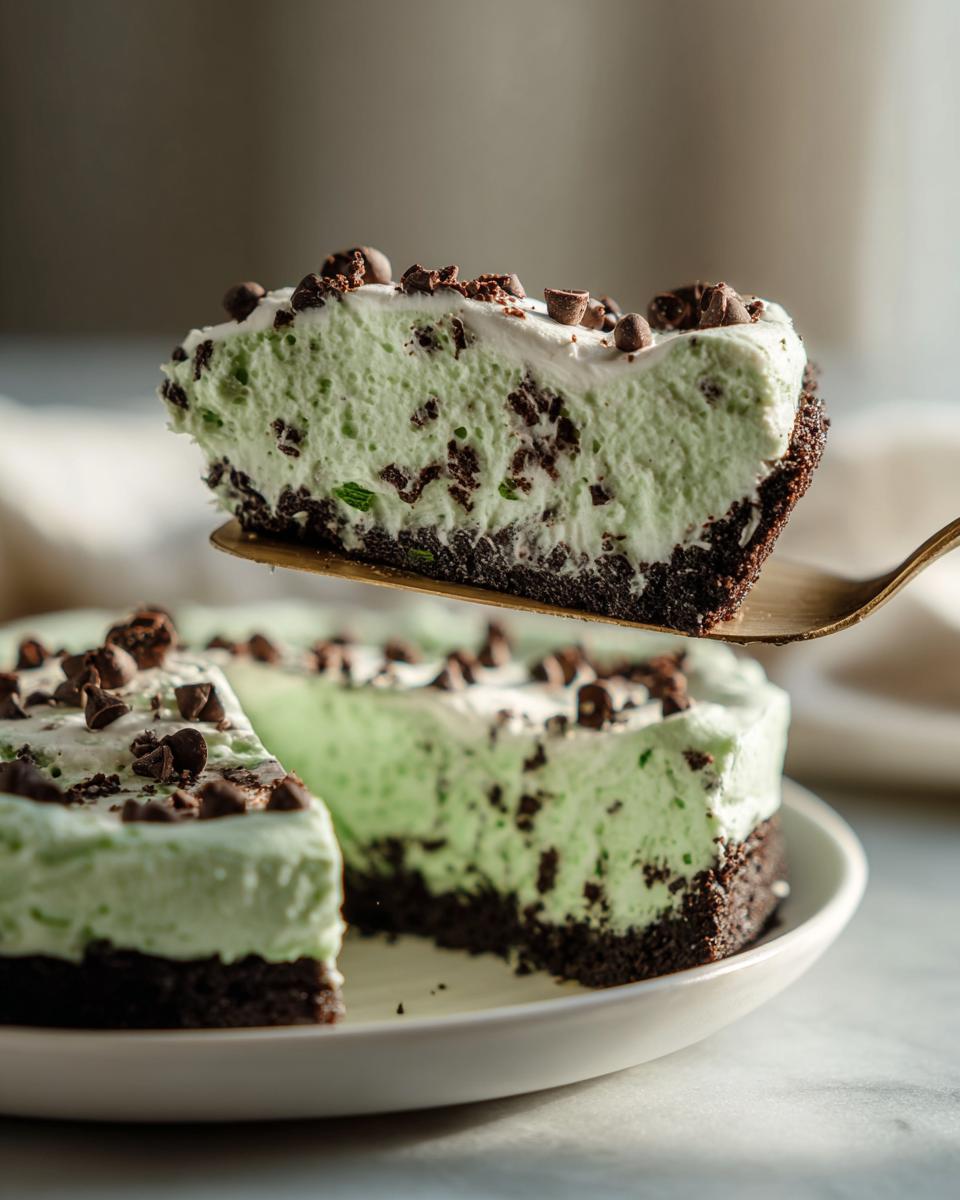
This is a two-part operation, so keep your bowls separate! First, we tackle the cream cheese mixture. Beat your softened cream cheese until it’s absolutely smooth—no lumps allowed! Then gradually add that first cup of powdered sugar, followed by your vanilla and mint extracts. If you’re adding color, drop in just a tiny bit of green now so it colors the base evenly, then set this aside. Next, in a separate, perfectly clean bowl, whip your cold heavy cream with the extra 1/4 cup of powdered sugar until you see stiff peaks forming. You want that cream to look like perfect clouds. Now, the trickiest part: gently fold about one-third of that whipped cream into the cream cheese mix to lighten it up. Then, gently, gently fold in the rest of the cream and those mini chocolate chips. Always fold, never beat, or you’ll deflate all that wonderful air we just created for that mousse-like texture!
Assembling and Chilling Your Grasshopper Pie
Once the filling is light and everything is just combined—stop mixing! Pour that gorgeous, minty cream right into your waiting, chilled chocolate cookie crust. Spread it out evenly. Now comes the hard part: waiting! You need to cover this loosely and let it set in the fridge for a minimum of six hours, but I cannot emphasize this enough: overnight is always best. That extended chill time ensures it turns into that firm yet creamy structure we are aiming for. It truly is the perfect simple make-ahead dessert!
Tips for Success with Your Easy Chocolate Mint Dessert
It flows so nicely when you follow the steps, but just like with my other mint chocolate treats, a couple of little secrets can take this grasshopper pie from great to absolutely legendary. Since this recipe is so simple, the quality of your technique really shines through. My biggest piece of advice? Don’t rush the chilling time, and for heaven’s sake, don’t over-whip your cream!
Ingredient Adjustments and Substitutions
I love that you can really tailor this best mint pie to your needs, whether you’re baking for adults or just serving up a quick treat for the kids. Here are a few swaps I’ve tested when I’ve played around with the core recipe:
- If You Need Extra Firmness: Sometimes, if my kitchen is super warm, I worry about the softness of the cream cheese base. You can totally substitute one cup of that heavy whipping cream with 1 package of instant vanilla or white chocolate pudding mix (prepared following the package directions before you fold it in). It just firms things up an extra notch!
- For the Grown-Ups: If you’re making this for a celebration or a dinner party where kids aren’t around, you can absolutely make this an alcoholic grasshopper pie! Just swap out 2 tablespoons of the cold heavy cream when you are whipping it with the liqueur—a nice Crème de Menthe does the trick perfectly.
- Crust Variations: If you run out of butter for the crust, sometimes if your chocolate cookie crumbs are a bit sticky, you can skip the butter entirely, but you absolutely have to pack that crust down like you mean it. The butter just helps it chill faster and set up beautifully.
The point is, this creamy grasshopper filling base is so good, you can play with it a little bit! Just remember that folding technique when you introduce the whipped cream—that’s key to keeping it light.
Serving Suggestions for This Retro Mint Dessert
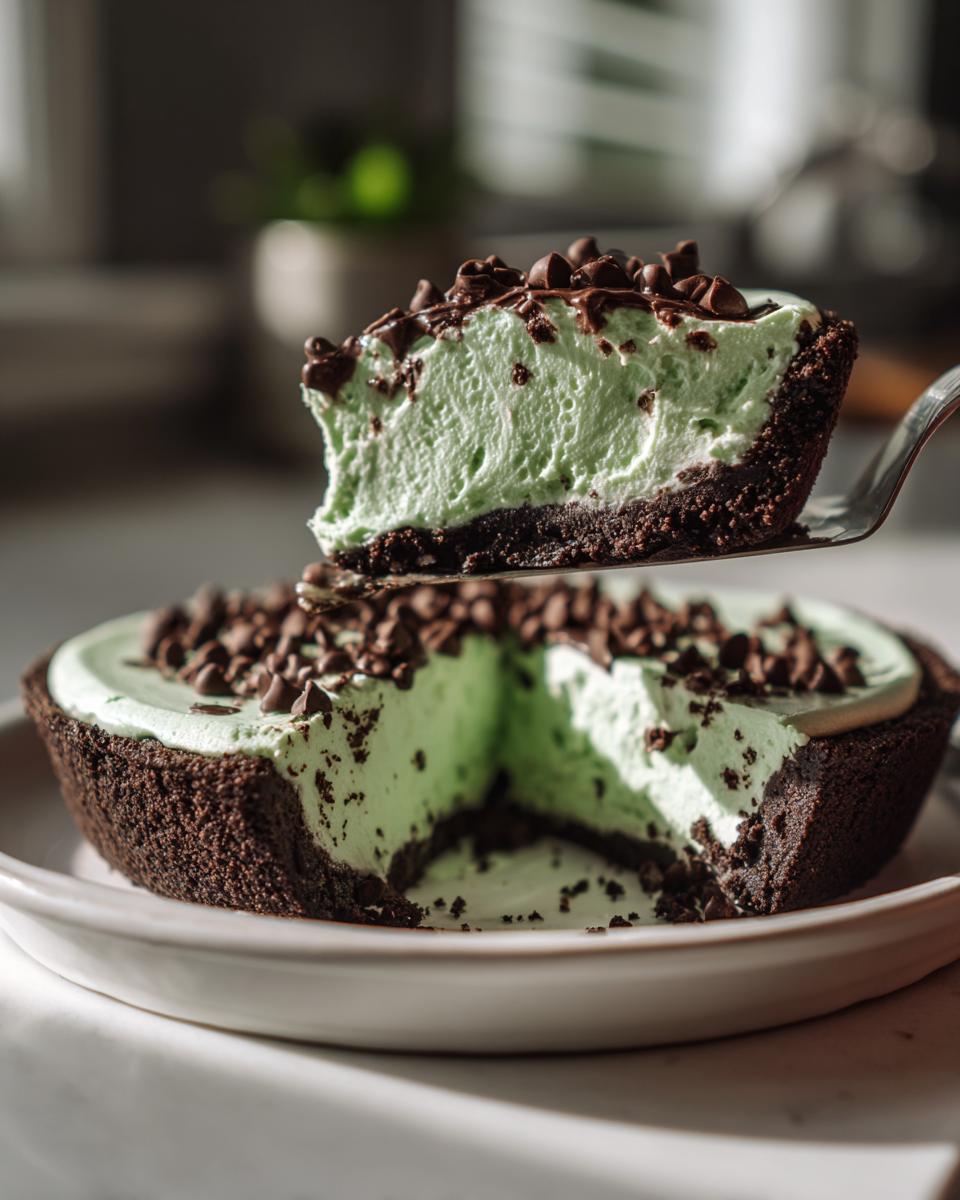
The best part about finishing a gorgeous grasshopper pie is the presentation! Since this pie is already so visually striking with its pretty green color and dark chocolate base, you don’t actually need to do a ton of extra work. Honestly, simplicity is the hallmark of a great retro mint dessert, and these simple toppings let that refreshing mint flavor really shine through.
I love serving this pie when my friends get together—it travels so well and is always the first thing to disappear. It makes the absolute perfect potluck dessert recipe because it’s sturdy and always cold!
Here are my favorite ways to elevate the look of this cool and creamy pie right before serving:
- Classic Chocolate Shavings: This is my go-to. Grab a bar of good quality dark chocolate and use a vegetable peeler to run down the side. You get those delicate, curly shavings that look so elegant scattered over the top.
- Mini Chocolate Chips: I usually fold half of the mini chips into the filling, but I sprinkle the other half right on top before that final chill. They look like little dark chocolate confetti pieces against the green.
- A Light Dusting: Sometimes less is more! A very light dusting of powdered sugar can add a lovely contrast to the dark crust peeking out around the edges. Just don’t overdo it—you don’t want to bury that beautiful green color!
- Pairing Perfection: If you want to serve something alongside it, keep it light! A tiny dollop of fresh, unsweetened whipped cream on the individual slice is heavenly, or maybe a drizzle of rich, homemade chocolate sauce if you’re feeling decadent. Avoid overly heavy sides, because this pie is already so satisfying!
Storage and Make-Ahead Tips for Grasshopper Pie
One of the things I absolutely adore about this grasshopper pie is how brilliantly it functions as a make-ahead option! Life is too busy sometimes to worry about dessert the day of a party, right? That’s why I truly consider this a simple make-ahead dessert. Because we used a cream cheese base instead of a marshmallow or traditional baked filling, the storage rules are slightly different, but very easy to follow.
The most important thing to remember is that chilling is non-negotiable. This isn’t a pie you want to rush. While I mentioned that 6 hours is the minimum for the structure to set, I always plan for an overnight chill. This allows that minty cream cheese filling to firm up completely, giving you those beautiful, clean slices we talked about earlier. You can even prep the crust a day ahead and keep it in the freezer! Just wrap it tightly so it doesn’t absorb any fridge odors.
Now, let’s talk about keeping leftovers—if you actually have any leftovers, which is rare in my house! You should keep the finished pie tightly covered in the refrigerator for up to three days. The chocolate cookie crust stays crisp longer when it’s well protected. I use plastic wrap laid gently over the top of the filling, then cover the whole pie plate with foil or a dedicated pie carrier.
Can you freeze it? Here’s where you need to be a little careful with this particular creamy grasshopper filling. Because we are using actual heavy whipping cream stabilized by the cream cheese, freezing can sometimes change the texture of the dairy components once they thaw. It might separate slightly or become a bit watery—just nothing like when it’s freshly chilled. If you absolutely must freeze it, I recommend freezing it *unfilled* in the crust or only freezing individual, already-cut slices very well wrapped. If you want a guaranteed frozen result, you might want to look into a recipe specifically designed for it, like my plan for make-ahead egg muffins, which handle the freezer like a champ! For this pie, definitely treat it as a refrigerated delight.
Frequently Asked Questions About Grasshopper Pie
Oh, the questions! I completely get it. When you’re making a classic like this grasshopper pie recipe for the first time, you want every detail ironed out. I’ve had dozens of readers ask me about adjustments, especially since mine is the non alcoholic grasshopper pie version, so I wanted to collect the most common things folks wonder about right here. Don’t worry about making mistakes; baking is all about learning, and I’ve tested these variations so you don’t have to!
Can I make this Grasshopper Pie Recipe without green food coloring?
Absolutely, 100%! I honestly think the flavor is the most important part, and the mint extract carries all the weight there. If you skip the green food coloring, you end up with a beautiful, pale, almost white filling instead of the shocking green associated with this retro mint dessert. It still tastes exactly the same—cool, minty, and chocolatey—but it won’t have that nostalgic bright color. Totally up to what you prefer for your presentation!
What is the best way to get a clean slice of this No Bake Mint Pie?
This is one of my favorite little tricks for any chilled or set dessert! If you just slice into it while it’s cold from the fridge, the filling tends to drag across the knife. To avoid that messy look, especially since we are aiming for that gorgeous creamy grasshopper filling texture, take a sharp chef’s knife and dip the blade deep into a tall glass of very hot water. Before you slice, wipe the knife completely dry with a clean kitchen towel. Then make your cut. Rinse, wipe, cut again. It works like a charm every single time, giving you perfect slices of your cool and creamy pie.
Here are a couple of other things people often ask when they are getting ready to serve this easy chocolate mint dessert.
- Can I use Cool Whip instead of whipping heavy cream? You can, yes, but the texture won’t be quite the same. Heavy cream, when whipped properly with sugar, gives you that rich, stable, truly mousse-like texture that defines this recipe. Cool Whip tends to be much lighter and can sometimes weep a bit when thawed or left out. Stick to the cream for the best mint pie result!
- How long can this pie sit out before serving? Since this is a cream cheese and heavy cream-based pie, it really needs to stay chilled. You can pull it out about 15 minutes before you plan to slice it—that just takes the harsh chill off the filling. But don’t leave it sitting out on the counter for more than an hour total, or you risk softening the structure too much.
If you end up with any leftovers and are wondering how to keep them fresh, pop over and check out my tips on making desserts ahead of time so they stay perfect!
Estimated Nutritional Data for This Mint Chocolate Delight
Because I believe in full transparency—even with a decadent treat like this mint chocolate grasshopper pie—I wanted to give you a ballpark idea of what you’re looking at nutritionally. Please remember that since this is a homemade, no bake mint pie, these numbers are just estimates based on the ingredients listed above! If you use low-fat cream cheese or switch out your chocolate chips, the totals will shift a bit. I calculated these based purely on the ingredient list I laid out for a standard portion, but honestly, when dessert is this good, I try not to stare too closely at the numbers!
Think of this information as a guideline for enjoying this occasional treat. It’s a celebration pie, after all, perfect for a holiday gathering or as a wonderful refreshing summer pie when you need something cool and rich!
- Serving Size: 1 slice
- Calories: Approximately 380
- Sugar: About 28g (Yes, that powdered sugar adds up!)
- Fat: Roughly 25g (Hello, cookie crust and cream cheese!)
- Saturated Fat: Around 14g
- Carbohydrates: About 35g
- Protein: About 4g
It’s a rich dessert, but we didn’t use any marshmallow fluff in this version, which helps keep the texture cleaner than some other styles of grasshopper pie. Enjoy every delicious bite—you earned it!
Share Your Homemade Grasshopper Pie Creations
I have done my best to walk you through every single step to get the most beautiful, creamy, and minty grasshopper pie possible. Now it’s your turn! I truly believe the kitchen is where the best connections happen, and I feel like I know you all a little better when I see what wonderful things you create from my recipes.
When you try this best mint pie, please, please leave a rating and a comment below! Seriously, those stars and notes help other bakers know this recipe is reliable, tested, and worth making. Did you try the shaved chocolate garnish? Did you opt for the homemade cake goop for your next project? Let me know how it went!
And if you snap a photo—and I really hope you do, because this pie looks amazing on a summer table—tag me on social media! Seeing your vibrant green desserts makes my day instantly better. It’s how we share that baking joy around here. Maybe you paired it with a fancy beverage, like my salted caramel latte? Tell me all the fun ways you served up this easy chocolate mint dessert!
Happy baking, and I can’t wait to see your gorgeous results!
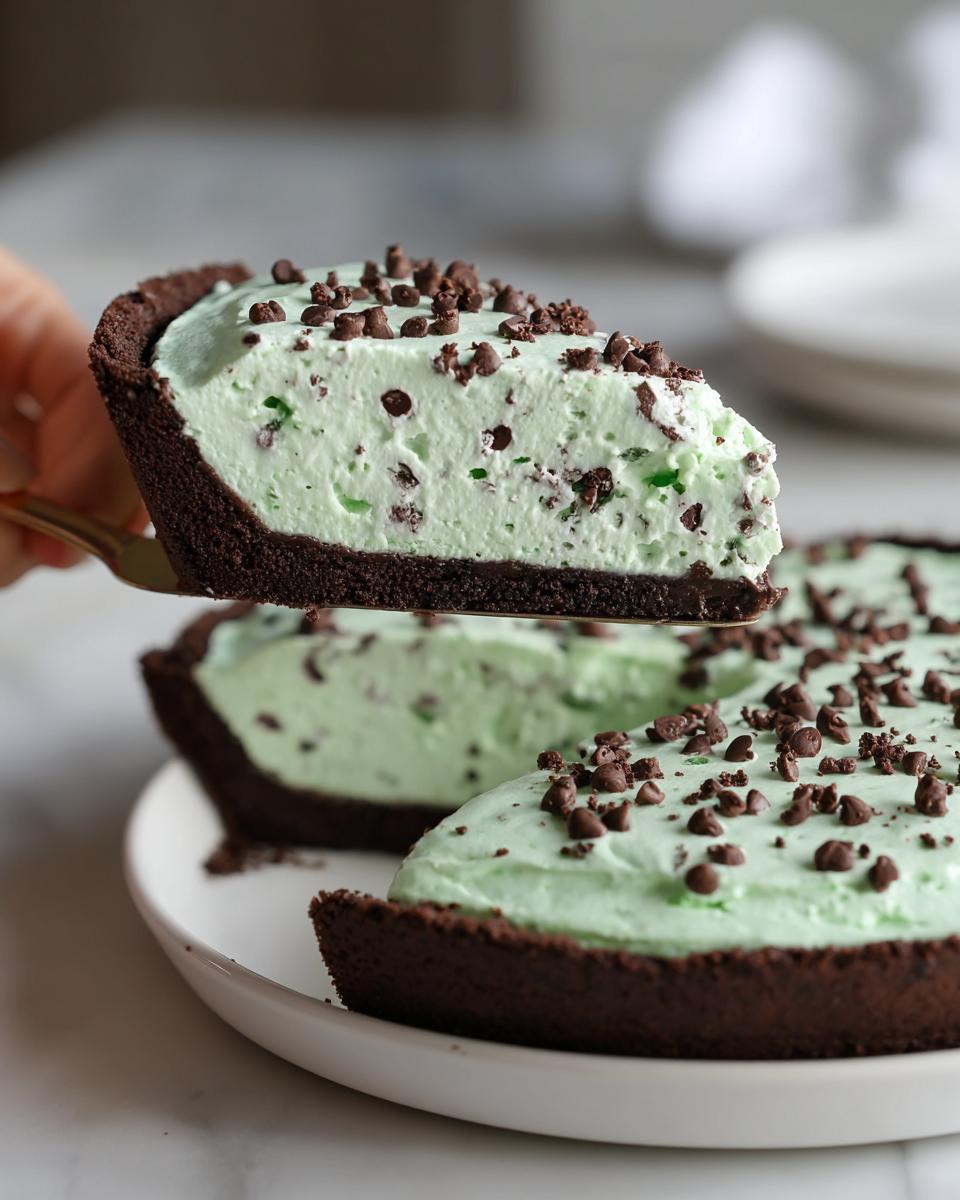
PrintNo-Bake Creamy Grasshopper Pie

Create this cool, creamy, and mint chocolate Grasshopper Pie without turning on your oven. This easy recipe uses a chocolate cookie crust and a fluffy, non-alcoholic mint filling, making it a perfect family-friendly dessert.
- Prep Time: 20 min
- Cook Time: 0 min
- Total Time: 6 hr 20 min
- Yield: 8 servings 1x
- Category: Dessert
- Method: No-Bake
- Cuisine: American
- Diet: Vegetarian
Ingredients
- 1 1/2 cups chocolate cookie crumbs (about 30 cookies)
- 1/4 cup unsalted butter, melted
- 8 ounces cream cheese, softened
- 1 cup powdered sugar
- 1 teaspoon pure vanilla extract
- 1 teaspoon mint extract
- 1–2 drops green food coloring (optional)
- 1 1/2 cups heavy whipping cream, cold
- 1/4 cup powdered sugar (for whipped cream)
- 1/2 cup mini chocolate chips (for topping)
- Shaved chocolate or extra cookie crumbs (for garnish)
Instructions
- Prepare the crust: Mix the chocolate cookie crumbs and melted butter in a bowl until combined. Press the mixture firmly into the bottom and up the sides of a 9-inch pie plate. Place the crust in the freezer while you prepare the filling.
- Make the cream cheese base: In a large bowl, beat the softened cream cheese with an electric mixer until smooth. Gradually beat in 1 cup of powdered sugar until fully incorporated. Mix in the vanilla extract, mint extract, and green food coloring, if using.
- Whip the cream: In a separate, clean bowl, beat the cold heavy whipping cream and 1/4 cup of powdered sugar until stiff peaks form. Be careful not to overbeat.
- Combine the filling: Gently fold about one-third of the whipped cream into the cream cheese mixture to lighten it. Then, gently fold in the remaining whipped cream until just combined, keeping the filling airy. Fold in the mini chocolate chips.
- Assemble the pie: Pour the creamy mint filling into the chilled cookie crust and spread evenly.
- Chill: Cover the pie loosely with plastic wrap and refrigerate for at least 6 hours, or preferably overnight, until the filling is firm.
- Serve: Before serving this refreshing summer pie, garnish the top with shaved chocolate or extra cookie crumbs. Slice and enjoy your easy make-ahead dessert.
Notes
- For an even richer chocolate flavor in the crust, use chocolate sandwich cookies and omit the butter if the crumbs hold together well enough.
- If you prefer a slightly firmer filling, you can substitute 1 cup of the heavy whipping cream with 1 package of instant vanilla or white chocolate pudding mix, prepared according to package directions before folding into the cream cheese mixture.
- This recipe is non-alcoholic; for an adult version, substitute 2 tablespoons of the heavy cream with Crème de Menthe liqueur.
Nutrition
- Serving Size: 1 slice
- Calories: 380
- Sugar: 28g
- Sodium: 250mg
- Fat: 25g
- Saturated Fat: 14g
- Unsaturated Fat: 11g
- Trans Fat: 0.5g
- Carbohydrates: 35g
- Fiber: 1g
- Protein: 4g
- Cholesterol: 65mg