
Oh, the holidays! That magical time of year when the air gets crisp, twinkling lights appear everywhere, and the most comforting smells start wafting from kitchens. And for me, nothing screams ‘holiday perfection’ quite like a big, beautiful bowl of homemade eggnog. Seriously, forget those cartons from the grocery store – they just can’t compare to the creamy, dreamy goodness you whip up yourself. It takes me right back to my grandmother’s kitchen, where baking was her love language, and every treat felt like a warm hug. Making eggnog from scratch feels like a special kind of magic, a little bit indulgent and a whole lot nostalgic, and it’s just one of those things that makes the season feel truly, wonderfully complete. Trust me, once you try this, you’ll be hooked!
- Why You'll Love This Homemade Eggnog
- Essential Ingredients for Authentic Eggnog
- How to Make Eggnog From Scratch: Step-by-Step
- Tips for the Perfect Homemade Eggnog
- Variations and Substitutions for Your Eggnog
- Serving and Storing Your Creamy Holiday Milk Punch
- Frequently Asked Questions About Eggnog
- Nutritional Information (Estimated)
- Share Your Holiday Cheer!
Why You’ll Love This Homemade Eggnog
Get ready for a holiday treat that’s pure bliss! Our homemade eggnog is:
- Incredibly rich and creamy – way better than store-bought!
- Bursting with that classic holiday flavor you crave.
- Surprisingly easy to whip up, making your parties extra special.
- The perfect way to add a touch of homemade cheer to your celebrations.
Essential Ingredients for Authentic Eggnog
Alright, here’s what you’ll need to make this dreamy homemade eggnog happen. Forget the complicated stuff; this is all about good, simple ingredients that sing together:
- 6 big eggs, separated just makes it so fluffy!
- 1 cup regular granulated sugar, but we’ll split it up.
- 2 cups whole milk – don’t skimp here, full-fat is key for creaminess!
- 1 cup heavy cream, because we’re going for pure indulgence.
- 1 1/2 cups of your favorite dark rum (or bourbon, if that’s your jam!).
- 1 teaspoon pure vanilla extract – always the good stuff.
- 1/4 teaspoon salt, just to make all those flavors pop.
- And for that finishing touch? Plenty of freshly grated nutmeg. Seriously, fresh makes ALL the difference.
How to Make Eggnog From Scratch: Step-by-Step
Okay, let’s get down to the nitty-gritty of making this amazing eggnog. It’s really not hard at all, and the results are SO worth it. Just follow these steps, and you’ll be sipping on pure holiday magic in no time. We’ll just let those flavors get super happy together in the fridge after we mix everything up! It’s a bit like letting a good hot toddy sit for a bit to really bring out the best notes.
Preparing the Eggnog Base
First things first, grab a big bowl and whisk together those egg yolks and most of the sugar – you know, the 3/4 cup part. Whisk until it’s pale and looks nice and thick, sort of like a velvety ribbon when it drips off the whisk. Then, slowly pour in the milk, cream, and that glorious rum. Give it all a good whisk until it’s all smooth and happy. And don’t forget the vanilla extract!
Whipping and Folding the Egg Whites
Now, for the fluffiness! Get a separate, super clean bowl. Add your egg whites and that pinch of salt. Beat them until they start looking foamy and soft peaks form when you lift the beater. Then, gradually add the rest of the sugar, about a tablespoon at a time. Keep beating until you get those lovely stiff, glossy peaks – they should stand right up on their own! The trick here is to be gentle when you fold these clouds of goodness into the yolk mixture. Just use a spatula and fold it in until it’s *just* combined. We don’t want to deflate all that lovely air!
Chilling for Flavor Development
This is where the real magic happens. Pour the whole glorious mixture into a pitcher or a nice bowl, cover it up tight, and pop it in the fridge. You need to let it chill for at least 2 hours, but honestly, overnight is even better. This lets all those amazing flavors really get to know each other and deepen. It’s this chilling time that makes our homemade eggnog so incredibly special and smooth.

Tips for the Perfect Homemade Eggnog
Want to make your eggnog absolutely sing? It’s all about a few little secrets! Think of these as my little tricks from years of tweaking and tasting. Using really good ingredients is step one – your whole milk and heavy cream should be full-fat for that luxurious creaminess. And don’t even think about using pre-grated nutmeg if you can help it; the flavor from freshly grated is just worlds apart! Little touches like these really make all the difference in the final wow factor. We’ve shared other great holiday sips too, like this delicious apple cider cocktail!
Handling Raw Eggs Safely
I know, I know, raw eggs can make some folks a little nervous. If that’s you, no worries! You can totally make this into a cooked version. Just gently warm up your milk and cream, then slowly whisk a little bit of that liquid into your egg yolks *before* you add the yolks to the saucepan. Cook it all over low heat, stirring the whole time, until it thickens up just enough to coat a spoon. Crucially, don’t let it boil! Or, you can always opt for pasteurized eggs if you find them. Your call, but either way, deliciousness awaits!
Achieving Creamy Texture
That super silky, smooth texture is really the hallmark of great eggnog. The key is in how you handle those egg whites – folding them in *gently* is a must. You want to keep all that air you whipped in there! Also, don’t rush that chilling time. Letting the eggnog really sit in the fridge overnight lets those flavors meld and creates a thicker, creamier mouthfeel. Just give it a good whisk before serving and you’ll see what I mean!
Variations and Substitutions for Your Eggnog
Eggnog is wonderful as is, but it’s also super fun to play around with! If you’re making a batch for everyone, including those who don’t drink alcohol, just skip the rum. You can add an extra splash of vanilla, maybe even a pinch of cinnamon or a tiny bit of almond extract to keep things interesting. If rum isn’t your favorite, try bourbon, brandy, or even spiced rum – they all bring their own special something! For a real treat, think about infusing your spirit beforehand, like with a maple bourbon. It’s all about making this holiday classic your own!
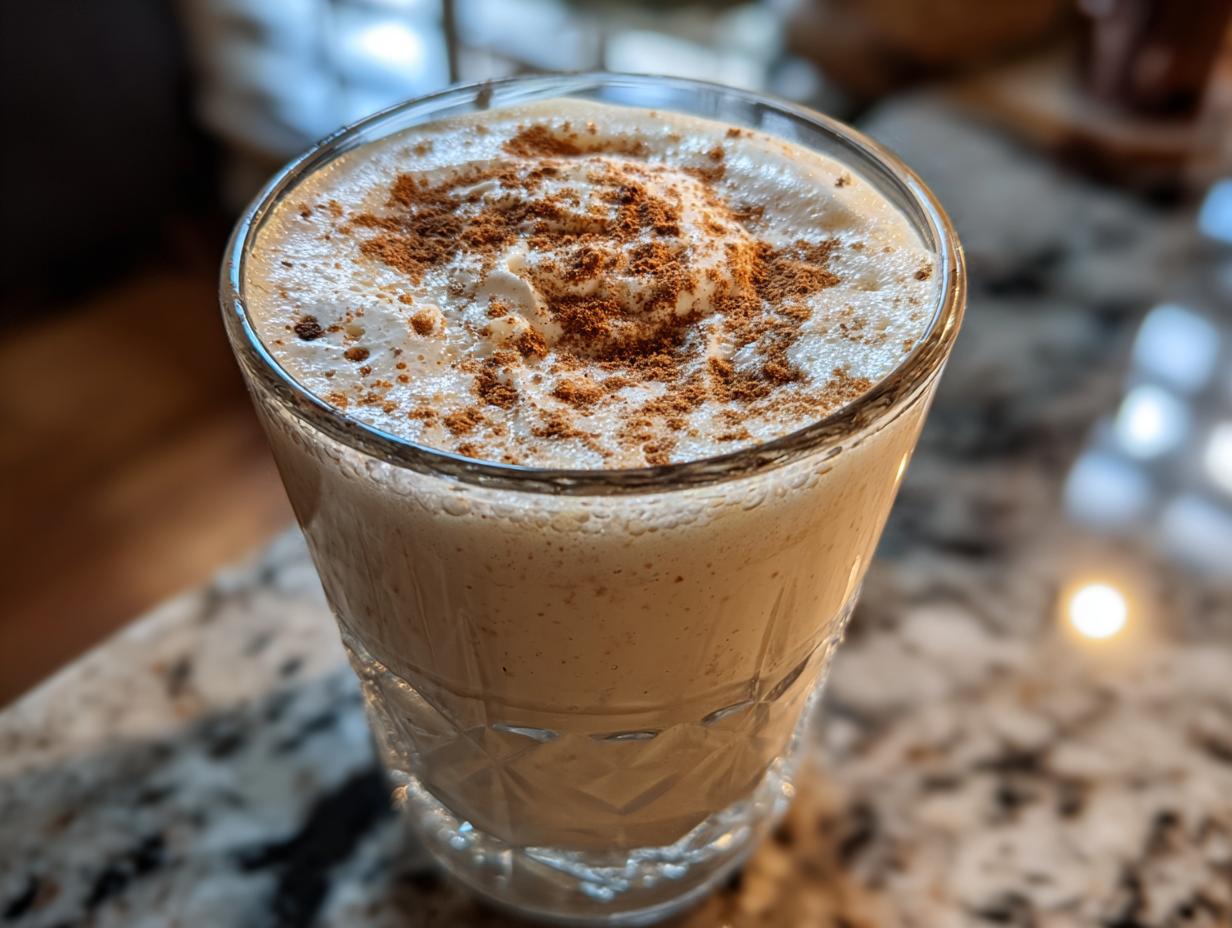
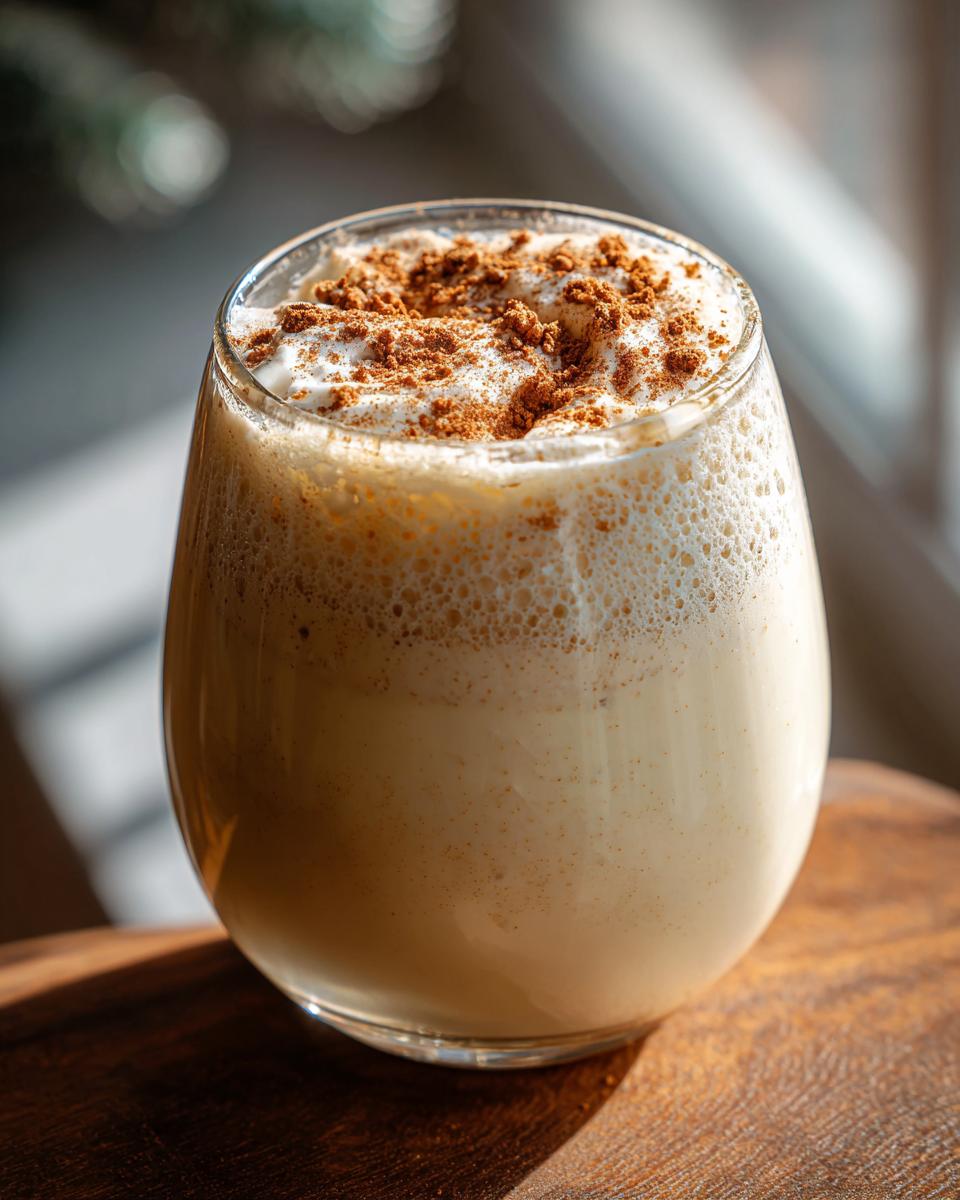
Serving and Storing Your Creamy Holiday Milk Punch
Alright, the moment of truth! Serve your glorious homemade eggnog chilled, of course. Ladle it into pretty glasses and don’t forget that final flourish of freshly grated nutmeg right on top – it smells amazing! If you happen to have any leftovers (which is rare, trust me!), just pop it into an airtight container and keep it in the fridge. It’ll stay delicious for about 3 days. It’s perfect for anyone who loves a good classic holiday treat!
Frequently Asked Questions About Eggnog
Got some burning questions about whipping up the best homemade eggnog? I’ve got you covered!
Can I make eggnog without raw eggs?
Absolutely! If raw eggs make you nervous, you can totally make a cooked version. Just gently heat your milk and cream, then temper in the yolks before cooking until thickened. It’s a lovely way to get that classic creamy texture safely. Some folks also use pasteurized eggs to ease their minds.
How long does homemade eggnog last?
This traditional Christmas eggnog is best enjoyed fresh, but it will keep nicely in the fridge! Store it in an airtight container, and it should be good for about 3 to 4 days. Just give it a good whisk before serving each time you pour a glass.
What’s the best alcohol for eggnog?
Oh, this is the best part! While dark rum is a classic choice for that rich flavor, bourbon is also amazing. Brandy is another fantastic option. Really, whatever spirit you love adds a little something special to this creamy holiday milk punch. You can even mix them!
Nutritional Information (Estimated)
Now, let’s chat a little about the numbers. Keep in mind that these are just estimates, okay? Because we’re all using slightly different brands of milk, cream, and especially rum, the exact values can bounce around a bit. But for a standard serving of this creamy holiday concoction, you’re looking at roughly 450 calories with about 25g of fat, 8g of protein, and 30g of carbohydrates. Remember, it’s a treat, so enjoy it!
Share Your Holiday Cheer!
Alright, my friends, that’s all there is to it! I really hope you give this homemade eggnog a try this holiday season. Let me know in the comments below how it turned out for you, or if you added any special twists of your own! Hearing from you makes my day. For more kitchen inspiration and to learn more about our baking philosophy, stick around!
PrintHomemade Eggnog with Rum

A rich and creamy traditional eggnog recipe, perfect for the holiday season. This homemade version offers superior flavor compared to store-bought options.
- Prep Time: 20 min
- Cook Time: 10 min
- Total Time: 2 hr 30 min
- Yield: 8 servings 1x
- Category: Dessert
- Method: No-Cook (or Cooked Option)
- Cuisine: American
- Diet: Vegetarian
Ingredients
- 6 large eggs, separated
- 1 cup granulated sugar, divided
- 2 cups whole milk
- 1 cup heavy cream
- 1 1/2 cups dark rum (or bourbon)
- 1 teaspoon vanilla extract
- 1/4 teaspoon salt
- Freshly grated nutmeg, for serving
Instructions
- In a large bowl, whisk together the egg yolks and 3/4 cup of the granulated sugar until pale and thick.
- Gradually whisk in the whole milk, heavy cream, rum, and vanilla extract until well combined.
- In a separate clean bowl, beat the egg whites with the salt until soft peaks form. Gradually add the remaining 1/4 cup of sugar and continue beating until stiff, glossy peaks form.
- Gently fold the beaten egg whites into the yolk mixture until just combined.
- Cover and refrigerate for at least 2 hours, or preferably overnight, to allow the flavors to meld.
- Before serving, whisk the eggnog to ensure it is smooth. Ladle into glasses and sprinkle generously with freshly grated nutmeg.
Notes
- For a safer, cooked version, temper the egg yolks by slowly whisking in a small amount of warm milk mixture before combining it all in the saucepan. Cook over low heat, stirring constantly, until the mixture thickens enough to coat the back of a spoon. Do not boil.
- This recipe can be made ahead of time. The flavors deepen and improve with refrigeration.
- Adjust the amount of rum to your preference.
- For a non-alcoholic version, omit the rum and consider adding an extra teaspoon of vanilla extract or a pinch of cinnamon.
Nutrition
- Serving Size: 1 cup
- Calories: 450
- Sugar: 35g
- Sodium: 70mg
- Fat: 25g
- Saturated Fat: 15g
- Unsaturated Fat: 10g
- Trans Fat: 0g
- Carbohydrates: 30g
- Fiber: 0g
- Protein: 8g
- Cholesterol: 200mg