
Okay, let’s talk about that moment when you’re freezing cold, you reach for that colorful packet, and what you get is… fine. Maybe slightly brown water with a whisper of chocolate ghost. Nope! We’re taking a hard stand against the mediocrity of mixes today. I’m Claire, and I can promise you that once you try this homemade hot cocoa, you’ll never go back. Forget everything you thought you knew about quick winter drinks; this is unbelievably rich and decadent. I developed this stovetop method because I believe true comfort comes from stirring real ingredients together. This isn’t just a drink; it’s a warm hug in a mug, made simply, right here in my kitchen.
- Why This Creamy Homemade Hot Cocoa Recipe Beats the Packets
- Gathering Ingredients for Your Homemade Hot Cocoa
- Stovetop Hot Chocolate Method: Making Perfect Homemade Hot Cocoa
- Ingredient Notes and Substitutions for Your Creamy Hot Cocoa Recipe
- Serving Suggestions for Gourmet Hot Cocoa at Home
- Storage and Reheating Instructions for Leftover Homemade Hot Cocoa
- Troubleshooting Common Homemade Hot Cocoa Issues
- Frequently Asked Questions About Making Real Hot Chocolate From Scratch
- Enjoying Your Quick Cozy Drinks Moment
Why This Creamy Homemade Hot Cocoa Recipe Beats the Packets
Honestly, the difference between this and the instant stuff isn’t even a competition; it’s night and day! When you dump those few pantry staples into a pot, you get a depth of warmth that nothing artificial can match. I want you to experience true comfort, and that means saying goodbye to those tiny, flavorless envelopes. This is how you make homemade hot cocoa that actually tastes like chocolate. I developed this stovetop method because I believe true comfort comes from stirring real ingredients together.
- It’s incredibly fast—way quicker than ordering delivery when you need a cozy drink right now!
- The texture is unbelievably smooth; it’s total winter comfort food in a mug.
- You control the sweetness, which is a huge win for me, making this no packet hot cocoa the best choice.
Achieving True Rich Hot Chocolate Flavor
When you use real, unsweetened cocoa powder and combine it with both granulated and brown sugar, you start building layers of flavor. Those boxed mixes rely on powdered skim milk and fillers, but we are using real dairy fat (or cream!) to carry that deep, satisfying chocolate note. Trust me, this is the definition of rich hot chocolate.
The Secret to a Creamy Hot Cocoa Recipe Texture
The magic behind that velvety mouthfeel comes from how we melt everything together, especially if you throw in that optional chopped dark chocolate. It emulsifies beautifully with the milk fat. That’s what gives you that luxurious, pourable silkiness that makes this a truly creamy hot cocoa recipe.
Gathering Ingredients for Your Homemade Hot Cocoa
Alright, this is where the magic starts! The beauty of making real hot chocolate from scratch is that the list is short, and you probably have everything already. We aren’t sneaking in any weird stabilizers or powders here. Just pure, comforting goodness. Knowing exactly what goes into your mug is part of the joy, and it really helps build that perfect, deep flavor profile we’re aiming for. I love how quickly this comes together, making it one of my favorite easy homemade drinks for a sudden cozy craving.
I took specific notes from the original recipe card because grandma always underlined things she considered non-negotiable. For this drink, the quality of your basic components really shines through, especially since we’re cooking it low and slow on the stovetop. If you’re ever wondering about other fantastic warm drinks, check out my recipe for the Salted Caramel Latte!
Essential Ingredients for Rich Hot Chocolate Instructions
You need four cups of liquid to start, and I insist on whole milk if you can swing it—that fat content is key to that luxurious feel! If you need to substitute, I’ve used 2% successfully, but you definitely lose some body, so keep that in mind.
- Four glorious cups of Whole Milk (or your preferred milk).
- A half cup of good quality Unsweetened Cocoa Powder. Make sure it’s unsweetened!
- A half cup of standard Granulated Sugar.
- A quarter cup of Brown Sugar, packed tightly in your measuring cup! It adds that molasses warmth.
- A tiny quarter teaspoon of Salt (don’t skip this; it brightens the chocolate!).
- One whole teaspoon of pure Vanilla Extract, which goes in at the very end.
Optional Addition for Decadent Hot Chocolate
If you want this to move from “excellent homemade hot cocoa” straight into “holiday chocolate decadence,” you need to add some real chocolate bars. I usually grab about two ounces of semi-sweet or even a darker chocolate—whatever you love eating plain! Chop it roughly; the heat will take care of the rest. Melting this chocolate right into the milk mixture is the secret for truly gourmet hot cocoa at home.
This combination of sugars and actual melted chocolate is the baseline for the best hot cocoa recipe you’ll ever try.
Stovetop Hot Chocolate Method: Making Perfect Homemade Hot Cocoa
This is where we bring it all together! Since this homemade hot cocoa recipe only takes about 10 minutes of cook time, it’s perfect for a quick evening treat. I love how fast this is; it’s way quicker than dealing with any box mix! I can get a genuinely delightful cup of real hot chocolate from scratch going before the kettle even finishes boiling. I developed this stovetop method because I believe true comfort comes from stirring real ingredients together. If you want to see how others achieve great results too, check out this awesome guide on easy homemade hot cocoa.
Step 1: Dissolving the Cocoa Powder in Milk
First things first: we fight the lumps! Pour your milk into a medium saucepan—my favorite part is combining the milk, cocoa powder, both sugars, and the salt right there in the cool liquid. You have to whisk it really well now so every speck of cocoa powder gets incorporated. If you wait until it’s hot, you’ll just end up with those annoying little chocolate islands floating around. Whisk until it looks like smooth, slightly brown milk. That simple step ensures you get the smooth base for a creamy hot cocoa recipe.
Step 2: Heating and Incorporating Chocolate (If Using)
Now, put that saucepan over medium heat. You need to stir constantly! I mean it—frequently, or it scalds on the bottom. If you opted for the chopped chocolate for that extra decadent touch, wait until the mixture is warm but not yet steaming, then toss it in. Stir until that solid chocolate melts completely and blends seamlessly into your liquid. The goal is to get this hot—steaming, maybe a faint bubble on the edge—but never, ever let it boil. Boiling ruins that beautiful, smooth texture we worked so hard for!

Step 3: Finishing Touches for Your Homemade Hot Cocoa
Once it’s steaming beautifully, pull that pan right off the burner immediately. That’s when you stir in your teaspoon of vanilla extract. It really blooms the flavor right at the end. Taste it—does it need a tiny bit more salt? A tiny bit more sugar? Adjust it right here. Then, pour it into your favorite mugs. This stovetop hot chocolate method is superior because you get an instant, perfect cup every single time, delivering that rich hot chocolate instructions promise right on your stove.
Ingredient Notes and Substitutions for Your Creamy Hot Cocoa Recipe
Just because we are skipping the box doesn’t mean we can’t get flexible with our pantry staples! I always go back to the little notes I jotted down from my own testing; it’s how you take a great recipe and make it totally *yours*. This is where we talk about getting that extra dreamy texture or prepping ahead for those quick winter moments when you just need something instantly delicious.
If you love thick drinks, you can really elevate this! While the standard recipe uses milk, for something truly amazing—like what I serve when I want a gourmet hot cocoa at home—I swap out one cup of milk for one cup of heavy cream. Wow. That’s how you get that incredible, pourable silkiness that just coats your tongue. It definitely moves this into the decadent category, but sometimes you just deserve that extra bit of indulgence, right?
For another fantastic make-ahead idea, I highly recommend checking out my recipe for Pumpkin Beer Bread if you’re looking for amazing seasonal baking projects!
Making a Homemade Hot Cocoa Mix Recipe for Gifting
This is one of my favorite things to do in the fall when I start making treats for neighbors and friends! Since the core of our homemade hot cocoa is dry—cocoa, sugar, salt—we can mix those up ahead of time and store them. You just combine the cocoa powder, the granulated sugar, the brown sugar, and that pinch of salt. Mix it really thoroughly! Store it in an airtight jar or container. It keeps beautifully for ages, which makes it perfect for last-minute homemade gift idea hot cocoa mix situations!
When someone wants a cup, they just grab about 1/3 cup of that dry mix and whisk it into one cup of hot milk. It’s almost instant, but it still tastes far better than anything store-bought.
Flavor Variations: How to Make Hot Cocoa Better
Once you have the base down, you can start playing, which is honestly the most fun part of being in the kitchen! If you’re looking for ways to make your homemade hot chocolate even more exciting, I have two quick boosters to try before you heat everything up.
First, for a little spicy kick—think Mexican chocolate—just add a small pinch of ground cinnamon right in with your dry powders. If you’re feeling brave, a microscopic dash of cayenne pepper adds the most amazing warmth on the finish. It really makes you wonder how to make hot cocoa better because these simple spices bring out so much depth in the cocoa we are using!
Serving Suggestions for Gourmet Hot Cocoa at Home
We’ve made the perfect, creamy hot cocoa recipe; the last thing we want to do is just dump it in a mug and drink it plain! Don’t we deserve a little bit of elegance now and then? Presenting your homemade hot cocoa well really elevates the whole experience, turning a simple weeknight treat into something special. Think of it as the perfect finale to a chilly evening spent cooking or watching a movie.
Since we used rich ingredients like real sugar and quality cocoa powder, this drink already tastes luxurious, but toppings just make everything better. If you’re looking for the ultimate cozy dessert pairing, you absolutely must try making my Cinnamon Monkey Bread—it’s perfect for dipping!
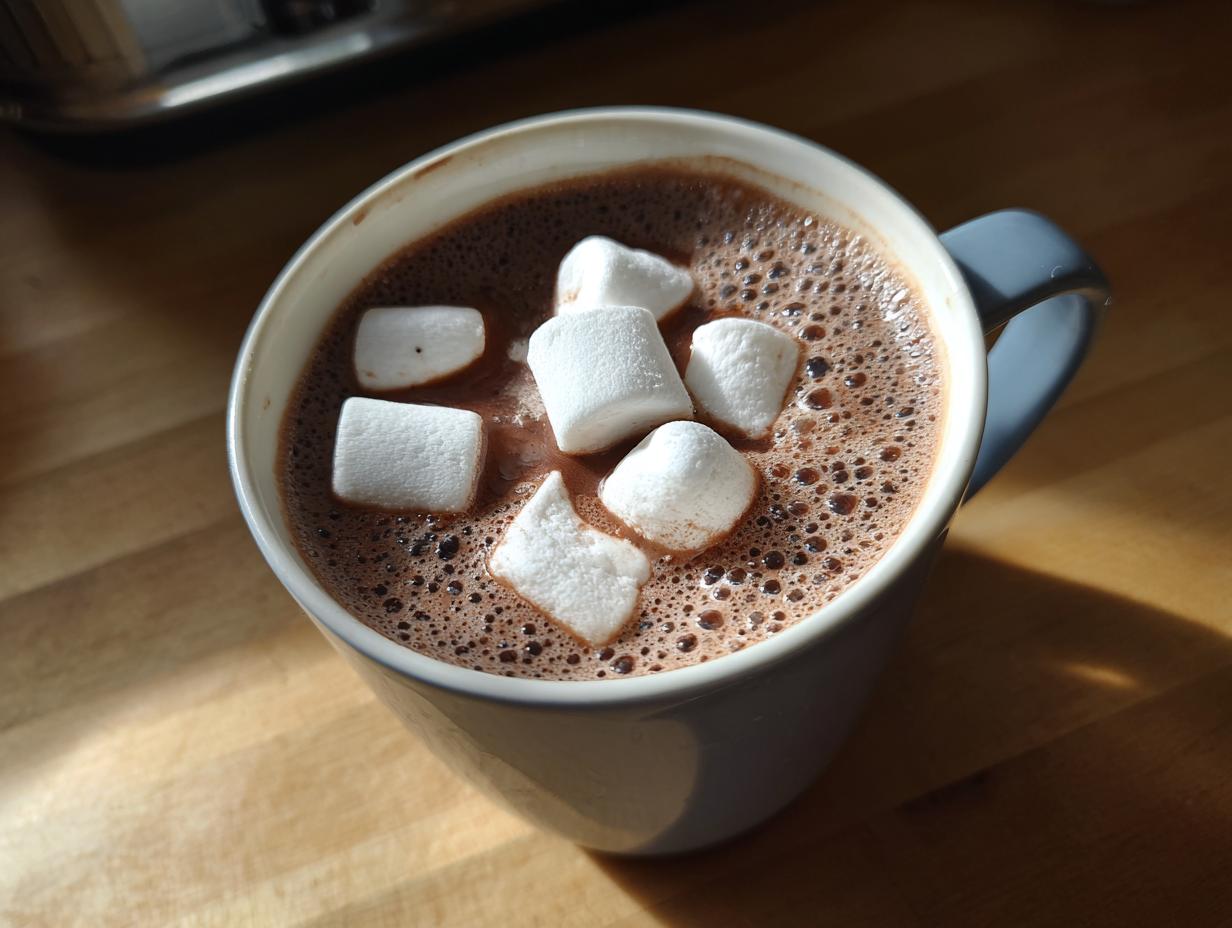
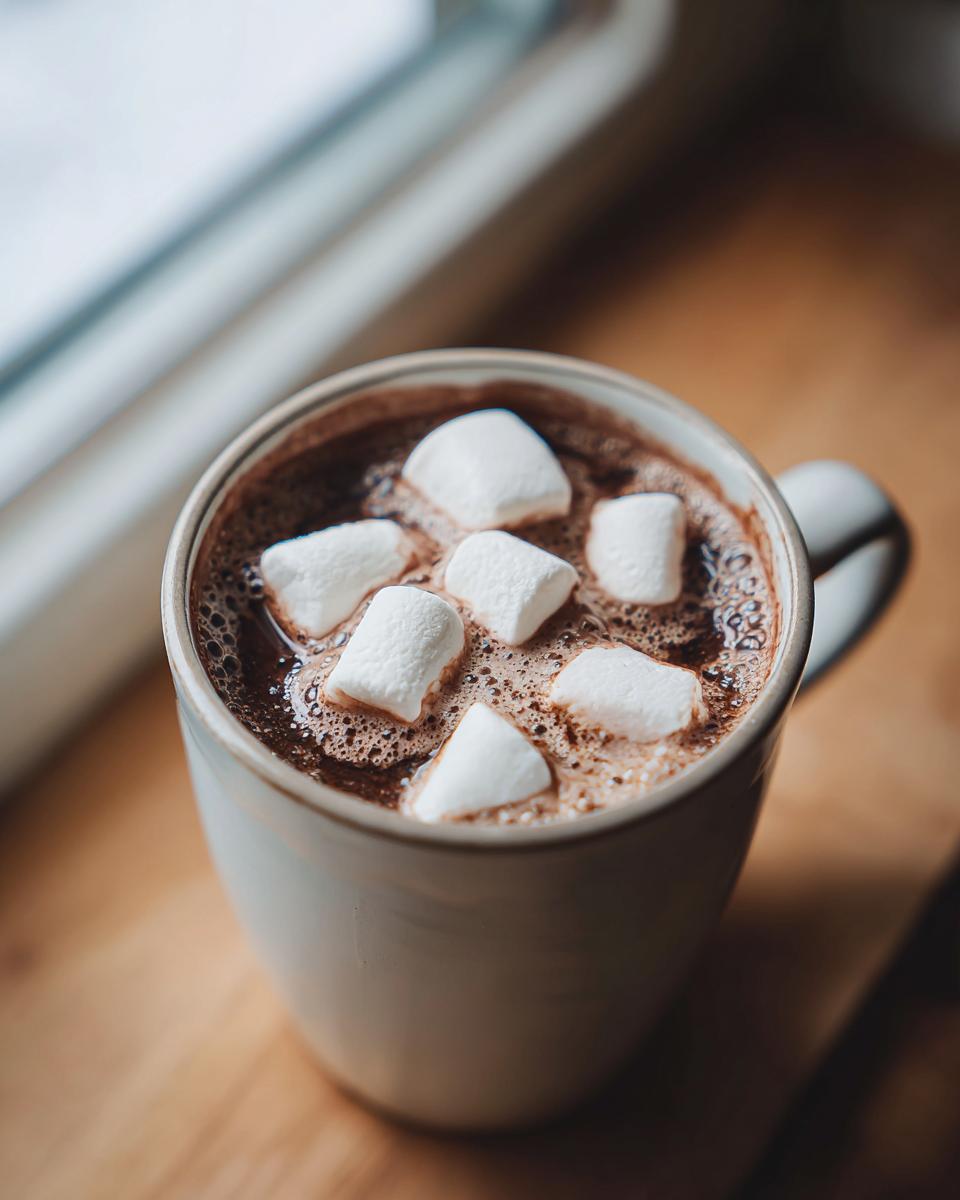
Topping Your Homemade Hot Cocoa with Marshmallows
This is where we get to have some serious fun! Marshmallows are non-negotiable for me in a proper cup of homemade chocolate. You can use those big, fluffy campfire ones, or the tiny ones that dissolve into sweet clouds on top. If you want that perfectly mounded, photo-worthy look, use a swirl of freshly whipped cream and then dust it lightly with shaved dark chocolate. For more inspiration on the perfect topping situation, check out these ideas for homemade hot cocoa with marshmallows!
Honestly, don’t be afraid to drizzle a little caramel sauce over the top of those marshmallows. It takes the flavor profile to a whole new level of indulgence!
Pairing Homemade Hot Chocolate From Scratch
Because this rich hot chocolate is so decadent, it pairs beautifully with something simple, something that can stand up to the deep chocolate flavor without competing. Forget anything too sugary. I love serving this beverage alongside some of my tried-and-true recipes.
- Simple, buttery shortbread cookies. You need that buttery crunch to contrast the smooth drink!
- A classic, slightly salty peanut butter cookie. The salty/sweet combination is sublime with chocolate.
- Plain, flaky biscuits, sometimes called scones depending on where you’re from! They are perfect for dipping.
These simple baked goods let the quality of your from scratch chocolate drink truly shine. It’s all about balance when creating the perfect cozy moment!
Storage and Reheating Instructions for Leftover Homemade Hot Cocoa
I know, I know, it’s so good you want to drink it all at once! But if you do manage to have any of this homemade hot cocoa left, don’t toss it! The dairy means you need to store it carefully. Pop any leftovers into an airtight container—a mason jar works perfectly—and pop it in the fridge. It’ll keep well for about three or four days, though it tastes best within 48 hours, of course!
When you’re ready to enjoy those leftovers, you have to reheat it gently. You can’t blast it in the microwave or boil it on the stove again, or the milk solids will separate and get gritty. Just use low to medium-low heat on the stovetop, stirring constantly until it’s steaming again, or use short 30-second bursts in the microwave, stirring in between each one. This gentle approach keeps that creamy texture intact! If you want something comforting to dunk into later, you should try my Buttermilk Biscuits recipe.
Troubleshooting Common Homemade Hot Cocoa Issues
I always tell people that baking is forgiving, but making drinks on the stovetop can sometimes feel like walking a tightrope! Don’t panic if your first batch of homemade hot cocoa isn’t absolutely perfect right away. Every experienced baker—myself included, even while striving for the best hot cocoa recipe—has had a little setback. These little hiccups are just proof that you are cooking with real ingredients, not following a mysterious packet formula!
When you’re moving away from instant mixes to from scratch chocolate drink territory, sometimes the texture surprises you. But these are quick fixes! I even keep a recipe for my Chili Cheese Fries handy for when I just need savory comfort after a kitchen mishap! Let’s look at the two main culprits I hear about most often.
Why Did My Homemade Hot Cocoa Separate?
Usually, separation happens when the heat gets a little too aggressive or if you stopped stirring for just a moment too long. Remember how I stressed keeping the temperature steady on medium heat? If you let the milk solids heat up too quickly, they can break away from the cocoa and fat molecules, leading to a thin layer of liquid on top and a thicker sludge at the bottom. Insufficient whisking during the initial dissolving stage can also contribute because the cocoa won’t fully bind with the milk fat.
The fix is gentle reheating and vigorous whisking! Take it off the heat, let it cool slightly, and then aggressively whisk everything back together. If it’s still separating, sometimes adding just a splash more heavy cream helps re-emulsify the mixture. Patience is key here; don’t rush bringing it back up to temperature.
How to Fix Cocoa Powder Lumps in My Drink
Ah, the dreaded cocoa lump! This issue, friends, almost always goes back to Step One: not fully dissolving the dry ingredients before you applied heat. If the cocoa powder or sugar hits the hot milk directly, it sticks to itself and scorches slightly before it has a chance to disperse evenly into the liquid. That gives you those stubborn, gritty little clumps.
If you spot them early, remove the pot from the heat and whisk like crazy! You can also pour the mixture through a fine-mesh sieve right back into the saucepan. That sieve is your best friend for catching any undissolved specks. Going forward, remember that crucial first step: always whisk your dry powders into the cold milk completely until you see a smooth, uniform color before you even think about turning on the burner!
Frequently Asked Questions About Making Real Hot Chocolate From Scratch
I totally get it; sometimes you just need a quick answer before you dive in, especially when you’re looking for a last-minute winter comfort drinks solution! We get so many questions about tweaking this recipe, which just proves how much people love moving away from those stale packets. Making real hot chocolate from scratch is incredibly straightforward once you know the few key points. It’s amazing how these easy homemade drinks can warm you right up!
I pulled together my favorite questions readers ask. If you have more, drop them in the comments below! Once you’re done here, if you need a hearty savory option, be sure to check out my recipe for Lentil Soup.
Can I make this recipe using water instead of milk?
You absolutely *can*, but please don’t, unless you absolutely have to! If you swap milk for water, you lose 90% of what makes this recipe so wonderful—that creamy texture and rich mouthfeel. Milk has the fat and protein necessary to suspend the cocoa and sugar perfectly, giving you that unbelievably smooth result. If you use water, you’ll end up with thin, slightly sweet chocolate water, not the decadent, thick drink we are aiming for!
Is this recipe suitable for a slow cooker hot chocolate ideas setup?
This specific liquid version is designed for the stovetop because we need precise temperature control to ensure everything melts beautifully without scorching the milk. However, if you made the dry mix component (you know, the one good for gifting!), that works perfectly in a slow cooker! Just dump the dry mix, the milk, and maybe some extra vanilla into the crockpot and let it warm gently on low for an hour or two. But for making a fresh batch based on these instructions, the stove gives you the best control over texture.
How long does homemade hot cocoa last?
Since this recipe uses actual dairy milk (not powdered milk), it lasts about three to four days stored tightly sealed in the refrigerator. The best day is definitely the day you make it, of course! If you reheat it, do it low and slow, just like we discussed earlier, to keep it smooth. If you are making a big batch you don’t plan to use right away, definitely default to making the homemade hot cocoa mix recipe instead, which lasts months in the pantry!
Enjoying Your Quick Cozy Drinks Moment
Now that you’ve mastered the art of whipping up a truly magnificent cup of homemade hot cocoa—seriously, that richness is hard to beat—it’s time to sit back and enjoy the fruits of your labor! Remember that feeling I talked about? That simple bliss? This is it. This is your perfect, cozy moment, and it didn’t come from a shelf; it came from your own two hands!
I absolutely love hearing from you all when you try my recipes. Did you go for the heavy cream upgrade, or did you stick to milk? Did you load it up with marshmallows and chocolate shavings, or are you a purist?
I’d be thrilled if you could leave a little rating for this recipe right here on the blog so other folks know just how much better this rich hot chocolate is than those dusty old packets. And please, tell me in the comments: How often do you think you’ll be making this creamy hot cocoa recipe now that you know it’s this easy? This should absolutely become a weekly tradition for you now!
If you need a good savory option to balance out all that wonderful chocolate, you might also enjoy my Classic Tomato Soup Recipe—the perfect partner for dipping those delicious mugs!
PrintThe Ultimate Creamy Homemade Hot Cocoa (Forget the Packets)

Create rich, decadent homemade hot cocoa from scratch on your stovetop. This recipe delivers a smooth, comforting beverage that tastes far better than any instant mix.
- Prep Time: 5 min
- Cook Time: 10 min
- Total Time: 15 min
- Yield: 4 servings 1x
- Category: Beverage
- Method: Stovetop
- Cuisine: American
- Diet: Vegetarian
Ingredients
- 4 cups Whole Milk (or your preferred milk)
- 1/2 cup Unsweetened Cocoa Powder
- 1/2 cup Granulated Sugar
- 1/4 cup Brown Sugar, packed
- 1/4 teaspoon Salt
- 1 teaspoon Vanilla Extract
- Optional: 2 ounces semi-sweet or dark chocolate, chopped (for extra richness)
Instructions
- Combine the milk, cocoa powder, granulated sugar, brown sugar, and salt in a medium saucepan. Whisk these dry ingredients into the milk until the cocoa powder is fully dissolved and no lumps remain.
- Place the saucepan over medium heat. Stir frequently as the mixture heats up. Do not let it boil.
- If using chopped chocolate, add it now and continue stirring until the chocolate is completely melted and incorporated, creating a smooth texture.
- Heat until the mixture is hot and steaming, about 5 to 8 minutes. If you see small bubbles forming around the edges, reduce the heat immediately.
- Remove the saucepan from the heat. Stir in the vanilla extract.
- Pour your rich hot chocolate into mugs. Top with your favorite marshmallows or whipped cream for a truly gourmet hot cocoa experience.
Notes
- For a thicker, more decadent hot chocolate, substitute 1 cup of the milk with 1 cup of heavy cream.
- To make a big batch mix for later, combine the cocoa powder, both sugars, and salt in an airtight container. When ready to serve, whisk 1/3 cup of the mix into 1 cup of hot milk.
- Add a pinch of cinnamon or a dash of cayenne pepper to your mixture before heating for a Mexican hot chocolate flavor.
Nutrition
- Serving Size: 1 cup
- Calories: 250
- Sugar: 32g
- Sodium: 150mg
- Fat: 8g
- Saturated Fat: 5g
- Unsaturated Fat: 3g
- Trans Fat: 0g
- Carbohydrates: 40g
- Fiber: 3g
- Protein: 8g
- Cholesterol: 20mg