
Let’s be honest, that jarred stuff in the fridge? It’s fine, I guess, but it tastes like… well, like it came from a factory. If you’ve ever been intimidated by the word “emulsion,” thinking that making your own condiments meant standing over a hot stove whisking for hours, I totally get it. But I’m Claire Sterling, and my whole mission here at Bliss Batter is to show you that the best things in life are truly homemade! This failsafe homemade mayonnaise recipe is the absolute best technique, coming together in mere minutes using only five simple ingredients. Trust me, once you taste this fresh, creamy magic, you will never go back to the jar again.
- Why This is the Best Homemade Mayonnaise Recipe You Will Ever Make
- Ingredients for Your 5 Ingredient Mayo: The Foundation of Great Homemade Mayonnaise
- The No Fail Mayonnaise Technique: Step-by-Step Instructions for Homemade Mayonnaise
- Troubleshooting Common Issues with Your Homemade Mayonnaise
- Variations on Your 5 Ingredient Mayo: Creating Flavored Homemade Mayonnaise
- Storage & Shelf Life for Fresh Sauce Recipes Like Homemade Mayonnaise
- Serving Suggestions: Using Your Homemade Mayonnaise Base
- Frequently Asked Questions About Making Homemade Mayonnaise
- Share Your Kitchen Creations
Why This is the Best Homemade Mayonnaise Recipe You Will Ever Make
I promise you, this isn’t just another recipe; it’s a game-changer for your kitchen staples. This is the fastest way to get superior flavor. If you’re tired of runny dips or bland sandwich spreads, this is where you win. We make our homemade mayonnaise in under five minutes, and it tastes miles better than anything you buy pre-made. Plus, it’s a fantastic base for all your other easy homemade condiments! It’s perfect for when you need something quick to go alongside your next batch of simple weeknight dinners.
Achieving That Perfect Creamy Mayonnaise Recipe Texture
The absolute best part of this creation is the texture. You get that incredible, velvety smooth result—the kind of dreamy texture you always want but rarely achieve. Learning how to make mayonnaise thick hinges entirely on controlling the oil flow right at the beginning. We’re aiming low and slow to build that perfect, stable emulsion. It’s unbelievably satisfying seeing it happen instantly.
The Quick Mayonnaise in Minutes Blender Method for Homemade Mayonnaise
Forget pulling out the whisk and standing there hoping for the best! We’re relying on the magic of the blender here. This mayonnaise blender recipe means you’re pouring in ingredients and, literally a minute later, holding a thick, glorious jar of aioli-level goodness. Seriously, it’s ready so fast you might accidentally think you forgot an ingredient! I use this for everything on nights when I need easy homemade condiments fast.
Ingredients for Your 5 Ingredient Mayo: The Foundation of Great Homemade Mayonnaise
The beauty of making homemade mayonnaise like this is that you only need five things. That’s it! But because there are so few players in this game, they all have to be exactly right. We’re not hiding anything behind a pile of seasonings; the quality of these few items totally dictates the final taste of your DIY mayonnaise from scratch. Make sure you have them ready before you start blending!
Ingredient Notes and Substitutions for DIY Mayonnaise from Scratch
Okay, listen closely on these next two points, because this is where people sometimes mess up! First, your egg absolutely must be room temperature. If it’s ice cold, the mixture will hate the oil and refuse to come together. Second, the oil choice is huge. You need a neutral oil—canola, grapeseed, or safflower are perfect. Please don’t grab your strong, fruity extra virgin olive oil; it tastes bitter when blended cold, and it’s too heavy!
If you’re out of fresh lemon juice, white vinegar works just fine as a substitute for that essential tang. Dijon mustard is necessary not just for flavor but because it helps hold everything together, so try not to skip that one!
The No Fail Mayonnaise Technique: Step-by-Step Instructions for Homemade Mayonnaise
I know, I know—the moment of truth! This is where we turn liquids into thick, glorious homemade mayonnaise, and trust me, the technique here is everything. It’s all about patience for those first few seconds. If you rush, you’ll end up with thin sadness at the bottom of your jar. But follow these steps exactly, and you’ll feel like a kitchen wizard! This is the secret handshake that professional chefs use, and I learned it so you don’t have to worry about scrambling things up. To understand the heart behind why I test everything so thoroughly, check out my story here. Watch how quickly you create a superior product than anything you find jarred.
Blending Prep: Setting Up for Successful Homemade Mayonnaise
First, get everything into your blending vessel. I adore my immersion blender for this because the jar size is perfect, but a regular kitchen blender works great too if you have a bit more patience. Pop in that room-temperature egg, that little bit of Dijon mustard, your splash of acid (lemon juice or vinegar), and the salt. If you’re using an immersion wand, make sure the head of the blender is completely covering the egg yolk at the very bottom of the jar. Seriously, the yolk needs to be trapped under the head before you even flip the switch.
Emulsification Secrets: Drizzling Oil for Perfect Homemade Mayonnaise
Now for the make-or-break moment! Turn the blender on the absolute lowest speed. You must begin drizzling that neutral oil in the thinnest stream you can manage. I mean thinner than a single drop—it should be almost agonizingly slow at first. Don’t speed up the drizzle until you see the color start changing and the mixture visibly thickens underneath the blender head. Once you see that beautiful white, thick base start forming (usually around 30 seconds in!), then you can *slightly* increase the pour, but keep it steady. You are creating magic right there! If you’re worried about ruining it, check out this helpful guide from our friends at Ten Acre Baker for visual tips on how to stop mayo from breaking while you’re learning. Once it’s thick like proper mayonnaise, you just blend until all the oil is gone. You’ve got this!
Troubleshooting Common Issues with Your Homemade Mayonnaise
Okay, deep breath. Even the best bakers—and I’ve certainly made my share of wonky batches—sometimes run into a little snag. The number one panic moment with DIY mayonnaise from scratch happens when the mixture looks thin, watery, or starts separating. We call that ‘broken mayo,’ and it feels like a disaster when you’ve been so careful!
But don’t throw that runny stuff out! It’s not ruined; it just needs a little intervention. This is where being a confident home cook really pays off because we know how to fix it. This little trick is my go-to rescue mission, and I use it whenever I push the oil too quickly.
Here is the fix for how to make mayonnaise thick even if it starts off liquidy. Grab a brand new, clean bowl—make sure it’s totally dry. Now, put in just one teaspoon of plain water or, if you have one handy, use one fresh egg yolk. This becomes the new base for our emulsion.
You need to start whisking that small bit of water or yolk vigorously. Then, and this is key, you start adding your broken, runny mayonnaise mixture from the first bowl back into this new one, literally just one teaspoon at a time. Whisk constantly and quickly! It will look like it’s stubbornly refusing to mix at first, but keep going, and suddenly, that tiny bit of rescue agent catches your oil, and your whole batch will miraculously start thickening up again!
Once that first teaspoon is fully incorporated, you can usually speed up to adding the rest of the broken mayo in a slow drizzle while you keep whisking. In moments, you’ll have rich, velvety mayo again, and you’ll feel ten feet tall because you saved it!
Variations on Your 5 Ingredient Mayo: Creating Flavored Homemade Mayonnaise
Now that you’ve mastered the base for incredible homemade mayonnaise—which, by the way, is amazing on its own—it’s time to have some fun! Since the foundation is so clean and simple, it’s waiting to be dressed up with your favorite seasonings. You can transform this simple egg yolk sauce into a ton of different fresh sauce recipes without even changing the main steps in your blender.
The easiest way to level up your condiment game is to start thinking about flavor profiles. If you just mastered the base mix, you’re already halfway to having the best homemade sandwich spread around!
Whipping Up a Quick Garlic Mayonnaise Recipe (Classic Aioli)
If you love that sharp, punchy flavor dressing up your fries or your next batch of homemade garlic bread, you absolutely must try making garlic mayonnaise, which is basically just garlic aioli! It’s so simple, and it tastes so much brighter than anything you can buy. You don’t even need to chop the garlic small!
Right at the very beginning, when you put your egg and salt into the blender jar, toss in one small, peeled clove of garlic. That’s it! Blend it all up with the oil just like you did before. The blender will pulverize that garlic so finely that it incorporates perfectly, giving you that rich, garlicky punch without any chunks. It’s an instant upgrade!
Adding a Little Smoke or Zest to Your Homemade Mayonnaise
Sometimes I want a little warmth in my mayo, especially when I’m using it for dipping potato wedges. Don’t be shy! Once your homemade mayonnaise is fully emulsified and thick, taste it. If you want a smoky note, whisk in about half a teaspoon of quality smoked paprika by hand right at the end. It turns the pale yellow into a lovely light orange color, and the depth of flavor is just wonderful.
Another winner is using fresh zest. If you have a lemon on hand, scrape just a tiny bit of the bright yellow peel into the mixture right before you start adding the oil. That citrus oil packs the most amazing flavor boost that complements the lemon juice you already added. These little tweaks make your simple recipe feel gourmet.
Storage & Shelf Life for Fresh Sauce Recipes Like Homemade Mayonnaise
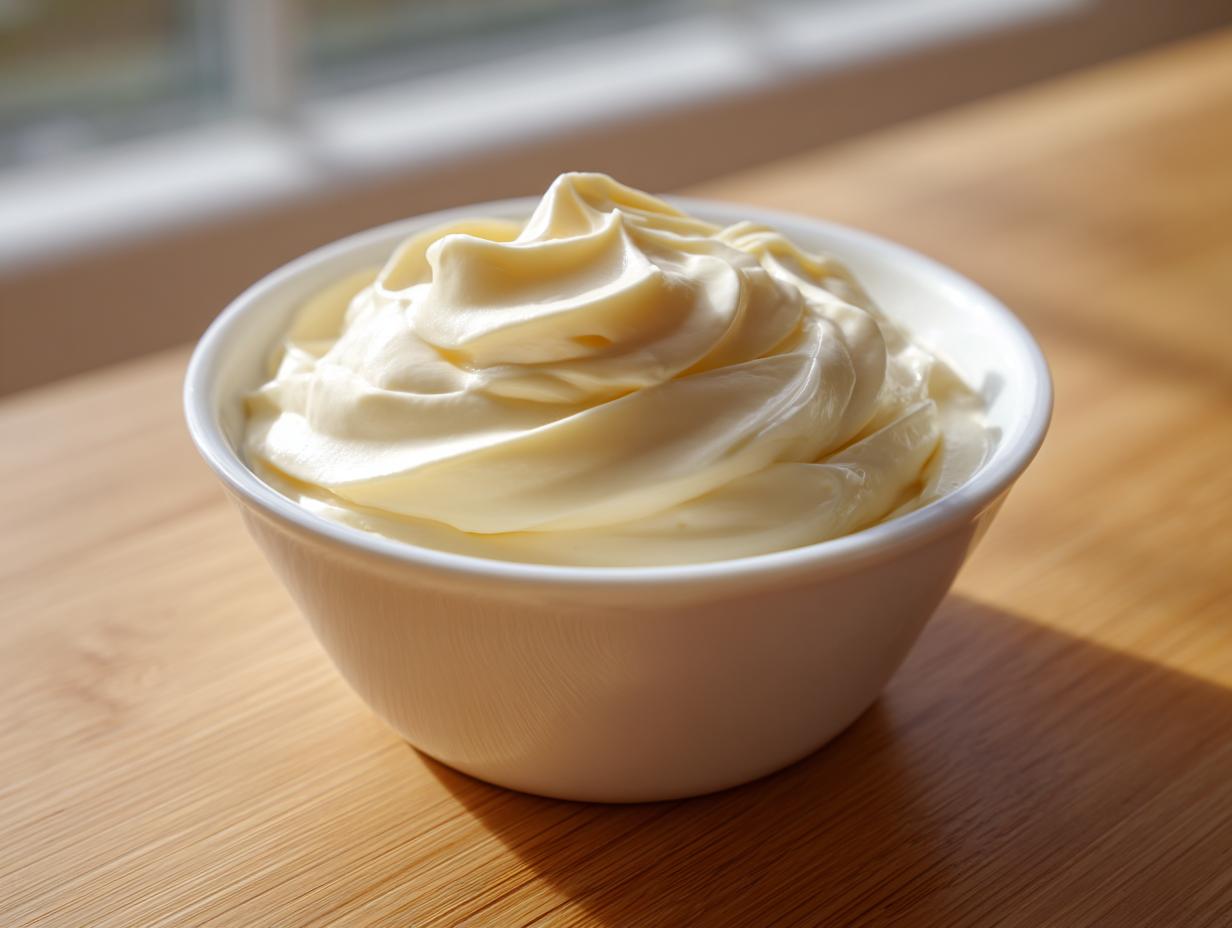
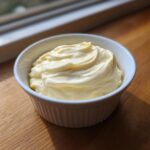
Okay, now that you’ve made this perfect, luscious batch of homemade mayonnaise—seriously, it looks like whipped cream, doesn’t it?—you need to know how to keep it happy. Since we skipped all those confusing preservatives that come in the commercial jars, this fresh version needs a little special care, but it’s so easy. Food safety is important, even when we’re just whipping up great, fresh sauce recipes in our own kitchens!
First things first: you must get it cold right away. That beautiful, thick texture we worked so hard for sets up even better when chilled. Immediately transfer all of your homemade mayonnaise into a super clean, airtight container. I find small glass jars with tight-fitting lids work best—you can see how perfectly creamy it is, and they seal so well.
The recipe instructions say to chill it for at least 30 minutes before serving, and you really should stick to that. This resting time allows the emulsion to stabilize completely, making it firmer and easier to scoop onto sandwiches or dip into. Once it’s chilled, you’re good to go!
Now, the critical part: how long does it last? Since we used a fresh, room-temperature egg and didn’t add preservatives, you need to treat this like any other fresh dairy or egg product. I always tell people to enjoy their homemade mayonnaise within one week. Seriously, it tastes so good that I doubt it’ll last that long anyway! If you’re making a huge batch for simple lunch recipes over several days, just be sure to keep it sealed tight in the fridge. If it starts smelling off or looking weird, toss it. Freshness is flavor, and we want the best flavor maximum every time!
Serving Suggestions: Using Your Homemade Mayonnaise Base
Once you’ve perfected your DIY mayonnaise from scratch, you’ll realize just how often you need a creamy, flavorful base in your kitchen. Forget just using it on a boring slice of bread! Having this fresh condiment ready to go opens up a world of possibilities for your favorite dishes. It elevates everything because you control the salt and the tang—it just tastes cleaner!
I love how versatile this simple mixture is. It’s the core of so many other delicious things we make here at Bliss Batter. If you’re thinking about how to put this fresh mayo to work right away, here are a few of my absolute favorite ways to use it up before it even hits the one-week mark!
First, let’s talk sandwiches. Sure, it’s amazing on a turkey club. But have you tried it on a perfectly melty grilled cheese sandwich? The high-quality fats in the fresh mayo toast up beautifully on the outside of the bread, giving you an unbeatable golden crust. Melted cheese plus homemade mayo? Yes, please!
Next up is salads, obviously. Whether you are mixing up a classic potato salad or a chicken salad that needs a little zip, this homemade version provides the perfect richness without that slightly metallic edge some jarred brands have. It truly changes the final texture of your salad bases for the better.
Don’t forget dips! Mix in some dried herbs and maybe a squeeze of extra lemon, and you have an instant vegetable dip that puts any store-bought ranch to shame. If you need inspiration for quick appetizers to serve with your fabulous new dip, check out some great ideas over at Recipe Squat.
Finally, I always keep a little bit ready for an emergency. If you’re making homemade french fries and need a decadent dipping sauce, have some on hand! Stir in a little bit of that homemade garlic version we talked about, and you have a gourmet experience instantly. It’s rewarding when such a simple base recipe delivers such big results!
Frequently Asked Questions About Making Homemade Mayonnaise
I know you might still have a few questions swirling around while waiting for that jar of homemade mayonnaise to chill! That’s totally fine. When I first started experimenting with making things from scratch, I had a million questions too. It’s all about demystifying the process so you feel totally confident the next time you decide to whip up a batch of this kitchen staple. Here are the things readers ask me most often!
Can I use regular olive oil instead of a neutral oil for homemade mayonnaise?
Oh, that’s a classic question! You can technically use it, but I really, truly advise against it for your first few tries. Regular extra virgin olive oil—the good, flavorful kind—has a really strong, sometimes grassy or peppery taste. When you blend it up into this simple base, that flavor overpowers everything else. It makes the mayonnaise taste kind of sharp, not creamy and balanced. For this recipe, think of the oil as the body, not the flavor. Stick with canola, grapeseed, or even light olive oil (sometimes labeled as refined olive oil) so your egg, salt, and lemon can shine through. Save that fancy Spanish olive oil for dipping bread!
Is this a good base for a healthy mayonnaise recipe?
That’s such a smart question for today’s cooking! When people look for a healthy mayonnaise recipe, they are usually trying to cut out all the weird additives and preservatives found in the store versions. Since we are only using five fresh ingredients here—egg, oil, acid, mustard, and salt—you have total control. If you’re mindful of your portion sizes, yes, this is a fantastic, clean base compared to brands loaded with sugar or artificial stabilizers. You know exactly what went into your homemade mayonnaise, and that, to me, is healthier!
What is the best way to make mayonnaise thick if it seems too loose?
If you’ve gone through the blending process and your mixture still looks a bit thin—we’ve all been there, trust me—don’t panic! The secret weapon for thickness is patience while drizzling, but the rescue tool is what we discussed in the troubleshooting section. You need a new foundation to catch the loose oil. Mix one teaspoon of *hot* water or one fresh egg yolk in a clean bowl. Then, start whisking your runny mayo mixture into this new base, one teaspoon at a time, whisking like you mean it! It will re-emulsify beautifully and thicken right up before your eyes. It’s almost like magic, but it’s just science making your homemade mayonnaise stable!
If you’re looking for more inspiration on using up this incredible condiment, check out some quick snack and appetizer ideas!
Share Your Kitchen Creations
And just like that, you’ve done it! You’ve conquered the emulsion, you’ve bypassed the grocery store aisle, and you’ve unlocked one of the best, freshest kitchen staple recipes out there. Truly, making your own homemade mayonnaise is a skill that feels so impressive, but it’s really just about those first few seconds of careful blending. I am so incredibly proud of you for stepping out of your comfort zone! I love seeing people realize just how easy these easy homemade condiments can be.
Now, I’d absolutely adore to hear how it turned out. Was your texture perfect on the first try? Did you sneak a little extra garlic in for a punchy aioli? Getting feedback from you is how I know whether I’m doing a good job demystifying recipes here on Bliss Batter. I want to see your gorgeous, creamy results!
Please, take a moment and rate this recipe below with five shining stars if you loved how easy and delicious this homemade mayonnaise turned out. Five stars really helps other folks who are nervous about making things from scratch feel confident enough to try it. If you had a question, leave it in the comments, too—I read every single one and I’m always here to help you troubleshoot!
When you’re snapping those beautiful pictures of your sandwiches or dipping those fries into your fresh creation, tag me on social media! Seeing those amazing alternatives to jarred mayo pop up in my feed always makes my day brighter. It’s so rewarding seeing you all create happiness right in your own kitchens. For more background on why I test everything so thoroughly, check out my story here.
If you’re looking for another incredibly satisfying fresh sauce recipe to try next, go check out this amazing guide on making better homemade mayonnaise from The Spanish Apron—they have some wonderful ideas for flavor pairing over there!
PrintFailproof Homemade Mayonnaise: Creamy, Quick, and Better Than Store-Bought
Learn how to make rich, creamy homemade mayonnaise from scratch in minutes using just five simple ingredients. This easy blender method guarantees a thick, perfect emulsion every time you make this kitchen staple.
- Prep Time: 5 min
- Cook Time: 0 min
- Total Time: 5 min
- Yield: About 1 1/4 cups 1x
- Category: Condiment
- Method: Blending
- Cuisine: American
- Diet: Gluten Free
Ingredients
- 1 large egg, room temperature
- 1 teaspoon Dijon mustard
- 1 teaspoon fresh lemon juice or white vinegar
- 1/4 teaspoon fine salt
- 1 cup neutral oil (like canola, grapeseed, or light olive oil)
Instructions
- Place the room temperature egg, Dijon mustard, lemon juice (or vinegar), and salt into the jar of an immersion blender or a standard blender.
- If using an immersion blender, place the head of the blender directly onto the bottom of the jar, covering the egg yolk.
- Begin blending on low speed. Slowly drizzle the oil into the mixture in a very thin, steady stream. Do not pour too fast, or the mayonnaise will break.
- Continue blending and slowly adding oil until the mixture starts to thicken and emulsify. This usually takes about 30 seconds.
- Once the mixture thickens, you can increase the blender speed slightly and continue drizzling the remaining oil until all the oil is incorporated and the mayonnaise is thick and creamy.
- If using a standard blender, blend the egg mixture first. With the blender running on medium speed, slowly pour the oil in a thin stream through the top opening until the mayonnaise forms.
- Taste the homemade mayonnaise and add more salt or lemon juice if you prefer a tangier flavor.
- Transfer the fresh mayonnaise to an airtight container and chill for at least 30 minutes before serving for the best texture.
Notes
- Using room temperature ingredients helps the emulsion form correctly.
- If your mayonnaise breaks (looks thin or watery), place one teaspoon of water or one fresh egg yolk in a clean bowl. Slowly whisk in the broken mixture one teaspoon at a time until it re-emulsifies.
- For a garlic mayonnaise (aioli), add one small clove of peeled garlic to the blender with the other ingredients.
- This fresh mayonnaise tastes best when used within one week.
Nutrition
- Serving Size: 2 Tablespoons
- Calories: 180
- Sugar: 0
- Sodium: 100
- Fat: 20
- Saturated Fat: 2
- Unsaturated Fat: 18
- Trans Fat: 0
- Carbohydrates: 0
- Fiber: 0
- Protein: 1
- Cholesterol: 45