
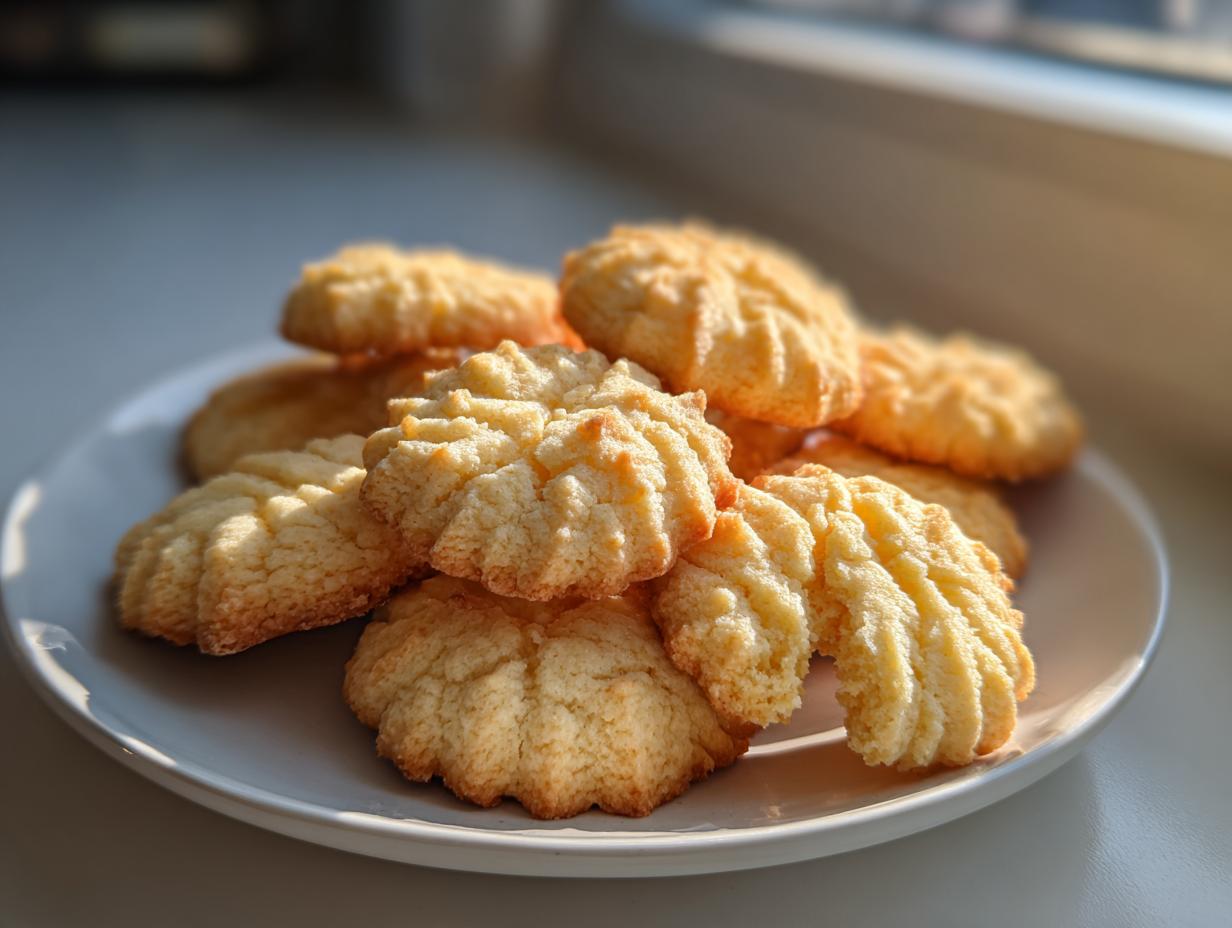
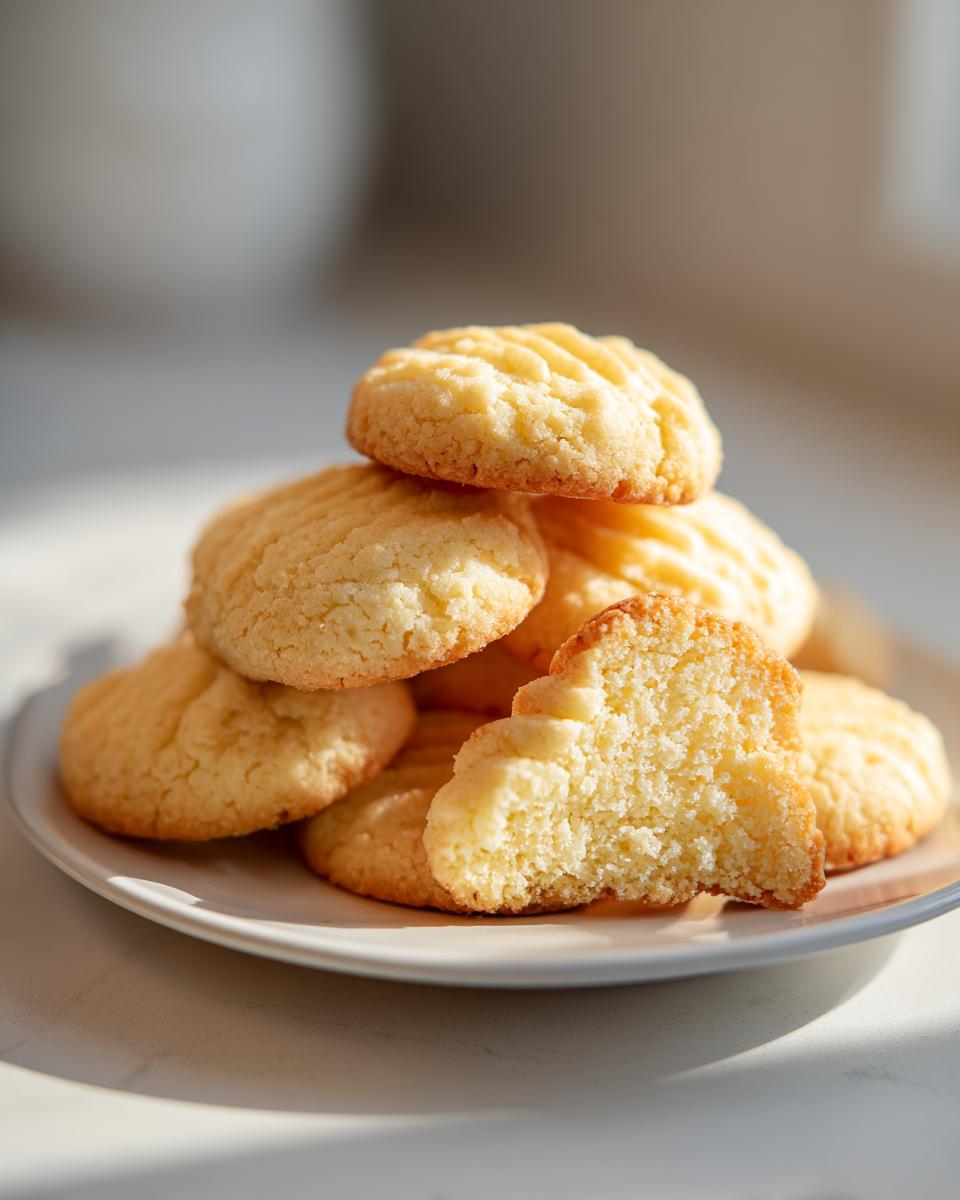
Oh, these cookies! You know the ones—the little buttery treasures tucked into the corner of the Italian bakery case, perfectly piped and just begging to be eaten with a strong afternoon espresso? I completely understand why you searched for this recipe. Achieving that authentic, melt-in-your-mouth texture at home used to feel like magic only professionals knew, but I promise you, it’s not! This recipe for italian butter cookies is totally within your reach. As a baker who believes happiness is homemade, I made sure this version honors the classics while being joyfully accessible. We’re bringing that soft, tender, bakery-style butter cookie quality straight to your kitchen. You can trust that every recipe here, including this one, has been tested and perfected, just like founder Claire Sterling promises when she shares her secrets for classics with a spark. You’ll find all the approachable guidance you need right here at Bliss Batter in our story!
- Why This is the Best Italian Butter Cookie Recipe
- Gathering Ingredients for Perfect Italian Butter Cookies
- Step-by-Step Instructions for Easy Piped Cookies
- Tips for Success with Your Italian Butter Cookie Dough
- Storage and Serving Suggestions for Buttery Christmas Cookies
- Variations on Classic Italian Baking
- Frequently Asked Questions About Italian Butter Cookies
- Understanding the Nutrition in These Simple Buttery Cookies
- Share Your Homemade Italian Biscuits
Why This is the Best Italian Butter Cookie Recipe
If you are scrolling, looking for the perfect italian butter cookies, stop right here! What sets this recipe apart isn’t some exotic ingredient; it’s the texture. These truly melt in your mouth cookies. Claire often talks about having to press her nose against the bakery glass as a kid, mesmerized by those perfect spirals. That’s the picture we are recreating!
The secret to that tender quality comes from a classic, simple creaming method—no complicated steps needed. It ensures you get that beautiful Bakery Style Butter Cookies finish without any fuss at all. Trust me, you’ll be making these buttery Christmas cookies year after year.
Key Attributes of These Soft Italian Cookies
- Achieves a stunning Bakery Style Butter Cookies finish right in your home oven.
- Results in an incredibly tender Butter Cookies texture that dissolves the moment you bite into it.
- Uses Simple Buttery Cookies ingredients that you likely already have on hand.
- Perfectly balanced flavor, ready for decorating or just enjoying plain with a warm cup of coffee! Check out our chai spice cookies for another easy spiced favorite!
Gathering Ingredients for Perfect Italian Butter Cookies
Getting ready for these wonderful italian butter cookies is easy. We aren’t messing around with complicated stuff here; we stick to the basics that make these tender butter cookies shine. The key is making sure your primary fat—the butter—is the right temperature. Seriously, that softened butter makes all the difference in achieving our signature soft texture!
Base Ingredients for Tender Butter Cookies
Grab these things before you start your creaming process:
- 1 cup unsalted butter, make sure it’s nicely softened!
- 2/3 cup powdered sugar (yes, powdered, not granulated!)
- 1 large egg
- 2 teaspoons vanilla extract
- 2 cups all-purpose flour
- 1/4 teaspoon salt
Optional Decorations for Bakery Style Butter Cookies
These extras are what make your bake look like it came right from the pastry shop, perfect for those beautiful homemade cookie gifts:
- Melted chocolate for dipping the ends.
- Chopped pistachios or maybe some extra powdered sugar for dusting.
- Raspberry jam if you plan on sandwiching them!
Step-by-Step Instructions for Easy Piped Cookies
Okay, let’s get this dough rolling—or piping, rather! First things first, get that oven warmed up to 350°F (175°C) and line a baking sheet right away with parchment paper. We want zero sticking, trust me on this. This recipe is supposed to give you tender butter cookies, and we need the right foundation for that!
Preparing the Dough and Piping the Italian Butter Cookies
Start by getting your butter and powdered sugar happy together in a bowl. Cream them until they look wonderfully light and creamy—this is incorporating the air needed later! Then we bring in the egg and that lovely vanilla extract. Mix until it’s all smooth. Now for the dry stuff: sift in your flour and salt. Stir this gently until just combined. I mean it—do not overmix! Overmixing is the enemy of soft Italian cookies.
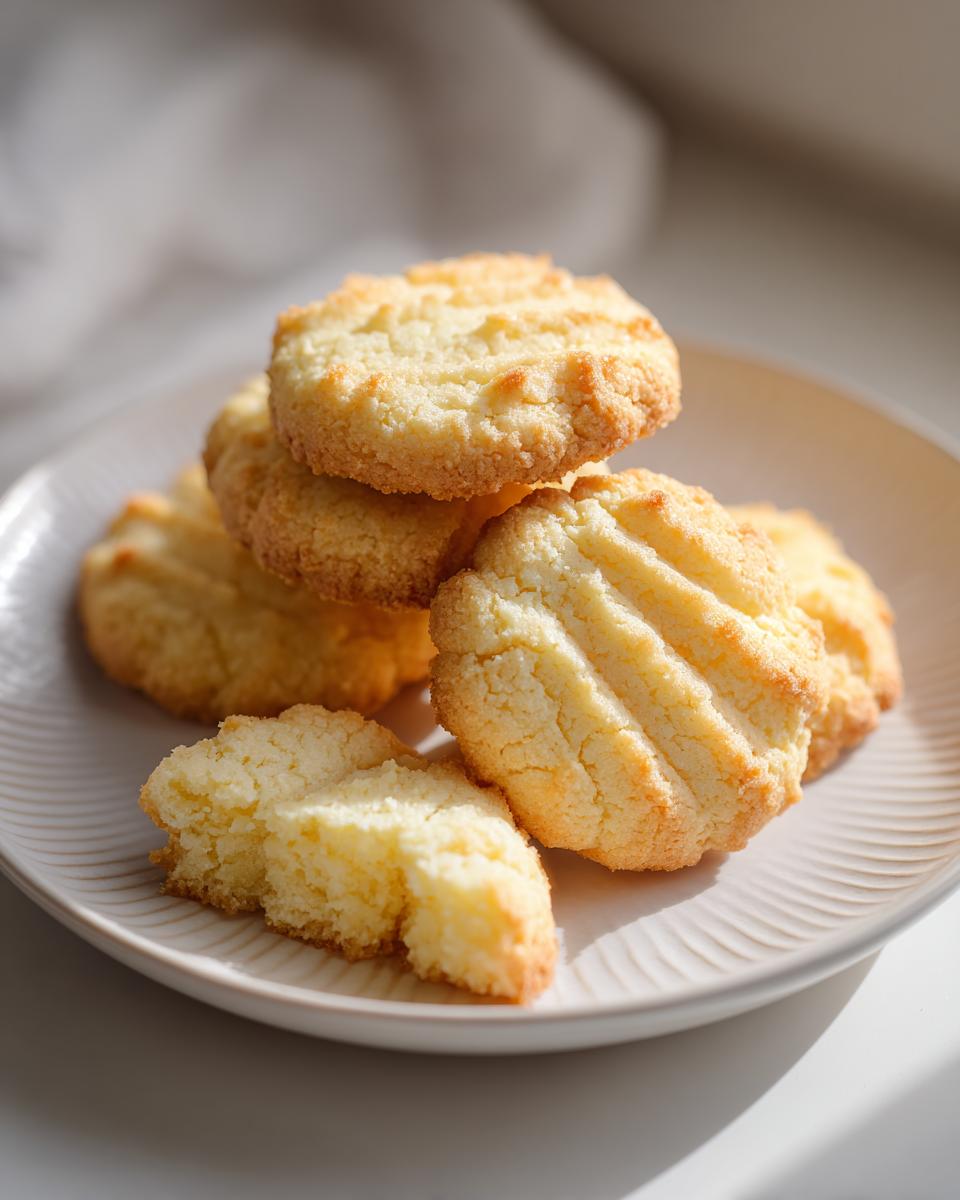
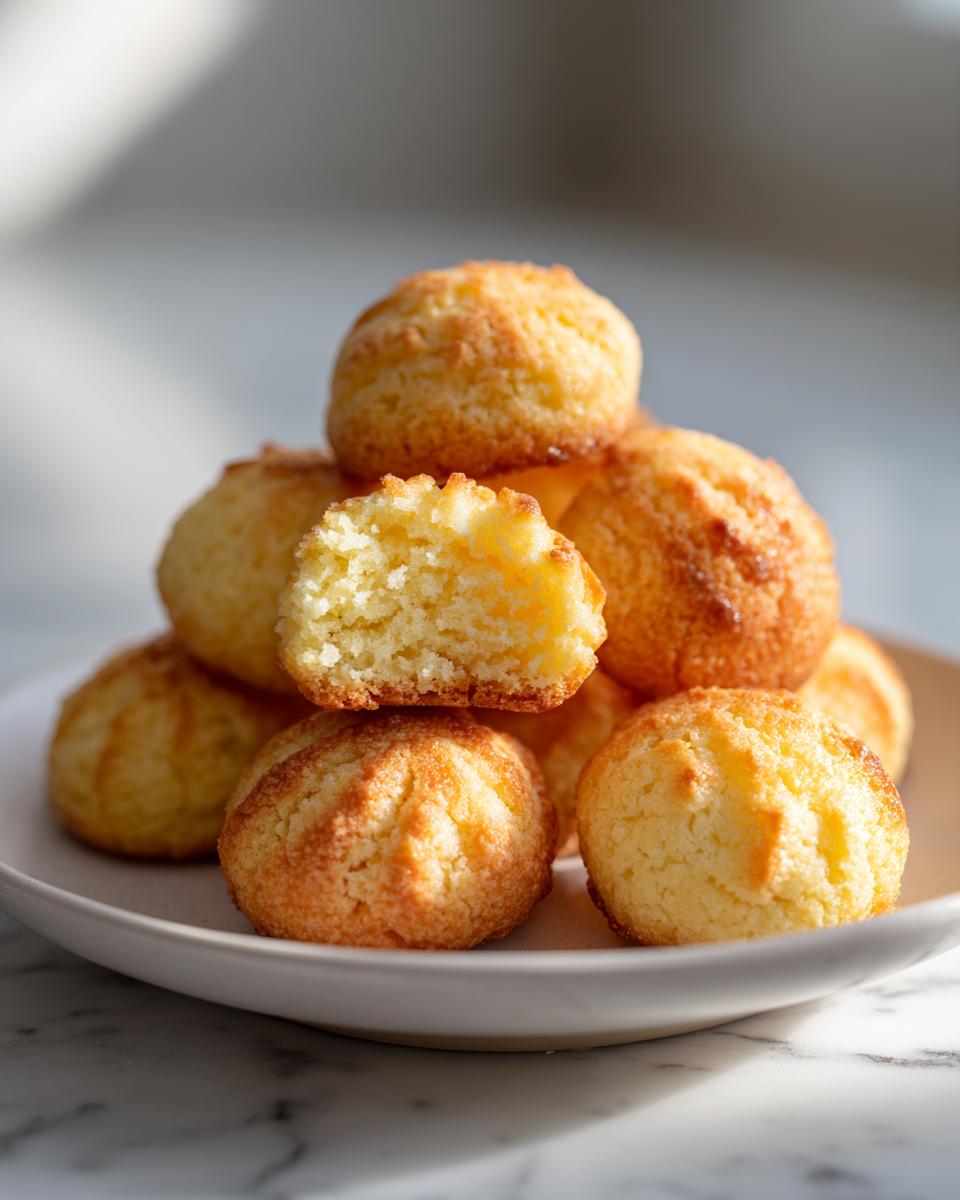
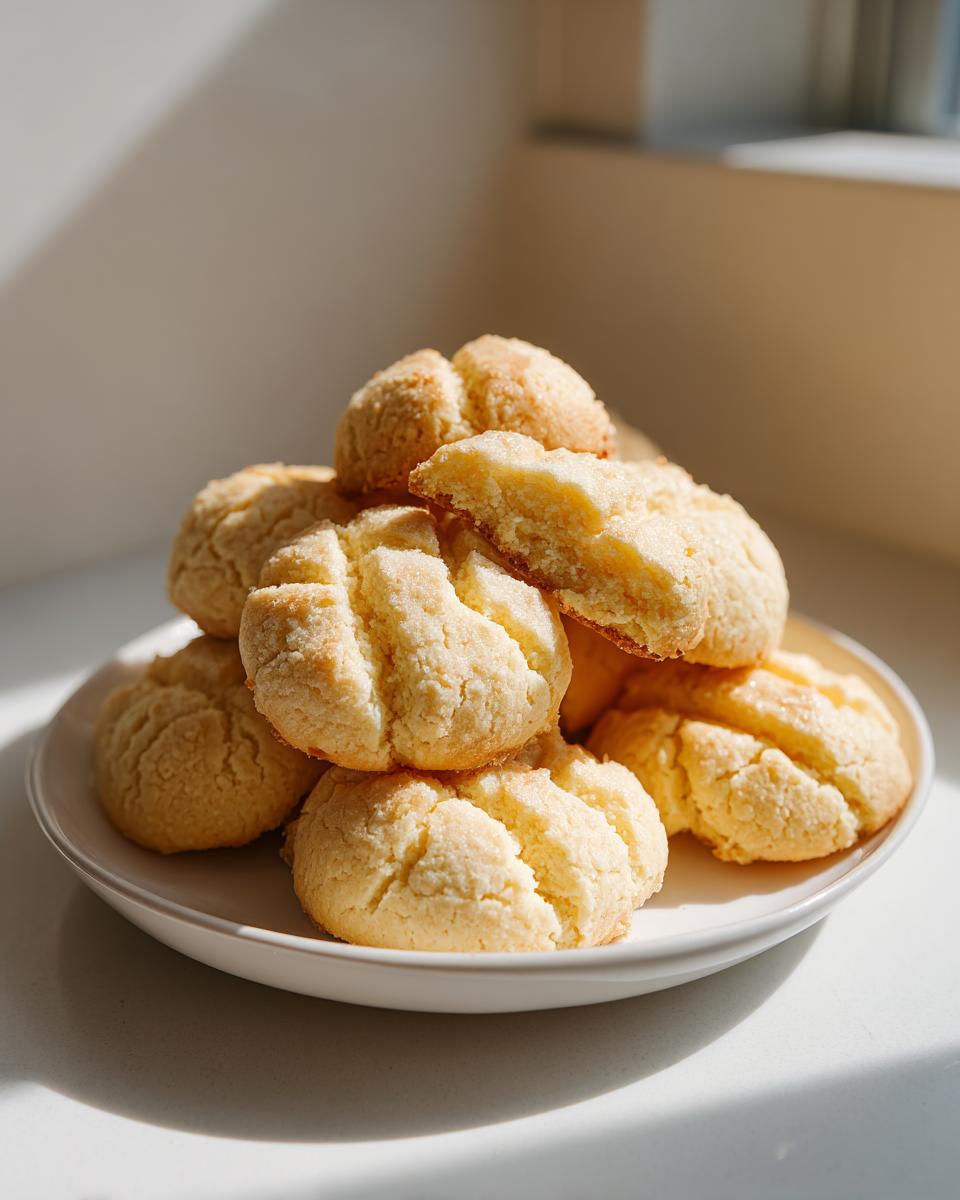
Once that soft dough forms, transfer everything over to your piping bag. You absolutely need a large star tip for that classic look, like the ones you see in the bakery case. Pipe out your swirls or little rings onto the prepared sheet, making sure to leave about an inch between each sweet treat.
Baking and Finishing Your Melt In Your Mouth Cookies
Slide those beauties into the preheated oven for just 10 to 12 minutes. You are looking for the edges to be just barely golden. If you wait until they are dark, they will be crisp, not melt-in-your-mouth! Let them cool down completely right there on the pan—this is important so they don’t break apart when you move them. If the dough seems too stiff to pipe before baking, just let the whole bowl sit on the counter for about five minutes; it softens right up without getting greasy. Once cool, you can dip the ends in melted chocolate and get extra fancy with some chopped pistachios or a simple dust of powdered sugar. If you want other great baking ideas, check out my steps for making perfect pumpkin bread!
Tips for Success with Your Italian Butter Cookie Dough
I know I keep harping on the dough, but seriously, this is where we nail that melt-in-your-mouth magic! The temperature of your ingredients matters so much for these italian butter cookies. If your butter is too cold, you won’t cream it properly, and if it’s too warm and greasy, the whole cookie spreads into a sad, flat puddle.
After you mix the dough, if you are struggling to get those pretty swirls coming out of the piping bag, don’t panic! This is totally normal with butter-heavy dough. Just let the bowl rest on the counter for five minutes. That little bit of warmth softens it just enough so you can pipe those perfect shapes for your Authentic Italian Cookies without destroying the structure.
And hey, if you want that next-level bakery look, definitely try piping two rings and sandwiching them together with a tiny dollop of thick raspberry jam or chocolate once they’re cool. It elevates them right up to beautiful homemade cookie gifts status! For more technique tricks that ensure success in the kitchen, you can see my best advice on layering and structure!
Storage and Serving Suggestions for Buttery Christmas Cookies
Once you’ve made a batch of these dreamy italian butter cookies, the next big challenge is keeping them around long enough to enjoy them! The good news is that since they are so rich in butter, they actually keep quite nicely, provided you treat them right. I always keep mine tucked away for guests or for those little afternoon moments when I need a pick-me-up.
For the best storage, you absolutely need an airtight container. I use the big glass jars that look vintage—they just make everything feel more special! Make sure the cookies are completely cool before you seal the lid; if there is any residual warmth, you’ll get condensation, and nobody wants soggy cookies. Stored correctly, these simple buttery cookies stay wonderfully tender for at least a week, maybe even ten days.
When it comes to serving, these are truly versatile. Of course, they demand a cup of strong coffee or maybe a hot cup of tea. They are also the absolute backbone of any impressive holiday spread. If you are building one of those famous holiday cookie trays, these piped little beauties need center stage, especially if you’ve gone the extra mile dipping them in chocolate. They look so charming next to something spicy or heavily glazed. Speaking of coffee cakes, if you need another reason to break out the fancy mugs, you have to try my recipe for a super moist coffee cake crumb!
Variations on Classic Italian Baking
While I adore sticking to the classic vanilla flavor for these italian butter cookies, part of the fun of baking is putting your own happy little stamp on a timeless recipe! Don’t worry, we aren’t messing with the butter-to-flour ratio here—that’s sacred—but we can absolutely switch up the aromatic notes a bit!
My absolute favorite switch, especially if I’m making a huge batch for a party, is swapping out the vanilla extract. If you want a deeper, slightly nuttier, more traditional Italian flavor profile, take the vanilla right out and substitute it completely with pure almond extract. You’ll need a little less, maybe just one teaspoon to start, taste the dough—it gets potent fast! Almond extract paired with the powdered sugar just pulls out that wonderful, authentic taste we are aiming for.
If you’re looking for something bright and zesty—perfect for spring or summer gatherings—citrus zest is your friend! Orange or lemon zest adds such a gorgeous pop without changing the texture at all. I usually zest about one whole orange into the butter and sugar while creaming it. The citrus oils release right into the fat, flavoring every single bite of your tender butter cookies. They look beautiful just dusted with powdered sugar, too, as the zest gives them a subtle, gourmet upgrade!
Frequently Asked Questions About Italian Butter Cookies
I always get questions once people dive into baking these, and that’s great! It means you’re serious about getting that perfect bakery look. Dealing with buttery dough can sometimes throw people off, but once you know the little tricks, you’ll be fine! Here are the main things I hear about securing the best italian butter cookies.
Can I make these Italian Butter Cookies without a piping bag?
Yes, you totally can, but you might lose a little bit of that signature look! If you don’t have a piping bag, the easiest way is to use a cookie press—they work perfectly with this dough type. If you don’t have that either, try rolling the dough into a long log, chill it until it’s firm, and slice it into half-inch rounds. You can press a fork into the top of each slice for a pattern. Just know that slicing will give you a sturdier cookie than the super light texture you get from our piping bag cookie recipe, but they will still be wonderfully buttery!
How do I get my italian butter cookies to be truly soft?
This is all about air and timing, sweetie! Two things matter most: First, you have to cream that butter and powdered sugar until it’s really light and fluffy—don’t rush that step! That’s where the air gets trapped inside. Second, and this is crucial: don’t overbake them. They should only bake until the edges are just faintly kissing gold. If you wait until the whole cookie is golden brown, you’ve baked the moisture right out! They might feel a little delicate when they come out, but they firm up perfectly once they cool on the counter.
If you still have questions after trying this recipe, please don’t hesitate to reach out on my contact page!
Understanding the Nutrition in These Simple Buttery Cookies
Now, I know you’re probably making these gorgeous italian butter cookies because they taste heavenly and feel like a cozy tradition, not necessarily because you’re checking macros, but I think it’s useful to know what we’re enjoying! We all deserve sweet treats, and having an idea of the makeup helps when you’re building out your weekly eats. Since baking is about balance, feel free to check out my ideas on meal planning if you are trying to fit treats into a plan!
Here are the estimated nutritional values for just one of these decadent, simple buttery cookies. Remember, these numbers are based on the recipe as written, without any extra chocolate dipping or jam filling, so keep that in mind when you’re reaching for seconds!
- Serving Size: 1 cookie
- Calories: ~90
- Total Fat: ~6g
- Total Carbohydrates: ~8g
- Protein: ~1g
- Sugar: ~4g
It’s important to remember that these are homemade Italian biscuits, rich with real butter, which gives them their incredible texture! That creamy fat content is absolutely necessary for achieving that true, melt-in-your-mouth experience we are after. Enjoy them knowing you made them with real care!
Share Your Homemade Italian Biscuits
I am so excited for you to try these! Honestly, after all that talk about butter and sugar, I’m already looking up great pairings—maybe a strong cup of coffee from my favorite caramel latte recipe to go alongside them.
But now it’s your turn! I truly hope these italian butter cookies brought a little bit of that classic Italian bakery bliss right into your kitchen. Did you manage to get those perfect swirls with the star tip? Were the chocolate-dipped endings a hit at your house?
Please, please, please come back here and drop a comment below! I want to know how they turned out. Tell me if you stuck strictly to the vanilla or if you tried one of those flavor variations we talked about. If you posted a picture of your beautiful homemade biscuits on social media, tag me! Seeing your bakes—especially those shiny, glistening chocolate peaks—makes my entire day.
Don’t be shy; rate this recipe when you get a chance. Your feedback helps other home bakers feel confident stepping into the kitchen to make these simple buttery cookies. Happy baking, and I can’t wait to see what you create!
PrintBakery-Style Italian Butter Cookies
Make soft, buttery Italian butter cookies that melt in your mouth. This recipe uses simple steps to create tender, classic piped cookies perfect for gifting or enjoying with coffee.
- Prep Time: 15 min
- Cook Time: 12 min
- Total Time: 27 min
- Yield: About 24 cookies 1x
- Category: Dessert
- Method: Baking
- Cuisine: Italian
- Diet: Vegetarian
Ingredients
- 1 cup unsalted butter, softened
- 2/3 cup powdered sugar
- 1 large egg
- 2 teaspoons vanilla extract
- 2 cups all-purpose flour
- 1/4 teaspoon salt
- Optional: Melted chocolate for dipping
- Optional: Chopped pistachios or powdered sugar for topping
Instructions
- Preheat your oven to 350°F (175°C). Line a baking sheet with parchment paper.
- In a large bowl, beat the softened butter and powdered sugar together until the mixture is light and creamy.
- Add the egg and vanilla extract to the butter mixture, mixing until well combined.
- Sift the all-purpose flour and salt into the wet ingredients. Stir until a soft dough forms. Do not overmix.
- Transfer the cookie dough to a piping bag fitted with a large star tip.
- Pipe desired shapes, such as swirls or rings, onto the prepared baking sheet, leaving about one inch between cookies.
- Bake for 10 to 12 minutes, or until the edges are just lightly golden. Watch them closely to prevent overbaking.
- Cool the cookies completely on the baking sheet before moving them.
- If desired, dip one end of the cooled cookies into melted chocolate and immediately sprinkle with chopped pistachios or dust with powdered sugar.
Notes
- If the dough feels too stiff to pipe, let it rest at room temperature for a few minutes to soften slightly.
- For a true bakery touch, sandwich two cookies together with a small amount of raspberry jam or melted chocolate.
- These cookies are excellent for holiday cookie trays or as homemade cookie gifts.
Nutrition
- Serving Size: 1 cookie
- Calories: 90
- Sugar: 4
- Sodium: 15
- Fat: 6
- Saturated Fat: 3.5
- Unsaturated Fat: 2.5
- Trans Fat: 0
- Carbohydrates: 8
- Fiber: 0.2
- Protein: 1
- Cholesterol: 25