
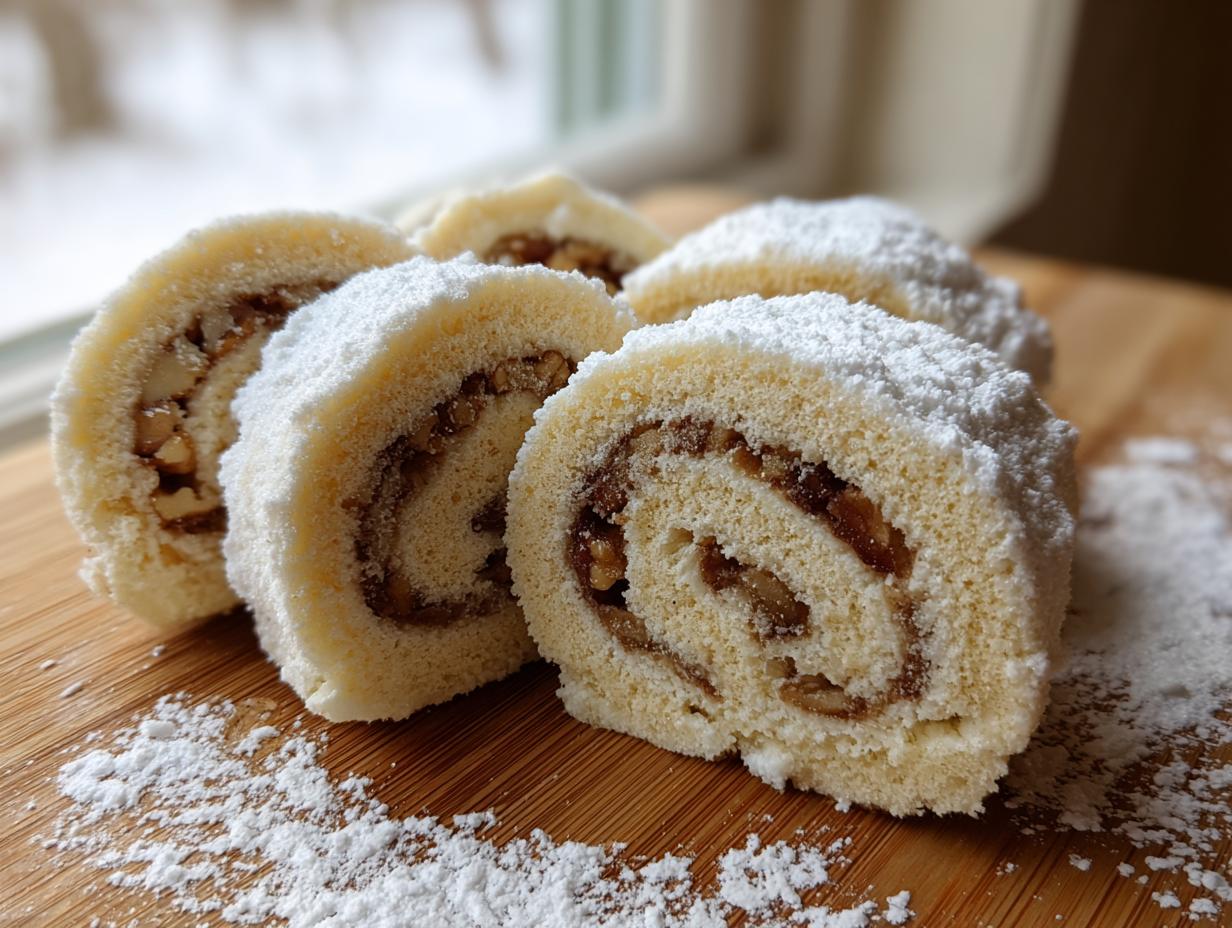
There is just something deeply comforting about taking simple, good ingredients and turning them into something that smells overwhelmingly like home, isn’t there? For me, that moment comes when I’m working with the dough for my signature italian nut roll cookies. I know the world feels chaotic sometimes, but when my flour, butter, and sour cream come together, everything slows down. That’s why I developed this recipe—to be the most foolproof, tender, and absolutely delicious version of this cookie you’ll ever pull from your own oven. Forget complicated steps; this is pure, homemade Italian pastry magic that brings true baking bliss! For pairing ideas alongside these beauties, you should check out my recipe for Chai Spice Cookies—they are excellent complements!
This is the definitive recipe I’ve finalized over years of testing because it truly delivers that melt-in-your-mouth pastry texture we all crave. We’ve included a little surprise in the filling to elevate it beyond the standard, too. Ready to create some magic?
- Why This Classic Italian Nut Roll Cookies Recipe Works
- Gathering Ingredients for Your Italian Nut Roll Cookies
- Step-by-Step Guide to Making Italian Nut Roll Cookies
- Tips for Perfect Slice and Bake Nut Cookies Every Time
- Storing Your Delicious Italian Nut Roll Cookies
- Serving Suggestions for These Sweet Italian Treats
- Frequently Asked Questions About Italian Nut Roll Cookies
- Estimated Nutritional Snapshot for Italian Nut Roll Cookies
- Share Your Homemade Italian Nut Roll Cookies Creations
Why This Classic Italian Nut Roll Cookies Recipe Works
When you’re making something traditional, you want it to be the best, right? My goal here was to perfect the texture—we want gorgeous, buttery rolled cookies that practically dissolve when you eat them. This recipe stands out among other Traditional Italian desserts because we nail the balance between flaky pastry and rich filling every single time.
- Superior tenderness that keeps the cookie soft for days.
- A filling that’s nutty and spiced perfectly, never dry.
- The perfect sliceable shape that holds up beautifully on a platter.
It all comes down to two key components that I focused on obsessively.
The Secret to Tender Dough in Italian Nut Roll Cookies
You might look at the ingredients and wonder about the sour cream, but trust me, it’s non-negotiable! That little bit of acid tenderizes the flour beautifully, giving you that wonderful, soft, almost cloud-like bite compared to stiff shortbreads. It keeps the dough workable without being greasy.
Achieving the Perfect Spiced Walnut Filling for Your Roll Cookies with Filling
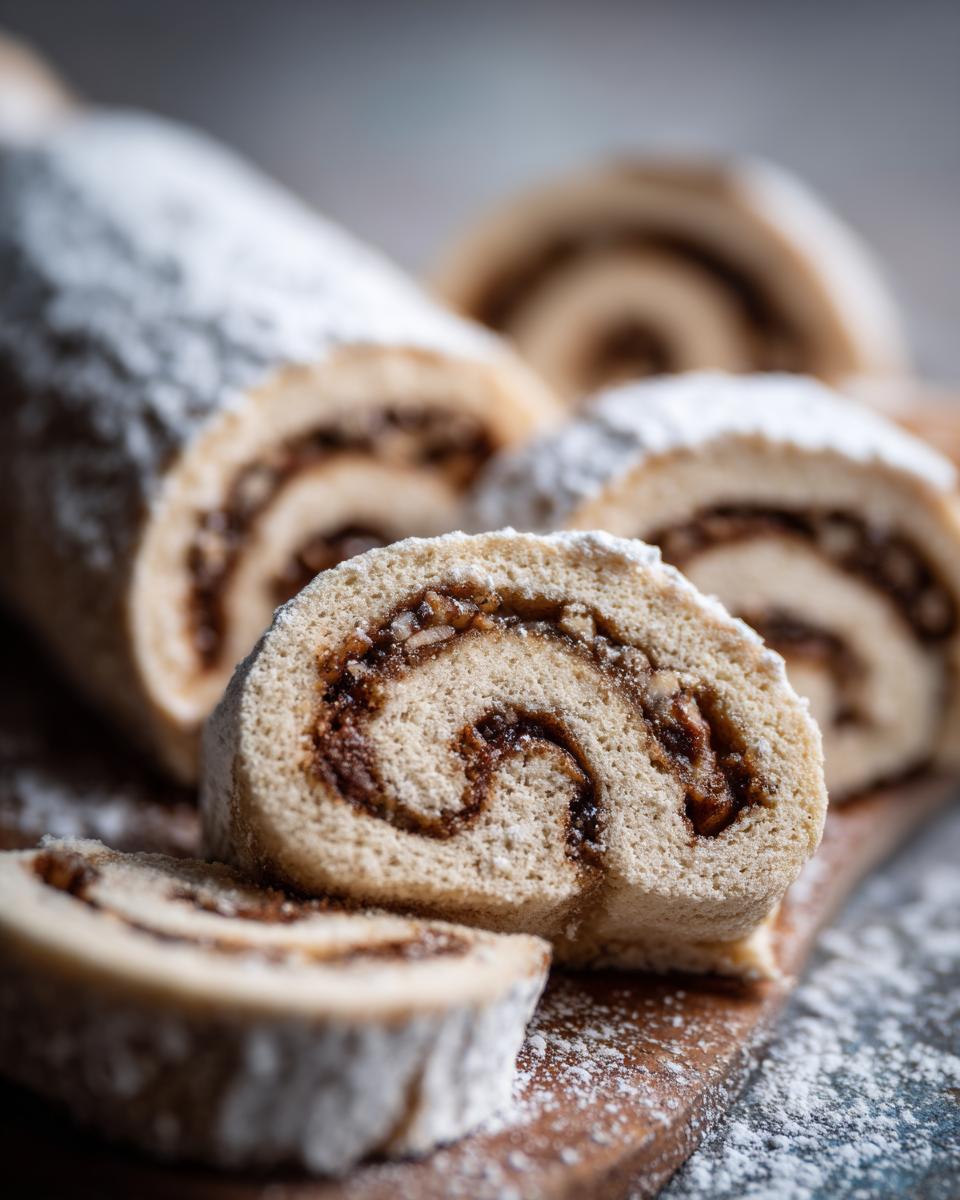
We want the filling to spread like a dream, not crumble out! That requires mixing the sugar, cinnamon, and melted butter until it’s genuinely reminiscent of wet sand. Finely ground walnuts are crucial here; if they are too coarse, the log tears when you slice it. This ratio ensures your roll cookies with filling are harmonious in every bite.
If you want another incredibly reliable recipe that never fails, take a peek at my guide for Chewy Old-Fashioned Oatmeal Raisin Cookies! They deserve a spot next to these Italian beauties.
Gathering Ingredients for Your Italian Nut Roll Cookies
Okay, gathering your supplies is the first step to baking bliss! For these italian nut roll cookies, you really need to treat the ingredients well, especially the fats. Since we are using a good amount of butter in that tender pastry, I always use the best quality I can grab—it truly makes a difference in the flavor profile.
When you look at the list, notice the emphasis on how things should be prepared. We aren’t just adding flour; we need that butter softened to the perfect point. For the filling, make sure those walnuts are finely ground—we don’t want big chunks fighting the roll! Also, remember that one beaten egg is just for the egg wash right before baking, keeping everything glossy and golden.
If you are looking for another delicious way to use nuts, you truly must check out my recipe for Moist Banana Bread with Walnuts—it’s fantastic for autumn baking!
Here’s exactly what you’ll need:
- 2 ½ cups all-purpose flour
- 1 cup unsalted butter, softened
- 1 cup sour cream
- 1 egg yolk
- ½ teaspoon salt
- 1 tablespoon sugar
- 1 ½ cups finely ground walnuts
- ½ cup granulated sugar (for filling)
- 1 teaspoon ground cinnamon
- 1 tablespoon melted butter (for filling)
- 1 beaten egg (for egg wash)
- Powdered sugar (for dusting)
Step-by-Step Guide to Making Italian Nut Roll Cookies
Now for the best part—bringing this recipe to life! Don’t be intimidated by the look of a rolled cookie. Honestly, the process for these italian nut roll cookies is very straightforward if you just respect the chill time. Think of the chill time as mandatory marination time for the dough; it keeps everything happy!
Mixing and Chilling the Buttery Rolled Cookies Dough
When you bring your flour, butter, and sour cream together, you need a light hand. I mean it—do not overmix! As soon as it comes together into a shaggy mass, stop fussing with it. Overmixing develops gluten and we want zero chewiness here; we need tenderness! Easy Cookie Icing Recipe is nice, but this dough is best when left alone. Divide that soft dough into two equal pieces and press them into little discs. Wrap them tight. They must chill in the refrigerator for at least 2 hours. Seriously, don’t rush this; it’s what makes them sliceable later!
Assembling and Rolling the Nut Roll Cookie Recipe Log
Once your dough is properly chilled and feeling firm but not rock hard, you can get to the assembly line. Lightly flour your surface—just a whisper of flour coating is plenty. Roll that disc out gently into a thin rectangle, aiming for about 1/8 inch thick. Now, take half of that sweet, spiced walnut filling and spread it thinly and evenly across your dough, making sure you leave a tiny border along the edges. This border is your glue!
Start rolling from the longest side, rolling it up slowly and tightly, like you’re making an incredibly delicious little sleeping bag. When you reach the end, pinch that seam closed really well! This seal is what prevents unraveling while baking your Nut roll cookie recipe. You want a solid log ready for slicing.
Slicing, Final Chill, and Baking Your Festive Nut Cookies
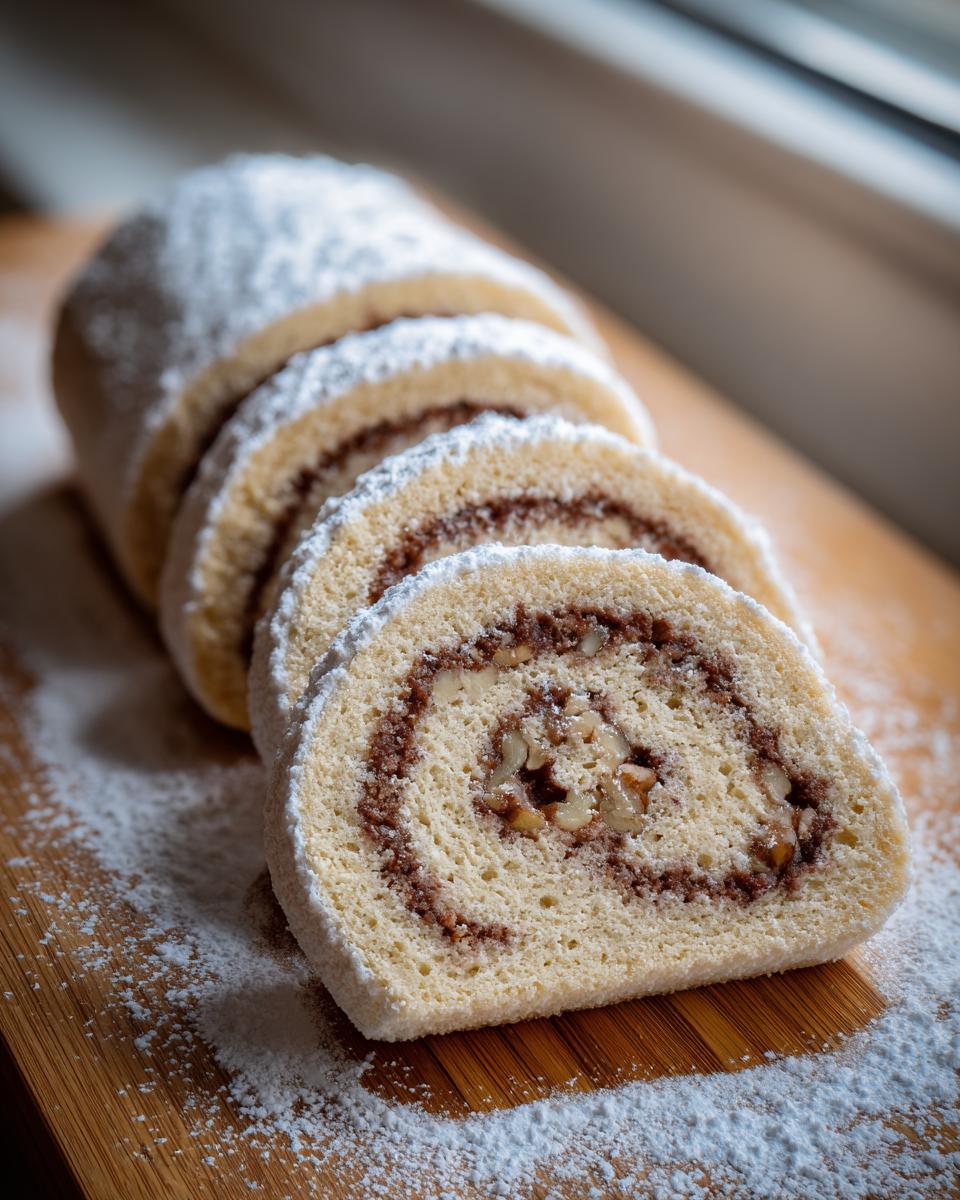
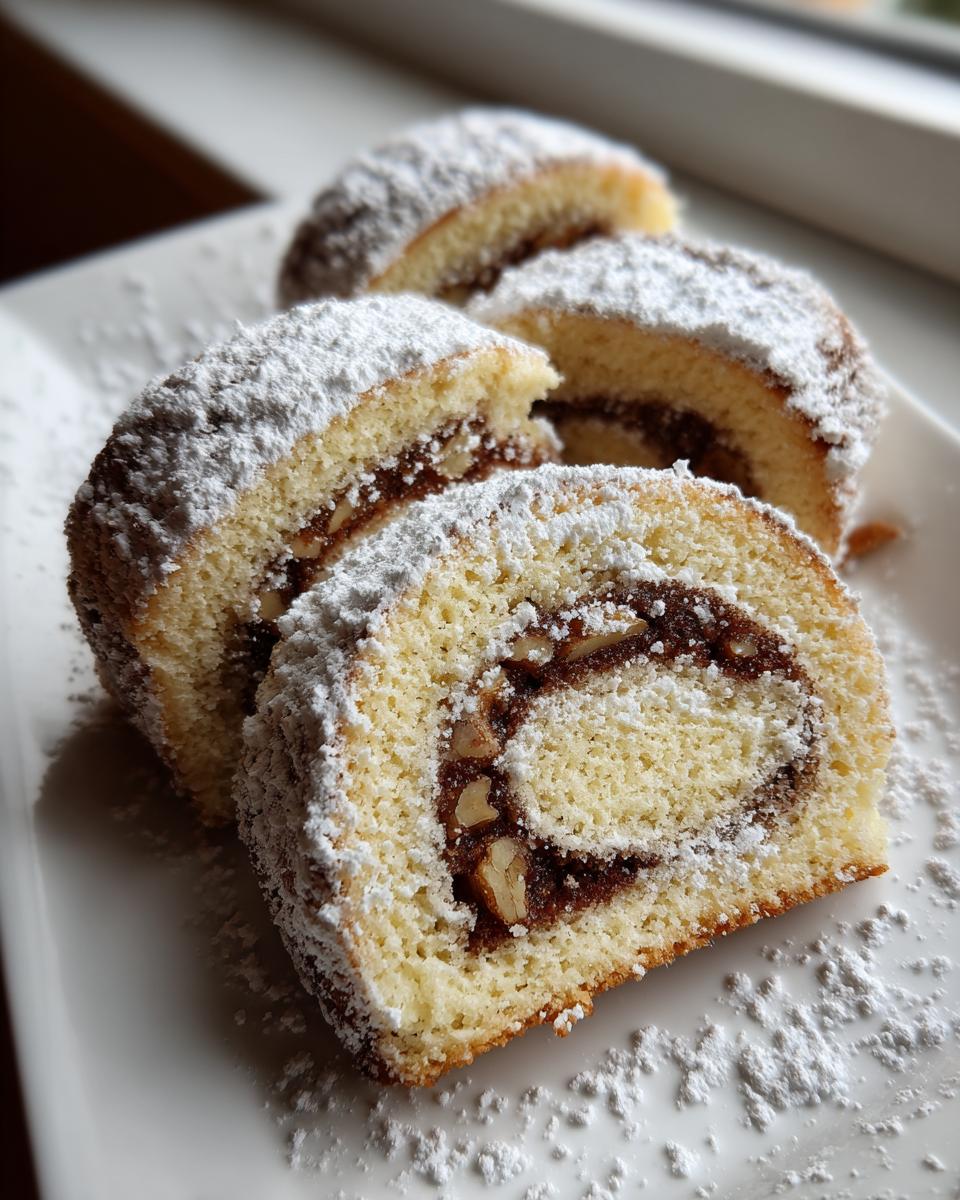
Grab your sharpest knife—a serrated one works wonderfully if you have it—and slice that log into rounds about 1/2 inch thick. Look at that swirl! That is the money shot! Place these slices onto parchment-lined baking sheets. Now, here’s the second trick that prevents spreading: put these sliced beauties back into the fridge for another 30 minutes. This final chill sets the butter right before they hit the heat.
Preheat your oven to 350°F (175°C). Give the tops a very light brush with that beaten egg wash. Bake them for about 12 to 15 minutes until the edges just start to catch a little color. You are looking for pale gold, not deep brown! These Festive nut cookies look fantastic when they are just lightly kissed by the heat.
Tips for Perfect Slice and Bake Nut Cookies Every Time
I want you to have flawless results when you make these, so let’s talk troubleshooting! Even with the best italian nut roll cookies recipe, sometimes things argue in the kitchen—usually because the temperature isn’t quite right. Don’t let a little sticking or spreading discourage you. Remember, baking is about intuition too, not just measuring cups!
These little tips have saved me batches over the years, ensuring that every slice is as beautiful as the last. You’ve put in the hard work kneading and rolling; let’s make sure they bake perfectly!
Handling Dough Temperature When Making Italian Nut Roll Cookies
If your dough feels too soft before you roll it out, it’s going to be a nightmare to handle. It will smear the filling or stretch unevenly, leading to messy and flat cookies. This is where that second 30-minute chill really pays off! If you’re having trouble getting a clean slice, that’s almost always a temperature issue.
If your kitchen is warm, or if you find the dough gets tacky mid-slicing, just pop the whole log back into the fridge for 15 minutes. Trust me, warmer dough spreads more easily in the oven, but chilled dough sets quickly. Keeping that butter cold is the magic key to beautiful, distinctly shaped slice and bake nut cookies!
Flavor Variations for Homemade Italian Pastry
While the spiced walnut filling is classic, these buttery cookies are such an amazing canvas for other flavors! If you want to play around with your Homemade Italian pastry, I highly encourage it. If you look back at the ingredient list, you might see my note about orange zest? Zesting one small orange directly into the ground walnuts adds this incredible bright counterpoint to the sweetness of the sugar and the earthiness of the nuts.
You can also swap out the walnuts entirely! Pecans work beautifully, giving a slightly richer, buttery note. If you want a little texture boost, add a tablespoon of finely chopped, high-quality dark chocolate to the filling mix. It melts just enough during baking to make the whole cookie feel extra decadent. You really can’t go wrong tweaking these italian nut roll cookies to your own taste!
To find more amazing flavor inspiration for your baking projects, check out my guide to making the best Ultimate Bakery Style Chocolate Chip Cookies—it’s my go-to for a different kind of treat!
Storing Your Delicious Italian Nut Roll Cookies
Once you’ve finally finished baking these gorgeous italian nut roll cookies, the next important question is: how do I keep them tasting perfectly fresh? Because this recipe is built on a lovely, buttery dough, they are best enjoyed relatively soon, but they certainly don’t disappear that fast!
The good news is that these are fantastic make-ahead cookies, which is why they are such a holiday staple. You don’t need to worry about specialty containers or freezing them right away if you’re planning on serving them in the next few days.
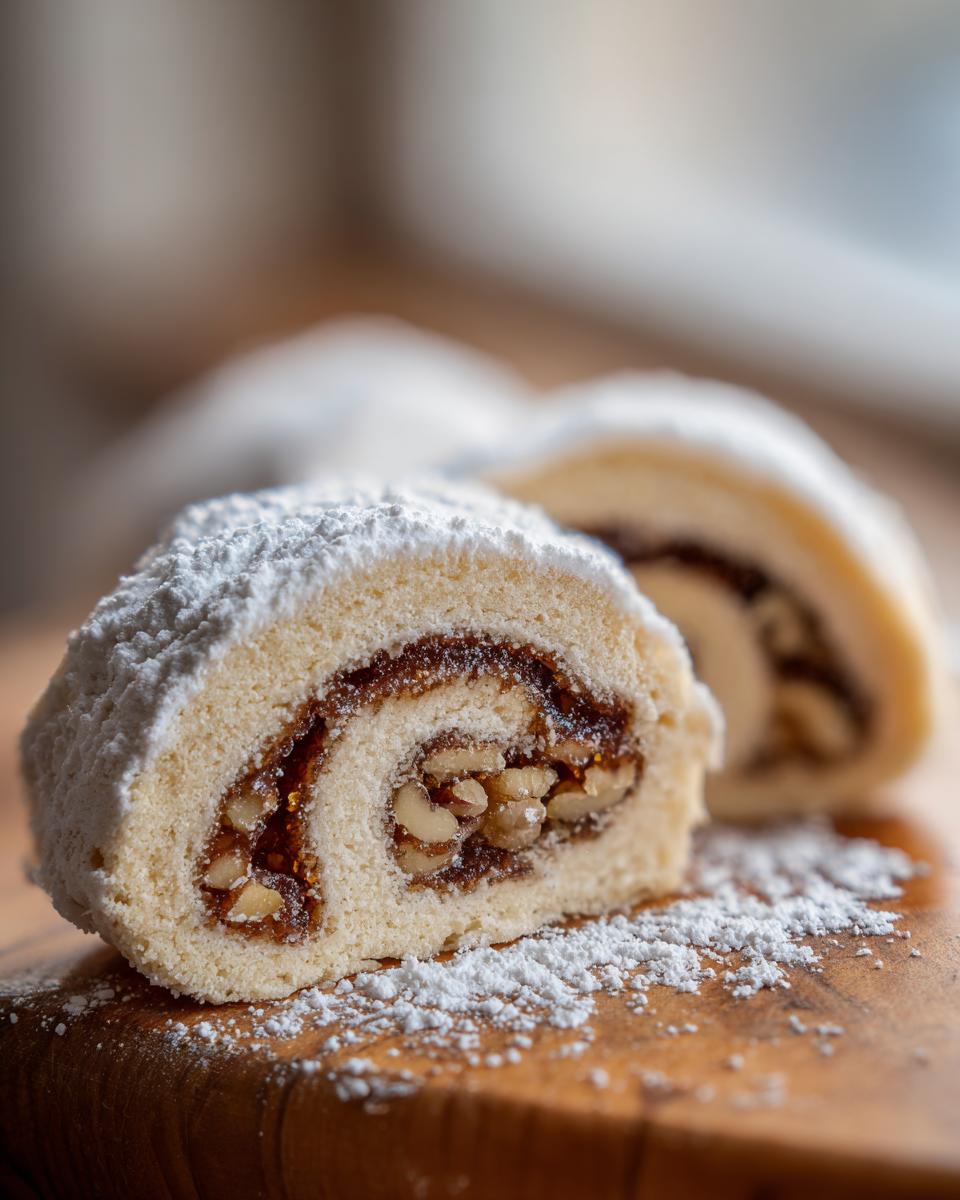
For short-term storage, simply pop them into an airtight container. If you stack them, I like to place a small piece of parchment paper between layers—just to protect that delicate powdered sugar dusting from rubbing off onto the cookie below. They keep beautifully like this at cool room temperature for about 4 to 5 days. The buttery flavor actually deepens slightly, which I love!
If you are making a triple batch (and honestly, who wouldn’t?), freezing is your best friend. You can freeze them either baked or unbaked! For unbaked rounds, place them on a tray to freeze hard, then transfer them into a freezer bag. Baked cookies freeze wonderfully too. Pop them in a sturdy freezer container and they will be perfect for up to three months. When you’re ready, just thaw them overnight on the counter, and they taste like they just came out of the oven. Now you always have sweet Italian treats ready to go!
Speaking of making things ahead and storing them, if you ever need a fantastic spreadable item to go along with them or for spreading on toast, you absolutely have to try my Slow Cooker Apple Butter Recipe. It keeps forever and tastes like autumn!
Serving Suggestions for These Sweet Italian Treats
These italian nut roll cookies are naturally special, but how you serve them can really elevate the experience—especially when you’re sharing them with company! They are rich enough on their own, but pairing them just right makes them unforgettable.
Because the filling is packed with walnuts and cinnamon, they thrive next to hot drinks. My absolute favorite way to serve these is alongside a strong, hot espresso or a lovely cup of bold black tea. The slight bitterness of the coffee cuts through the buttery richness of the pastry peel perfectly. They are truly magnificent sweet Italian treats that way.
For a more festive presentation, especially if you’re putting them on a holiday platter, try to contrast their shape. Since they are rolled and round, serve them next to something smoother, maybe a slice of rich chocolate bark or some colorful biscotti you’ve dunked in icing. A drizzle of white chocolate right over the top of the cooled, powdered sugar dusting just before serving is always a showstopper, too!
And, since we are on the topic of amazing pairings, you simply must try making my Salted Caramel Latte Recipe to go with them. The salty-sweet combo is heaven with these nutty cookies!
Frequently Asked Questions About Italian Nut Roll Cookies
It’s totally normal to have a few questions when diving into a traditional recipe like this! We’ve worked so hard to make this italian nut roll cookies recipe as clear as possible, but everyone’s kitchen quirks are a little different. Here are some of the things I hear most often when people try this classic bake for the first time.
If you want more guidance on getting started with similar recipes, check out my tips page for Easy Italian Cookie Baking!
Can I use jam instead of nuts in this Nut Roll Cookie Recipe?
You absolutely can substitute jam for the nut mixture if that’s what you prefer! Lots of wonderful homemade Italian pastry recipes use fruit fillings. If you swap the nuts for jam, you might find you don’t need the extra tablespoon of melted butter in the filling mixture, as jam is wetter. Also, you might skip the second 30-minute chill. Since jam is naturally wetter than the sandy nut mixture, a colder dough helps prevent the jam from leaking out the sides while baking. Keep a close eye on them!
What makes these different from standard European Nut Log Cookies?
This is a great distinction to make! While many European recipes, sometimes called European Nut Log Cookies, use yeast or a different fat source, ours relies heavily on those chilling times and that secret boost from the sour cream you see in the dough. That sour cream is key to that ultra-tender texture that makes the Italian version stand out. Plus, the spice blend here—heavy on the cinnamon—lends itself perfectly to that classic Italian sweet treat profile.
How do I prevent my Italian Nut Roll Cookies from spreading too much?
Spreading is the enemy of a perfect swirl! I can’t stress enough how important the chilling is for these italian nut roll cookies. We do a double chill for a reason. The first chill builds flexibility in the dough; the second chill—after you slice them—sets that shape right before the heat hits. It locks those beautiful spirals in place.
Also, make sure your oven is running true to temperature. If your oven runs cool, the butter melts before the flour has time to set, and voilà—flat cookies! An oven thermometer is one of the best investments you can make to ensure success in all your baking adventures.
Estimated Nutritional Snapshot for Italian Nut Roll Cookies
Look, I’m a baker, not a nutritionist, so take these figures with a pinch of salt—literally! We are using good, honest ingredients here, which means things like butter and sugar are going to make an appearance. But isn’t that what makes these italian nut roll cookies so utterly divine?
When you’re planning your holiday cookie consumption (or just treating yourself on a Tuesday!), here’s a general idea of what you’re looking at for one cookie, based on the recipe quantities provided. Remember, these are just estimates based on average ingredient measurements, but they give you a good ballpark figure!
- Calories: Roughly 180 per cookie
- Total Fat: About 11g
- Total Carbohydrates: Around 18g
- Protein: About 3g
We’ve got a little bit of everything in here! The walnuts bring some healthy unsaturated fats to the party, and the sour cream gives us a little lift. Since these are a special treat, I always say if you’re going to indulge, do it with something truly delicious. And these homemade Italian pastry delights certainly qualify!
Don’t stress too much over the numbers, though. The real nutrition comes from the joy of baking them and sharing them with the people you love!
Share Your Homemade Italian Nut Roll Cookies Creations
Now that you’ve got your very own batch of perfectly swirled, tender italian nut roll cookies cooling on the rack, I truly hope you feel that wonderful sense of accomplishment that comes from baking something special! This recipe is one of my all-time favorites for the holidays, and seeing them fill up a cookie platter just makes my heart sing.
I put so much love into testing and refining these steps, from that crucial first chill to nailing the cinnamon level in the filling. Because of that, I would absolutely love to hear how they turned out for you! Did the sour cream work its magic? Did you stick to walnuts or try pecans?
Please, take a moment to leave a star rating right down below this post. It helps other bakers know this recipe is trustworthy and worth their time. And if you snap a picture of your beautiful, powdered-sugar-dusted creations, tag me online! I especially love seeing photos of these cookies being used for holiday baking cookies. Your efforts in making this incredible nut roll cookie recipe deserve a moment in the spotlight!
If you’re looking for another phenomenal recipe to complete your dessert spread—maybe something more decadent to follow those lighter cookies—you have to try my recipe for Pumpkin Cheesecake Recipe. It’s pure autumn bliss!
Happy baking, everyone. I can’t wait to hear all about your sweet successes!
PrintClassic Tender Italian Nut Roll Cookies with Spiced Walnut Filling

Make these traditional Italian Nut Roll Cookies featuring a tender, buttery dough wrapped around a sweet, spiced walnut filling. This recipe is tested for home bakers and results in beautiful, sliceable holiday treats.
- Prep Time: 45 min
- Cook Time: 30 min
- Total Time: 105 min
- Yield: About 3 dozen cookies 1x
- Category: Dessert
- Method: Baking
- Cuisine: Italian
- Diet: Vegetarian
Ingredients
- 2 ½ cups all-purpose flour
- 1 cup unsalted butter, softened
- 1 cup sour cream
- 1 egg yolk
- ½ teaspoon salt
- 1 tablespoon sugar
- 1 ½ cups finely ground walnuts
- ½ cup granulated sugar (for filling)
- 1 teaspoon ground cinnamon
- 1 tablespoon melted butter (for filling)
- 1 beaten egg (for egg wash)
- Powdered sugar (for dusting)
Instructions
- Prepare the Dough: In a large bowl, combine the flour, softened butter, sour cream, egg yolk, salt, and sugar. Mix until a soft dough forms. Do not overmix.
- Chill the Dough: Divide the dough into two discs, wrap each in plastic wrap, and chill in the refrigerator for at least 2 hours.
- Prepare the Filling: In a separate bowl, mix the ground walnuts, granulated sugar, cinnamon, and melted butter until the mixture resembles wet sand.
- Roll the Dough: On a lightly floured surface, roll one disc of chilled dough into a thin rectangle, about 1/8 inch thick.
- Spread the Filling: Evenly spread half of the nut filling over the dough rectangle, leaving a small border on the edges.
- Roll the Cookie: Starting from the long edge, carefully roll the dough tightly into a log. Pinch the seam closed.
- Slice the Roll: Use a sharp knife to slice the log into rounds about 1/2 inch thick. These are your slice and bake nut cookies.
- Chill Again: Place the sliced cookies on baking sheets lined with parchment paper and chill for another 30 minutes. This helps them hold their shape.
- Bake: Preheat your oven to 350°F (175°C). Brush the tops of the chilled cookies lightly with the beaten egg wash.
- Bake for 12 to 15 minutes, or until the edges are lightly golden.
- Cool and Finish: Let the cookies cool on the baking sheet for a few minutes before transferring them to a wire rack to cool completely. Dust generously with powdered sugar once cool. Repeat with the second dough disc.
Notes
- For a richer flavor, you can toast the walnuts lightly before grinding them for the filling.
- If the dough becomes too soft while rolling, return it to the refrigerator for 15 minutes.
- You can add a teaspoon of orange zest to the filling for a brighter flavor note.
Nutrition
- Serving Size: 1 cookie
- Calories: 180
- Sugar: 10
- Sodium: 65
- Fat: 11
- Saturated Fat: 6
- Unsaturated Fat: 5
- Trans Fat: 0
- Carbohydrates: 18
- Fiber: 1
- Protein: 3
- Cholesterol: 30