
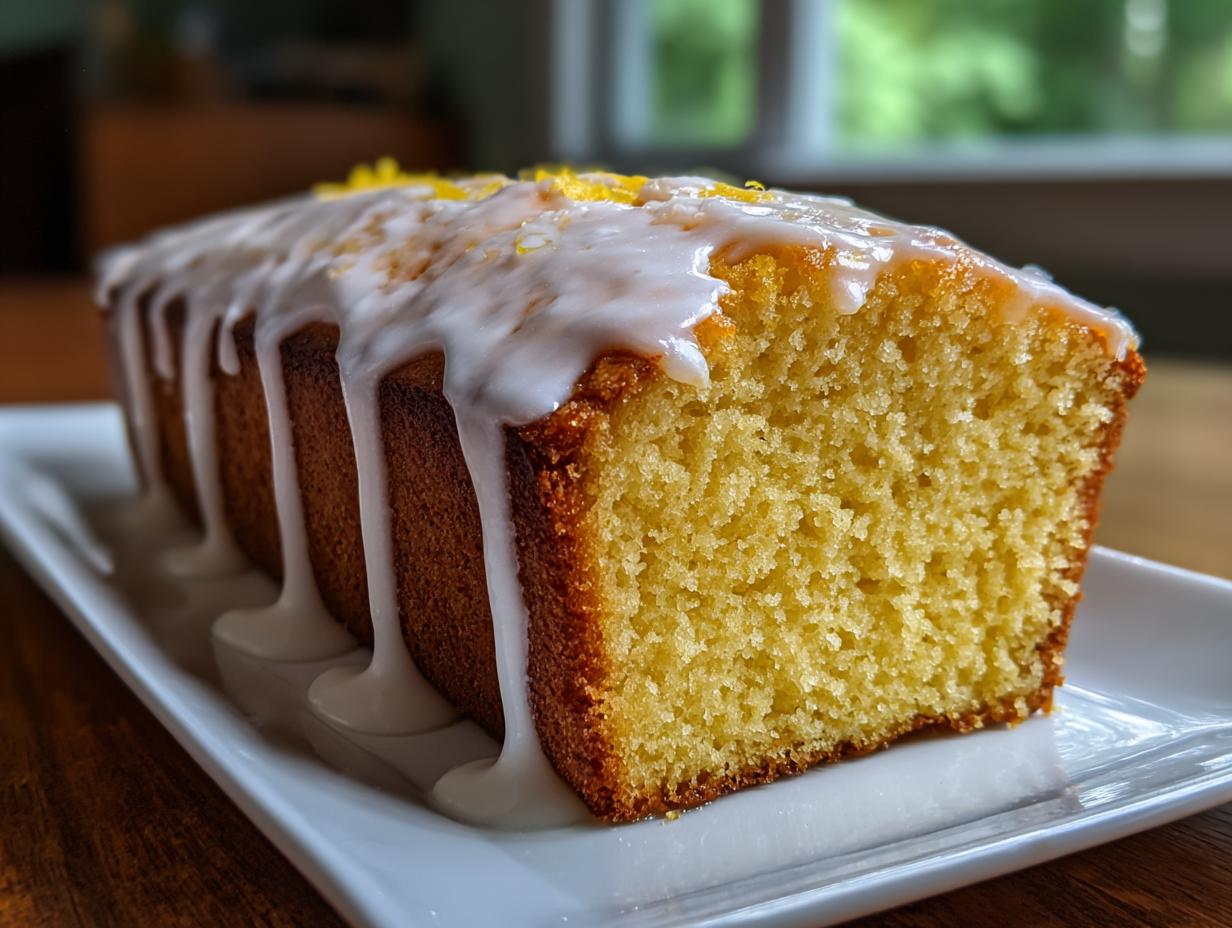
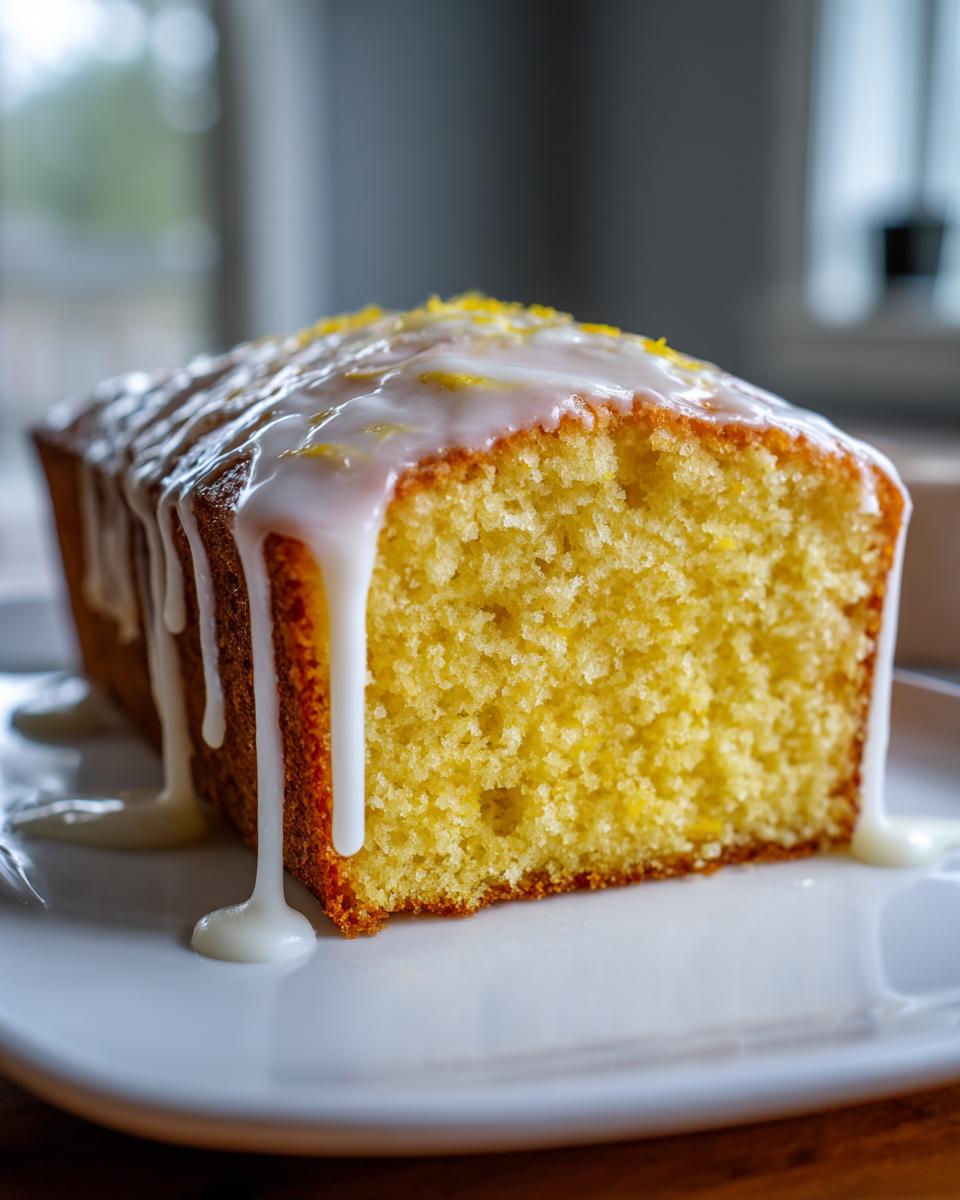
Oh, I know that feeling! You walk into that famous coffee shop, and all you can think about is that perfectly rectangular slice of sunshine—that amazing lemon loaf. But why pay café prices when you can whip up something even better right at home? Trust me, this is the Starbucks lemon loaf copycat recipe you’ve been dreaming of. It delivers that incredible, melt-in-your-mouth moist texture with a bright, zingy flavor that lasts. Claire Sterling and the team at Bliss Batter have tested this batch after batch to ensure it has that signature tender crumb, so you never have to worry about a dry bake again. This one just *works* every single time! If you want to know more about how we test everything to perfection, check out our story over at Bliss Batter.
- Why This Moist Lemon Loaf Recipe Stands Out
- Ingredients for Your Zesty Lemon Loaf
- Step-by-Step Instructions for the Perfect Lemon Loaf
- Tips for a Tender Crumb Lemon Cake Success
- Variations on the Classic Lemon Loaf
- Storage and Reheating Instructions for Your Lemon Loaf
- Frequently Asked Questions About This Lemon Loaf Recipe
- Serving Suggestions for This Refreshing Lemon Treat
- Nutritional Estimate for Your Lemon Loaf Slice
Why This Moist Lemon Loaf Recipe Stands Out
I’ve tried so many recipes promising the world, but this one truly knocks it out of the park. It’s not just another cake; it’s your new go-to for anything from a quick Tuesday snack to a fancy weekend brunch. You deserve a recipe that’s foolproof, and this lemon loaf is exactly that. Say goodbye to guesswork!
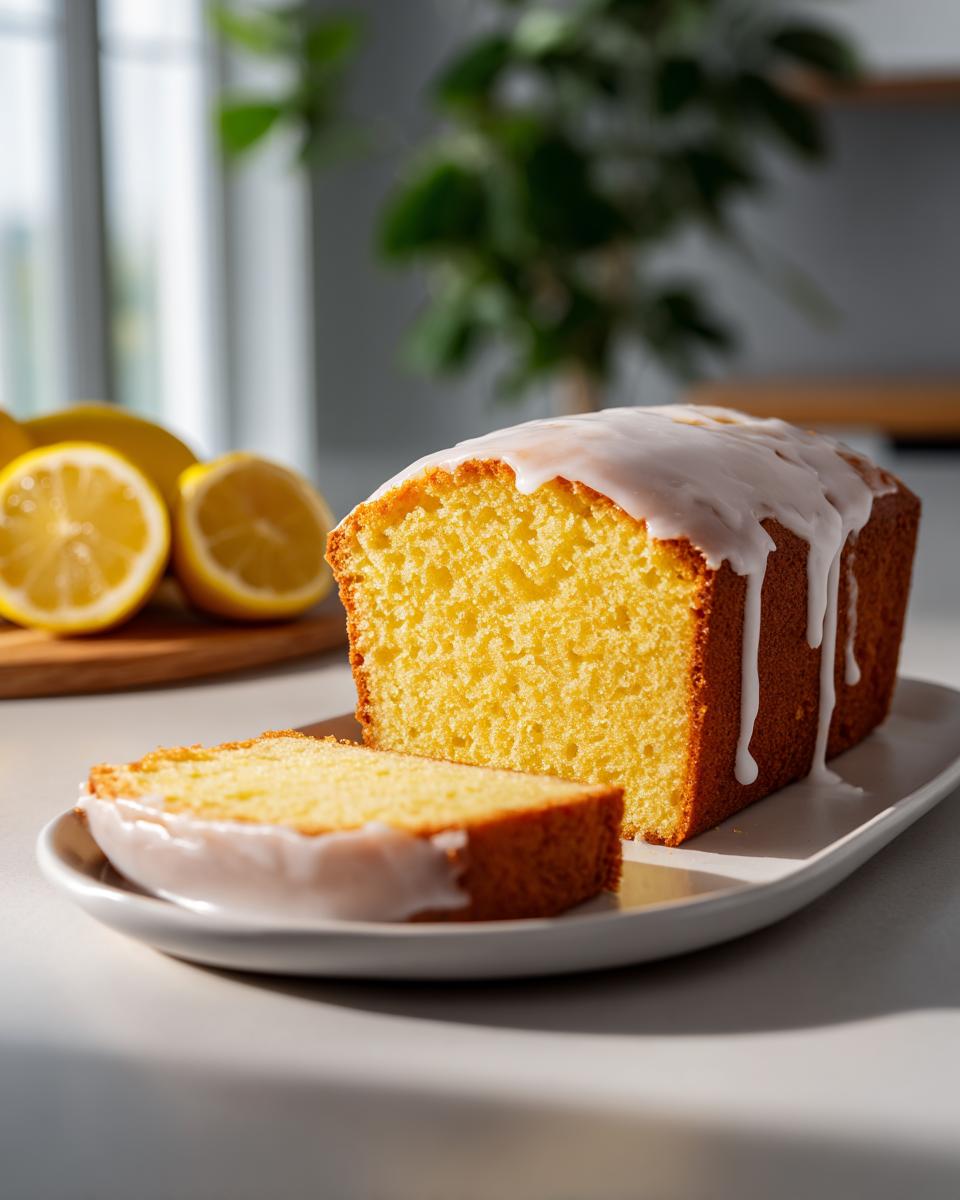
- Unbeatable Moisture: This isn’t a dry, crumbly bread. Following these steps ensures you get a genuinely moist lemon loaf recipe. The oil and lemon juice work magic together!
- That Bakery Tang: We didn’t skimp on the lemon flavor! That intense, bright citrus punch comes straight from the zest and fresh juice, making it the best zesty lemon cake you’ll ever bake.
- Perfect for Any Time: Whether you’re looking for a sweet slice for dessert or a vibrant lemon breakfast bake with your morning coffee, this loaf fits the bill perfectly. It’s just that versatile.
- It’s So Easy! Seriously, this is an easy lemon bread. There’s no complicated creaming method needed; you just whisk, mix, and bake. You can have this going while you plan out those easy weeknight dinners!
- The Icing Makes the Loaf: The thick, slightly tart glaze sets up beautifully, giving you that authentic, craveable bakery finish every time you make this homemade lemon loaf.
Ingredients for Your Zesty Lemon Loaf
Okay, let’s talk about what goes into this sunshine in a pan! You don’t need a million fancy things for this recipe, which is what I love about it. Everything here is designed to work together to give you that incredible moisture and that powerful citrus punch. Just make sure you have decent bowls and a whisk ready!
For the Lemon Loaf Cake Batter
These ingredients are the foundation of our tender crumb lemon cake. The secret weapon here, as you’ll see in the instructions, is zesting those lemons *before* you juice them—don’t skip that step!
- 1 3/4 cups all-purpose flour
- 1 1/2 teaspoons baking powder
- 1/2 teaspoon salt
- 1 cup granulated sugar
- Zest of 2 large lemons (This is where the bright citrus flavor comes from!)
- 2 large eggs (Make sure these are room temperature, trust me!)
- 1/2 cup whole milk
- 1/2 cup vegetable oil (Oil keeps it moister than butter, which is great for a loaf!)
- 1/4 cup fresh lemon juice (Fresh squeezed only, please!)
- 1 teaspoon vanilla extract
For the Tangy Lemon Glaze
This glaze is what brings everything home. Whether you’re serving this as a snack or part of your official brunch ideas lemon spread, the icing is non-negotiable! We are aiming for a consistency that drips slowly down the sides but doesn’t just immediately run off.
- 1 1/2 cups powdered sugar
- 3 tablespoons fresh lemon juice (You might need a tiny bit more or less depending on the humidity, so keep an eye on that consistency!)
Step-by-Step Instructions for the Perfect Lemon Loaf
Honestly, these steps are so straightforward, you could probably make this amazing loaf even if you’re still figuring out how to use your stand mixer! We are going for maximum flavor extraction and a beautiful, light texture. Don’t rush the cooling part—that’s the hardest part, I know, but it pays off big time! Making this loaf is a wonderful addition to any weekend, and the whole process is quick enough that you can have it cooling while you plan out your next big breakfast or brunch event.
Preparing the Batter for Your Lemon Loaf
First things first, crank that oven up to 350°F (175°C) and get that 9×5 inch pan greased and floured. Now for the real flavor booster: in a bowl, toss that granulated sugar with the lemon zest. You have to use your fingers here! Rub that zest right into the sugar until it feels damp and smells intensely lemony. This little trick releases all those essential oils and makes it the best lemon loaf you’ve ever made. Once it smells like perfume, whisk in your eggs until it looks pale, then gently whisk in the milk, oil, lemon juice, and vanilla. Finally, fold in your dry stuff—the flour mix—just until everything disappears. Seriously, stop mixing the second you see no more white streaks!
Baking and Cooling the Lemon Loaf Bread
Pour that lovely batter into your prepared pan; it should look fairly thick. Slide it into the oven for about 50 to 60 minutes. Keep an eye on it, because every oven is a little bit different. You know it’s done when a toothpick comes out clean. Resist the urge to slice it right away! Let it rest in the pan for 15 minutes before you gently flip it out onto a wire rack. It needs to cool down completely before we make the showstopper—the tangy lemon glaze. If you try glazing it warm, you’ll just get sweet lemon syrup instead of that lovely, thick icing.
Applying the Simple Zesty Lemon Glaze
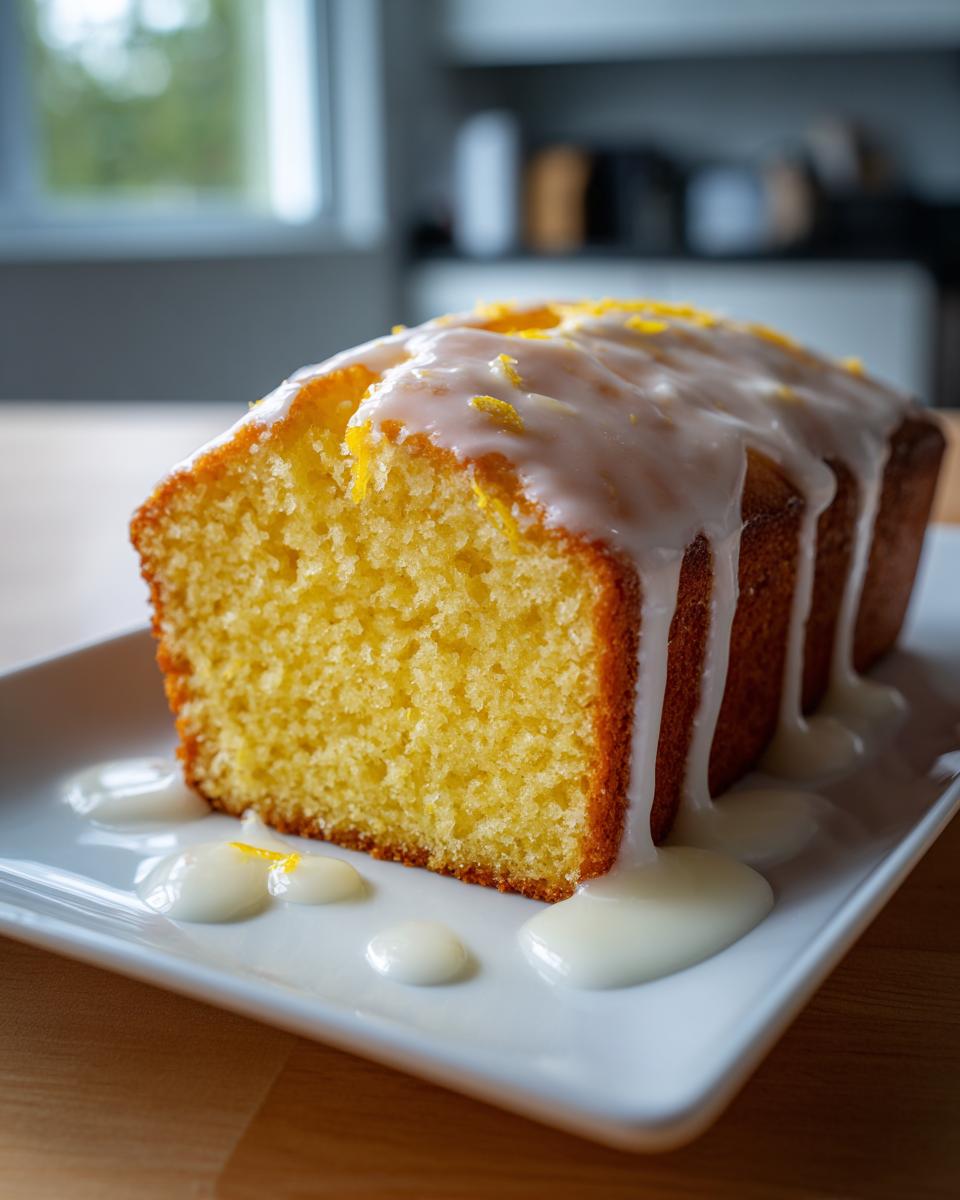
Now for the fun part! Whisk your powdered sugar and lemon juice together until it’s smooth. If it looks too thick—like glue—add lemon juice, just a tiny bit at a time. If it looks too runny and wants to run straight off the loaf, add a spoonful more powdered sugar until you get that perfect, slow-dripping consistency for your lemon loaf with icing. Drizzle it generously all over that fully cooled loaf. Let it set up for about an hour, and then get ready for the best bite!
Tips for a Tender Crumb Lemon Cake Success
Even with the best recipe, tiny little tweaks can turn a good zesty lemon cake into something truly legendary. That’s why I spend so much time testing these little details over here at the blog! We want perfection that you can rely on every time you decide to bake from scratch, which is always better than relying on something like baking from scratch lemon when your craving hits.
Here are my absolute must-know secrets for nailing that signature moist texture we all aim for with this loaf:
- Room Temperature is Non-Negotiable: This is huge for the structure! If your eggs and milk are straight out of the fridge, they won’t mix properly into the oil and zest-sugar base. Cold ingredients make the batter struggle, leading to a tougher final cake. Let those eggs sit out while you gather everything else—it only takes a few minutes!
- Oil vs. Butter Debate: While butter tastes amazing in many things, I stuck with vegetable oil for this particular recipe specifically because oil stays liquid at room temperature better than butter does. That fat coating the flour prevents too much gluten from developing, which keeps our lemon loaf wonderfully soft and tender, even after it’s chilled.
- The Gentle Fold: When you finally add your flour mixture—don’t grab the whisk! Switch immediately to a rubber spatula. You are not scrambling eggs here; you are *combining* wet and dry. Overmixing develops gluten, and gluten equals chewiness. We want tender almost cake-like bread, not tough bread. Stop folding the moment you don’t see any dry pockets of flour remaining.
- Don’t Forget the Simple Syrup Trick: If you want that ultra-moist, almost gooey texture you find in the fanciest bakeries, try this: while the loaf is still warm (but not scorching hot), poke a few holes randomly over the top using a skewer. Brush or drizzle just a tiny bit of simple syrup over it. It soaks right in and locks that moisture inside!
It’s the small attention to detail that makes all the difference between a standard loaf and the best lemon loaf recipe out there.
Variations on the Classic Lemon Loaf
Who says you have to stick to the script? Once you’ve mastered this basic, perfect lemon loaf—which you totally will, by the way—it’s fun to switch things up! Baking is all about experimenting, and these little tweaks can turn this recipe into something brand new for next time you need a quick snack.
Sometimes I like to make it feel more like a dessert pound cake by adding a touch of richness, or other days I want it lighter for an early morning bite. It’s so easy to adapt!
Making it a Simple Pound Cake Recipe Upgrade
If you want to lean that texture a little bit more toward the dense, buttery feel of a traditional pound cake, you can make a slight swap. Substitute half of the vegetable oil with melted, slightly cooled unsalted butter. You won’t get quite the moisture retention of pure oil, but you trade it up for that famous buttery flavor we all know and love. Just remember, butter makes things a touch firmer when cool, so this version is absolutely divine when eaten slightly warm!
Adding Texture with Nuts or Seeds
We love adding crunch in this house! For an extra layer of texture, fold in about half a cup of toasted pecans or even slivered almonds right at the end with your flour mixture. The toasting step is crucial; it wakes up the nutty flavor and keeps them from tasting raw. If you’re feeling extra adventurous, a sprinkle of poppy seeds added right into the batter makes it look really fancy, don’t you think?
For the Ultimate Lemon Breakfast Bake
If you want this to be your go-to lemon breakfast bake, consider swapping half the milk for plain Greek yogurt. This is a trick I picked up from making my amazing apple pancakes! The yogurt adds a bit of protein and results in a slightly tangier, slightly firmer crumb that holds up beautifully when sliced thin for toast or alongside fruit bowls.
Flavor Enhancements Beyond Lemon
Lemon plays so nicely with other flavors, too! A teaspoon of almond extract added along with your vanilla can give the loaf a beautiful, subtle depth that pairs surprisingly well with the citrus. Or, if you want to double down on the zing, grate the zest of an orange in there as well—it creates such a lovely, complex bright citrus dessert flavor that tastes amazing even without the glaze!
Storage and Reheating Instructions for Your Lemon Loaf
Making this homemade lemon loaf is wonderful, but knowing how to keep it perfect for later is just as important! Nobody wants to waste a single slice of this bright, tangy goodness. The good news is that it keeps really well, thanks to that oil base we used, which is great when you’re too busy for daily baking and prefer pre-made food solutions over something like meal planning some days.
Here’s how I keep my loaf tasting like it just came out of the oven:
Storing the Glazed Loaf
If your loaf is completely cool and the tangy lemon glaze has fully set—this is critical!—you can store it right on the counter. Pop the whole loaf, or carefully wrapped slices, into an airtight container. At room temperature, it should stay delicious and moist for about three days. The sugar in the glaze acts as a little preservative, which is handy!
Refrigeration Tips
If you need it to hang around longer, like maybe for the whole work week, the fridge is your friend. Keep it in that airtight container, and it will last closer to a week. Just be warned: the texture might firm up a little bit when cold because of the oil and sugar content. Don’t despair, though!
Reviving Slices for a Refreshing Lemon Treat
To bring back that initial softness, let the cold slice sit on the counter for about 30 minutes to come up to room temperature. If you’re in a mega rush, you can zap a slice in the microwave for about 10 to 15 seconds. It warms up beautifully, softens right back down, and you’re ready for your perfect refreshing lemon treat!
Freezing for Later
Honestly, this loaf freezes like a dream! If you know you won’t get through it, I highly recommend freezing it *before* you put the glaze on. Wrap the completely cooled loaf tightly first in plastic wrap, then wrap it again in aluminum foil or put it in a freezer bag. It keeps beautifully for up to three months. When you’re ready to eat it, just thaw it on the counter overnight, then whip up a quick glaze and pour it on top!
Frequently Asked Questions About This Lemon Loaf Recipe
I always get so many questions after people try this recipe for the first time, which just tells me how popular this lemon loaf is! People want to know all the secrets to getting that perfect slice. We’ve covered everything from texture to icing here, so hopefully, this covers any lingering questions you have before you head into the kitchen. If you’re looking for other great recipes to tie into your kitchen routine, check out some of my simple lunch recipes!
Can I use lemon extract instead of fresh lemon juice in this lemon loaf?
You absolutely *can*, but promise me you’ll try it with fresh juice first? Extract is super concentrated, and while it brings the lemon *flavor*, it doesn’t contribute any of the necessary liquid that helps tenderize the cake. Plus, that gorgeous, bright scent that fills your house when you bake this loaf comes straight from those fresh lemon oils in the zest and juice. If you must use extract, use about 1 teaspoon along with the full amount of lemon juice called for in the recipe. You want that juice for moisture, but the extract can give an extra flavor punch if you’re craving an intense bright citrus dessert experience.
How do I get the thick bakery-style icing on my lemon loaf?
Ah, the famous, slightly opaque bakery icing! Getting the right consistency for your tangy lemon glaze is all about the ratio swap. The recipe calls for 3 tablespoons of lemon juice, but for a really thick, stand-up icing that looks exactly like the coffee shop version, you need to use less liquid. Start with 2 tablespoons only, and mix that into your powdered sugar. If it’s crazy stiff and won’t drizzle at all, add the third tablespoon, half a teaspoon at a time. You’re aiming for something thick enough that when you lift your spoon, the glaze falls back into the bowl in thick ribbons that take a moment to smooth out. Remember, you have to let the loaf cool *completely* before you do this, or it just melts away!
Can this recipe be made ahead of time?
Yes, 100%! This is one of my favorite brunch ideas lemon because I can bake the loaf the night before. It actually tastes even better the next day once the flavors have settled in. Here is my rule: If you plan to eat it within 24 hours, bake it, cool it completely, and then glaze it. If you are making it more than a day ahead, bake the loaf, let it cool completely, wrap it tightly without the glaze, and store it airtight on the counter. A day or two later, whip up a fresh batch of tangy lemon glaze right before you plan to serve it. A fresh glaze just tastes brighter!
Serving Suggestions for This Refreshing Lemon Treat
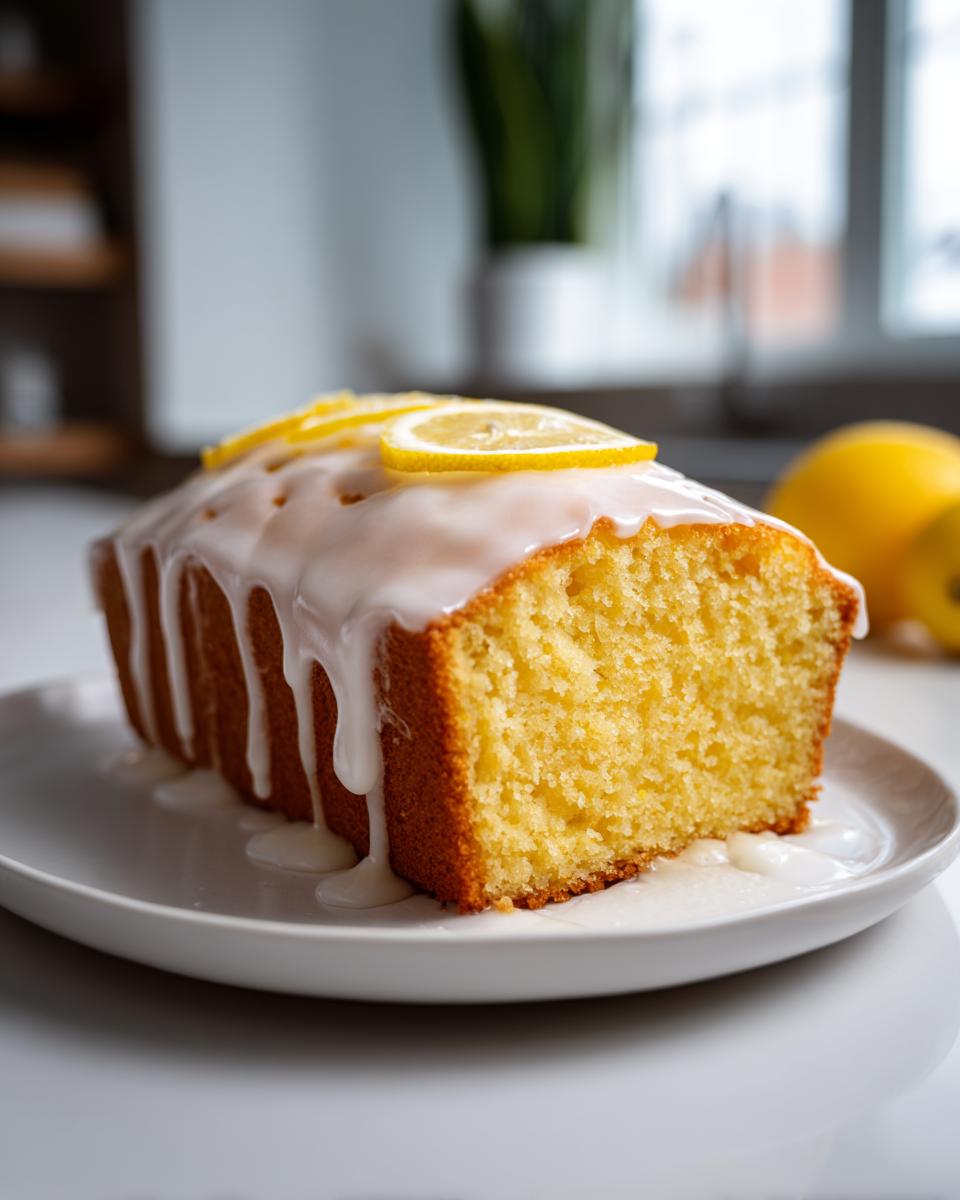
Now that you have this absolutely stunning, bright, and tangy lemon loaf sitting there looking perfect under its glaze, what should you serve it with? This is the best part, because this loaf is so versatile! It feels special enough for entertaining but simple enough for just a Tuesday afternoon pick-me-up.
Because it’s such a fantastic refreshing lemon treat, it pairs wonderfully with warm, creamy drinks. If you’re looking to elevate your morning routine, you might consider pairing a thin slice with a rich, decadent coffee drink. Honestly, the brightness of the lemon cuts right through those deeper coffee notes perfectly. If you’re feeling inspired, I have a fantastic recipe for a salted caramel latte that works surprisingly well with this citrus!
For a true brunch idea lemon centerpiece, keep it simple. A light dusting of fresh berries—strawberries or raspberries are perfect because their slight tartness mirrors the icing—makes the presentation pop. Offer it alongside freshly brewed black iced tea or a simple cup of Earl Grey. It’s light, it’s zesty, and everyone always loves a slice of this lemon loaf bread!
Nutritional Estimate for Your Lemon Loaf Slice
I always get asked about the numbers, and while honestly, I’m not a nutritionist, sharing what our recipe calculates gives you a good baseline. If you’re trying to stick closely to a plan, maybe something like a keto meal plan delivery, you might want to adjust serving sizes, but for everyone else just enjoying a slice of this amazing lemon loaf, here’s the estimate!
Keep in mind these are just guideposts because how much zest you use, or if you make an extra thick layer of that tangy lemon glaze, can change things! These figures are based on 8 equal servings of the baked loaf with the standard glaze applied.
- Serving Size: 1 slice
- Calories: 350
- Sugar: 40g (Yep, it’s a treat!)
- Fat: 17g
- Saturated Fat: 3g
- Carbohydrates: 48g
- Protein: 4g
- Cholesterol: 45mg
As you can see, this is definitely on the decadent side of a citrus loaf bread, which is why one slice is usually the perfect afternoon indulgence. If I’m being really good, I might only have half a slice with my tea! Enjoy responsibly!
PrintMoist and Tangy Lemon Loaf Copycat Recipe

Make this easy, bright, and moist lemon loaf with a simple, zesty lemon glaze. This recipe delivers a tender crumb similar to popular bakery versions, perfect for breakfast or dessert.
- Prep Time: 15 min
- Cook Time: 55 min
- Total Time: 70 min
- Yield: 1 loaf (8 servings) 1x
- Category: Dessert
- Method: Baking
- Cuisine: American
- Diet: Vegetarian
Ingredients
- 1 3/4 cups all-purpose flour
- 1 1/2 teaspoons baking powder
- 1/2 teaspoon salt
- 1 cup granulated sugar
- Zest of 2 large lemons
- 2 large eggs
- 1/2 cup whole milk
- 1/2 cup vegetable oil
- 1/4 cup fresh lemon juice
- 1 teaspoon vanilla extract
- For the Glaze: 1 1/2 cups powdered sugar
- For the Glaze: 3 tablespoons fresh lemon juice
Instructions
- Preheat your oven to 350°F (175°C). Grease and flour a standard 9×5 inch loaf pan.
- In a medium bowl, whisk together the flour, baking powder, and salt. Set aside.
- In a large bowl, combine the granulated sugar and lemon zest. Rub the zest into the sugar with your fingers until the sugar smells strongly of lemon. This releases the oils.
- Add the eggs to the lemon sugar mixture and whisk until pale and slightly fluffy.
- Whisk in the milk, vegetable oil, lemon juice, and vanilla extract until just combined.
- Gradually add the dry ingredients to the wet ingredients, mixing with a spatula until you have a smooth batter. Do not overmix.
- Pour the batter into the prepared loaf pan.
- Bake for 50 to 60 minutes, or until a toothpick inserted into the center comes out clean.
- Let the loaf cool in the pan for 15 minutes before inverting it onto a wire rack to cool completely.
- While the loaf cools, prepare the glaze: Whisk together the powdered sugar and 3 tablespoons of lemon juice until smooth. Add more powdered sugar or lemon juice, one teaspoon at a time, to reach a thick but pourable consistency.
- Once the loaf is completely cool, drizzle the tangy lemon glaze evenly over the top. Allow the glaze to set before slicing and serving.
Notes
- For an extra moist texture, you can pour a small amount of simple syrup (equal parts sugar and water, heated until dissolved) over the warm loaf before glazing.
- If you are looking for alternatives to traditional baking, consider how meal planning can free up time for baking projects.
- Use room temperature eggs and milk for better batter incorporation.
Nutrition
- Serving Size: 1 slice
- Calories: 350
- Sugar: 40g
- Sodium: 250mg
- Fat: 17g
- Saturated Fat: 3g
- Unsaturated Fat: 14g
- Trans Fat: 0g
- Carbohydrates: 48g
- Fiber: 1g
- Protein: 4g
- Cholesterol: 45mg