
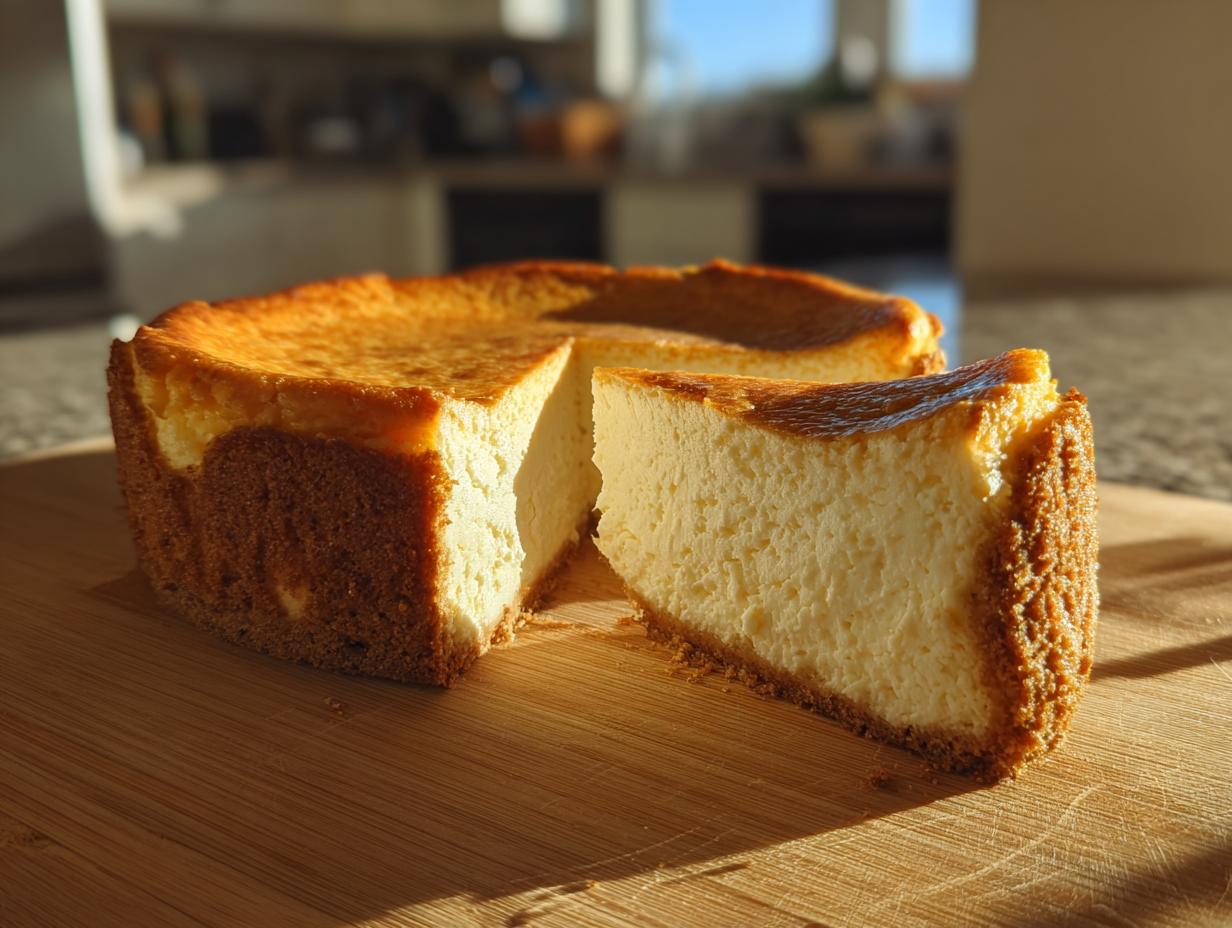
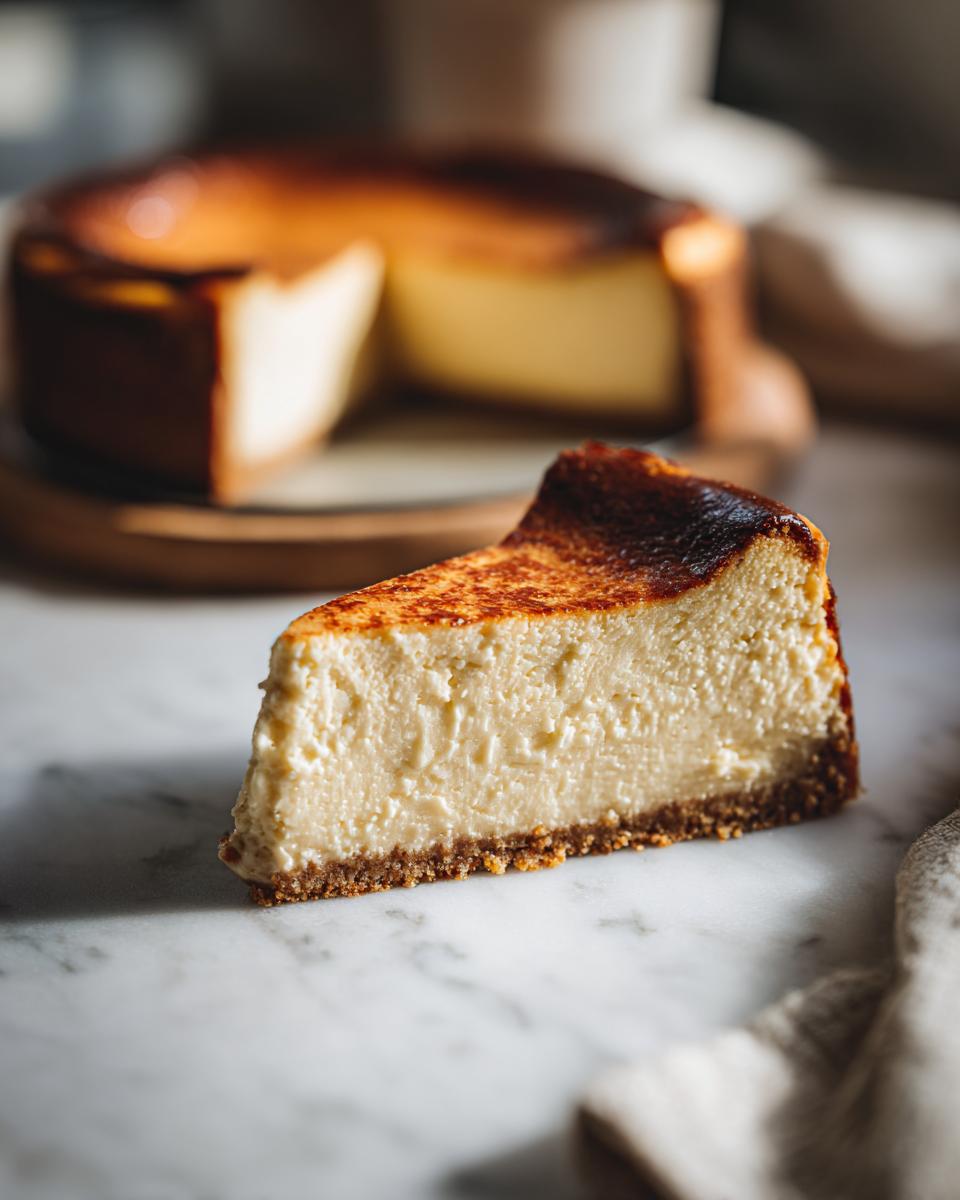
Close your eyes for a second. Imagine a cheesecake so dense and creamy, it feels like velvet on your tongue. It has that subtle, perfect tang that just makes you want to savor every single bite. That, my friends, is the magic of a true New York cheesecake. It’s not just a dessert; it’s an experience! When I was building Bliss Batter, I knew I absolutely had to nail this classic. My grandmother always made the most incredible cheesecakes for holidays, and recreating that pure, indulgent joy for you at home has been a labor of love. Forget those watery, crumbly versions you might have tried. This recipe is all about achieving that rich, decadent, soul-satisfying slice that’s become legendary.
- Why You'll Love This New York Cheesecake
- Ingredients for Your Classic New York Cheesecake
- Essential Equipment for the Perfect New York Cheesecake
- How to Make a New York Cheesecake: Step-by-Step
- Tips for a Perfect Cheesecake Texture and Flavor
- Serving and Storing Your New York Cheesecake
- Frequently Asked Questions About New York Cheesecake
- Nutritional Information (Estimated)
- Share Your New York Cheesecake Creations!
Why You’ll Love This New York Cheesecake
Seriously, why wouldn’t you love this cheesecake? It’s everything you dream of and more:
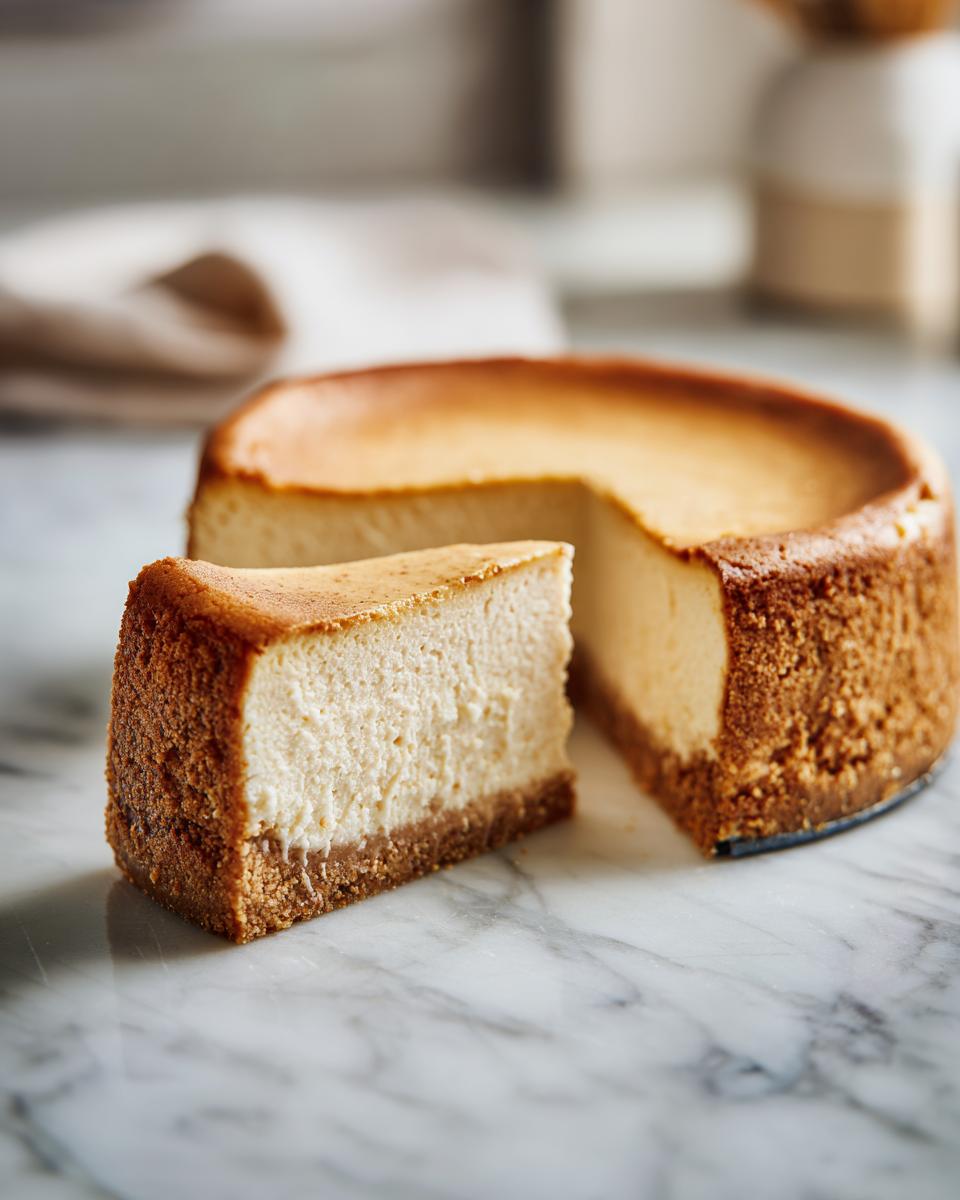
- That Iconic Texture: It’s super dense, unbelievably creamy, and just melts in your mouth.
- Rich, Tangy Flavor: Perfectly balanced to be decadent without being too sweet.
- Bakery-Quality at Home: You’ll feel like a total pro making this!
- Simply Achievable: I’ve broken down every step so you can totally do this, no fancy tricks needed.
Ingredients for Your Classic New York Cheesecake
Alright, let’s talk ingredients! This is where the magic really starts. For that absolutely perfect New York cheesecake texture and flavor, you want to make sure you’ve got these on hand. Using them at the right temperature is key – trust me, it makes all the difference in getting that super smooth batter!
First up for the crust, we need:
- 1 1/2 cups graham cracker crumbs (that’s about 10 full graham cracker sheets, crushed up!)
- 2 tablespoons granulated sugar
- 1/4 cup unsalted butter, melted until it’s nice and liquidy
And for the star of the show, the cheesecake itself:
- 32 ounces cream cheese, softened (this is super important, let it sit out for a good hour or two!)
- 1 1/2 cups granulated sugar
- 1/4 cup all-purpose flour (just a little bit to help it set right)
- 1 teaspoon vanilla extract (the real stuff, please!)
- 1/2 teaspoon lemon zest (for that hint of bright tang)
- 4 large eggs, room temperature (again, super crucial for a smooth batter)
- 1/2 cup sour cream, room temperature (for that extra creaminess and subtle tang)
- 1/4 cup heavy cream, room temperature (a little richness goes a long way!)
See? Nothing too crazy, just good quality stuff. Make sure everything dairy is truly at room temp – it’s my biggest tip for a flawless cheesecake!
Essential Equipment for the Perfect New York Cheesecake
Okay, before you dive in, let’s make sure you’ve got the right gear. Having the right tools for this classic New York cheesecake makes the whole process so much smoother. You’ll want a good springform pan – the kind with the removable sides is a must for getting your cheesecake out perfectly. An electric mixer, either a hand mixer or a stand mixer, is going to be your best friend for getting that cream cheese super smooth. You’ll also need a big roasting pan that your springform pan fits inside of for the water bath, and some heavy-duty aluminum foil to wrap it all up tight. That’s pretty much it!
How to Make a New York Cheesecake: Step-by-Step
Alright, let’s get down to business and make some truly spectacular New York cheesecake! Trust me, following these steps will get you that bakery-worthy result. It’s all about patience and a little bit of love.
Preparing the Graham Cracker Crust
First things first, let’s get that crust ready! Grab your graham cracker crumbs, sugar, and that melted butter. Just mix them all up in a bowl until it feels like damp sand. Press this mixture really well into the bottom and a little way up the sides of your springform pan. Pop it in the oven at 350°F (175°C) for about 8-10 minutes until it’s lightly golden. Let it cool completely while we work on the filling. This step is super important for a nice, sturdy base!
Creating the Creamy New York Cheesecake Batter
Now for the main event! Make sure your oven is preheated to 325°F (160°C). This is where those room-temperature ingredients really shine. In a big bowl, beat your softened cream cheese until it’s super smooth and creamy – no lumps allowed! Gradually add the sugar and flour, mixing until just combined. Then, gently beat in the vanilla and lemon zest. Next, add your eggs, one at a time, mixing on low speed until each is *just* incorporated. Honestly, don’t go crazy with the mixer here; overdoing it can make cracks happen later. Finally, gently stir in the sour cream and heavy cream until you have a beautiful, smooth batter. It should look so luscious! If you’re curious about other cheesecake flavors after this, you might love our pumpkin cheesecake recipe or our no-bake pumpkin cheesecake!
The Importance of a Water Bath for Your New York Cheesecake
Okay, this water bath thing? It sounds fancy, but it’s actually your best friend for a perfectly creamy, crack-free New York cheesecake. It helps the cheesecake bake super evenly and gently, preventing those dreaded cracks from rapid temperature changes. First, wrap the outside of your springform pan really well with heavy-duty aluminum foil. Go high up the sides to make sure no water gets in during baking – we don’t want a soupy cheesecake! Then, place your foil-wrapped pan inside a larger roasting pan. We’ll add the hot water to the roasting pan later, but getting the pan wrapped and ready now is key. This gentle cooking environment is the secret sauce for that dense, velvety texture you want.
Baking and Cooling Your New York Cheesecake
Carefully pour your gorgeous cheesecake batter into the prepared crust. Now, place your springform pan into the roasting pan. Gently pour hot water into the roasting pan, about halfway up the sides of the springform pan. This is your water bath! Pop the whole thing into your 325°F (160°C) oven and bake for about 60-75 minutes. You’re looking for the edges to be set, but the center should still have a bit of a wobble, like Jell-O. Once it’s ready, turn off the oven, prop the door open just a crack, and let the cheesecake cool inside for a whole hour. This slow cool-down is CRUCIAL for preventing cracks. After it’s cooled in the oven, carefully remove it from the water bath, take off the foil, and let it cool completely on a wire rack. Once it’s totally cool, cover it loosely and chill it in the fridge for at least 6 hours, or ideally, overnight. Patience truly pays off!
Tips for a Perfect Cheesecake Texture and Flavor
Okay, listen up! Beyond the basic recipe, there are a few little secrets that really take your New York cheesecake from “good” to “OMG, I can’t stop eating this!” It’s all about the details, you know? For that signature dense, creamy texture and just the right amount of tang, it really comes down to a few key things. First, and I can’t stress this enough: ingredient quality matters! Use good cream cheese, real vanilla, and fresh lemon zest. It makes such a difference. Also, remember what I said about not overmixing? That’s huge for preventing cracks and keeping it beautifully smooth. Basically, treat your batter gently! It’s a delicate dance to get that perfect balance. If you want to know more about my baking philosophy, check out my about page!
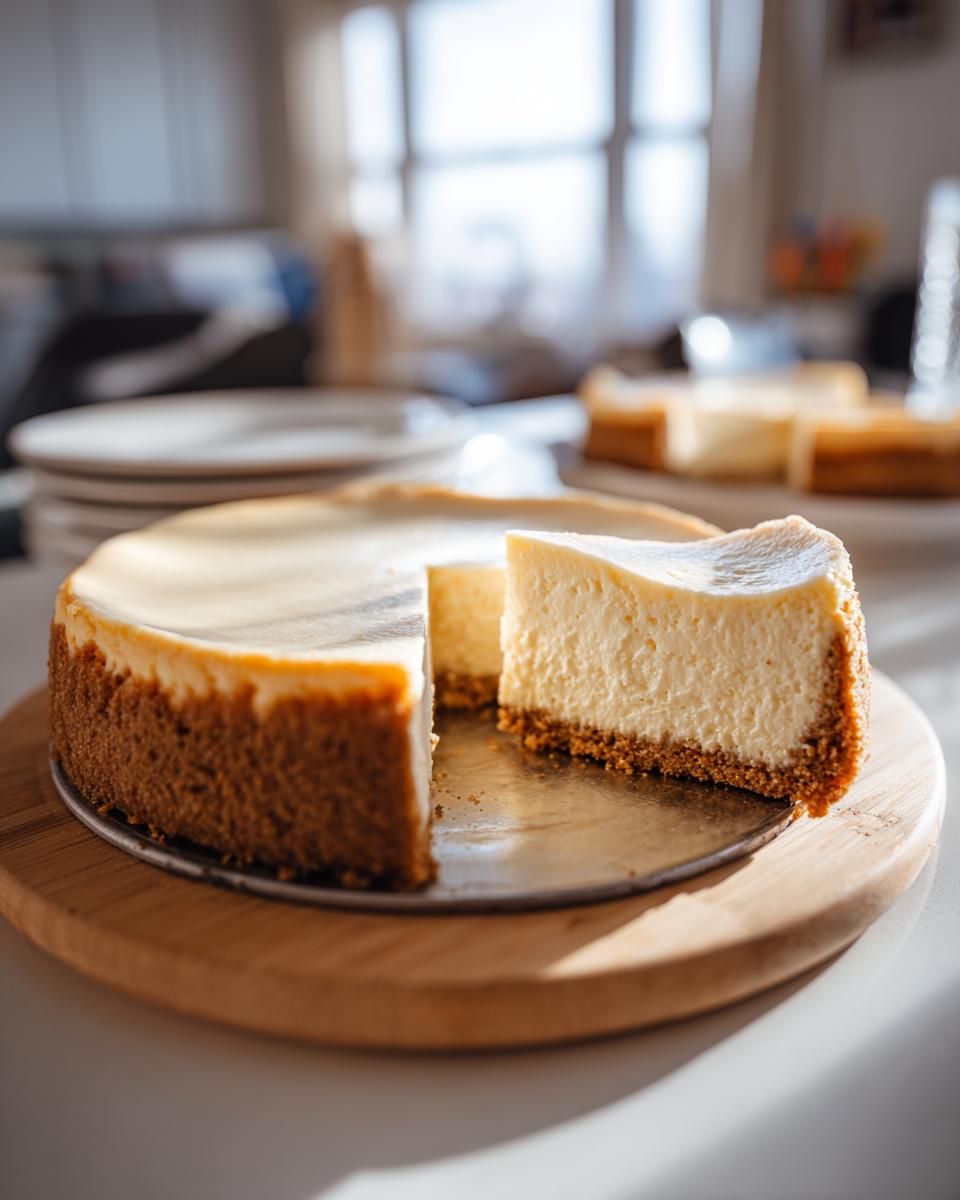
Serving and Storing Your New York Cheesecake
Now for the best part: enjoying your incredible New York cheesecake! Once it’s had its long chill in the fridge (seriously, don’t skip that!), it’s time to free it from the springform pan. Run a thin, sharp knife VERY gently around the edge of the cheesecake, right where it meets the pan. This is super important to prevent sticking. Then, carefully release the sides of the springform pan. It’ll slide right off, I promise! If you have any leftovers (which is unlikely, but hey, maybe!), just cover it loosely with plastic wrap and keep it in the refrigerator. It’s usually good for about 3-4 days. Reheating isn’t really a thing for cheesecake; it’s best served chilled.
Frequently Asked Questions About New York Cheesecake
Got questions about making this amazing New York cheesecake? I’ve got answers! Don’t worry, we’ve all been there. Let’s clear up any confusion so you can bake with total confidence. If you’re looking for more general kitchen tips, I’ve shared some great lasagna tips that might help you out too!
Why is my New York cheesecake cracking?
Cracks usually happen from overmixing the batter (too much air!) or sudden temperature changes. Our recipe helps by mixing gently and cooling slowly in the oven, which is key to a beautiful, crack-free top. Think of it like treating a new bride – gentle and gradual!
Can I make this cheesecake ahead of time?
Oh, absolutely! This New York cheesecake is actually even better when made ahead. I always recommend chilling it for at least 6 hours, or even better, overnight. This lets all those flavors meld together perfectly and ensures it’s sliceably firm.
What’s the difference between New York cheesecake and other cheesecakes?
A true New York cheesecake is known for being super dense and creamy, with a rich, subtle tang, thanks to cream cheese, eggs, and often sour cream. It’s not usually overly sweet and it bakes up tall and proud, unlike lighter, fluffer, or no-bake versions. It’s the ultimate, decadent cheesecake experience!
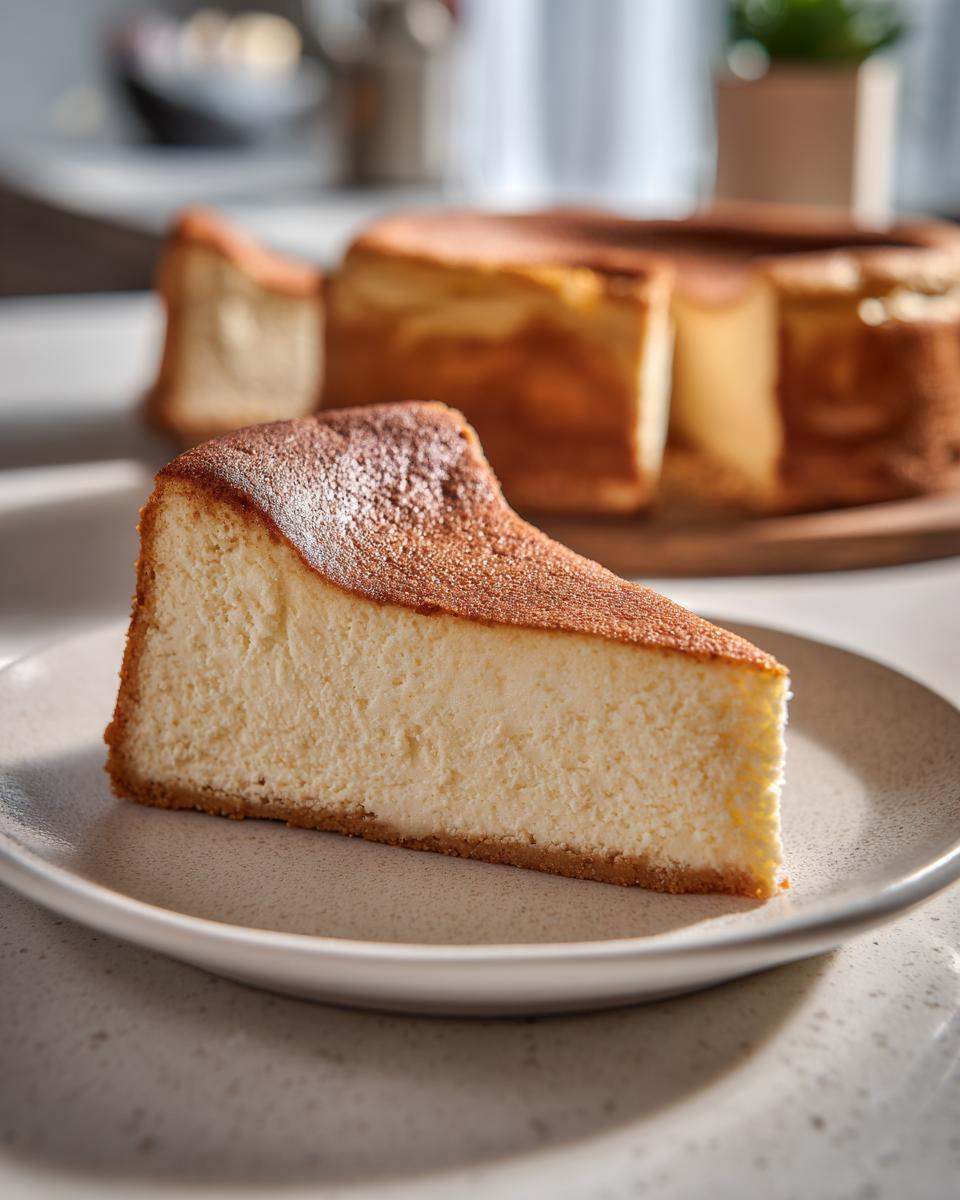
Nutritional Information (Estimated)
Okay, so here’s the scoop on what you’re looking at, nutrition-wise, for one slice of this amazing New York cheesecake. Keep in mind, these are just estimates, because how big you cut your slice and the exact ingredients you use can change things up a bit! It’s definitely a rich treat, made with all that lovely cream cheese and butter.
Share Your New York Cheesecake Creations!
I am SO excited for you to try making this New York cheesecake! When you do, please, please, PLEASE come back and let me know how it turned out. Did it get rave reviews? Did you post a pic on Instagram? Tag me! I absolutely LOVE seeing your baking successes. Your creations make my day! You can also rate the recipe right below this post or send me a message through my contact page. Happy baking!
PrintClassic New York Cheesecake
A tall, dense, and creamy New York cheesecake with a subtle tang, perfect for a special occasion. This recipe guides you through creating the ultimate indulgent cheesecake experience.
- Prep Time: 30 min
- Cook Time: 75 min
- Total Time: 8 hours 45 min
- Yield: 12 servings 1x
- Category: Dessert
- Method: Baking
- Cuisine: American
- Diet: Vegetarian
Ingredients
- 32 ounces cream cheese, softened
- 1 1/2 cups granulated sugar
- 1/4 cup all-purpose flour
- 1 teaspoon vanilla extract
- 1/2 teaspoon lemon zest
- 4 large eggs, room temperature
- 1/2 cup sour cream, room temperature
- 1/4 cup heavy cream, room temperature
- 1/4 cup unsalted butter, melted (for crust)
- 1 1/2 cups graham cracker crumbs (about 10 full sheets)
- 2 tablespoons granulated sugar (for crust)
Instructions
- Preheat your oven to 350°F (175°C).
- Prepare the crust: In a medium bowl, combine graham cracker crumbs, 2 tablespoons sugar, and melted butter. Press the mixture evenly into the bottom and about 1 inch up the sides of a 9-inch springform pan. Bake for 8-10 minutes until lightly golden. Let cool completely.
- Reduce oven temperature to 325°F (160°C). Wrap the outside of the springform pan tightly with heavy-duty aluminum foil, ensuring it goes up the sides to prevent water from seeping in.
- In a large bowl, beat the softened cream cheese with an electric mixer on medium speed until smooth and creamy, about 2-3 minutes. Gradually beat in 1 1/2 cups sugar and the flour until just combined.
- Beat in the vanilla extract and lemon zest.
- Add the eggs one at a time, beating on low speed after each addition until just incorporated. Do not overmix.
- Gently stir in the sour cream and heavy cream until the batter is smooth.
- Pour the batter over the prepared crust in the springform pan.
- Place the foil-wrapped springform pan in a larger roasting pan. Carefully pour hot water into the roasting pan, reaching about halfway up the sides of the springform pan. This is your water bath.
- Bake for 60-75 minutes, or until the edges are set and the center is still slightly jiggly.
- Turn off the oven, crack the oven door open slightly, and let the cheesecake cool in the oven for 1 hour. This slow cooling helps prevent cracks.
- Remove the cheesecake from the water bath and roasting pan. Remove the foil. Let it cool completely on a wire rack at room temperature.
- Once cooled, cover the cheesecake loosely with plastic wrap and refrigerate for at least 6 hours, or preferably overnight, before serving.
- To serve, run a thin knife around the edge of the pan before releasing the springform sides.
Notes
- Ensure all dairy ingredients (cream cheese, sour cream, eggs) are at room temperature for a smooth, lump-free batter.
- Do not overmix the batter once the eggs are added, as this can incorporate too much air and lead to cracking.
- A water bath is crucial for even baking and a creamy texture.
- Allow ample chilling time for the cheesecake to set properly.
Nutrition
- Serving Size: 1 slice
- Calories: 450
- Sugar: 35g
- Sodium: 300mg
- Fat: 30g
- Saturated Fat: 18g
- Unsaturated Fat: 12g
- Trans Fat: 0g
- Carbohydrates: 40g
- Fiber: 1g
- Protein: 8g
- Cholesterol: 120mg