
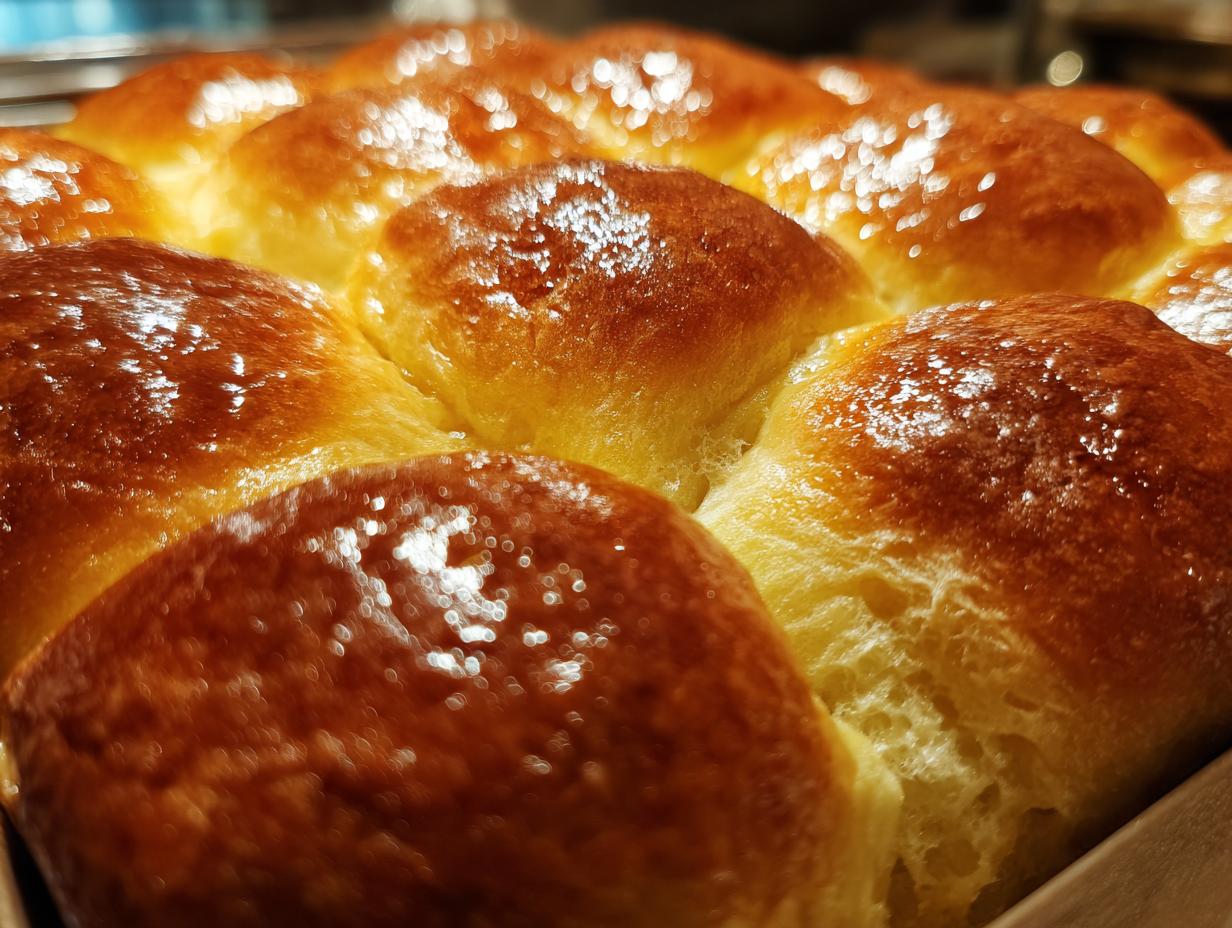
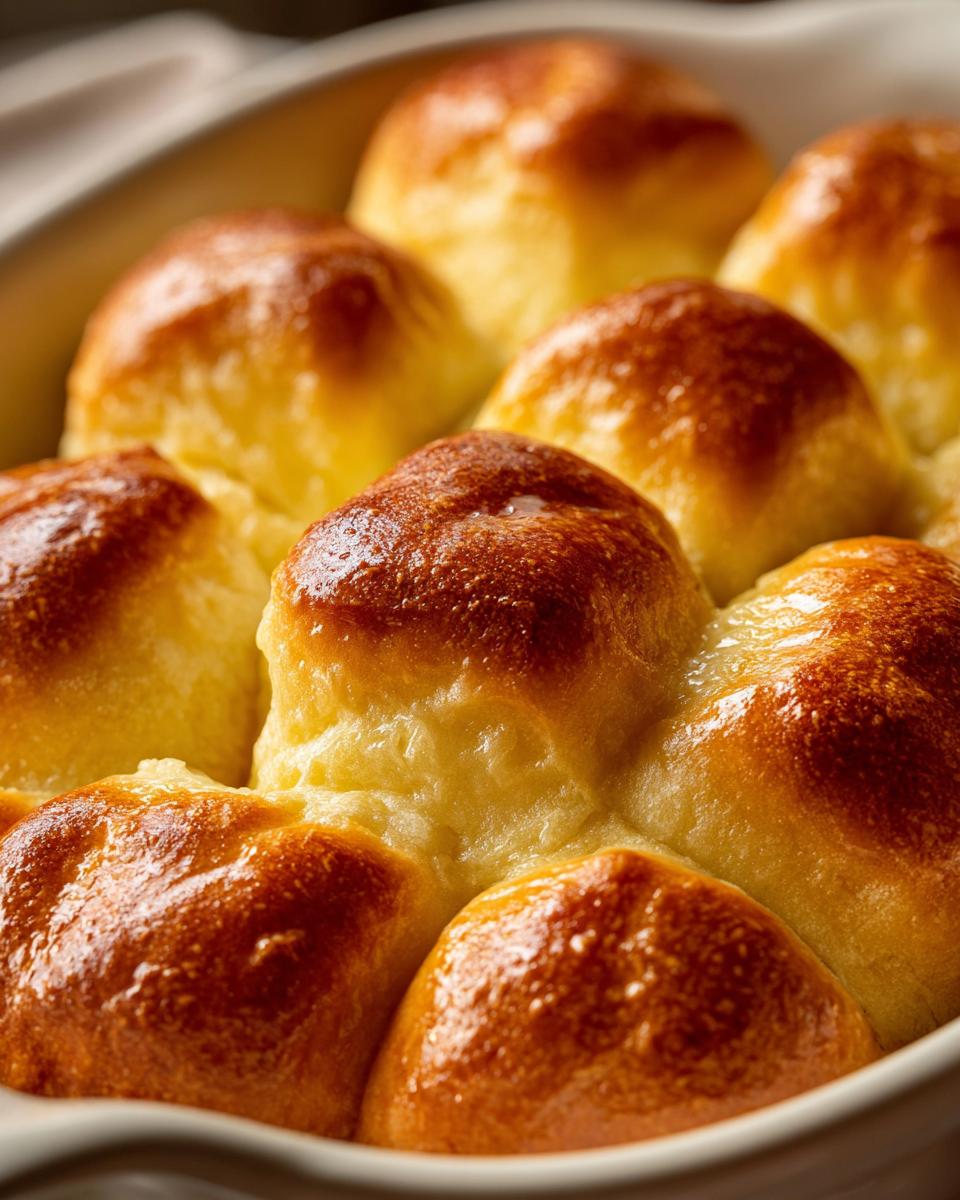
There’s just something magical about the smell of freshly baked bread filling your kitchen, isn’t there? It instantly makes everything feel cozier. And when it comes to special meals, nothing beats a batch of warm, buttery Parker House rolls. These aren’t just any dinner rolls; they’re a classic for a reason – soft, fluffy, and oh-so-pull-apart delicious. My own grandmother, like Claire Sterling here at Bliss Batter, used to make these for holidays, and I swear the aroma alone was enough to make you feel loved. This recipe is her legacy, perfected for your table.
- Why You'll Love This Parker House Rolls Recipe
- Gather Your Ingredients for Classic Parker House Rolls
- Step-by-Step Guide to Making Parker House Rolls
- Tips for Perfect Parker House Rolls Every Time
- Ingredient Spotlight: The Magic of Butter in Parker House Rolls
- Frequently Asked Questions About Parker House Rolls
- Serving and Storing Your Buttery Dinner Rolls
- Nutritional Estimate for Parker House Rolls
- Share Your Parker House Rolls Creations!
Why You’ll Love This Parker House Rolls Recipe
Seriously, these rolls are a game-changer for any meal! Here’s why you’ll be making them again and again:
- Super Easy to Make: Don’t let yeast scare you! This recipe is totally doable.
- Incredible Flavor: That buttery goodness? Unbeatable.
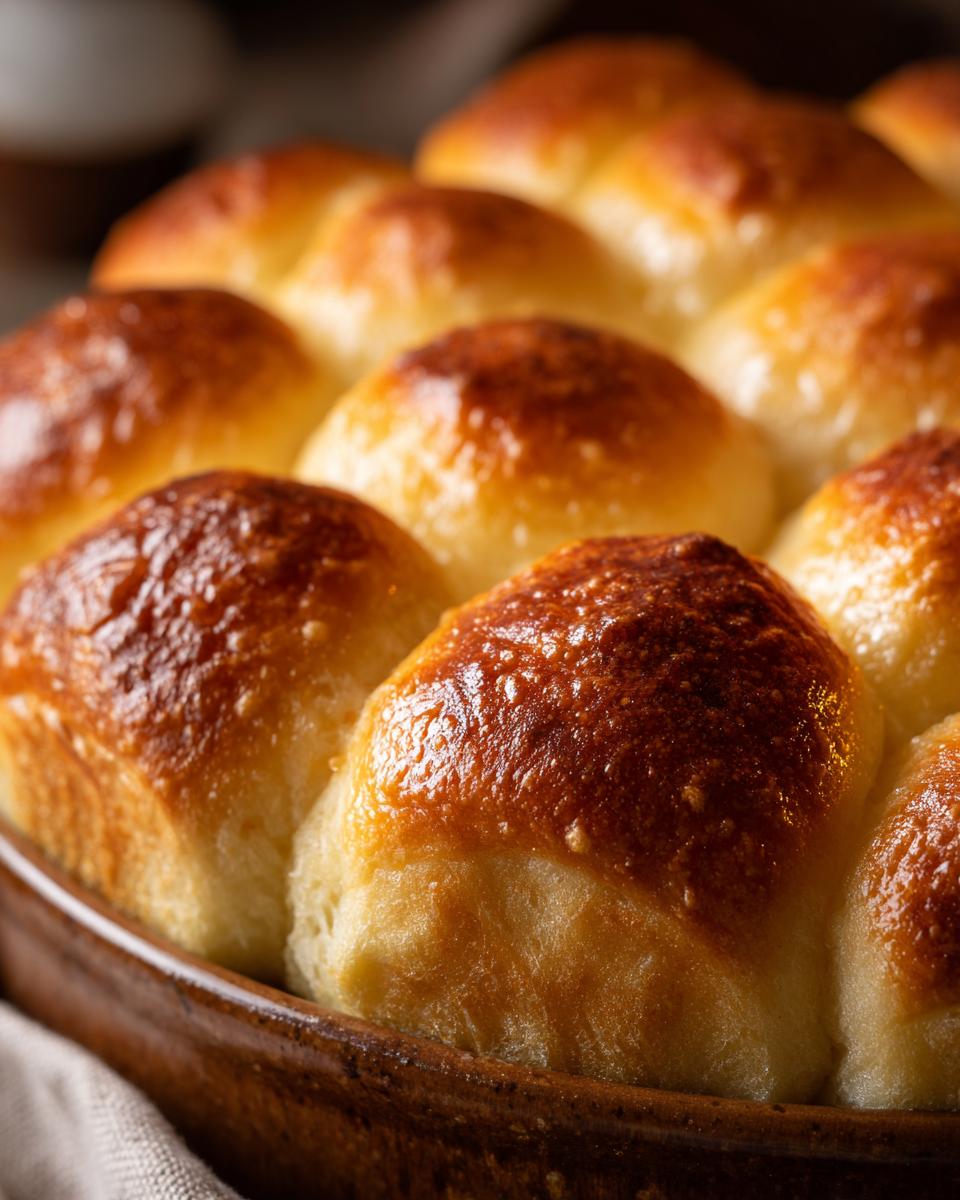
- Perfect Texture: They’re so soft and fluffy, you’ll want to pull them apart and eat them all!
- Holiday Ready: They’re the perfect companion to your Thanksgiving turkey or Easter ham.
Gather Your Ingredients for Classic Parker House Rolls
Alright, let’s get our ducks in a row! To make these heavenly Parker House rolls, you’ll need a few things from your pantry and fridge. Trust me, using good basic ingredients is key here. Here’s what you’ll want to have on hand:
- 1 cup warm milk (aim for around 105-115°F – think baby bathwater temperature!)
- 2 1/4 teaspoons active dry yeast
- 1/4 cup granulated sugar
- 1/2 cup unsalted butter, all melted and then cooled a bit
- 2 large eggs, just lightly beaten
- 1 teaspoon salt
- 4 to 4 1/2 cups all-purpose flour, plus a little extra for dusting
- 2 tablespoons unsalted butter, melted, for brushing on top
Having everything measured out before you start makes the whole process so much smoother. Now, let’s get baking!
Step-by-Step Guide to Making Parker House Rolls
Alright, let’s do this thing! Grab your apron, and let’s get these amazing Parker House rolls made. It’s really not as complicated as it sounds, and the payoff is SO worth it.
Activating the Yeast
First up, we gotta wake up our yeast! In your big mixing bowl, pour in that warm milk. Sprinkle the yeast and a pinch of the sugar over it. Give it a gentle stir, then just let it hang out for about 5 to 10 minutes. You’ll know it’s alive and kicking when it gets all foamy and bubbly. If it doesn’t, your milk might have been too hot or too cold, and we’ll need to start over – but don’t worry, it usually works!
Creating the Dough Base
Once your yeast is happy, stir in the rest of the sugar, that lovely melted butter (make sure it’s not piping hot, or it’ll kill our yeast!), the lightly beaten eggs, and the salt. Now, start adding in your flour, about a cup at a time. Mix it all up until it forms a nice, soft dough. It should feel a little sticky, but not like glue!
Kneading Your Parker House Rolls Dough
Time to get your hands in there! Turn that dough out onto your lightly floured counter. Now comes the fun part – kneading! Push, fold, and turn the dough for about 8 to 10 minutes. You’re building up that gluten, which is what makes these rolls so wonderfully soft and stretchy. If it feels way too sticky and just won’t behave, add a little more flour, just a tablespoon at a time, until it’s manageable. You’re looking for a dough that’s smooth and elastic, like a gentle hug.
First Rise: Letting Your Dough Double
Pop that beautifully kneaded dough into a lightly greased bowl. Turn it around so the whole ball gets a little slick – this stops it from sticking as it grows. Cover the bowl with plastic wrap or a damp tea towel, and tuck it away in a warm spot. Let it rise for about an hour to an hour and a half, or until it’s doubled in size. It’s like magic happening right before your eyes!
Shaping the Classic Parker House Rolls
Punch down that puffy dough gently – that gets rid of the big air bubbles. Turn it out onto your floured surface again. Now, roll it out into a big rectangle, about 12 inches by 18 inches. Brush the whole surface with that 2 tablespoons of melted butter. Be generous! Then, slice it lengthwise into 3 strips. Cut each strip again, crosswise, into 4 pieces. You should have 12 little dough rectangles. Fold each one in half like a little pocket, and press the edges together to seal them up. This is what gives them that classic look!
Second Rise and Oven Preparation
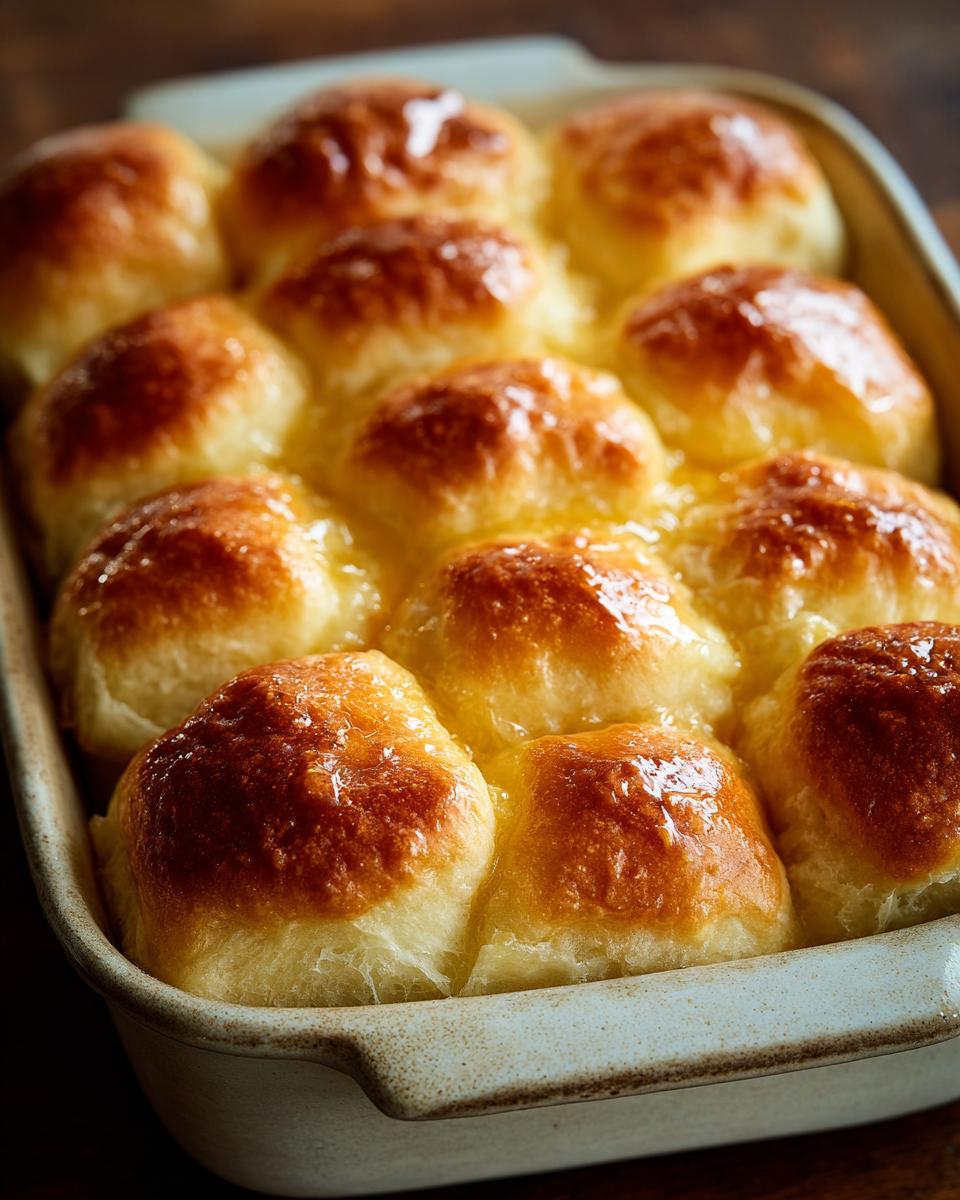
Place those shaped rolls, seam-side down, into a greased 9×13-inch baking pan. They’ll be cozy in there. Cover the pan again and let them have another little sit and puff up for about 30 to 45 minutes. While they’re doing their second rise, go ahead and preheat your oven to 375°F (190°C). Getting that oven nice and hot is super important for a good bake.
Baking to Golden Perfection
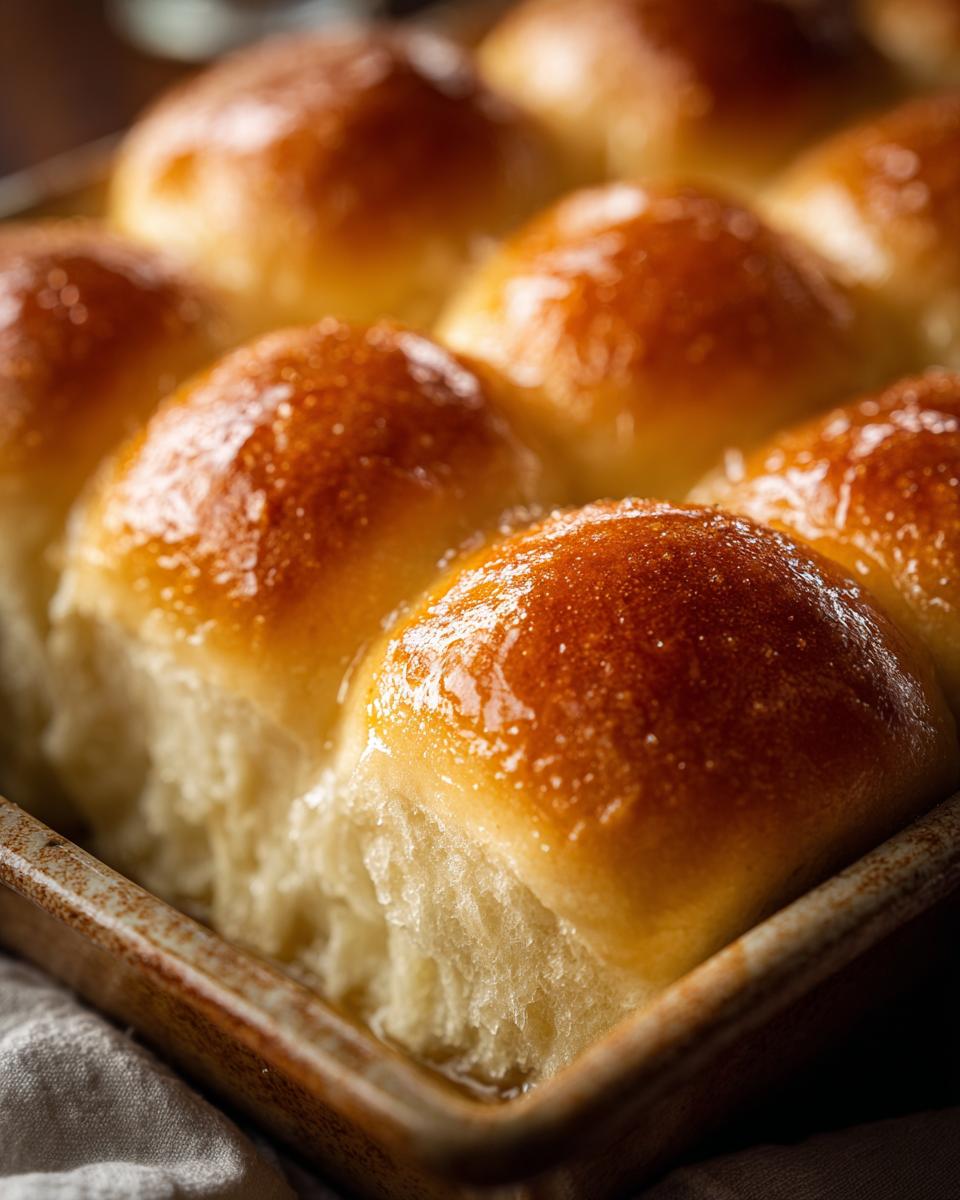
Once they’re looking plump and you’ve preheated the oven, slide that pan in. Bake them for about 15 to 20 minutes. Keep an eye on them – you want them to be beautifully golden brown on top. As soon as they come out, brush them with that extra bit of melted butter while they’re still hot. Oh, that smell! It’s heavenly, and it just seals in all that deliciousness. These fluffy rolls are perfect for any meal, just like you’d find with our challah bread or our cinnamon rolls!
Tips for Perfect Parker House Rolls Every Time
Okay, so you want those *absolutely perfect* Parker House rolls, the kind that make everyone ask for the recipe? I’ve got you covered! A few little tricks can make all the difference. My own baking journey, much like Claire’s at Bliss Batter, is full of learning what works best. Here are some of my go-to tips:
- Milk Temperature is Key: Seriously, don’t skip checking the milk temp. Too hot and it kills the yeast, too cold and it won’t get going. Think cozy, not boiling! It really needs to be between 105-115°F (40-46°C).
- Butter, Butter, Butter! Don’t skimp on the butter, folks. Using it both *in* the dough and brushed *on top* is what gives these their signature richness and helps that lovely golden crust. For an even more decadent roll, try using half milk and half heavy cream in the dough – trust me on this one!
- Don’t Be Shy with Kneading: I know it can feel like a workout, but kneading is crucial for developing the gluten. That’s what gives you that amazing soft, chewy texture. Keep going until the dough feels smooth and elastic. If you’ve ever made our buttermilk biscuits, you know how important texture is!
- Warm Spot for Rising: Yeast needs warmth to get happy. Find a cozy place for your dough to rise – like near a preheating oven (but not *on* it!), or even in a turned-off oven with the light on. This ensures an even, steady rise.
- Brush ‘Em While They’re Hot: That last brush of melted butter right after they come out of the oven? Pure magic. It makes them shiny and adds another layer of incredible flavor.
Ingredient Spotlight: The Magic of Butter in Parker House Rolls
You know, butter is like the secret handshake of deliciousness in these Parker House rolls. It’s not just for flavor, though oh boy, does it deliver on that! That rich, creamy taste comes straight from the butter. But it also does THIS amazing thing for the texture, making them super tender and giving them that lovely pull-apart quality. We use it two ways: melted right into the dough for that deep, buttery flavor throughout, and then brushed on top when they’re warm out of the oven for that gorgeous golden sheen and extra kiss of richness. It’s a simple ingredient, but man, does it work wonders!
Frequently Asked Questions About Parker House Rolls
Got questions about these glorious buttery dinner rolls? I’ve got answers! Making homemade bread is so rewarding, and I want to make sure your Parker House rolls turn out perfect every single time. Here are some things folks often wonder about:
Can I make Parker House rolls ahead of time?
You sure can! After you shape them and they’ve had their second rise (before baking), you can cover them tightly with plastic wrap and pop them in the fridge overnight. Just let them sit on the counter for about 30 minutes to an hour before baking them as usual. They might need an extra minute or two in the oven since they’ll be cold. It’s a great way to get a head start on holiday baking!
What kind of flour is best for Parker House rolls?
For these classic Parker House rolls, all-purpose flour is usually your best bet. It provides a good balance of structure and tenderness. Don’t go too heavy on it, though! Remember, we want soft, fluffy rolls, not tough ones. Keep adding flour just until the dough is no longer super sticky when you’re kneading it.
Why are my rolls not fluffy?
Oh, that’s a common little hiccup! If your rolls didn’t get that lovely fluffy texture, it usually comes down to a couple of things. Did you let the dough rise properly? Yeast needs warmth and time to do its job! Also, kneading is super important. Not enough kneading means less gluten development, and that gluten is what gives them their airy structure. Make sure you’re not over-baking them either, as that can dry them out.
Can I freeze baked Parker House rolls?
Yes, absolutely! Once your buttery dinner rolls have cooled completely, wrap them up tightly in plastic wrap, then pop them into a freezer bag or container. They usually stay good in the freezer for about 2-3 months. When you want to enjoy them, just let them thaw at room temperature or gently warm them up in a low oven.
Serving and Storing Your Buttery Dinner Rolls
These beautiful Parker House rolls are just begging to be served! They’re absolutely divine alongside a big holiday meal, whether it’s Thanksgiving turkey or a festive roast. They’re also fantastic with a hearty bowl of soup, like our comforting lentil soup or a creamy classic tomato soup. Honestly, they’re good with pretty much anything!
Got some leftovers? Don’t fret! Just pop them into an airtight container or a zip-top bag at room temperature. They’ll stay lovely for a couple of days. If you need them to last longer, they can hang out in the fridge for about a week. To bring them back to life, just give them a quick warm-up in a moderate oven (around 300°F or 150°C) for a few minutes until they’re cozy again. Perfection!
Nutritional Estimate for Parker House Rolls
Okay, so let’s talk numbers for our glorious Parker House rolls! Keep in mind these are just estimates, and the actual numbers can swing a bit depending on the exact brands you use and how generous you are with those buttery brushes. Each roll is roughly:
- Serving Size: 1 roll
- Calories: 250
- Sugar: 6g
- Sodium: 200mg
- Fat: 10g
- Saturated Fat: 6g
- Unsaturated Fat: 4g
- Trans Fat: 0g
- Carbohydrates: 35g
- Fiber: 1g
- Protein: 5g
- Cholesterol: 50mg
So, they’re a tasty treat that’s worth every bite!
Share Your Parker House Rolls Creations!
I just love seeing what you all create in your kitchens! Have you tried making these amazing Parker House rolls? I’d be thrilled to hear how they turned out for you! Please, leave a comment below and tell me all about it, or even leave a rating – it really helps other bakers know what to expect. And if you’re feeling inspired, check out more of Claire’s journey and baking philosophy on the Bliss Batter About page!
PrintClassic Parker House Rolls
Learn to bake authentic, buttery Parker House rolls. These soft, pull-apart yeast rolls are perfect for holidays and special meals, adding a homemade touch that elevates any dinner.
- Prep Time: 30 minutes
- Cook Time: 20 minutes
- Total Time: 2 hours 50 minutes
- Yield: 12 rolls 1x
- Category: Bread
- Method: Baking
- Cuisine: American
- Diet: Vegetarian
Ingredients
- 1 cup warm milk (105-115°F)
- 2 1/4 teaspoons active dry yeast
- 1/4 cup granulated sugar
- 1/2 cup unsalted butter, melted and cooled
- 2 large eggs, lightly beaten
- 1 teaspoon salt
- 4 to 4 1/2 cups all-purpose flour, plus more for dusting
- 2 tablespoons unsalted butter, melted, for brushing
Instructions
- In a large bowl, combine warm milk, yeast, and sugar. Let stand for 5-10 minutes until foamy.
- Stir in the melted butter, beaten eggs, and salt.
- Gradually add 4 cups of flour, mixing until a soft dough forms.
- Turn the dough out onto a lightly floured surface and knead for 8-10 minutes, or until smooth and elastic. Add more flour, a tablespoon at a time, if the dough is too sticky.
- Place the dough in a greased bowl, turning to coat. Cover with plastic wrap and let rise in a warm place for 1 to 1 1/2 hours, or until doubled in size.
- Punch down the dough and turn it out onto a lightly floured surface.
- Roll the dough into a 12×18-inch rectangle.
- Brush the surface with 2 tablespoons of melted butter.
- Cut the dough lengthwise into 3 strips, then cut each strip crosswise into 4 pieces, creating 12 rectangles.
- Fold each rectangle in half diagonally, then press the edges together to seal.
- Place the shaped rolls seam-side down in a greased 9×13-inch baking pan.
- Cover the pan and let the rolls rise for another 30-45 minutes, or until puffy.
- Preheat your oven to 375°F (190°C).
- Bake for 15-20 minutes, or until golden brown.
- Brush the tops of the warm rolls with additional melted butter.
Notes
- For a richer flavor, you can use half milk and half heavy cream.
- Ensure your milk is warm, not hot, to avoid killing the yeast.
- Proper kneading develops gluten, which gives the rolls their soft, chewy texture.
- Allowing the dough to rise in a consistently warm place promotes even proofing.
- For a beautiful golden crust, brush with melted butter immediately after baking.
Nutrition
- Serving Size: 1 roll
- Calories: 250
- Sugar: 6g
- Sodium: 200mg
- Fat: 10g
- Saturated Fat: 6g
- Unsaturated Fat: 4g
- Trans Fat: 0g
- Carbohydrates: 35g
- Fiber: 1g
- Protein: 5g
- Cholesterol: 50mg