
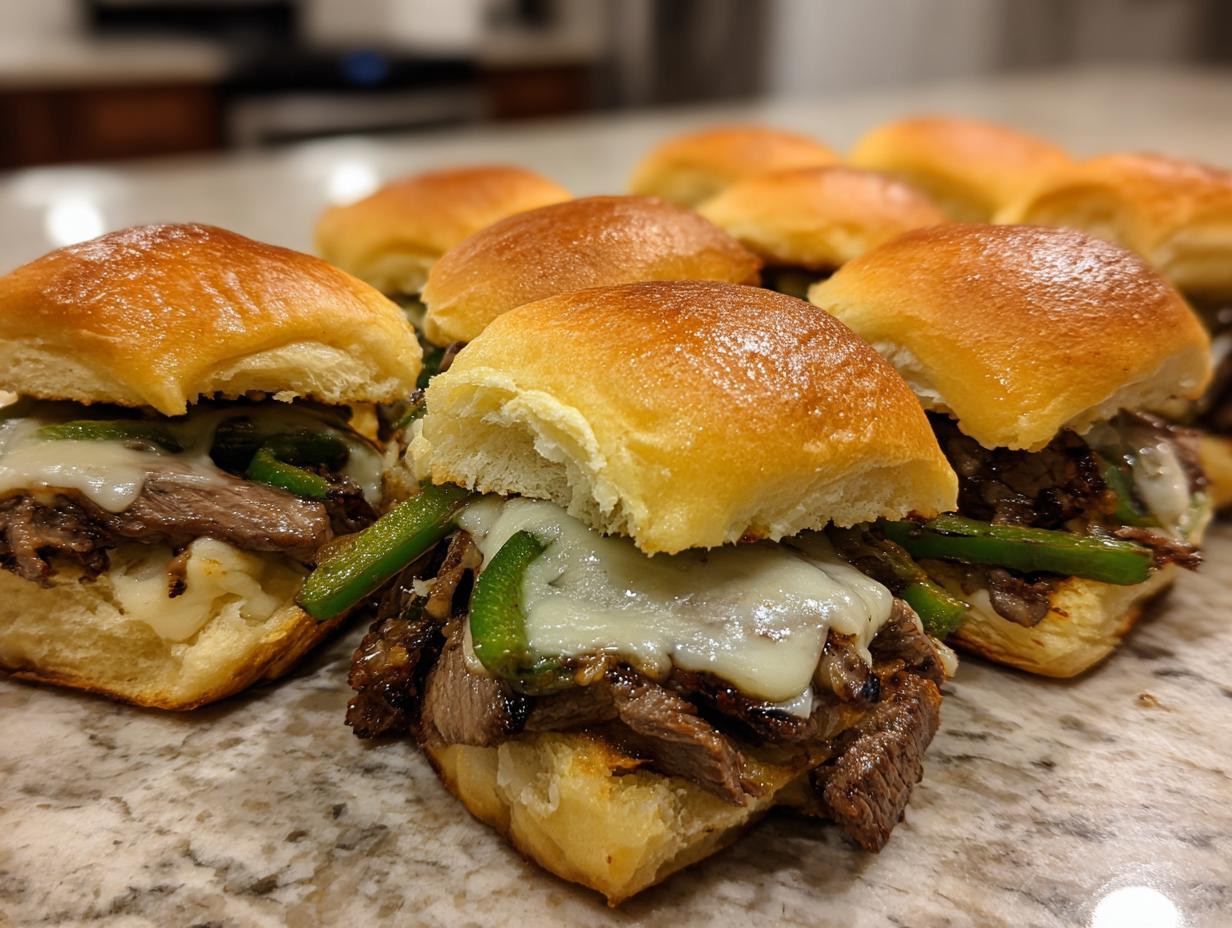
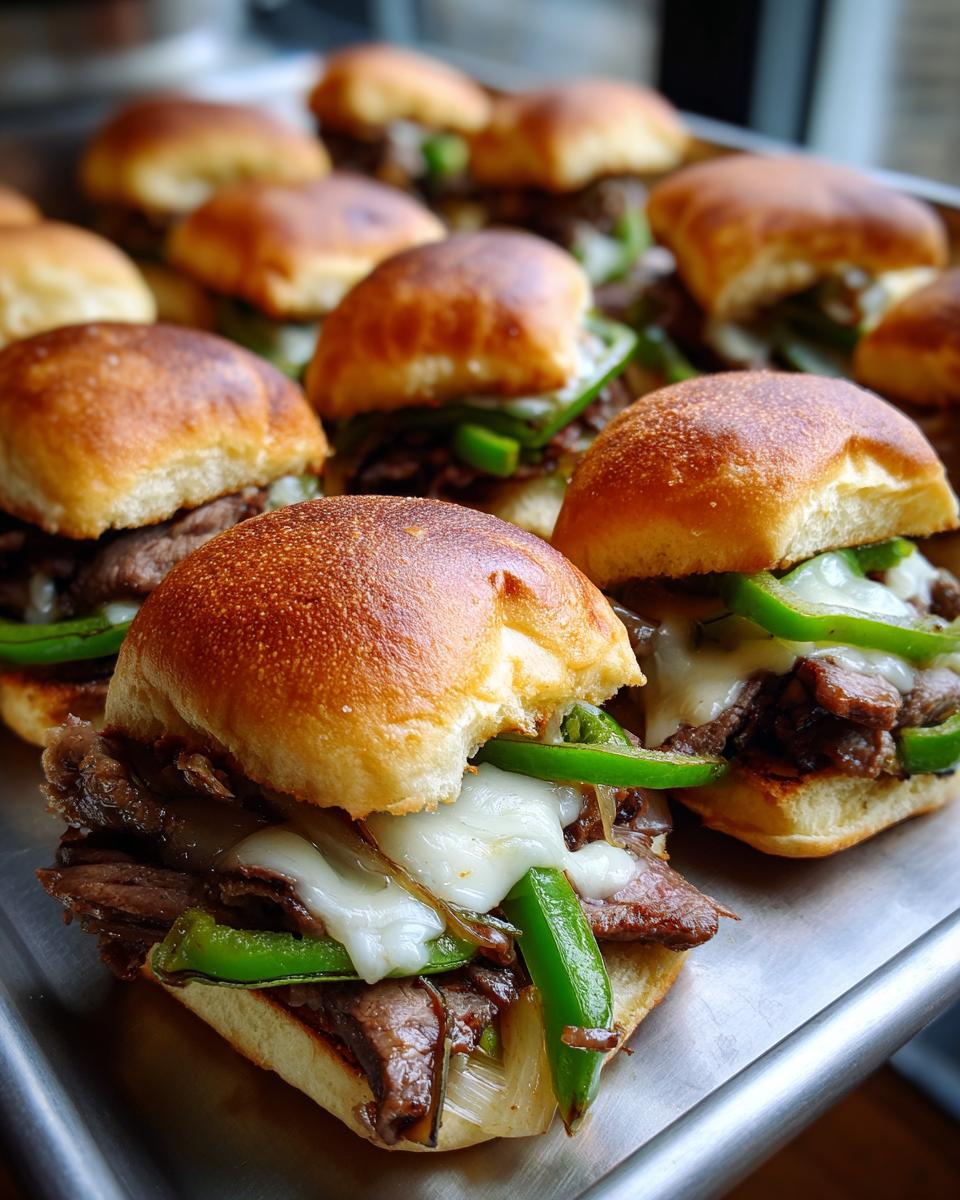
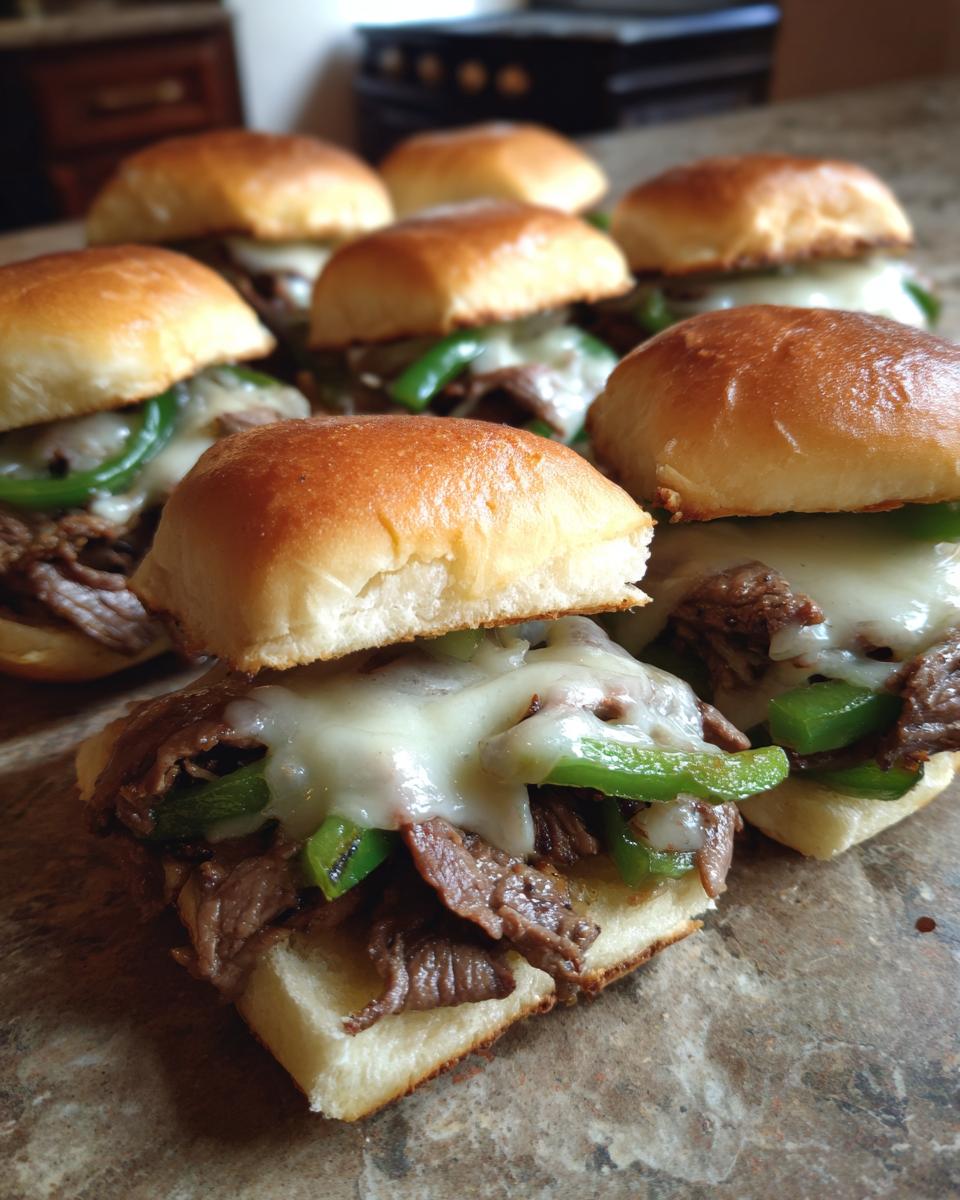
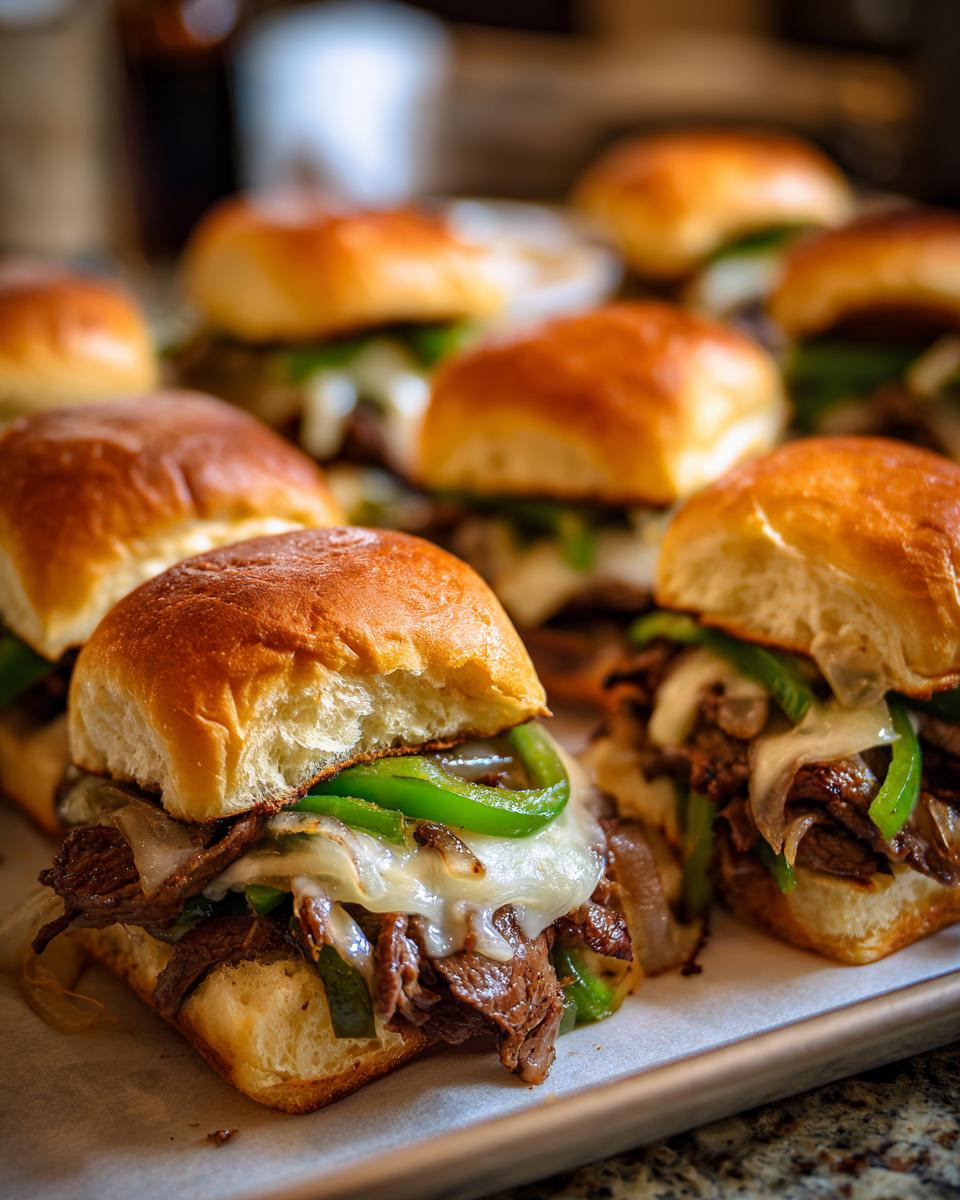
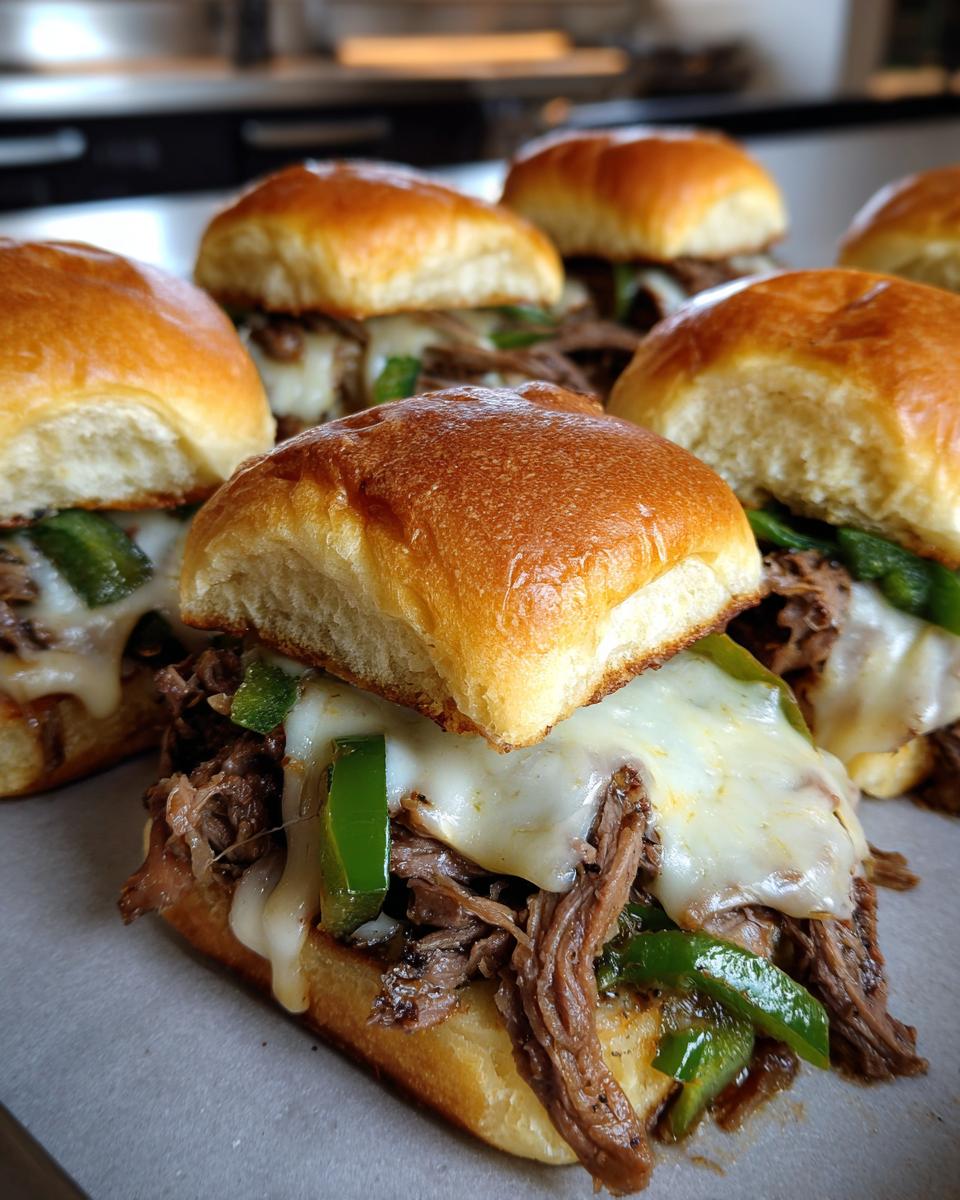
Picture this: the game is on, your friends are buzzing, and you’ve got a pan full of incredible little sandwiches that everyone can just pull apart and devour. That’s the magic of these Philly cheesesteak sliders! Honestly, I just love making food that brings people together, and these little flavor bombs do just that. It reminds me of my grandmother’s kitchen, where the aroma of something delicious always meant happiness poured from her oven. These sliders are my way of capturing that same feeling – taking all the rich, savory goodness of a classic Philly cheesesteak and tucking it into soft, buttery rolls that are super easy to share. They’re the ultimate party starter, perfect whether you’re tailgating, hosting a game day bash, or just want a seriously satisfying bite that feeds a crowd without a fuss. As I’ve learned from my own journey, it’s all about simple, joyful food! After years of experimenting, I’ve landed on this perfect combo that I know you’re going to adore!
- Why You'll Love These Philly Cheesesteak Sliders
- Ingredients for Perfect Philly Cheesesteak Sliders
- How to Prepare Philly Cheesesteak Sliders: Step-by-Step
- Tips for Success with Your Philly Cheesesteak Sliders
- Make-Ahead and Reheating Instructions for Party Sliders
- Frequently Asked Questions about Philly Cheesesteak Sliders
- Nutritional Information
- Share Your Game Day Creations!
Why You’ll Love These Philly Cheesesteak Sliders
Seriously, these Philly cheesesteak sliders are a lifesaver when you’re hosting! They’re:
- Super Easy to Make: Assembly is a breeze, making them ideal for when you’re juggling party prep.
- Crowd-Pleaser Guaranteed: Who doesn’t love a slider? These are perfect for feeding a crowd at any game day or tailgate!
- Big Flavor, Small Package: You get all that classic Philly cheesesteak taste packed into a fun, pull-apart slider.
- Make-Ahead Magic: Prep them ahead of time and bake right before serving – pure convenience!
Ingredients for Perfect Philly Cheesesteak Sliders
Okay, so gathering your ingredients is the first step to slider perfection! For these amazing Philly cheesesteak sliders, I always reach for the good stuff. It really does make a difference, kind of like how my grandma always insisted on real butter. Trust me, it’s worth it!
Here’s what you’ll need:
- 1 pound thinly sliced ribeye steak – Pro tip: Partially freezing the steak makes it SO much easier to get those super-thin slices that melt in your mouth!
- 1 tablespoon olive oil
- 1 large yellow onion, thinly sliced
- 1 green bell pepper, thinly sliced
- 1 teaspoon salt
- 1/2 teaspoon black pepper
- 1/4 cup mayonnaise
- 1/4 cup ketchup
- 1 tablespoon Worcestershire sauce
- 24 slider rolls (Hawaiian sweet rolls are my absolute favorite here – they get this lovely subtle sweetness!)
- 4 slices provolone cheese, halved
- 1/2 cup butter, melted
- 1 tablespoon poppy seeds (optional, but they add a little somethin’ special!)
How to Prepare Philly Cheesesteak Sliders: Step-by-Step
Alright, let’s get these amazing Philly cheesesteak sliders into that pan! It’s really not complicated, I promise. It’s more about just a few simple steps that make all the difference. Think of it like creating your own little flavor party in a dish!
Preparing the Steak and Veggies for Your Philly Cheesesteak Sliders
First things first, we need to get our filling ready. Grab a big skillet and get it nice and hot with that tablespoon of olive oil. Toss in your thinly sliced steak – remember that tip about freezing it a bit first? So helpful! Cook it up until it’s all browned and delicious, just breaking it apart as you go. Then, slide the steak out and set it aside. Now, same pan, no need to clean it, just add your onions and peppers. Sauté those until they’re nice and soft, about 5-7 minutes, with a little salt and pepper. This really brings out their sweetness, which is key!
Assembling Your Crowd-Pleasing Philly Cheesesteak Sliders
Okay, now for the fun part – building these beauties! Take your slider rolls, and I like to slice them all in half horizontally so they’re perfectly ready. Make a simple sauce with that mayo, ketchup, and Worcestershire sauce – it’s like their secret handshake! Spread that yummy sauce evenly on the cut sides of your bottom roll halves. Then, nestle those bottom buns into your baking dish. Now pile on that delicious steak and veggie mix. You want it to be pretty even, so everyone gets a good bite. Lay those provolone cheese halves on top – oh, the melty potential!
Baking and Finishing Your Delicious Philly Cheesesteak Sliders
Pop the top halves of your rolls right on over that cheesy goodness. Now, pour that melted butter all over the tops. It’s going to soak in and make them golden and divine. Sprinkle on those poppy seeds if you’re feeling it – they add a lovely little texture and look so pretty! Cover the whole thing tightly with foil. You’ll want to bake these at 350°F for about 15 to 20 minutes, just until they get beautifully golden brown and that cheese is all melted and gooey. See? Easy peasy!
Tips for Success with Your Philly Cheesesteak Sliders
Alright, let’s talk about making these Philly cheesesteak sliders absolutely perfect! I’ve fiddled with this recipe more times than I can count, and I’ve learned a few little tricks that really make them shine. For starters, getting that steak sliced super thin is key – it makes all the difference in how they cook and, honestly, how much fits into each slider! And don’t skimp on the butter on top; that’s where the golden-brown magic happens.
Choosing the Best Cheese for Cheesesteak Sliders
When it comes to cheese for your sliders, you really can’t go wrong with provolone. It’s that classic melty goodness that just screams “cheesesteak!” But, if you want to switch things up or use what you have, Swiss is a fantastic alternative; it has this slightly nutty, complex flavor that pairs beautifully. A sharp cheddar would give you a nice tangy kick, too. Just make sure it melts well – that’s the goal for that gooey, irresistible bite everyone loves!
Make-Ahead and Reheating Instructions for Party Sliders
One of my favorite things about these Philly cheesesteak sliders is how totally doable they are for a party! If you’re like me and prefer to get as much done ahead of time as possible, you’re in luck. You can totally assemble these up to the point where you pour the butter over the top. Just cover them really well with plastic wrap or foil and pop them in the fridge for up to 24 hours. When it’s almost party time, just uncover them, pour on that melted butter and poppy seeds, and bake as usual – you might just need to add a few extra minutes since they’re going in cold. Honestly, the last time I made these for a neighborhood get-together, I did just that, and they were still a huge hit! Reheating is just as easy; cover them with foil and pop them in a 300°F oven until they’re perfectly warm and melty again. Super handy for feeding a crowd without all the last-minute fuss!
Frequently Asked Questions about Philly Cheesesteak Sliders
Got questions about these yummy Philly cheesesteak sliders? I totally get it! When I first started making these, I had a few things I wondered about too. Here are some common ones I hear:
Can I use a different type of roll besides Hawaiian sweet rolls?
Oh, absolutely! While I adore the little sweet rolls for their soft texture, you can totally use other slider buns. Potato rolls are yummy, or even small brioche buns work great. Just make sure they’re soft enough to really soak up all that butter and flavor!
How do I make these sliders a bit spicier?
Great question! If you like a little heat, just add a pinch of red pepper flakes to the sautéed veggies. You could also add a dash of your favorite hot sauce to the mayo-ketchup mixture. Or, serve them with a side of sriracha or a spicy aioli for dipping – that’s a fun way to let folks customize their own heat level!
What makes the steak so thin for these sliders?
Getting that steak nice and thin is crucial for the best texture in these pull apart sliders! My trick is to pop the ribeye into the freezer for about 30-45 minutes before slicing. It firms up the meat just enough so you can get really thin, almost paper-like slices with a sharp knife. It makes a world of difference compared to trying to slice a completely thawed steak!
Nutritional Information
Just a heads-up, these numbers are estimates for one scrumptious slider! Things can vary a bit depending on the exact ingredients you use, but this gives you a good idea. Keep in mind, these Philly cheesesteak sliders are packed with flavor!
Per slider (approximate):
- Calories: 250
- Fat: 12g
- Saturated Fat: 5g
- Carbohydrates: 25g
- Sugar: 5g
- Protein: 12g
- Sodium: 450mg
Share Your Game Day Creations!
I absolutely LOVE seeing what you all create in your kitchens! If you whip up these Philly cheesesteak sliders for your next party or game day, please let me know how they turned out! Leave a comment below, give the recipe a star rating, or even share a pic on Instagram and tag me! You can always send me a message through my contact page too. Happy baking, everyone!
PrintPhilly Cheesesteak Sliders
Easy pull-apart sliders with thinly sliced steak, peppers, onions, and provolone cheese on buttery rolls, perfect for parties and game days.
- Prep Time: 20 min
- Cook Time: 25 min
- Total Time: 45 min
- Yield: 24 sliders 1x
- Category: Appetizer
- Method: Baking
- Cuisine: American
- Diet: Vegetarian
Ingredients
- 1 pound thinly sliced ribeye steak
- 1 tablespoon olive oil
- 1 large yellow onion, thinly sliced
- 1 green bell pepper, thinly sliced
- 1 teaspoon salt
- 1/2 teaspoon black pepper
- 1/4 cup mayonnaise
- 1/4 cup ketchup
- 1 tablespoon Worcestershire sauce
- 24 slider rolls (Hawaiian sweet rolls recommended)
- 4 slices provolone cheese, halved
- 1/2 cup butter, melted
- 1 tablespoon poppy seeds (optional)
Instructions
- Preheat your oven to 350°F (175°C).
- Heat olive oil in a large skillet over medium-high heat. Add the sliced steak and cook until browned, breaking it apart with a spoon. Remove steak from skillet and set aside.
- Add the sliced onion and bell pepper to the same skillet. Cook until softened, about 5-7 minutes. Season with salt and pepper.
- Return the steak to the skillet with the vegetables. Stir to combine.
- In a small bowl, mix together mayonnaise, ketchup, and Worcestershire sauce. Spread this mixture evenly over the cut sides of the slider rolls.
- Place the bottom halves of the rolls in a greased 9×13 inch baking dish.
- Spoon the steak and vegetable mixture evenly over the bottom halves of the rolls.
- Top with the provolone cheese halves.
- Place the top halves of the rolls over the cheese.
- Pour the melted butter evenly over the tops of the rolls. Sprinkle with poppy seeds, if desired.
- Cover the baking dish tightly with foil.
- Bake for 15-20 minutes, or until the rolls are golden brown and the cheese is melted.
- For pull-apart sliders, cut between the rolls before serving.
Notes
- For make-ahead, assemble the sliders up to the buttering step, cover tightly, and refrigerate for up to 24 hours. Bake as directed, adding a few extra minutes to the baking time.
- To reheat, cover with foil and bake at 300°F (150°C) until heated through.
- You can substitute other cheeses like Swiss or cheddar.
- For thinner steak slices, partially freeze the steak before slicing.
Nutrition
- Serving Size: 1 slider
- Calories: 250
- Sugar: 5g
- Sodium: 450mg
- Fat: 12g
- Saturated Fat: 5g
- Unsaturated Fat: 7g
- Trans Fat: 0g
- Carbohydrates: 25g
- Fiber: 1g
- Protein: 12g
- Cholesterol: 30mg