
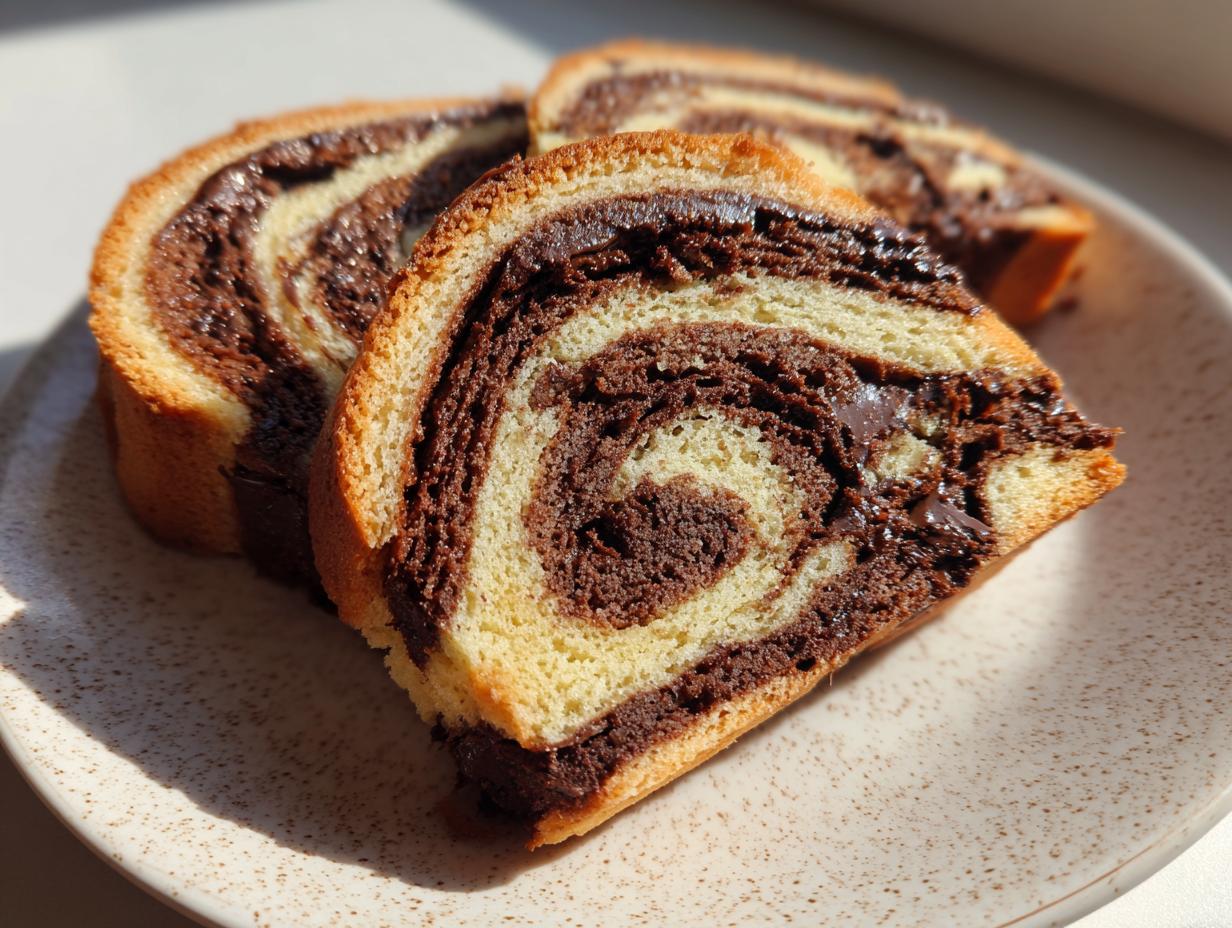
Doesn’t something baked look ten times better when you have to stop and study the pattern? I live for those visually appealing desserts! And that’s why these classic chocolate and vanilla pinwheel cookies are absolute showstoppers. They look like they took hours of complicated pastry work, but trust me, they are so easy because they are simple slice and bake cookies. I’m Claire, and when I left the corporate world to follow my passion, I started Bliss Batter to share that sunny kitchen feeling. I test everything right here in my real home kitchen to make sure you get that perfect buttery swirl without any guesswork. You are going to love making these!
- Why These Classic Chocolate and Vanilla Pinwheel Cookies Are Your Next Favorite
- Ingredients Needed for Perfect Pinwheel Cookies
- Step-by-Step Instructions for Making Beautiful Pinwheel Cookies
- Tips for Achieving Perfect Pinwheel Cookies Every Time
- Variations for Your Pinwheel Cookies Recipe
- Storage and Make-Ahead Tips for Pinwheel Cookies
- Frequently Asked Questions About Pinwheel Cookies
- Estimated Nutritional Information for Pinwheel Cookies
- Share Your Beautiful Pinwheel Cookies Creations
Why These Classic Chocolate and Vanilla Pinwheel Cookies Are Your Next Favorite
Honestly, why mess with complicated cookie shapes when you can have this stunning effect with minimal fuss? These cookies are everything I look for in a great bake: foolproof and gorgeous. I wouldn’t share them unless they passed my own rigorous testing process!
- They are the definition of effortless beauty; you get incredible visual impact from simple slice and bake cookies.
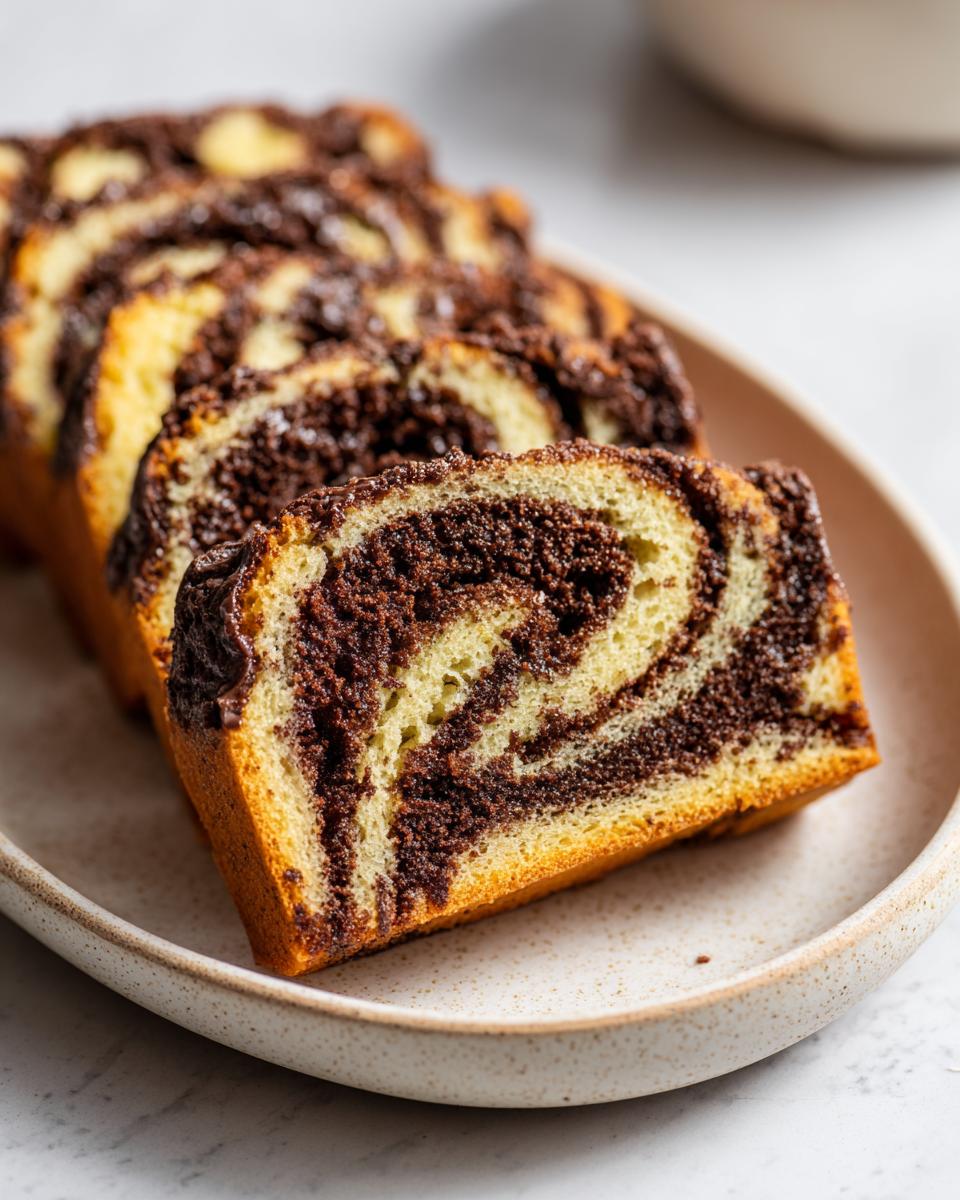
- The texture is perfectly buttery—tender on the inside with just a slight crispness on the edges.
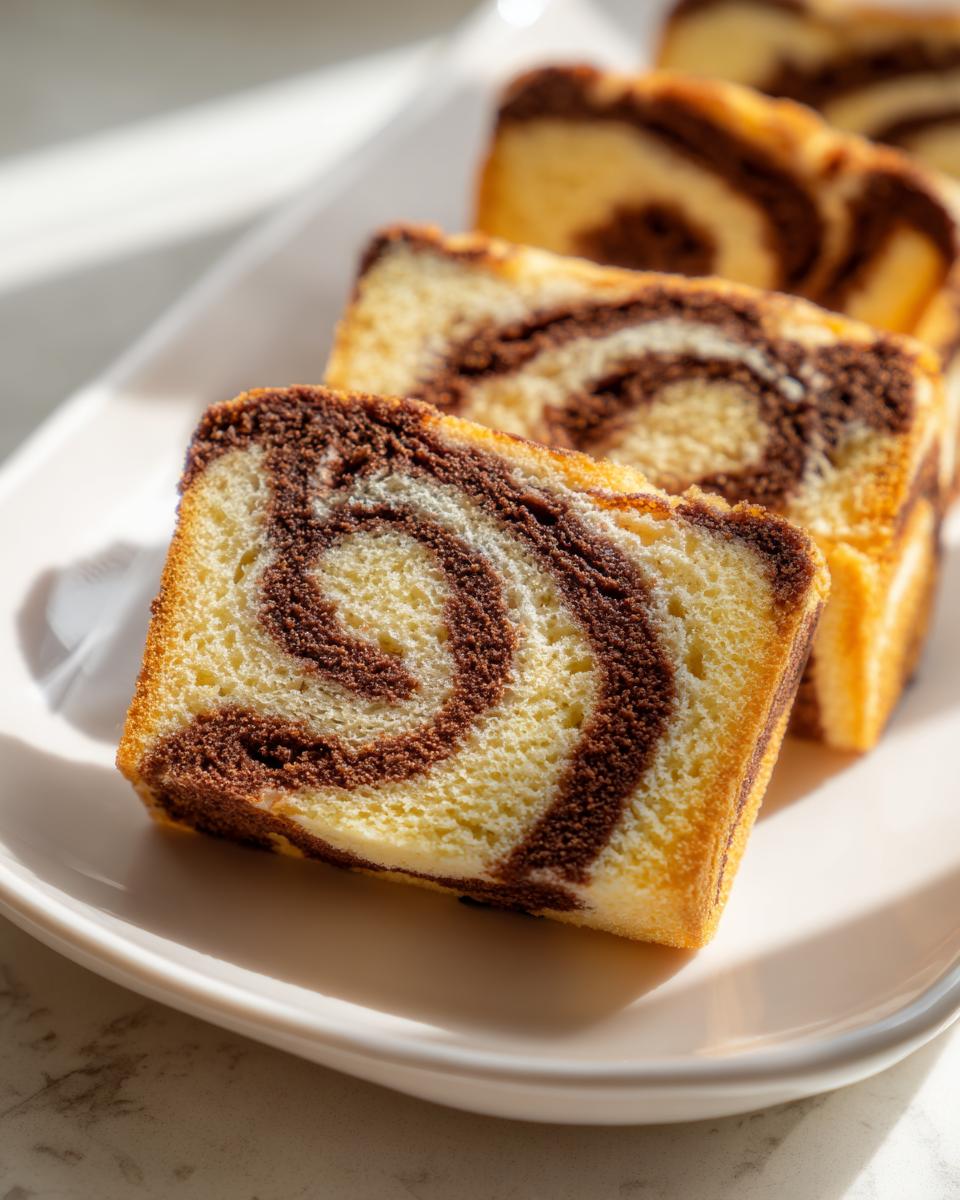
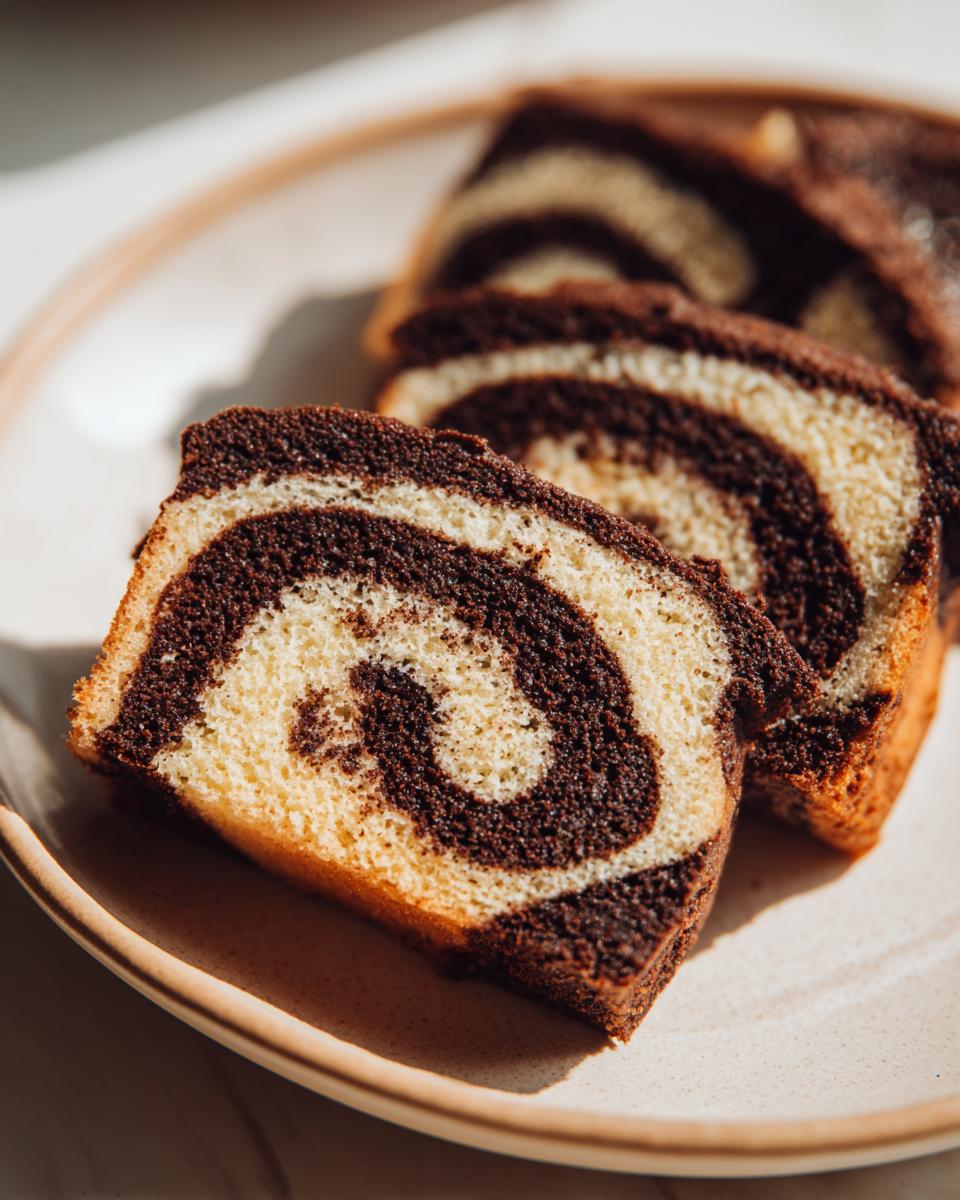
- That signature swirl makes them some of the most visually appealing desserts you can put on a tray!
- They are fantastic for preparing ahead of time, making them ideal for last-minute batch baking or gifting.
Ingredients Needed for Perfect Pinwheel Cookies
You really only need standard pantry staples for these chocolate vanilla swirls, but paying attention to the details here is how you guarantee success. The base recipe is for classic buttery sugar cookies, and we just divide that love in half to make the two colors. The most important thing you can do right now is make sure that butter is truly softened—not melted! If your butter is too cold, your creamed mixture won’t hold enough air, and that ruins the texture before we even get to the rolling part.
For the Vanilla and Chocolate Dough
- 1 cup (2 sticks) unsalted butter, softened
- 1 cup granulated sugar
- 2 large eggs
- 1 teaspoon vanilla extract
- 3 cups all-purpose flour (measure this carefully!)
- 1 teaspoon baking powder
- 1/2 teaspoon salt
- 2 tablespoons unsweetened cocoa powder
- 1 teaspoon extra vanilla extract (for chocolate dough)
- 1-2 teaspoons milk (if needed for consistency)
Step-by-Step Instructions for Making Beautiful Pinwheel Cookies
Okay, this is where the magic happens! We need to create two distinct doughs and then marry them perfectly to get those gorgeous pinwheel cookies. I’ve tested this rolling and chilling process dozens of times, and I promise, if you follow these steps exactly, you’ll get that clean swirl pattern that makes these such fantastic cookie recipes. Don’t rush the chilling; that chill is the secret weapon for clean slices!
Preparing the Dough Base
First up, we build our buttery base. You need to cream that softened butter and sugar together until it’s genuinely light and fluffy—we’re building air pockets here! Once that looks good, beat in your eggs one at a time, followed by that first teaspoon of vanilla. In a separate bowl, whisk your dry stuff: flour, baking powder, and salt. Now, add the dry ingredients slowly to the wet mix. Stop mixing as soon as it comes together. Why divide it now? Because we need one half to stay vanilla and the other to get that rich, dark chocolate flavor. Use a kitchen scale if you have one, but eyeballing it pretty evenly is fine!
Creating the Swirl: Rolling the Pinwheel Cookies
Here is where we get serious about the Swirl Cookies Recipe look. Take your vanilla dough and roll it out on a lightly floured surface into a smooth rectangle, aiming for about 10×12 inches. Then do the exact same thing with your chocolate dough—same size sheets, please! Lay that chocolate sheet right on top of the vanilla one and gently press them together so they stick. Now, the important part: Starting at one of the long sides, roll the two sheets up as tightly as you possibly can into a log. I mean really snug! If it’s loose, the swirl will blur. Once rolled, wrap that beautiful log tight in plastic wrap and it has to chill. At least two full hours in the fridge, or until it feels rock hard enough to slice without squishing.
Baking and Cooling Your Pinwheel Cookies
After chilling, preheat your oven to 375°F (190°C) and get those baking sheets ready with parchment paper—trust me, it keeps cleanup a breeze. Now, for the slicing: Use a very sharp, thin knife. Wipe the blade clean after every two cuts if you can! Slice the log into even rounds, about 1/4 inch thick. You need space between them, so leave about two inches because these buttery beauties will spread just a tiny bit. Bake them for 8 to 10 minutes max. You want the edges golden but the centers still looking a little soft when you pull them out. Let them set up on the pan for five minutes before you move them to a rack to cool completely.
Tips for Achieving Perfect Pinwheel Cookies Every Time
Look, these Easy Rolled Cookies are amazing, but they can be temperamental if you skip a step. Since we aren’t using a ton of flour, they can puff up or spread if the temperature isn’t right. I’ve learned a few things over the years that make sure those swirls stay crisp and tight!
- The chill is non-negotiable! The dough log absolutely must be firm enough to slice cleanly. If you try to cut it when it’s even slightly soft, it’ll smoosh, and goodbye perfect swirl.
- Use a very sharp, thin knife for slicing. A serrated bread knife will sort of tear the layers apart. A clean slice makes for a cleaner pattern.
- If you notice the dough starting to warm up while you’re slicing, just pop the log back into the freezer for ten minutes. A cold dough spreads less in the oven.
- Don’t be tempted to overbake them! When they look done, they are usually perfect. Overdone equals crunchy, not tender. If you need more chewy options, check out my chewy oatmeal raisin cookies!
Variations for Your Pinwheel Cookies Recipe
While the classic chocolate vanilla swirls are simply divine, one of the best things about a slice and bake cookies recipe like this is how easy it is to pivot for any occasion! Let’s talk about how you can adapt this for festive looks or different flavors.
If you’re baking for the holidays and want eye-catching Festive Cookie Ideas, forget the cocoa powder! Remember those notes about splitting the dough after step four? After you divide the base dough, skip the cocoa. Color one half a vibrant Christmas red using gel food coloring—a tip: gel works way better than liquid so your dough doesn’t get too wet. Color the second half bright green. Then, combine those layers just as you would with the chocolate. Those red and green Christmas Swirl Cookies look absolutely incredible on a platter.
For a different flavor profile, you can easily turn this into a Snickerdoodle-inspired treat! Instead of making a dark chocolate dough, leave both halves vanilla, but add extra vanilla extract or a teaspoon of almond extract to one half for contrast in both color and taste. Or, for true Snickerdoodle magic, completely skip adding food coloring or cocoa to the second batch, and instead, roll the finished dough log in cinnamon sugar *before* wrapping it in plastic. When you slice those up, you get that wonderful sugary edge. However you choose to switch it up, these are always top sellers for my Cookie Exchange Favorites because they look fancy but require zero drop-and-bake fuss!
Storage and Make-Ahead Tips for Pinwheel Cookies
I always bake my cookies ahead of time when the holidays get busy, and these pinwheel cookies are absolutely perfect for planning ahead! That’s the beauty of the slice-and-bake method—the dough is actually *better* when it waits a little bit.
If you’ve baked your cookies and they are completely cool, you can store them in an airtight container at room temperature for about five days. They should stay fresh and buttery the whole time, but honestly, they never last that long in my house! They are such a staple for filling up those gorgeous Holiday Cookie Trays.
Now, let’s talk about freezing that dough log. This is my favorite part for big baking pushes. Once you have finished rolling the dough log (that’s after step nine), wrap it super tightly in a double layer of plastic wrap. Make sure it’s sealed well so it doesn’t dry out or absorb any strange freezer smells. It will keep perfectly fine in the freezer for up to three months!
When you finally decide you need a fresh batch of these beautiful swirl cookies recipe treats, just pull that log out of the freezer and let it sit on the counter for about 15 to 20 minutes. You don’t want it soft, just soft enough that your sharp knife can slide through it cleanly without squishing the swirl pattern. Then, slice them about 1/4 inch thick like normal, and bake them right from cold! You might need to add one or two minutes to the baking time since the dough is coming straight from the fridge or freezer, but the results are worth the planning.
Frequently Asked Questions About Pinwheel Cookies
I totally get it; baking cookies that look this good can bring up a few questions, especially around the chilling and rolling, which are the most crucial bits for getting those gorgeous patterns! Here are the things I get asked most often about making these slice and bake cookies.
Why are my pinwheel cookies spreading too much?
This is almost always a temperature issue, honey! If your cookies look flat and wide instead of holding their nice round shape, it means your dough log wasn’t cold enough when you sliced it. Remember, the **butter** acts as the structure here. If the butter melts too fast while baking, the cookie spreads out. Make sure you chill that log for the full two hours, and if your kitchen is warm, don’t hesitate to pop the slices back in the freezer for ten minutes right before they go into the oven. If you need more ideas on handling tricky doughs, check out my tips for rich layered recipes—it’s all about temperature control!
Can I use different colors instead of chocolate for these swirl cookies?
Oh, absolutely! That’s what I talked about in the variations section. You can use any gel food coloring you like to make festive Christmas swirl cookies. If you’re going for red and green, a little dab of gel coloring goes a long way because you don’t want to add too much liquid to your dough. Too much liquid makes the dough sticky, and then you end up with a gooey mess instead of a beautiful, defined swirl. Use food coloring sparingly!
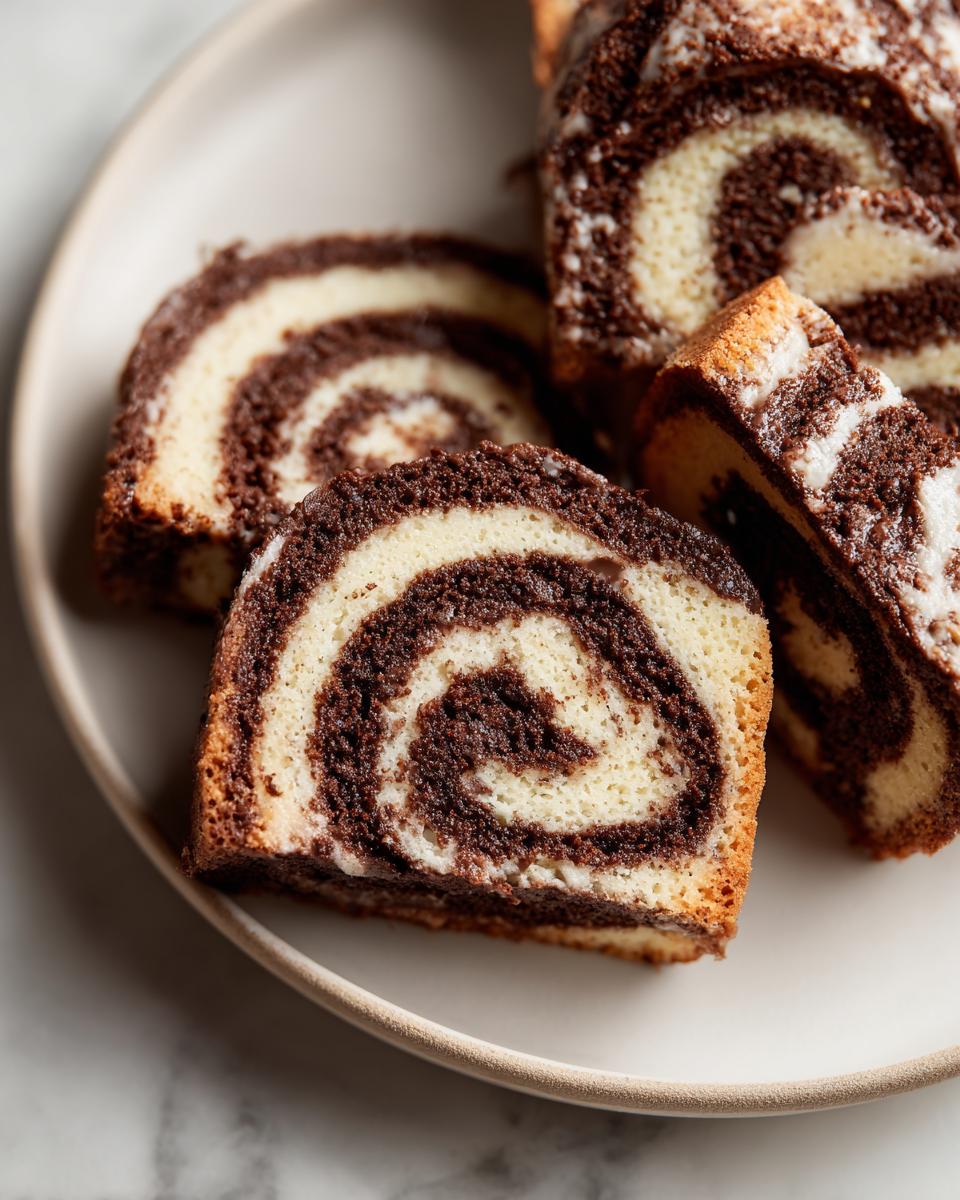
How do I get the tightest swirl pattern in my pinwheel cookies?
This is all about elbow grease during the rolling phase! When you place that chocolate layer on top of the vanilla layer, you need to start rolling from one of the long sides, and you need to mean it! Roll steadily and firmly, but avoid squishing the entire log as you go. Right before you seal the final seam (where the two edges meet), pinch that seam closed tightly. You want the layers to stick together perfectly before chilling. A tight initial roll translates directly into tight, beautiful spirals once they are baked. That’s the trick for getting the best-looking pinwheel cookies!
Estimated Nutritional Information for Pinwheel Cookies
Okay, let’s talk numbers for a minute. After all that butter and sugar goodness, you probably know these aren’t exactly diet food, but they are *worth* it! When I break down the ingredients we used—four cups of flour, two sticks of butter, 1 cup of sugar—I can give you a pretty good idea of what one of these buttery delights contains. Remember, I’m not a certified nutritionist, so these numbers are based strictly on standard ingredient calculations for one cookie, sliced at the 1/4 inch thickness we talked about.
When you’re filling up those Holiday Cookie Trays, it’s good to have a general idea of what you are serving. If you are trying to keep things lighter for your friends who might be tracking things like a keto meal plan, you know these aren’t the right fit, but for a holiday splurge? Absolutely perfect!
- Serving Size: 1 cookie
- Calories: 135
- Fat: 7g
- Saturated Fat: 4g
- Carbohydrates: 16g
- Sugar: 9g
- Protein: 2g
- Cholesterol: 30mg
- Sodium: 65mg
Just keep that disclaimer in mind: these are estimates! If you add sprinkles, use salted butter, or roll them extra thin, those numbers might shift slightly. But for a beautiful, homemade pinwheel cookie, I think that’s a pretty good trade-off for the sheer joy they bring!
Share Your Beautiful Pinwheel Cookies Creations
Alright, now it’s your turn to be the star baker! I’ve shared all my secrets for getting those crisp edges and perfect chocolate vanilla swirls in these pinwheel cookies. I truly hope you get a chance to bake a batch—they never fail to impress everyone at cookie exchanges or family gatherings.
Once you’ve baked yours, I would absolutely love to see how your patterns turned out! Did you stick with the classic chocolate and vanilla, or did you go wild with festive red and green? Head down to the comments section below and leave me a star rating. Seriously, that little rating helps me know which recipes you all love most so I can keep developing recipes just like this!
Also, tell me what you’re using these beautiful slice and bake cookies for! Are they destined for a big Holiday Cookie Tray, wrapped up as gifts, or are they already vanishing by the dozen on your own counter? Don’t be shy—sharing your baking success makes my day. If you have any last-minute questions after baking, feel free to reach out via the contact page, but I have a feeling you won’t need it because these turned out perfectly!
PrintClassic Chocolate and Vanilla Pinwheel Cookies (Slice-and-Bake)
Make beautiful, buttery slice-and-bake pinwheel cookies featuring contrasting chocolate and vanilla doughs for a stunning swirl pattern. These are easy to prepare and perfect for holiday trays or gifting.
- Prep Time: 30 min
- Cook Time: 10 min
- Total Time: 2 hours 40 min
- Yield: 30 cookies 1x
- Category: Dessert
- Method: Baking
- Cuisine: American
- Diet: Vegetarian
Ingredients
- 1 cup (2 sticks) unsalted butter, softened
- 1 cup granulated sugar
- 2 large eggs
- 1 teaspoon vanilla extract
- 3 cups all-purpose flour
- 1 teaspoon baking powder
- 1/2 teaspoon salt
- 2 tablespoons unsweetened cocoa powder
- 1 teaspoon extra vanilla extract (for chocolate dough)
- 1–2 teaspoons milk (if needed for consistency)
Instructions
- In a large bowl, cream together the softened butter and sugar until light and fluffy. Beat in the eggs one at a time, then mix in 1 teaspoon of vanilla extract.
- In a separate bowl, whisk together the flour, baking powder, and salt. Gradually add the dry ingredients to the wet ingredients, mixing until just combined to form a soft dough.
- Divide the dough evenly into two separate bowls.
- In the first bowl, mix in the cocoa powder and the extra 1 teaspoon of vanilla extract until the dough is uniformly chocolate colored. If the dough seems too dry, add 1 teaspoon of milk.
- In the second bowl (the vanilla dough), ensure it is smooth. If it seems too stiff, add 1 teaspoon of milk.
- On a lightly floured surface, roll out the vanilla dough into a rectangle approximately 10×12 inches.
- Roll out the chocolate dough into a rectangle of the same size.
- Place the chocolate dough rectangle directly on top of the vanilla dough rectangle. Gently press the edges together.
- Starting from one of the long edges, roll the dough tightly into a log. You want a firm roll to get tight swirls.
- Wrap the dough log tightly in plastic wrap and chill in the refrigerator for at least 2 hours, or until firm enough to slice cleanly.
- Preheat your oven to 375°F (190°C). Line baking sheets with parchment paper.
- Remove the dough log from the refrigerator. Using a sharp knife, slice the log into rounds about 1/4 inch thick.
- Place the slices onto the prepared baking sheets, leaving about 2 inches between each cookie.
- Bake for 8 to 10 minutes, or until the edges are lightly set but the centers are still soft. Do not overbake.
- Let the cookies cool on the baking sheet for 5 minutes before transferring them to a wire rack to cool completely.
Notes
- For festive red and green swirls instead of chocolate, divide the dough in half after step 4. Color one half red and the other half green using gel food coloring. Roll the colors together as directed.
- For the cleanest slices, use a very sharp, thin knife and wipe the blade clean between cuts.
- If you are planning your weekly food prep, these cookies freeze well as logs before slicing.
- These cookies pair well with a simple keto meal plan for balance.
Nutrition
- Serving Size: 1 cookie
- Calories: 135
- Sugar: 9
- Sodium: 65
- Fat: 7
- Saturated Fat: 4
- Unsaturated Fat: 3
- Trans Fat: 0
- Carbohydrates: 16
- Fiber: 0
- Protein: 2
- Cholesterol: 30