
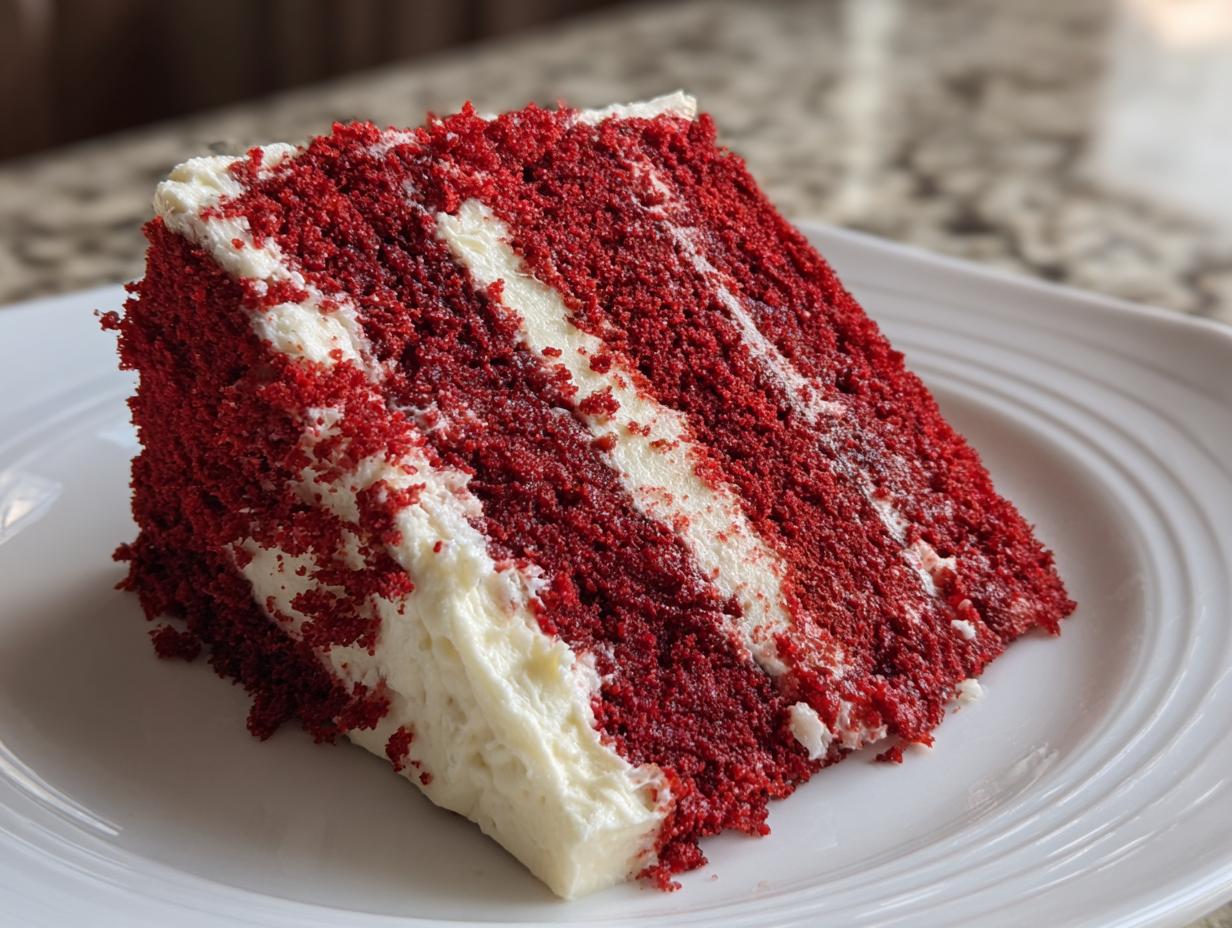
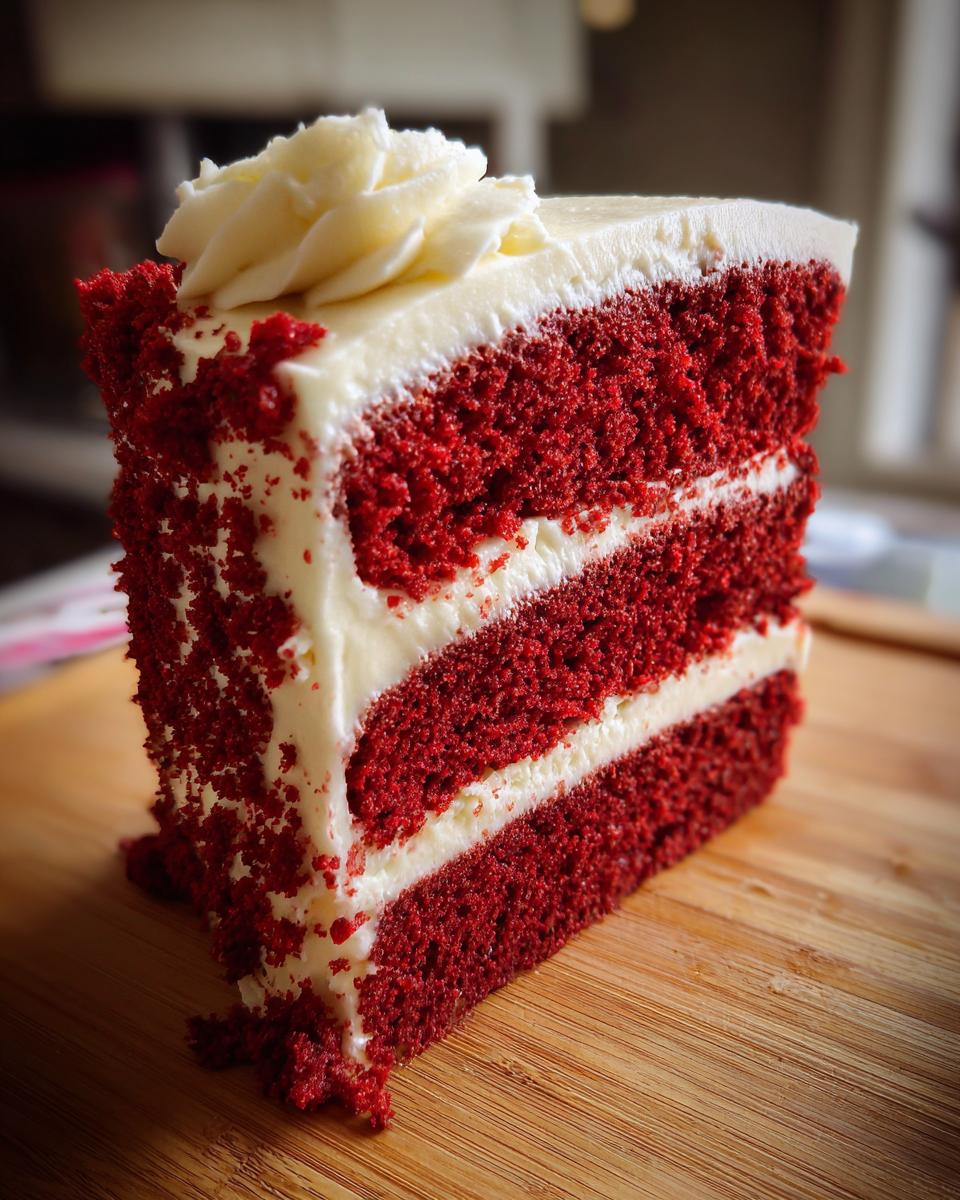
Oh, that stunning, deep red color and that unbelievably smooth texture… you just can’t beat a classic red velvet cake! It’s the kind of cake that just screams special occasion, isn’t it? Thinking about this gorgeous dessert always takes me back to my grandmother’s kitchen, the whole place smelling like pure comfort. She’d bake this for holidays, birthdays– honestly, any excuse felt like a good enough reason! Here at Bliss Batter, we’re all about making those baking dreams come true with recipes that are not only delicious but totally doable. This red velvet cake is one of those treasures we’ve tested over and over again, just so you can have that perfect bite!
- Why You'll Love This Classic Red Velvet Cake Recipe
- Gather Your Ingredients for the Perfect Red Velvet Cake
- How to Make Red Velvet Cake: Step-by-Step Guide
- Tips for the Best Southern Velvet Cake
- Understanding the Ingredients in Your Red Velvet Cake
- Frequently Asked Questions About Red Velvet Cake
- Nutritional Information for Red Velvet Cake
- Share Your Red Velvet Cake Creations!
Why You’ll Love This Classic Red Velvet Cake Recipe
Seriously, why is this cake such a crowd-pleaser? Well, let me tell you!
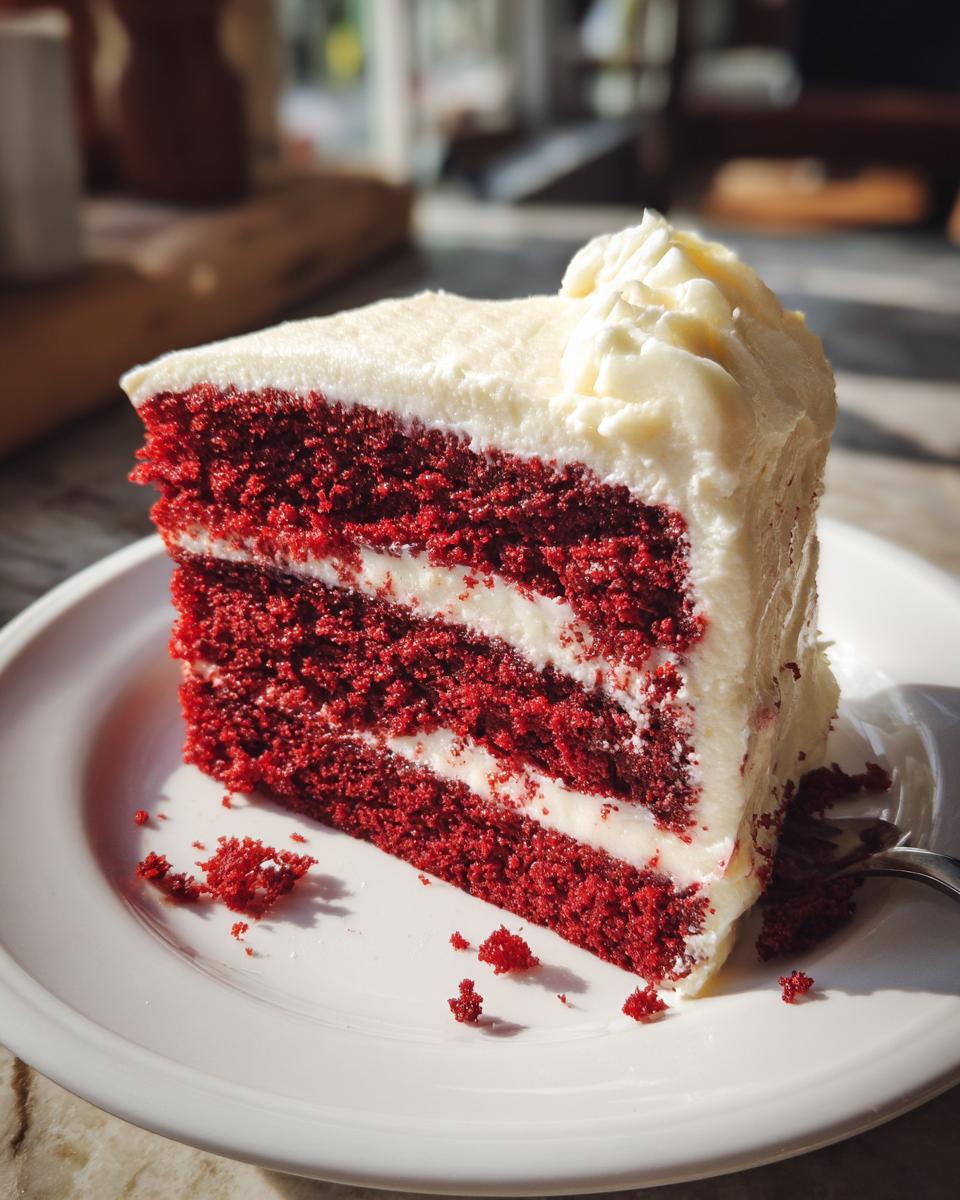
- That Velvety Crumb: This recipe is *all* about that ridiculously tender, smooth texture. It’s like a little hug in every bite!
- Tangy Cream Cheese Frosting: The perfect complement to the cake’s subtle cocoa and sweetness. It’s creamy, dreamy, and just the right amount of tangy.
- Perfect for Any Celebration: Whether it’s Christmas, a birthday, or just because you want something fancy, this cake looks stunning and tastes even better.
- Effortlessly Delicious: We’ve tested this recipe like crazy here at Bliss Batter so you can trust it’ll turn out beautifully, even if you’re not a pro baker.
Gather Your Ingredients for the Perfect Red Velvet Cake
Okay, let’s get down to business! To make sure your red velvet cake is absolutely perfect, you’ll want to have all your goodies ready. Trust me, having everything prepped makes the whole process a breeze. It’s like setting the stage for a baking masterpiece!
For the Red Velvet Cake:
- 2 1/2 cups all-purpose flour
- 1 1/2 cups granulated sugar
- 1 teaspoon baking soda
- 1 teaspoon unsweetened cocoa powder (just a little bit for that classic hint!)
- 1/2 teaspoon salt
- 1 cup buttermilk (this is key for tang and tenderness!)
- 1/2 cup vegetable oil
- 2 large eggs
- 2 tablespoons red food coloring (or your favorite natural alternative, but this gives the best punch!)
- 1 teaspoon white vinegar
- 1 teaspoon vanilla extract
For the Cream Cheese Frosting:
- 8 ounces cream cheese, make sure it’s softened – this is super important for a smooth frosting!
- 1/2 cup unsalted butter, also softened
- 4 cups powdered sugar (sifted is best if you have time, but don’t stress)
- 1 teaspoon vanilla extract
- 2-4 tablespoons milk (you’ll only need a little to get the right consistency)
How to Make Red Velvet Cake: Step-by-Step Guide
Alright, let’s get this beautiful red velvet cake into the oven! It’s honestly not as tricky as it looks, and following these steps will get you that perfect, velvety result every single time. Trust me, the reward is totally worth it! If you’re thinking about a festive drink to go with your bake, you might love our apple cider cocktail!
Preparing the Cake Batter
First things first, get your oven preheating to 350°F (175°C). While it’s warming up, go ahead and grease and flour your two 9-inch round cake pans. This is super important so your gorgeous cake layers don’t stick! Now, in a big bowl, give your dry ingredients – the flour, sugar, baking soda, that little bit of cocoa, and salt – a good whisk. In a separate bowl, mix up your wet ingredients: the buttermilk, oil, eggs, that vibrant red food coloring, vinegar, and vanilla. Pour the wet stuff into the dry and mix it all up until it’s *just* combined. Seriously, don’t go crazy with the mixing here; we want a tender crumb, not a tough one!
Baking Your Red Velvet Cake Layers
Pour that glorious batter evenly into your prepared pans. Pop them into your preheated oven and let them bake for about 30 to 35 minutes. You’ll know they’re ready when a wooden skewer poked into the center comes out clean. Let those lovely red velvet cake layers cool in the pans for about 10 minutes – this helps them hold their shape. Then, carefully flip them onto a wire rack to cool completely. Patience is key here; frosting a warm cake is just asking for a messy disaster!
Crafting the Cream Cheese Frosting
While your cakes are cooling down, we’ll whip up that dreamy cream cheese frosting. Make sure your cream cheese and butter are nice and soft – room temperature is your best friend here for a super smooth and luscious frosting. Beat them together in a big bowl until they’re perfectly creamy. Then, gradually add in the powdered sugar, beating until it’s all well combined and looks fabulous. Stir in the vanilla. Now, add your milk, just a tablespoon at a time, until the frosting reaches that perfect, spreadable consistency you’re dreaming of.
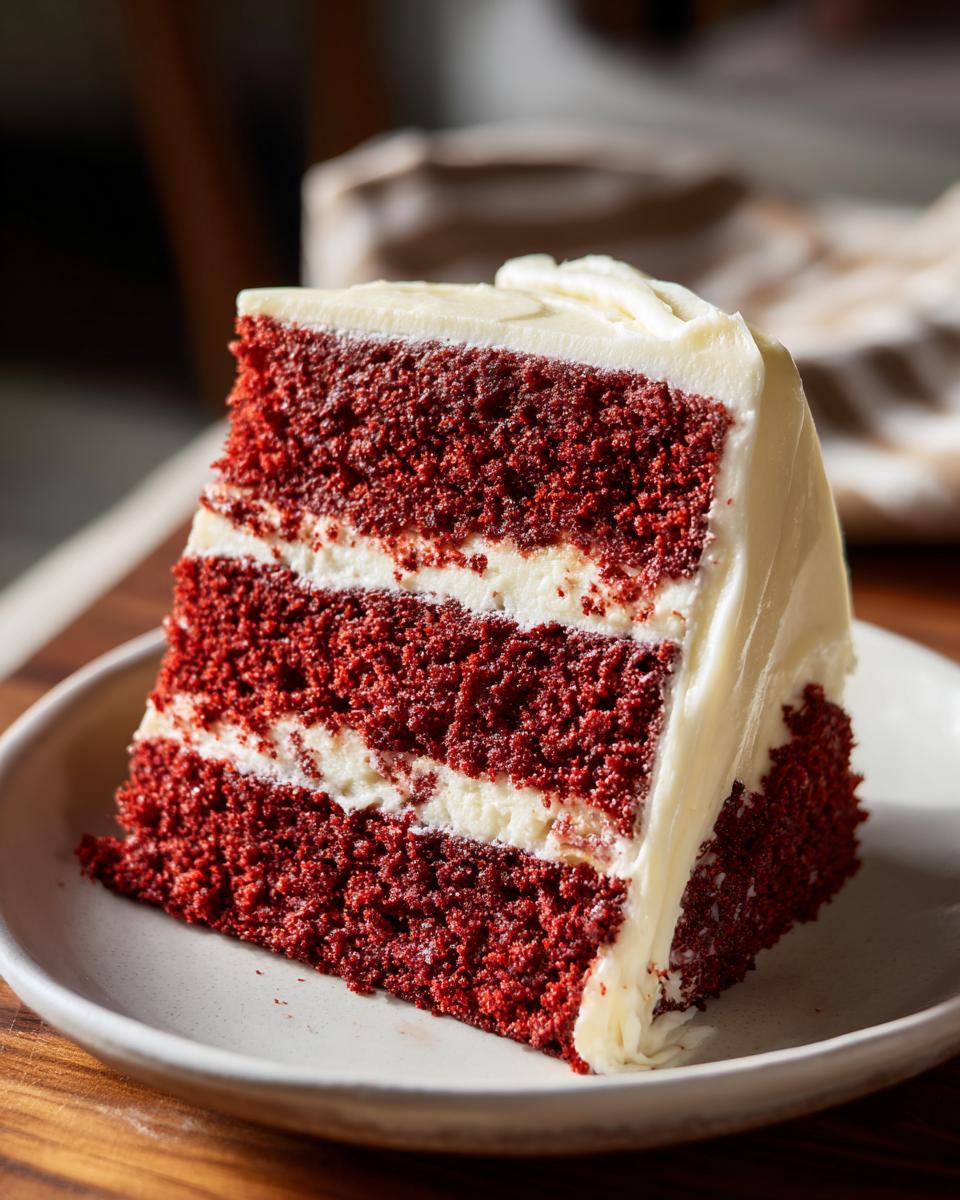
Assembling and Frosting Your Red Velvet Masterpiece
Once your cake layers are totally cool (I can’t stress that enough!), it’s time for the fun part! Place one cake layer on your serving plate or cake stand. Spread a generous layer of that heavenly cream cheese frosting over the top. Carefully place the second cake layer on top, and then go ahead and frost the entire cake – top and sides! For easier frosting, you can pop the cake in the fridge for about 30 minutes beforehand; it makes everything so much neater.
Tips for the Best Southern Velvet Cake
Creating that iconic red velvet cake is all about a few little secrets! Over the years, I’ve picked up a few tricks that just make everything… well, *better*. It’s not just luck; it’s about understanding what makes this cake so special.
First off, for that gorgeous, vibrant red color, don’t shy away from the food coloring! While natural options are lovely, a good quality red food coloring is your best bet for that true, classic hue. And speaking of texture, make sure you’re not overmixing your batter once you add the wet to the dry. A couple of gentle stirs until just combined is all you need. That’s how you keep it tender and, you guessed it, velvety!
For moisture, the buttermilk and oil are your superheroes, but a quick tip: make sure your eggs are at room temperature! They incorporate so much better that way. If you’re feeling fancy or want to level up, you can also try a bit of red velvet cupcake extract for an extra flavor boost. And if you’re ever craving more Southern goodness, you absolutely have to try my buttermilk biscuits recipe – they’re a game-changer!
Understanding the Ingredients in Your Red Velvet Cake
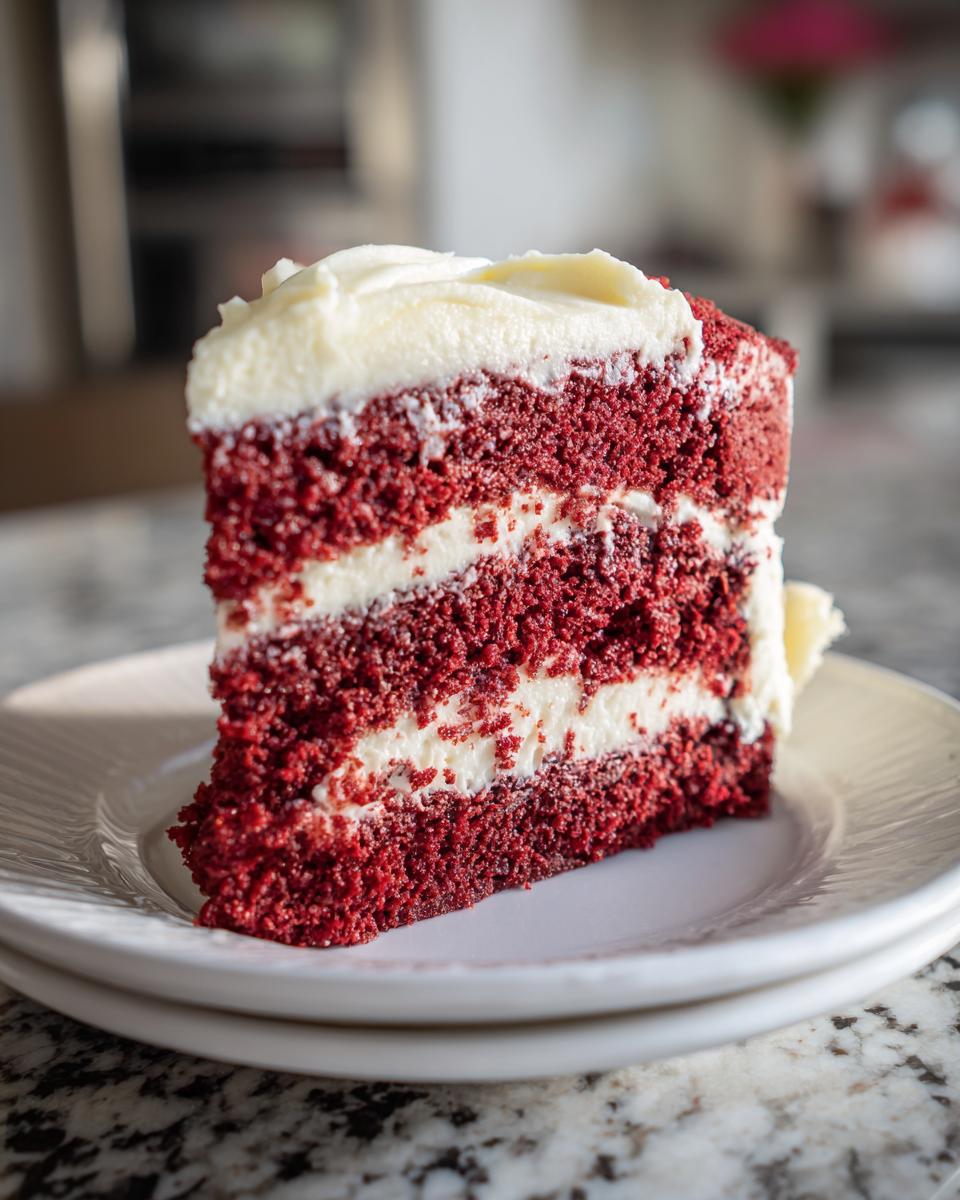
You know, every ingredient in this red velvet cake plays a super important role in making it so special. It’s not just random stuff thrown together! That tangy buttermilk and a splash of vinegar? They’re the secret sauce that helps tenderize the flour and react with the baking soda, giving us that unbelievably smooth, velvety texture. And the cocoa powder? It’s not about making it taste like chocolate cake, but just a whisper of richness that rounds everything out. Then there’s the red food coloring – that’s what gives us that iconic, show-stopping color that everyone loves!
Frequently Asked Questions About Red Velvet Cake
Got questions about making the perfect red velvet cake? I totally get it! It’s one of those cakes that we all love, and sometimes a little bit of extra info goes a long way. Here are a few things folks often ask me.
Why is my red velvet cake not red enough?
Oh, the red color mystique! This usually happens if you didn’t use enough food coloring, or if your baking soda and vinegar reaction wasn’t quite right. The acidity is what helps bring out that vibrant red from the cocoa powder and the coloring. Sometimes, using a super-high quality red food coloring really makes a difference for that classic look! If you’re aiming for a true showstopper, stick with the recommended amount of liquid food coloring. For more baking tips, check out my apple pancakes – they’re great for breakfast!
Can I use natural food coloring instead of the red kind?
You absolutely can experiment with natural colorings like beet powder or juice! Just be aware that you might need quite a bit more, and it can sometimes subtly affect the flavor or texture if you add too much liquid. The vibrant, consistent red you see in most classic recipes usually comes from artificial food coloring. If you’re okay with a slightly tamer shade or a hint of beet flavor, go for it! It’s all about what you prefer.
How do I prevent my red velvet cake from drying out?
This is a biggie! The key to a moist, tender red velvet cake is really about not overbaking it and using the right ingredients. That buttermilk and oil in the recipe are your best friends for moisture! Make sure you’re baking it until just done – a skewer should come out with moist crumbs, not wet batter. Also, letting it cool completely before frosting helps seal in all that lovely moisture.
What’s the best way to store red velvet cake?
Since this cake has that creamy cream cheese frosting, it’s best to store it in the refrigerator. Pop it into an airtight container or cover it well with plastic wrap. It’ll stay delicious for about 3-4 days. When you’re ready to serve, just let it sit out at room temperature for about 20-30 minutes so the frosting and cake aren’t super cold and hard. Easy peasy!
Nutritional Information for Red Velvet Cake
Just a heads-up, this nutritional info is based on our estimates for one serving of this classic red velvet cake. Keep in mind that the exact numbers can change a bit depending on the specific ingredients and brands you use. Happy baking!
Serving Size: 1 slice
Calories: 450
Fat: 22g
Saturated Fat: 12g
Unsaturated Fat: 10g
Trans Fat: 0g
Cholesterol: 70mg
Sodium: 300mg
Carbohydrates: 65g
Fiber: 2g
Sugar: 55g
Protein: 4g
Share Your Red Velvet Cake Creations!
Now that you’ve baked this magnificent red velvet cake, I’d just LOVE to hear all about it! Did it turn out just right? Did your friends and family love it? Please, hop down below and leave a comment, tell me your baking stories, or even rate this recipe! And if you snapped some gorgeous photos, tag us on social media – seeing your creations makes my baking heart sing! For any specific questions, feel free to reach out via my contact page. Happy baking, everyone!
PrintClassic Red Velvet Cake with Cream Cheese Frosting
A Southern classic, this red velvet cake features a tender, velvety crumb with a hint of cocoa and a tangy cream cheese frosting. Perfect for holidays or any special occasion.
- Prep Time: 20 min
- Cook Time: 35 min
- Total Time: 55 min
- Yield: 12 servings 1x
- Category: Dessert
- Method: Baking
- Cuisine: American
- Diet: Vegetarian
Ingredients
- 2 1/2 cups all-purpose flour
- 1 1/2 cups granulated sugar
- 1 teaspoon baking soda
- 1 teaspoon cocoa powder
- 1/2 teaspoon salt
- 1 cup buttermilk
- 1/2 cup vegetable oil
- 2 large eggs
- 2 tablespoons red food coloring
- 1 teaspoon white vinegar
- 1 teaspoon vanilla extract
- For the Cream Cheese Frosting:
- 8 ounces cream cheese, softened
- 1/2 cup unsalted butter, softened
- 4 cups powdered sugar
- 1 teaspoon vanilla extract
- 2–4 tablespoons milk
Instructions
- Preheat your oven to 350°F (175°C). Grease and flour two 9-inch round cake pans.
- In a large bowl, whisk together the flour, sugar, baking soda, cocoa powder, and salt.
- In a separate bowl, whisk together the buttermilk, oil, eggs, red food coloring, vinegar, and vanilla extract.
- Add the wet ingredients to the dry ingredients and mix until just combined. Do not overmix.
- Pour the batter evenly into the prepared cake pans.
- Bake for 30-35 minutes, or until a wooden skewer inserted into the center comes out clean.
- Let the cakes cool in the pans for 10 minutes before inverting them onto a wire rack to cool completely.
- While the cakes cool, prepare the frosting. In a large bowl, beat the cream cheese and butter until smooth.
- Gradually add the powdered sugar, beating until well combined. Stir in the vanilla extract.
- Add milk, one tablespoon at a time, until the frosting reaches your desired consistency.
- Once the cakes are completely cool, frost the top of one cake layer, then place the second layer on top. Frost the top and sides of the entire cake.
Notes
- For a brighter red color, you can use more food coloring, but be mindful of the flavor.
- Ensure your cream cheese and butter are at room temperature for a smooth frosting.
- Chill the cake for about 30 minutes before frosting for easier handling.
Nutrition
- Serving Size: 1 slice
- Calories: 450
- Sugar: 55g
- Sodium: 300mg
- Fat: 22g
- Saturated Fat: 12g
- Unsaturated Fat: 10g
- Trans Fat: 0g
- Carbohydrates: 65g
- Fiber: 2g
- Protein: 4g
- Cholesterol: 70mg