
Oh, the tragedy of sinking icing! If you’ve spent hours lovingly decorating a batch of sugar cookies only to watch your beautiful outlines melt into a sad, sweet puddle, trust me, I’ve been there. That’s why when I started Bliss Batter, getting a truly foolproof royal icing recipe was priority number one. My background in planning huge corporate events taught me one thing: meticulous preparation yields predictable perfection. This recipe cuts through all the fuss. We’re ditching tricky raw egg whites for stable meringue powder, which means you get that safe, incredibly smooth, chip-resistant finish every single time. When Claire Sterling promises you a cookie icing that dries hard as a rock, you can bet your pastry bag it will deliver!
- Why This is the Best Royal Icing Recipe for Cookie Decorating Success
- Essential Ingredients for Your Royal Icing Recipe
- Step-by-Step Instructions for the Perfect Royal Icing Recipe
- Tips for Success with Your Royal Icing Recipe
- Serving Suggestions for Decorating Cookies with Royal Icing
- Frequently Asked Questions About This Royal Icing Recipe
- Understanding Nutritional Estimates for Your Homemade Cookie Glaze Recipe
- Finding Joy Beyond Icing: Streamlining Your Kitchen Workflow
- Share Your Perfect Royal Icing Recipe Creations
Why This is the Best Royal Icing Recipe for Cookie Decorating Success
I’m telling you right now, you’ve found the absolute Best Royal Icing Recipe on the internet for your sugar cookies. You want that pro look without the stress, and this recipe uses meringue powder so you don’t have to worry about salmonella—that’s why people look for a royal icing recipe without raw eggs! That’s a huge win for any beginner. Because we whip this properly, it’s designed to dry rock-solid, which is essential if you plan on stacking or shipping your gorgeous creations. That’s the answer to How to Make Royal Icing That Dries Hard. Trust me, once you use this simple, foolproof process, you won’t look back.
Achieving That Professional, Glossy Finish with Our Royal Icing Recipe
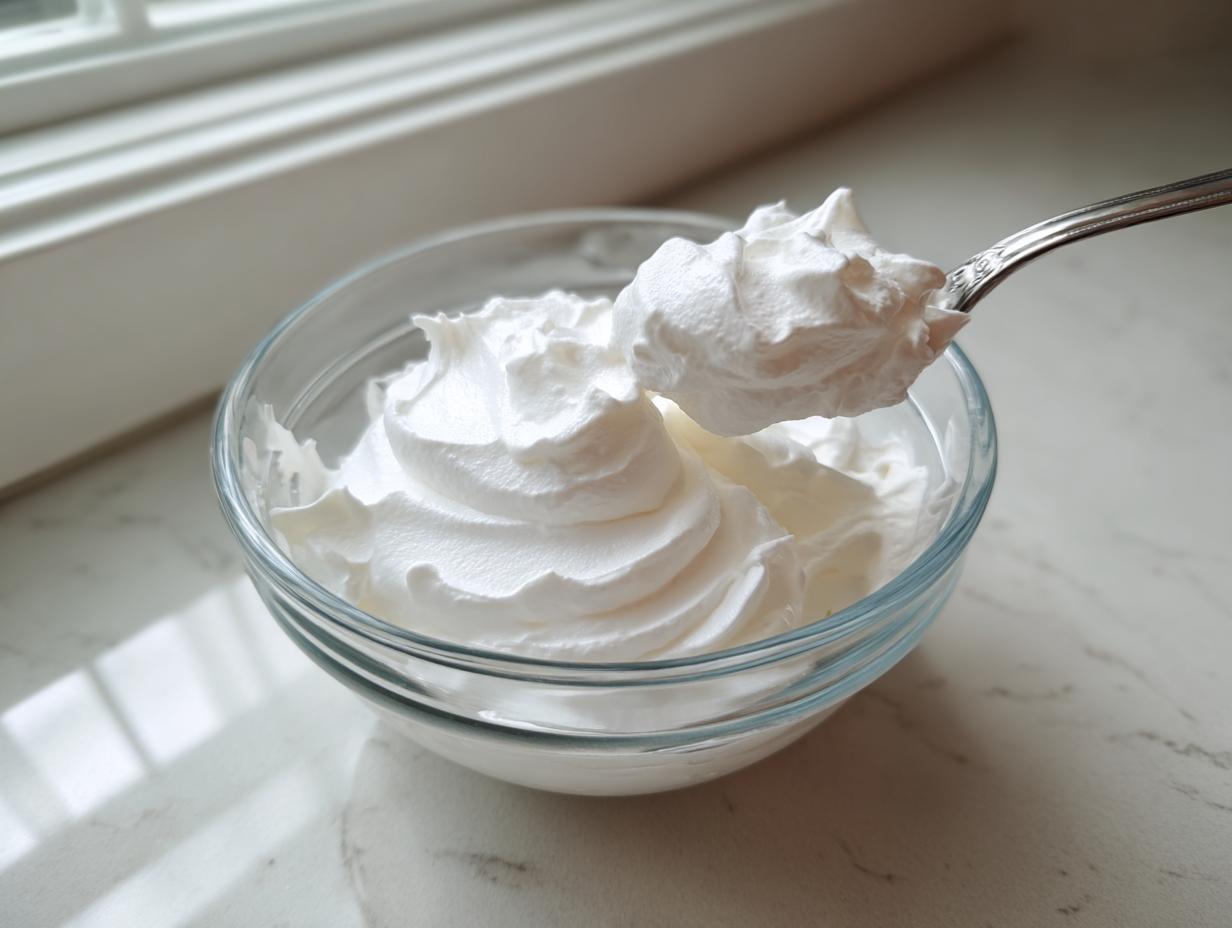
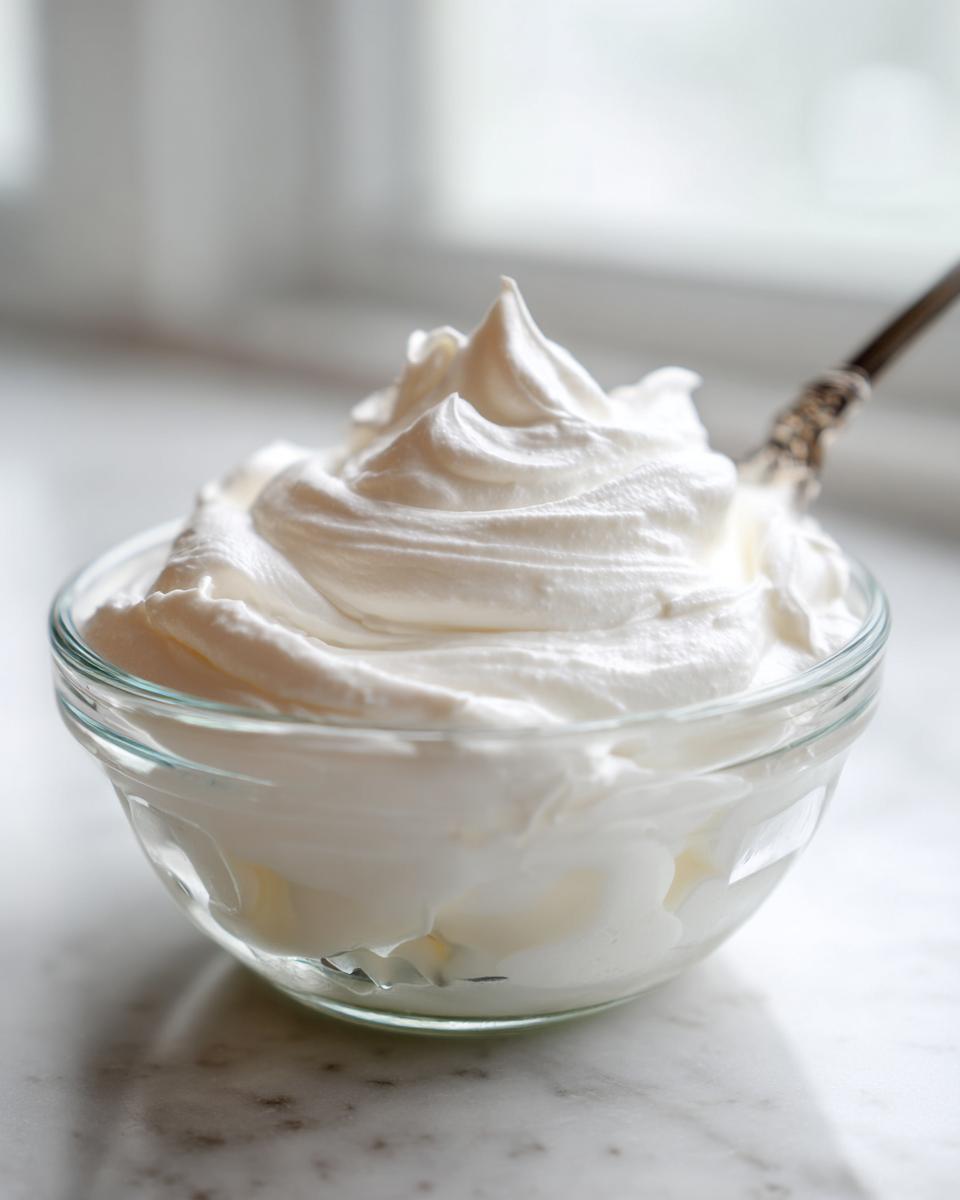
Want icing that shines like glass? It all comes down to the whipping! When that meringue powder and sugar combine under high speed, they create tiny air pockets that give the icing that beautiful, reflective gloss. It’s almost magical how smooth and perfect this smooth cookie icing recipe becomes. You’ll get that high-end look without needing any fancy tricks.
Essential Ingredients for Your Royal Icing Recipe
Okay, let’s talk about what you need to keep in your pantry to always have this royal icing recipe ready to go! The ingredients list is short, which is part of why I love it so much. You’ll need meringue powder, powdered sugar, warm water, and vanilla. That’s the core team! The absolute most important first step, before you even turn on the mixer, is to sift those four cups of powdered sugar. Do not skip this, or you end up with lumps, and no one wants bumpy cookies!
Ingredient Notes and Substitutions for Smooth Cookie Icing Recipe
The star here is the meringue powder. It’s your secret weapon; it makes this icing stable and guarantees that glossy icing recipe finish without handling raw egg whites. I also toss in a quarter teaspoon of cream of tartar—it’s optional, but it acts like a little insurance policy against the sugar trying to crystallize on you later. If, and I mean *if*, you absolutely cannot find meringue powder, you’d typically switch to fresh egg whites, but honestly, the water ratio changes completely. For this specific recipe, stick to the powder; it’s fail-safe for the best results!
Step-by-Step Instructions for the Perfect Royal Icing Recipe
This is where the magic happens, and honestly, it’s so fast! I really recommend using a stand mixer if you have one. Trying to mix this thick icing by hand? You’ll tire out before you hit the required texture! We need time and speed to build that structure that allows our icing to dry hard, which is why whipping time is a non-negotiable step here.
Whipping: The Secret to Fast Hardening Royal Icing
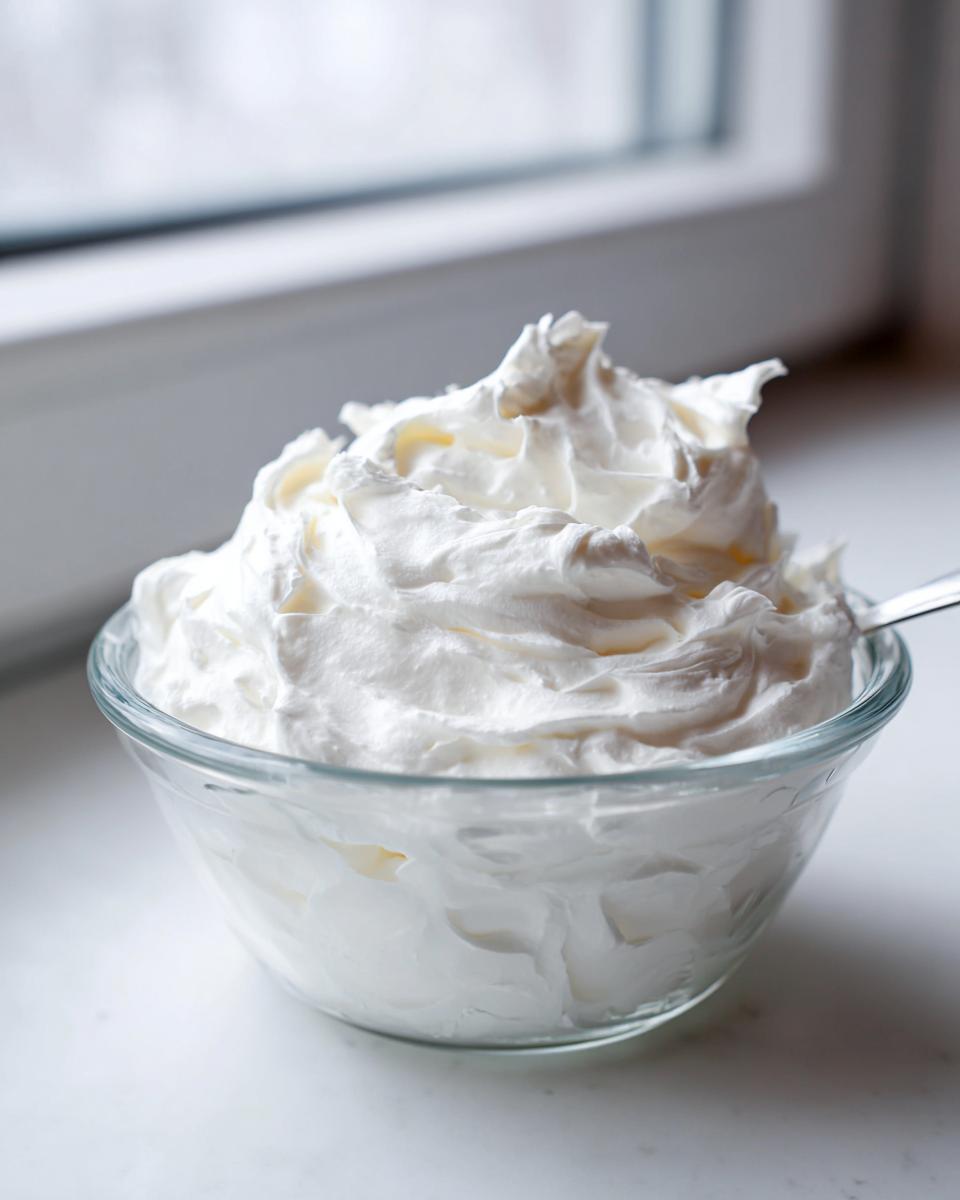
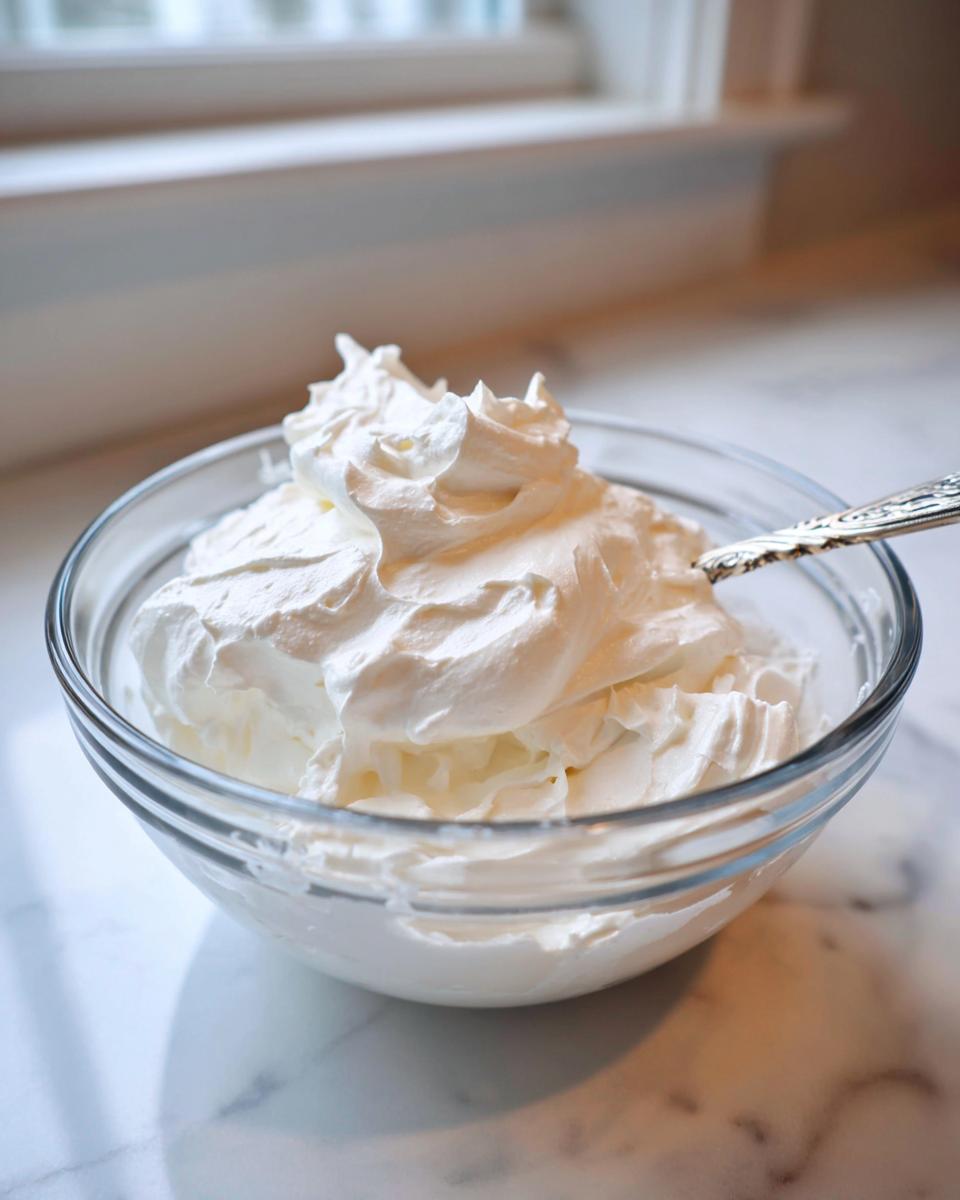
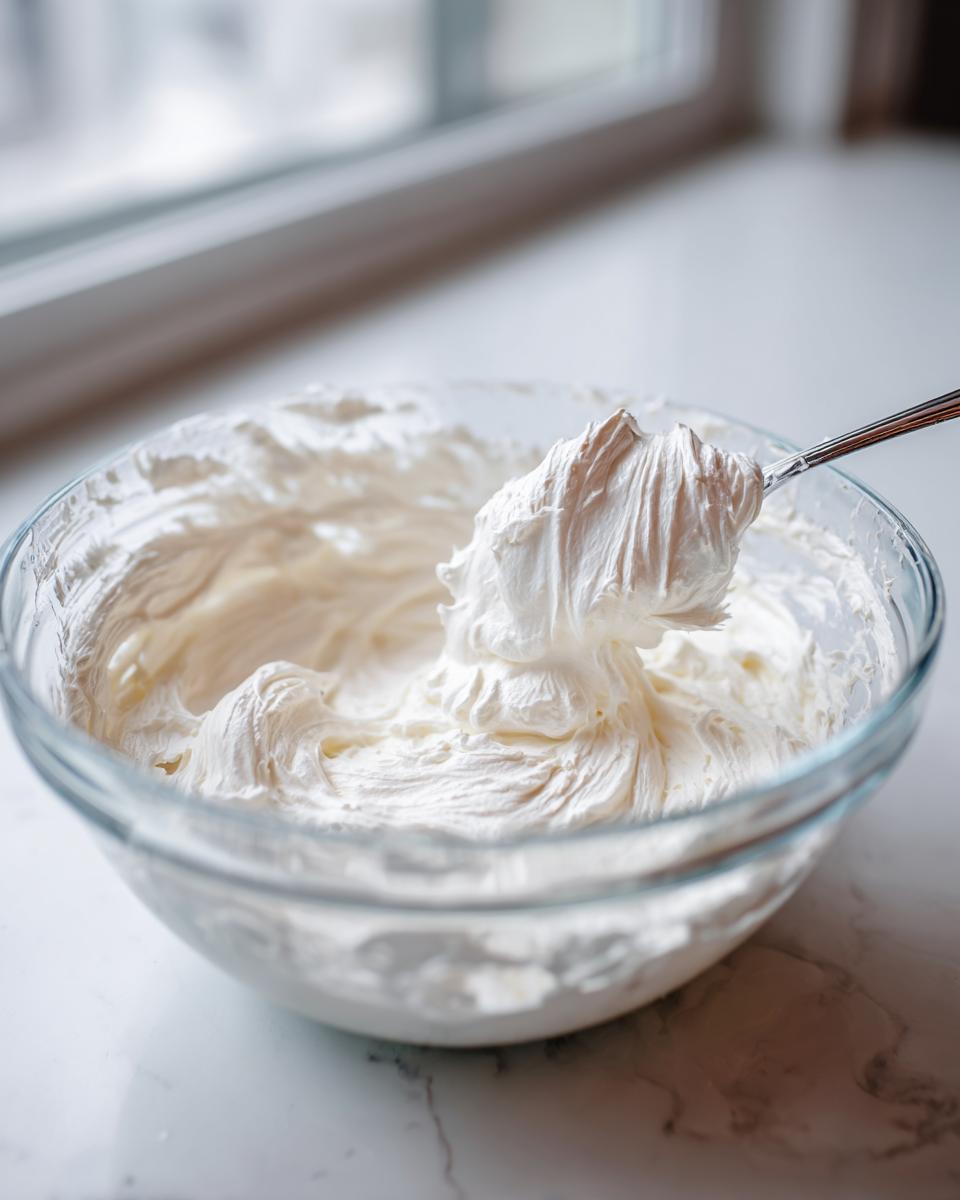
First things first, get your meringue powder and warm water into the bowl and give it a quick whisk until it gets a little frothy. Then, dump in all that sifted sugar and that optional cream of tartar. Start low until everything is just combined. Now ramp up the speed! You need to beat this mixture on medium-high for a full five to seven minutes. Seriously, set a timer! This long whipping time isn’t for show; it literally builds the body that guarantees a fast hardening royal icing. When you stop, the icing should pull away from the sides and hold stiff, glossy peaks like a little mountain.
Adjusting Your Royal Icing Consistency Guide
Once you have your stiff base, you need to thin it down for decorating, and this part requires a little more focus than the whipping. If you’re piping outlines—the details that hold everything together—you want piping consistency. Just add water a teaspoon at a time until the icing flows slowly off your spoon. For filling in those areas, we use the flood consistency, which is my favorite part! This is where the famous 10-second rule comes in.
To check the 10-second window: take a spoonful of thinned icing and drizzle a line across the surface of the icing in the bowl. If that line smooths back into the rest of the icing completely within about ten seconds, you’ve nailed it. If it disappears faster, add a tiny bit more sugar; if it takes longer than ten seconds, add a drop or two of water. That’s your Piping Consistency Icing guide right there—easy peasy!
Tips for Success with Your Royal Icing Recipe
Okay, you’ve got the gorgeous, stiff icing from the mixer, but now you need to keep it happy while you work! Coloring is fun, but the real pro move is storage. If you aren’t going to use all of your royal icing recipe batch immediately, you have to seal it right. I mean it—take a piece of plastic wrap and physically press it down right onto the surface of the icing in the bowl.
If you just cover the bowl, you’ll wake up to a hard skin forming, and nobody wants to scrape hardened icing off the top before they can pipe details!
This icing is great because it stays perfectly usable at room temperature for a good few hours as long as it’s covered tightly. If you want to put it away for a day or two, store it in the fridge. When you pull it out later, the consistency might look weird and stiff—don’t worry! Just let it come to room temperature, add a teaspoon of warm water, and slowly mix it back up until you hit that perfect flow again.
Proper Storage for Your No Fail Royal Icing
Remember what I said about pressing that plastic wrap right onto the surface? That prevents air from getting to it. Air is the enemy of lovely, smooth cookie icing! If your icing starts resisting you while you’re working—maybe you need to pipe some fine lines and it’s just too stiff—never panic and just dump in a bunch of water. That will ruin your consistency in seconds.
Instead, keep a tiny bowl of water nearby and add it literally drop by drop, mixing gently after each addition until that 10-second rule is satisfied again. If you accidentally add too much water, don’t toss it! Just whisk in a tablespoon of sifted powdered sugar until it firms back up. It’s all about micro-adjustments, my friends! For more storage wisdom, check out these royal icing tips and tricks.
Serving Suggestions for Decorating Cookies with Royal Icing
Because this royal icing recipe whips up so stable and dries completely hard, it’s fantastic for cookies you need to stack up in tins or mail out to friends. Seriously, you won’t have to worry about designs smudging! This icing is the perfect partner for classic sugar cookies, but it truly shines on crisp gingerbread cutouts around the holidays. When your icing is dry and glossy, you can even carefully pipe little details on top of fully dried layers. It makes even the simplest cutout look like professional art, giving you cookie creations you’re proud to share. If you love spiced cookies, you should definitely try pairing this icing with my chai spice cookies!
Frequently Asked Questions About This Royal Icing Recipe
When you’re decorating cookies, questions always pop up, right? I’ve gathered the ones I hear most often about getting this royal icing recipe just right. Don’t you worry if you’re still figuring out the quirks—that’s normal when you’re learning a new skill!
Can I color this royal icing recipe ahead of time?
Absolutely! Coloring ahead is the way to go for bigger batches. The key is using good quality gel food coloring, not those liquid drops you use for cake batter—those will thin out your perfect consistency way too fast! I always recommend getting your icing to that perfect piping consistency *before* you add the color. Once you divide it up and color your bowls, cover them up tight with plastic wrap pressed right against the surface, just like we do with the white batch. The colors will look a little darker when they are sealed up, but they’ll look just right once they start drying on the cookie!
How long does this meringue powder royal icing recipe take to dry completely?
This is where that initial high-speed whipping really pays off! Because we whipped it for that full five to seven minutes, this icing starts hardening pretty quickly. For outlines that you’ve done in a thin line, you might only need about two to four hours for them to feel firm to the touch. But for that flood consistency that fills in the whole cookie? Give it a full six to twelve hours, depending on how humid your kitchen is that day. If you need fast hardening royal icing for presentation right away, you can sometimes speed it up slightly by using a small fan pointed nearby, but never put cookies in the oven to “dry” them—that just melts the butter in the cookie!
Understanding Nutritional Estimates for Your Homemade Cookie Glaze Recipe
Now, I know we are here to talk about deliciousness and decoration, not counting macros, but sometimes it’s just good to have the numbers available, right? Since this royal icing recipe is made from simple pantry staples, it’s relatively straightforward. Just remember, these are just estimates per serving size, which we figure here is about a quarter cup of the icing—that’s generous!
For those of you tracking, this particular batch, based on the sugar and powder, comes in around 180 calories per serving. You’ll see a good amount of sugar, which is expected since that’s what makes it glossy and hard. Protein is minimal, coming mostly from the meringue powder. As Claire always says over at Bliss Batter, baking is about joy, but knowing what’s in your treats is helpful too!
- Serving Size: 1/4 cup
- Calories: 180
- Carbohydrates: 45g
- Protein: 2g
Fat is delightfully zero, which actually makes this a wonderful, almost weightless topping compared to heavy buttercream. If you’ve ever focused on meal planning to keep your weeknights lighter, you know every little bit helps balance out those special baking days!
Finding Joy Beyond Icing: Streamlining Your Kitchen Workflow
Look, whipping up this royal icing recipe takes barely ten minutes, which is fantastic! But let’s be real, between trying to get the perfect flood consistency and actually decorating, things still eat up time, right? That’s why I’m big on making sure my everyday cooking isn’t taking up all my creative energy.
If you find yourself stressed about dinner every night, think about looking into some great meal planning services. When you’ve got your weeknight meals sorted out smoothly, you free up entire evenings to dedicate to detailed cookie decorating, like practicing those intricate piped borders!
Having fewer decisions to make during the week means you can really savor those slower, sweeter moments when you get to play with your icing and colors!
Share Your Perfect Royal Icing Recipe Creations
Now that you have mastered this straightforward, foolproof royal icing recipe, I absolutely want to see what you’ve made! The greatest joy in sharing recipes like this is seeing your gorgeous, glossy cookies come to life.
Did you manage to hit that perfect 10-second flood consistency on your first try? Or maybe you found that this royal icing that dries hard is just the thing for those holiday gift tins? Please, please leave a rating right here on the recipe card—a big five stars if it worked its magic for you! Knowing that this recipe is helping others achieve that professional, smooth cookie icing finish really keeps me going in the kitchen.
If you share your decorated cookies on social media, tag me so I can cheer you on! Seeing your beautiful work is the best reward. If you have any lingering questions or success stories about getting that perfect, hard-drying icing, drop a comment below. I check the notes and contact page frequently, so don’t hesitate to reach out through my contact page if you need anything at all. Happy decorating!
PrintThe Best Royal Icing Recipe Using Meringue Powder for Hardening

Follow this simple, no-fail royal icing recipe using meringue powder to create smooth, glossy icing that dries hard, perfect for detailed sugar cookie decorating.
- Prep Time: 10 min
- Cook Time: 0 min
- Total Time: 10 min
- Yield: Coats approximately 2 dozen cookies 1x
- Category: Baking
- Method: Mixing
- Cuisine: American
- Diet: Vegetarian
Ingredients
- 3 tablespoons meringue powder
- 4 cups powdered sugar, sifted
- 6 tablespoons warm water
- 1 teaspoon vanilla extract
- 1/4 teaspoon cream of tartar (optional, for stability)
Instructions
- In a large bowl, combine the meringue powder and warm water. Whisk by hand or use an electric mixer on low speed until the mixture is frothy, about 1 minute.
- Add the sifted powdered sugar and cream of tartar (if using) to the bowl. Mix on low speed until the sugar is incorporated into the liquid.
- Increase the mixer speed to medium-high. Beat for 5 to 7 minutes until the icing is very thick, glossy, and holds stiff peaks. This whipping time is key for a hard finish.
- Add the vanilla extract and mix briefly to combine.
- To achieve piping consistency (for outlining), add water one teaspoon at a time until the icing flows slowly off a spoon.
- To achieve flood consistency (for filling), add water one teaspoon at a time until the icing flows easily and leaves a trail that disappears in about 10 seconds when you drizzle it across the surface.
- Divide the icing into bowls for coloring or use white. Cover bowls tightly with plastic wrap, pressing the wrap directly onto the surface of the icing to prevent crusting.
- Use immediately for decorating cookies.
Notes
- For stiff consistency (piping details), use the icing as is after whipping.
- For 10-second flood consistency, aim for the water level that allows the trail to vanish in 10 seconds.
- If the icing becomes too thick while decorating, add water a few drops at a time. If it is too thin, add a tablespoon of sifted powdered sugar.
- This icing dries firm and hard, suitable for stacking cookies.
- If you are interested in structured meal planning while you bake, look into meal planning services.
Nutrition
- Serving Size: 1/4 cup
- Calories: 180
- Sugar: 45g
- Sodium: 15mg
- Fat: 0g
- Saturated Fat: 0g
- Unsaturated Fat: 0g
- Trans Fat: 0g
- Carbohydrates: 45g
- Fiber: 0g
- Protein: 2g
- Cholesterol: 0mg