
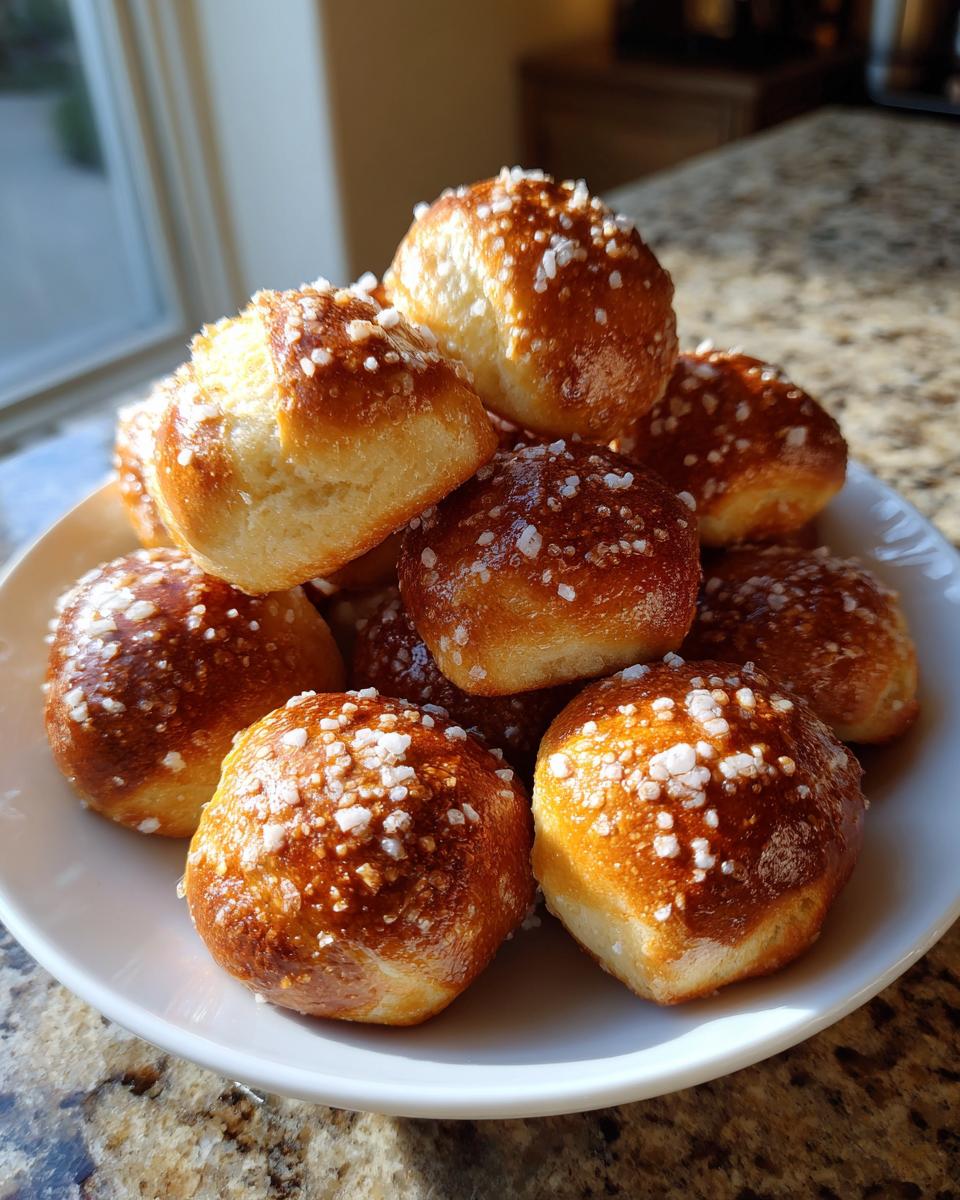
Oh, the smell of warm, doughy goodness! Nothing beats homemade soft pretzel bites, right? They’re like little hugs in snackable form! If you’ve ever thought making pretzels was too much work, I’m here to tell you that’s just not true. Just like my grandmother used to say, happiness starts with simple, homemade treats. This recipe is my absolute go-to when I need an easy party snack that’s guaranteed to disappear. We’ve tested this recipe again and again in my own kitchen, so you can trust that these bites will turn out perfectly golden and delightfully chewy every single time. Get ready to impress everyone!
- Why You'll Love These Soft Pretzel Bites
- Gather Your Ingredients for Soft Pretzel Bites
- Crafting Your Homemade Pretzel Dough
- Shaping and Preparing Your Soft Pretzel Bites
- Baking Your Perfect Soft Pretzel Bites
- Serving Your Soft Pretzel Bites
- Tips for Success with Soft Pretzel Bites
- Storage and Reheating Your Soft Pretzel Bites
- Frequently Asked Questions about Soft Pretzel Bites
- Nutritional Information for Soft Pretzel Bites
Why You’ll Love These Soft Pretzel Bites
Seriously, these little guys are the BEST! Here’s why you’ll be making them over and over again:
- Super Easy to Make: Even if you’re new to baking, this recipe is totally doable. No fancy skills needed!
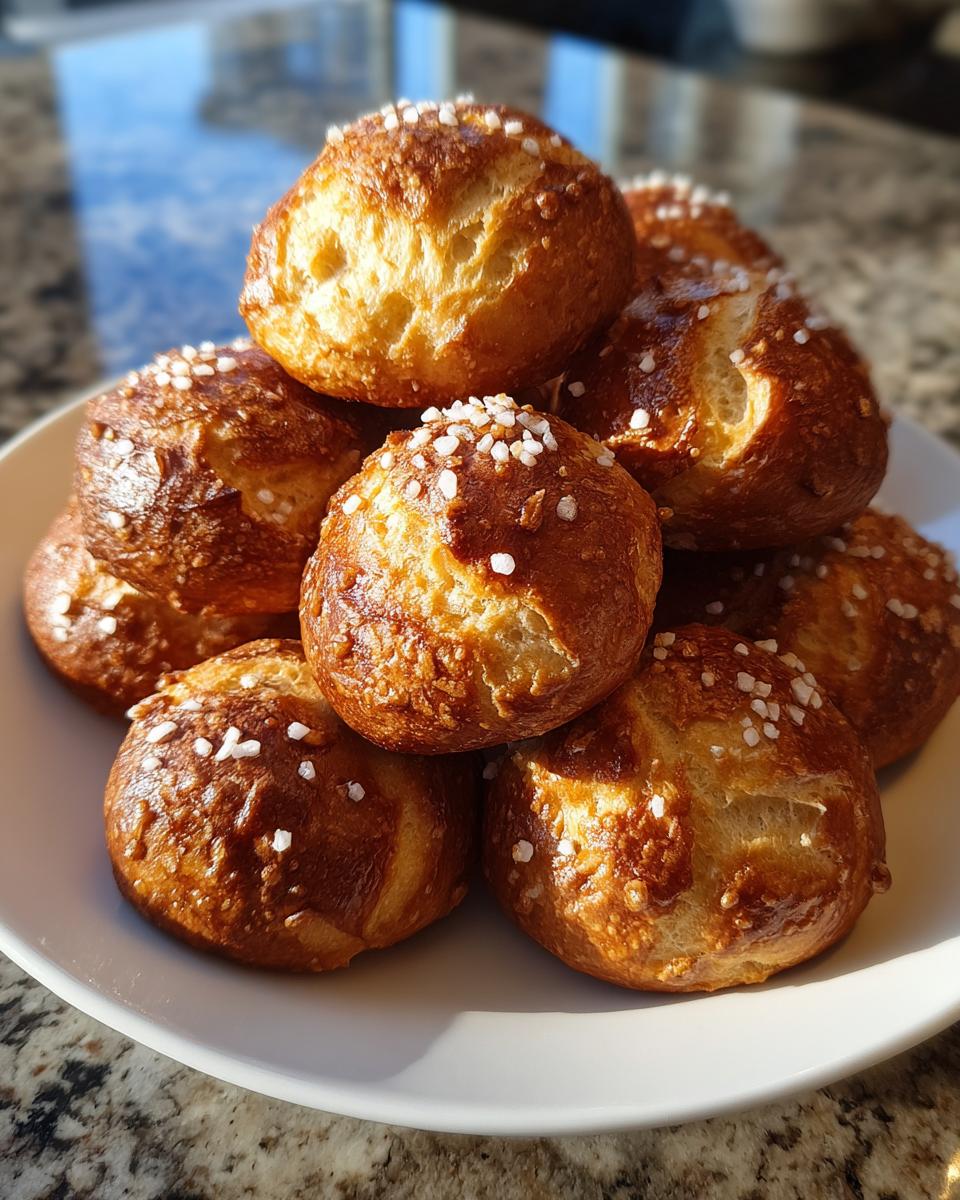
- Seriously Delicious: That classic pretzel flavor with a perfectly chewy texture? Yeah, they’ve got it.
- Party Perfect: They’re bite-sized, fun to eat, and go with pretty much any dip you can think of. Game nights, birthdays, holidays – you name it!
- Homemade Happiness: There’s just something super satisfying about pulling these golden beauties out of your own oven. Way better than store-bought!
Gather Your Ingredients for Soft Pretzel Bites
Alright, let’s get our little pretzel workshop ready! You don’t need anything too crazy for these bites, just the good stuff that makes baking dreams come true. First up, we need about a cup of warm water – make sure it’s not too hot or too cold, think cozy bathwater temperature, around 105-115°F. Sprinkle in about a teaspoon of sugar and then your yeast. Let that party wake up for about 5-10 minutes until it’s nice and foamy. Then, we’ll add in about 4 and a half cups of all-purpose flour and a teaspoon of salt. If you’re feeling fancy and want an even richer bite, stir in 2 tablespoons of melted butter with the dough – trust me, it’s a game-changer! For washing, have one large egg all beaten up, and don’t forget your coarse salt for that classic pretzel crunch!
Crafting Your Homemade Pretzel Dough
Okay, now for the fun part – making the dough! This is where the magic really starts. Remember that foamy yeast mixture we made? That’s our flavor starter! We’re going to pour that into a big bowl with our flour and salt. Just mix it up until a shaggy dough starts to form. Don’t worry if it looks a little messy right now, that’s totally normal. Now, turn that shaggy dough out onto a lightly floured counter. This is where you get to really get your hands in there! Knead it for about 5-7 minutes. I love this part; it feels so grounding, like I’m really connecting with the food I’m making. You want it to feel smooth and look elastic, kind of like that amazing homemade cinnamon roll dough – that springy, alive feeling. Once it’s smooth and lovely, pop it into a lightly oiled bowl. Cover it up with plastic wrap, and tuck it away in a nice, warm spot to do its thing for about an hour. You’re looking for it to double in size. This whole process is what transforms simple ingredients into something truly special, just like Claire always says about baking with love!
The Importance of Proofing Your Homemade Pretzel Dough
So, why do we have to let the dough sit there all quiet for an hour? That’s all thanks to our yeast friend! Yeast is alive, and it eats the sugar we gave it, releasing little bubbles of carbon dioxide. Those bubbles are what make our pretzels light and chewy instead of dense bricks. You’ll know it’s ready when it’s puffed up and doubled in size – it should look nice and airy. If your kitchen’s a bit chilly, just pop it in a slightly warm (but not hot!) oven that’s turned off, or even near a sunny window. It’s worth the wait, trust me!
Shaping and Preparing Your Soft Pretzel Bites
Alright, now that our dough has had its beauty sleep and doubled in size, it’s time to turn it into those adorable bite-sized pretzels! First things first, give that puffy dough a gentle punch down. It’s so satisfying! Then, divide it into four equal portions. Don’t stress about being super precise here; we’re going for rustic charm! Take each piece and roll it out on your lightly floured surface into a rope, about half an inch thick and roughly 10 inches long. Think of it like a little bread snake! Now, grab a knife and cut each rope into about 1-inch pieces. This is where you get to decide how big you want your yummy warm bread snack bites to be. Try to keep them roughly the same size so they bake evenly – no one likes a half-raw, half-burnt pretzel bite, right?

Next up is the secret step that gives pretzels their signature flavor and color: the baking soda bath! It sounds intense, but it’s super simple. Get about 4 cups of hot water in a shallow dish and dissolve about 1/4 cup of baking soda in it. You want to get a bit murky. Carefully dip each little pretzel piece into the baking soda solution. Just a quick dip, about 20-30 seconds is perfect. Too long and they can get a bit gummy. Then, place them on your prepared baking sheet, giving them a little breathing room. This step really makes them special!
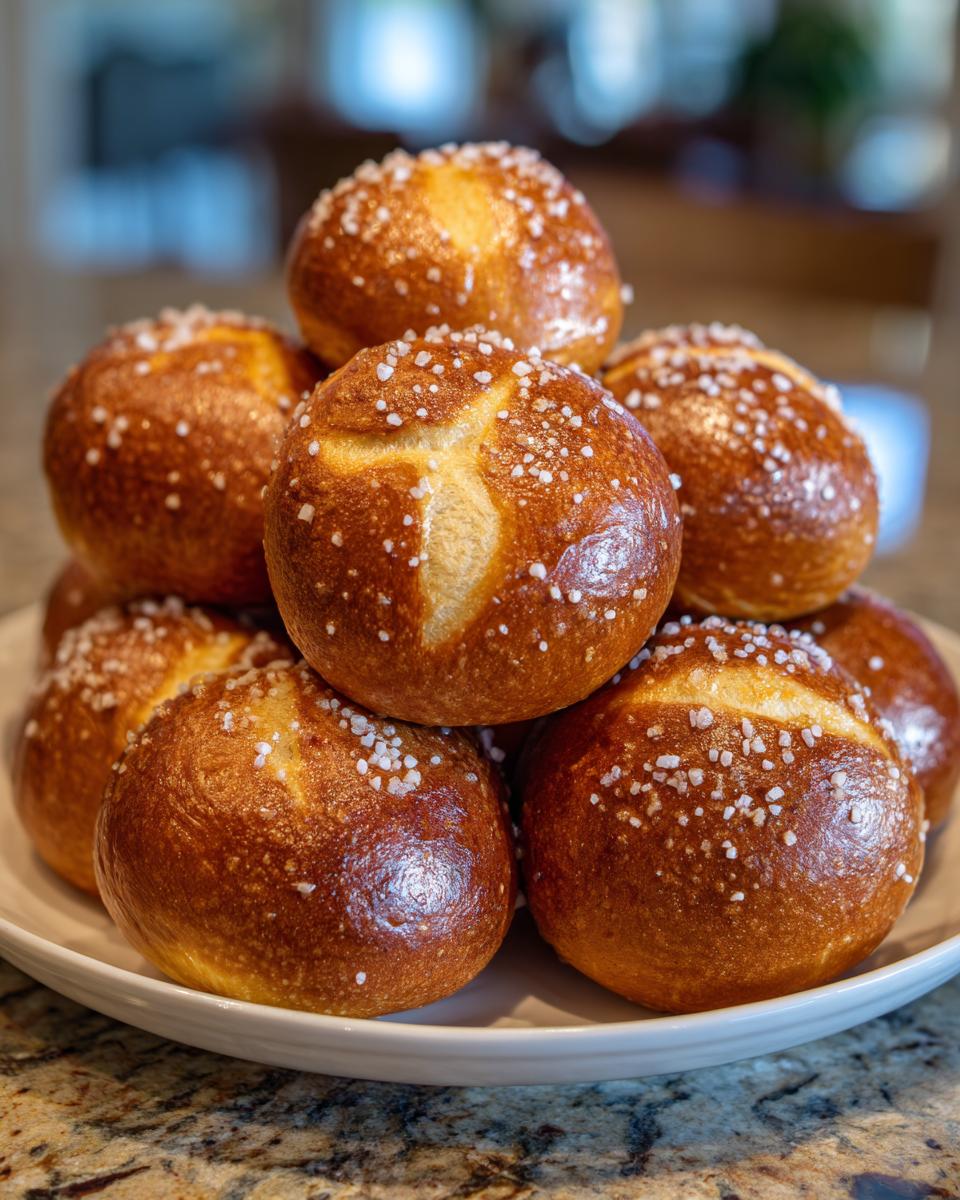
Baking Your Perfect Soft Pretzel Bites
Okay, we’re almost there! This is where the magic really happens and those pale little dough pieces turn into golden-brown perfection. First, go ahead and preheat your oven to a nice, hot 425°F (that’s 220°C). Make sure your baking sheet is lined with parchment paper – it makes cleanup a breeze and prevents any sticky situations. Now, take that beaten egg and gently brush it all over the tops of your pretzel bites. Don’t be shy! This egg wash is what gives them that gorgeous, glossy finish and helps the coarse salt stick. Sprinkle them generously with coarse salt – this is totally optional, but oh-so-worth-it for that classic pretzel flavor! Pop them into the hot oven for about 10-12 minutes. You’re looking for them to be a beautiful golden brown all over. They should smell amazing and feel slightly firm to the touch. This is the final tested step that makes them absolutely perfect, just like pulling something wonderful from Claire Sterling’s own oven! If you love that crispy-chewy texture, you might also enjoy our air fryer chicken wings recipe!
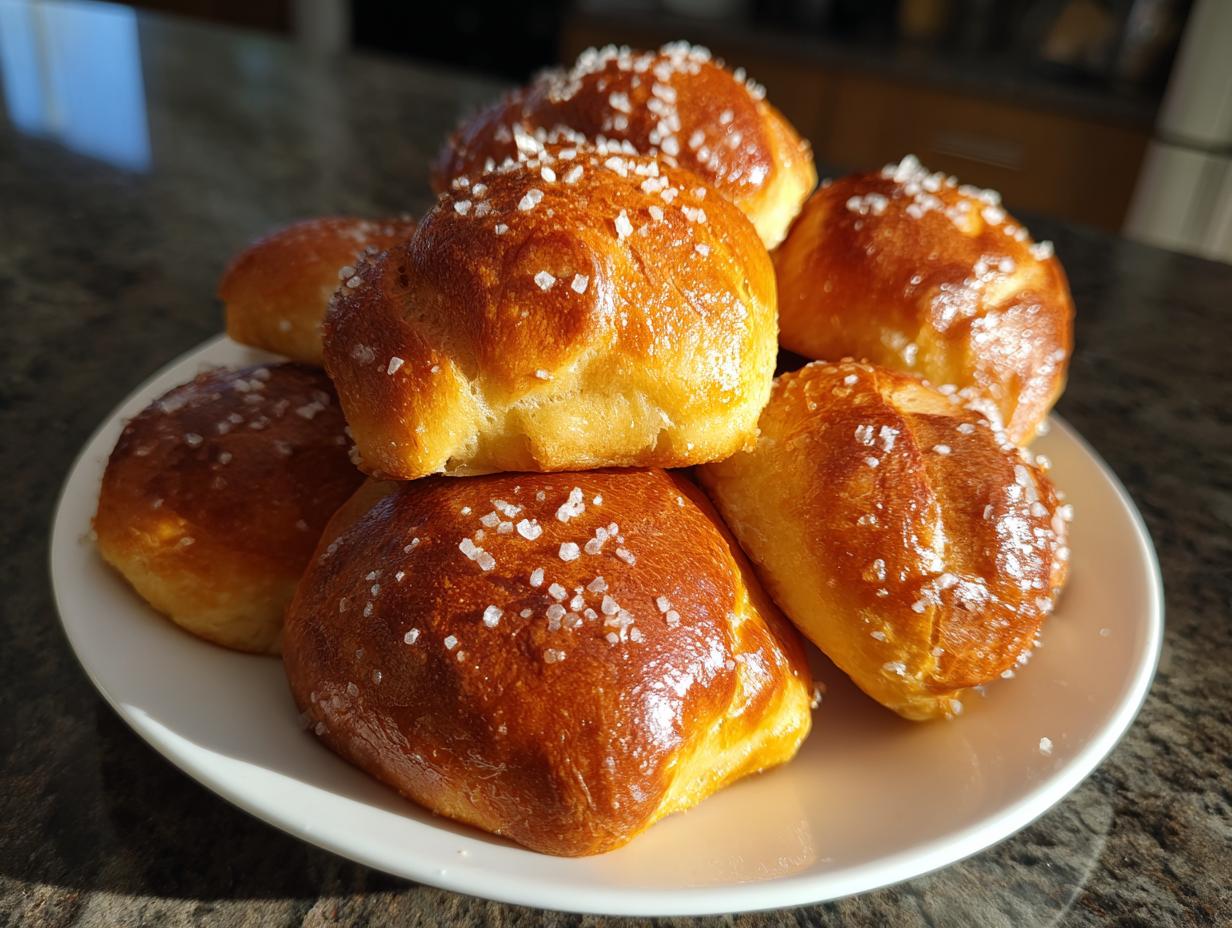
Serving Your Soft Pretzel Bites
The absolute best way to enjoy these soft pretzel bites is while they’re still warm from the oven! Seriously, that soft, chewy texture is unbeatable when it’s fresh. They’re perfect little handheld wonders just begging for a good dip. Think classic mustard, a creamy, dreamy cheese sauce like our queso blanco dip, or even a sweet honey butter. Arrange them on a rustic wooden board with little bowls of your favorite dips, and watch them disappear. The whole vibe of dipping sauce and pretzels is just pure fun and totally irresistible for any gathering!
Tips for Success with Soft Pretzel Bites
You know, even with the best recipe, sometimes little things can trip us up. But don’t worry! I’ve learned a few tricks over the years to make sure your homemade soft pretzel bites turn out absolutely perfect every single time. First off, pay attention to that water temperature for the yeast – too hot and it’ll kill it, too cold and it won’t wake up. Aim for that cozy bathwater temp! And when you’re kneading, just get a feel for the dough. It should be smooth and elastic, not sticky. If it’s too sticky, add flour just a tablespoon at a time. Trust your instincts, just like Claire says about her baking journey! Also, don’t overcrowd your baking sheet when you put them in the oven; give them space to breathe and get that lovely golden hue. For a change of pace, remember that amazing 7-layer dip is always a hit at parties and pairs surprisingly well with these!
Storage and Reheating Your Soft Pretzel Bites
Okay, so you (somehow!) managed to have some soft pretzel bites leftover. Lucky you! The best way to keep them fresh is to store them in an airtight container at room temperature. Seriously, just pop them in a good quality container or a zip-top bag, squeeze out as much air as you can, and seal it up tight. They’ll stay wonderfully soft for about two days this way. Don’t put them in the fridge though, they can get a bit tough in there!
When you’re ready for more pretzel goodness, rescuing them is super easy. If they’ve gone a tiny bit stale, a quick zap in the microwave for about 10-15 seconds will do wonders to bring back that lovely soft texture. For an even better result, especially if you want that slightly crispy outside again, pop them on a baking sheet in a warm oven (around 300°F or 150°C) for just a few minutes. It’s like magic – they’ll taste almost as good as fresh!
Frequently Asked Questions about Soft Pretzel Bites
Got questions about these adorable little pretzels? I’ve got answers! It’s totally normal to wonder about a few things when you’re baking up a storm. Here are some of the most common things people ask:
Can I make the dough ahead of time for my soft pretzel bites?
You bet! I love getting ahead of the game, and this dough is perfect for that. After you knead it and it’s all smooth, just pop it into your oiled bowl, cover it tightly with plastic wrap, and stick it in the fridge. It’ll keep just fine in there for up to 24 hours. When you’re ready to bake, just pull it out, let it sit on the counter for about 30 minutes to an hour to come back to room temperature, and then proceed with shaping and proofing. It makes hosting a breeze!
What’s the secret to getting them perfectly golden brown and chewy?
Oh, the golden glow! That’s mostly thanks to that baking soda bath we talked about. Make sure your baking soda is fresh and well dissolved in hot water. Dip those pretzel bites quickly but thoroughly – that’s key! Also, don’t skimp on the egg wash right before baking; it gives them that beautiful shine and helps the salt stick. Oh, and trust your eyes more than the clock for the baking time; look for that gorgeous golden color!
Besides mustard, what are some other good dipping sauces for soft pretzel bites?
Mustard is a classic, for sure! But honestly, these little guys are so versatile. A creamy, cheesy dip like a good queso or even a ranch dip is always a winner. Cinnamon sugar butter is fantastic if you’re leaning sweet. And don’t forget honey or even a simple garlic herb butter! Having a few options really makes them an amazing easy party snack and people love to try different combinations with their snack bites with mustard too. It’s all about having fun with it!
Why did my pretzel bites not puff up much?
If your dough didn’t puff up much, it usually comes down to the yeast. Make sure your yeast was fresh and that the water you used to activate it was warm, not too hot or too cold. Sometimes, if it’s really chilly in your kitchen, the dough might take a little longer to rise. Give it every chance to get cozy in a warm spot! Also, make sure you didn’t add too much extra flour during kneading, as that can make the dough a bit too stiff.
Nutritional Information for Soft Pretzel Bites
Just a little heads-up, these numbers are estimates since everyone’s ingredients and baking can vary a smidge! But, for about 10 of these yummy bites, you’re looking at roughly:
- Calories: Around 250
- Fat: About 2g
- Protein: Around 7g
- Carbohydrates: Approximately 50g
- Sodium: About 500mg (can vary a lot depending on how much coarse salt you sprinkle on top!)
- Sugar: Around 3g
Enjoy them guilt-free – they’re mostly made of delicious dough and pure happiness!
PrintSoft Pretzel Bites

Easy homemade soft pretzel bites, perfect for parties or game day.
- Prep Time: 20 min
- Cook Time: 12 min
- Total Time: 1 hour 32 min
- Yield: About 30-40 bites 1x
- Category: Snack
- Method: Baking
- Cuisine: American
- Diet: Vegetarian
Ingredients
- 1 cup warm water (105-115°F)
- 1 teaspoon granulated sugar
- 2 1/4 teaspoons active dry yeast (1 packet)
- 4 1/2 cups all-purpose flour, plus more for dusting
- 1 teaspoon salt
- 1/4 cup baking soda
- 1 large egg, beaten (for egg wash)
- Coarse salt, for topping
Instructions
- In a large bowl, combine warm water and sugar. Sprinkle yeast over the top and let sit for 5-10 minutes until foamy.
- Add flour and salt to the yeast mixture. Mix until a shaggy dough forms.
- Turn the dough out onto a lightly floured surface and knead for 5-7 minutes until smooth and elastic.
- Place the dough in a lightly oiled bowl, cover with plastic wrap, and let rise in a warm place for 1 hour, or until doubled in size.
- Preheat your oven to 425°F (220°C). Line a baking sheet with parchment paper.
- In a shallow dish, dissolve baking soda in 4 cups of hot water.
- Punch down the risen dough and divide it into 4 equal pieces.
- Roll each piece into a rope about 1/2 inch thick and 10 inches long. Cut each rope into 1-inch pieces.
- Dip each pretzel bite into the baking soda solution for about 20-30 seconds.
- Place the dipped pretzel bites on the prepared baking sheet.
- Brush the tops of the pretzel bites with the beaten egg wash and sprinkle generously with coarse salt.
- Bake for 10-12 minutes, or until golden brown.
- Serve warm with your favorite dipping sauce.
Notes
- For a richer flavor, you can add 2 tablespoons of melted butter to the dough.
- Serve with cheese sauce, mustard, or your preferred dip.
- These are best enjoyed fresh, but can be stored in an airtight container for up to 2 days. Reheat briefly in the oven or microwave if desired.
Nutrition
- Serving Size: 10 bites
- Calories: 250
- Sugar: 3g
- Sodium: 500mg
- Fat: 2g
- Saturated Fat: 0.5g
- Unsaturated Fat: 1.5g
- Trans Fat: 0g
- Carbohydrates: 50g
- Fiber: 2g
- Protein: 7g
- Cholesterol: 15mg