
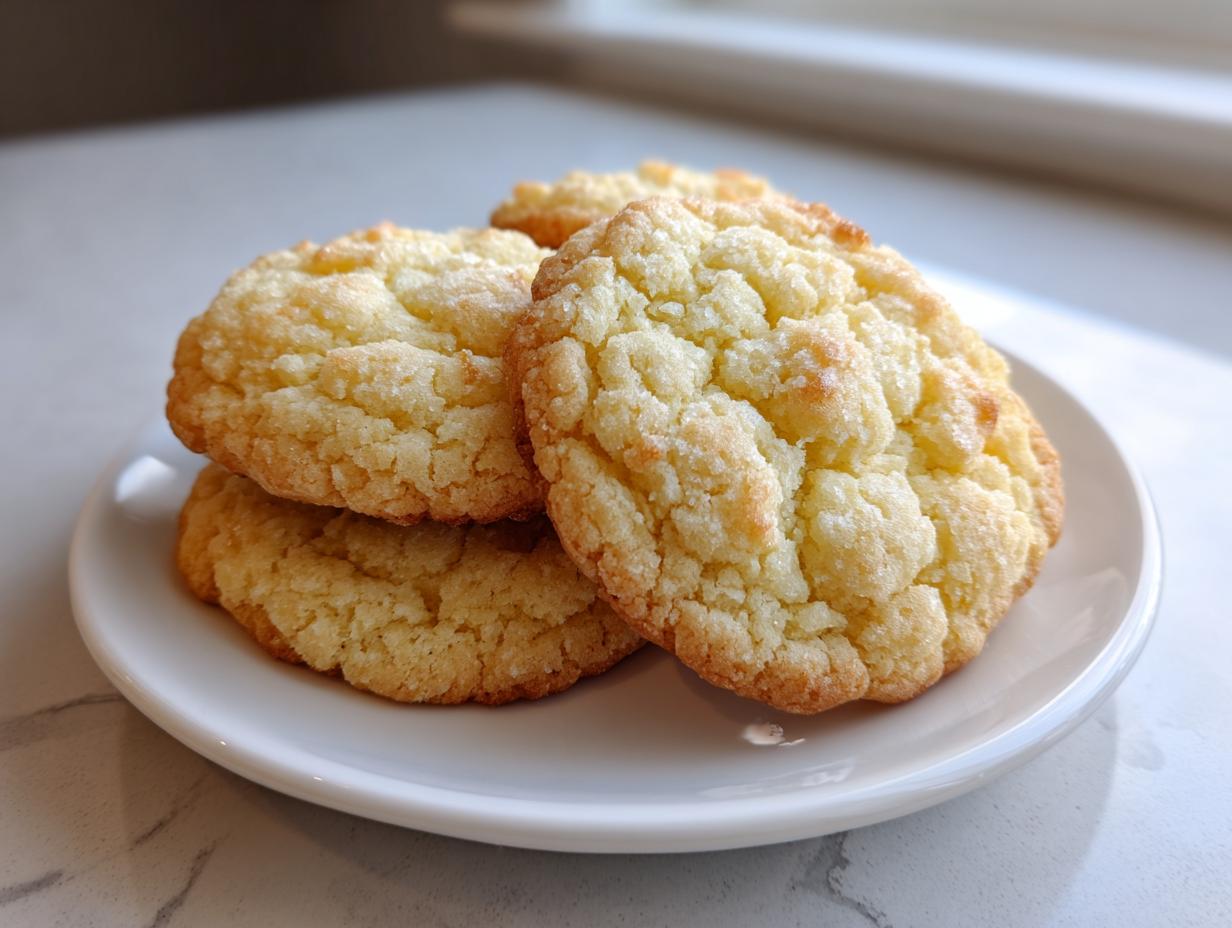
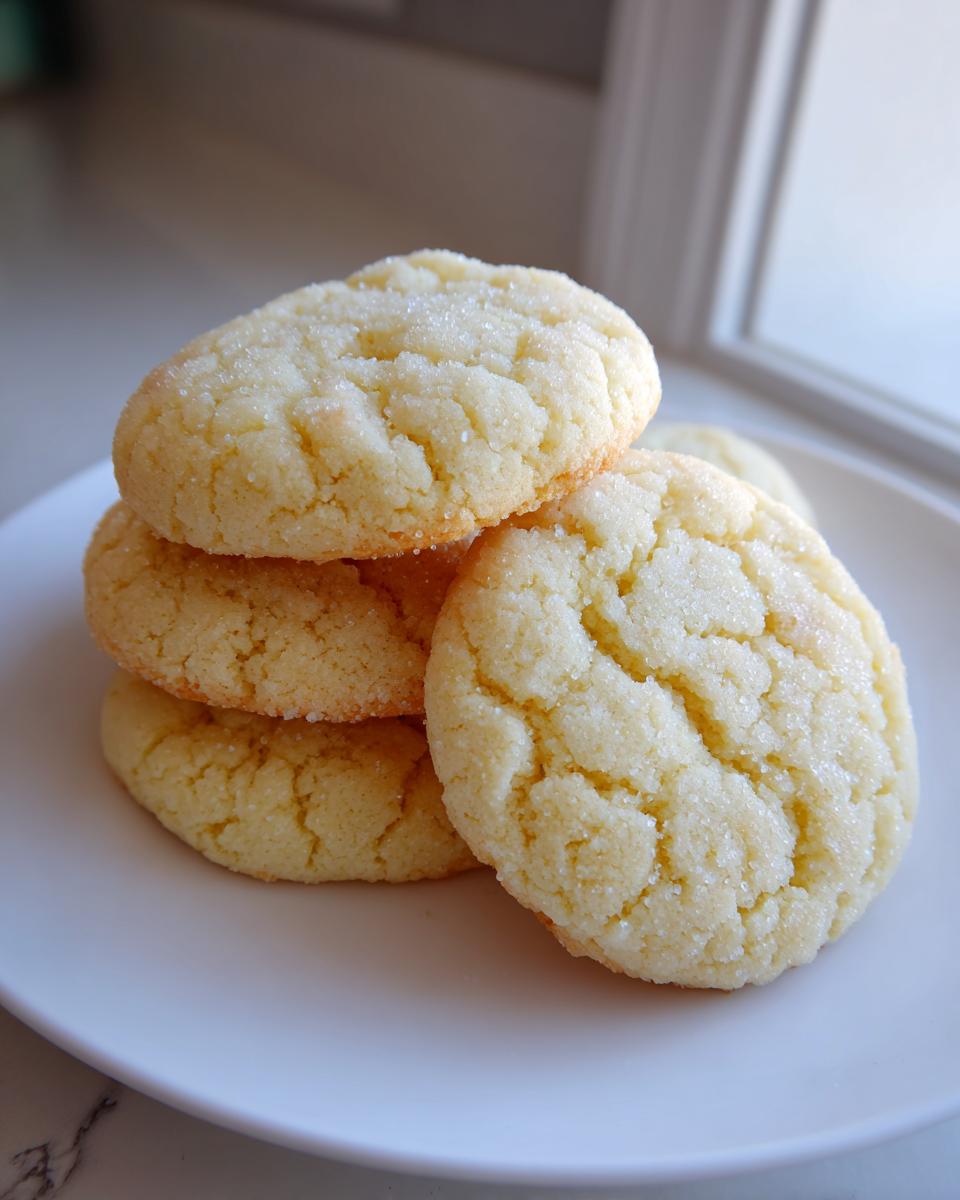
If you’re like me, you know the real quest in baking isn’t just about making cookies—it’s about finding that perfect harmony of texture. We all want that melt-in-your-mouth experience, right? For years, I chased the elusive dream: truly soft sugar cookies that stay tender for days but magically don’t turn into sad, spread-out puddles when they hit the oven. Well, I finally cracked the code in my kitchen, and I’m thrilled to share it with you! This recipe isn’t just about following steps; it’s about capturing that pure, simple bliss that only a perfect, homemade treat can bring. I promise, this is the one you’ll be saving. If you love finding amazing chewy textures, you absolutely have to check out my guide on chewy old-fashioned oatmeal raisin cookies too!
- Why This is the Ultimate Recipe for Soft Sugar Cookies
- Ingredients for Soft Sugar Cookies: Quality Matters
- Step-by-Step Instructions for Perfect Soft Sugar Cookies
- Troubleshooting Common Issues with Soft Sugar Cookies
- Storage and Keeping Your Soft Sugar Cookies Fresh
- Variations for Your Buttery Vanilla Cookies
- Serving Suggestions for These Melt in Your Mouth Cookies
- Frequently Asked Questions About Soft Sugar Cookies
- Share Your Soft Baked Cookies Creations
Why This is the Ultimate Recipe for Soft Sugar Cookies
I know there are a million recipes out there claiming to be the best, but I developed this one out of sheer necessity. I needed homemade sugar cookies that tasted like they came from a high-end bakery but were easy enough for a Tuesday afternoon. That’s why this is my go-to, no fail cookie recipe!
What sets this apart? It’s all about balancing the joy of a wonderfully soft cookie with the practical need for them to bake nicely. You get:
- Maximum softness that lasts!
- Perfectly chewy centers.
- Rich, buttery vanilla flavor.
- The ability to hold their shape for decorating!
When you marry the right fats and sugars, you get magic. If you love other spiced, tender treats, you should see how I whip up my chai spice cookies next!
Achieving Bakery Style Soft Sugar Cookies Texture
Texture is everything, isn’t it? For that true melt in your mouth cookies feel, you need the right foundation. It comes down to how the sugar and butter interact. When we cream that butter and sugar just right, we are creating tiny air pockets. This process is what stops the cookies from becoming flat and snappy.
We want that richness—that’s the high-quality butter doing its job—to carry the flavor while the structure remains delightfully tender. It’s a buttery hug in every bite, just the way soft sugar cookies should be.
Ingredients for Soft Sugar Cookies: Quality Matters
As I always say around here, you can’t make a brilliant cake or a soft cookie out of anything less than fantastic basic ingredients. For these homemade sugar cookies, we need simple things, but they have to be treated right! Getting the temperature and measurements spot-on is our first secret weapon.
Here is exactly what you need for about three dozen of these beauties:
- 1 cup (2 sticks) unsalted butter, softened
- 1 1/2 cups granulated sugar
- 1 large egg
- 1 teaspoon vanilla extract
- 3 cups all-purpose flour
- 1 teaspoon baking powder
- 1/2 teaspoon salt
Make sure that butter isn’t soft enough to look oily—it should press easily, but still feel cool. Using room temperature ingredients (the egg and butter especially) ensures they blend into a smooth, voluminous cream base. If your butter is too cold, it won’t cream properly, and if it’s too warm, your cookies will spread like crazy! Trust me, taking the time to set out the butter early pays off immensely.
Ingredient Notes and Substitutions for Chewy Sugar Cookies
Let’s talk specifics because the details matter so much when chasing that perfect texture. For these buttery vanilla cookies, the butter just has to be softened. Don’t even think about melting it! Melted butter gives you greasy, flat cut out sugar cookies, and we want chewy centers, not hockey pucks.
For the flour, please scoop it lightly into your measuring cup and then level it off with a knife. If you just dive the cup into the bag, you end up packing in way too much flour, and that makes your cookies dry and crumbly. If you really, really want to push the limits on softness, you could try using 2 and 3/4 cups of flour instead of 3, but try the full amount first! We want that structure for decorating, after all. If you want to see another recipe where ingredient quality really shines, check out my guide on buttermilk biscuits—sometimes the simplest things need the best ingredients!
Step-by-Step Instructions for Perfect Soft Sugar Cookies
Alright, let’s get these soft baked cookies mixed up! Remember what I said about creaming? That’s where this whole process starts, building the texture right from the beginning. We are moving step by step to make sure we hit that perfect balance of soft centers and manageable dough.
- First thing’s first: Cream together your softened butter and granulated sugar until it looks truly light and fluffy. This is your foundation, so don’t rush it!
- Next, beat in the egg and vanilla extract until everything is just combined. Make sure you scrape down the sides of your bowl so no buttery clumps get left behind—we want consistency!
- In a separate bowl, whisk the flour, baking powder, and salt together. This mixing ensures the leavening agent is evenly distributed.
- Now for the careful part where we avoid overmixing! Gradually add those dry ingredients to your wet ones, mixing only on low speed until you just barely see the flour disappear. Stop mixing the second it comes together!
- Divide that lovely dough into two flat disks, wrap them tight in plastic wrap, and stick them right into the fridge for at least two hours. Trust me, chilling is non-negotiable for great cut-outs!
- When you’re ready to bake, make sure your oven is fully preheated to 350°F (175°C) and line those pans with parchment paper. Parchment is your best friend for clean cookies!
- Roll out one disk on a lightly floured surface to about a quarter of an inch thick. Use whatever cutters you love, but be gentle when transferring them to the sheet.
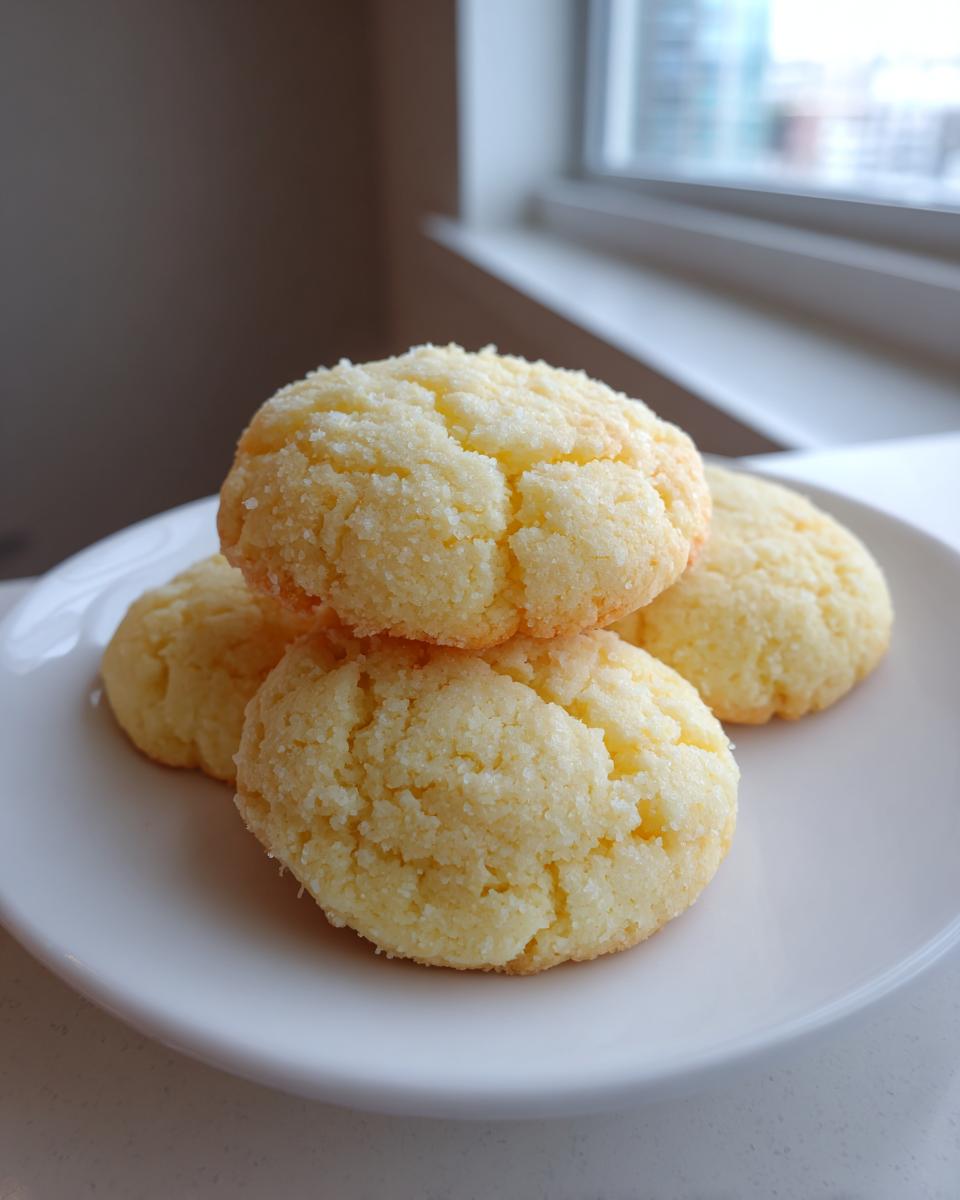
- Bake for about 8 to 10 minutes. If you want pure softness, pull them out right around the 8-minute mark. The centers should still look a little pale or set but not fully browned.
Let them rest on the pan for five minutes before carefully moving them to a wire rack to cool completely. If you want extra moisture insurance, check out my tips for making sure my coffee cake always has a moist and tender crumb; the principles are similar!
The Critical Role of Chilling Dough for Soft Sugar Cookies
Listen, I get it. You want those easy sugar cookie recipes, and chilling feels like an extra chore, but this is where the magic holds its shape! When the dough chills, the fat—that beautiful butter—solidifies again. This means when the hot oven hits it, the butter melts slowly instead of instantly spreading out into a thin pancake.
Chilling gives you cookies that stay thick and almost fluffy, which is exactly what gives you that deeply satisfying, chewy sugar cookies interior. If you skip this step, you might get wafer-thin, crispy cookies instead of the tender cookies you’re dreaming of. Don’t risk it—the waiting time is worth the perfect shape!
Baking Tips for Maximum Softness in Your Homemade Sugar Cookies
The biggest secret to ensuring you get those melt in your mouth cookies is actually pulling them out a minute too soon! You must preheat your oven completely, or the timing will be all off. Once they are in, 8 minutes is usually my sweet spot for a batch of 3-inch cookies.
You are looking for the edges to just barely look set—maybe a tiny hint of gold. The center should still look slightly raw or underbaked when you slide the tray out. Don’t panic! They continue to bake gently on that warm pan for the next five minutes. That carry-over heat is what makes the difference between a crunchy edge and the soft, yielding center we are absolutely obsessed with in these homemade sugar cookies.
Troubleshooting Common Issues with Soft Sugar Cookies
Even with a nearly foolproof recipe, sometimes things in the oven don’t go exactly as planned! I’ve made plenty of flat cookies in my life—trust me, I know the frustration. When you are aiming for that perfect balance between soft, chewy sugar cookies and shapes that hold up, there are a few hiccups that pop up most often. Let’s tackle them right now so your next batch is amazing.
Why did my cookies spread everywhere?
This is the number one complaint I hear about cut-out cookies! If your soft sugar cookies turned into thin discs, it almost always means one of two things. First, your butter was too soft, maybe even slightly melted, when you started creaming. Remember, we want softened, but still slightly cool butter. Second, you might have neglected the chilling step. That time in the fridge is non-negotiable if you want those clear edges for decorating. If you skip it, the fat melts too fast in the heat, and poof, no shape!
If they barely spread but you still want them softer, make sure you aren’t overbaking them—pull them out when the center still looks just a tiny bit damp. That carry-over heat is a baker’s secret weapon for tender cookies.
Why are my cookies too crumbly or dry?
If your dough felt crumbly when you tried to roll it out, or the finished cookies are too dry, it usually points back to the flour measurement. Did you pack that flour in there? If you did, you added too much, which sucks all the moisture out! Always use the spoon-and-level method we talked about. Another reason for dryness is over-mixing the dough once the flour goes in; we don’t want to develop too much gluten structure.
If your dough seems extremely dry right after mixing, add just one teaspoon of milk or cream at a time until it comes together nicely enough to wrap into disks. We always try to save a batch! For some fantastic tips on making sure layered meals don’t fail, check out my post on perfect lasagna layers—structure problems happen everywhere in the kitchen!
Can I use a different kind of sugar?
For this specific recipe aiming for chewy sugar cookies, granulated white sugar is essential for getting that specific texture and helping the cookies hold their shape. Brown sugar adds moisture and chew, but it also adds color and moisture that makes holding a crisp cut-out shape much harder. So, stick to the white sugar here! Consistency beats experimentation when mastering the best sugar cookies recipe.
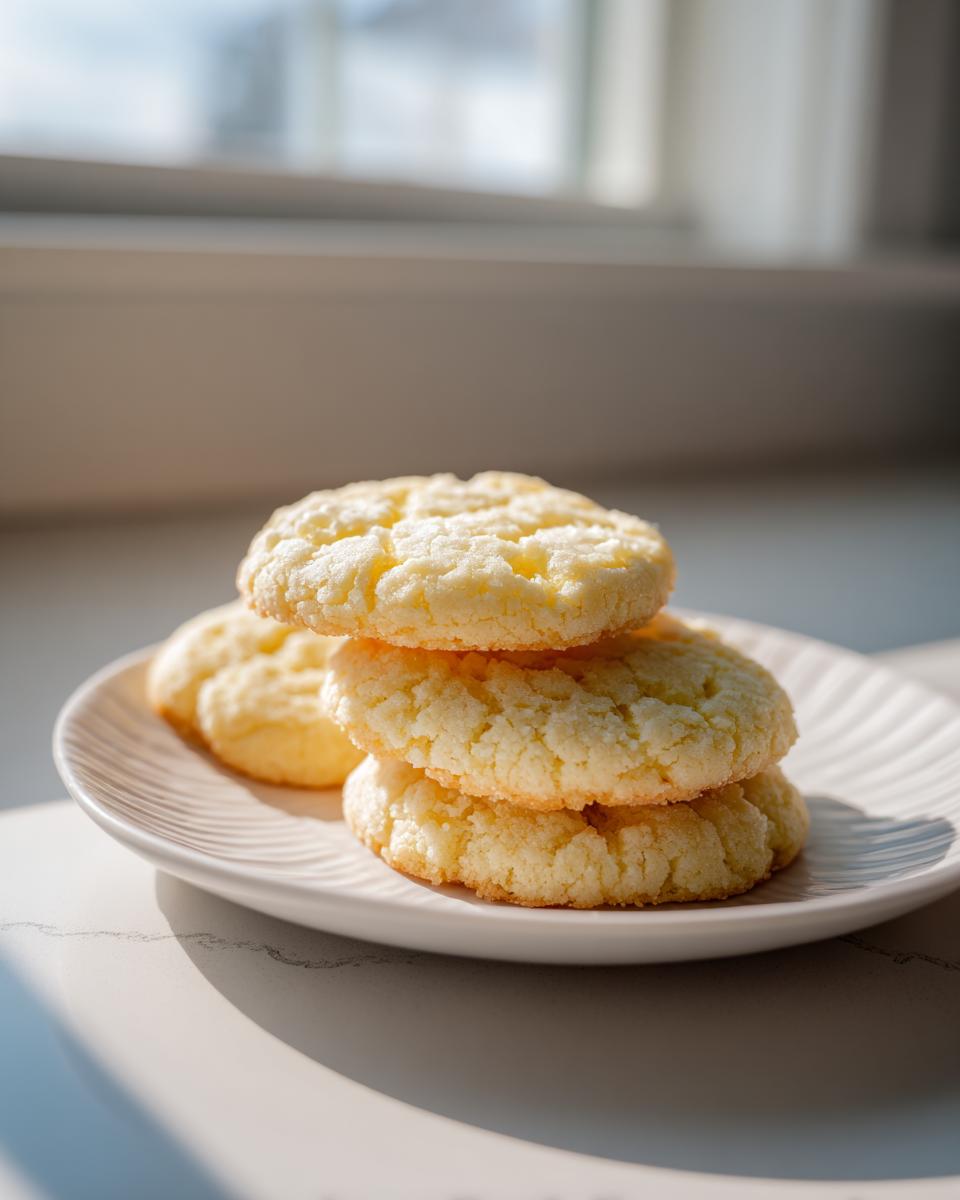
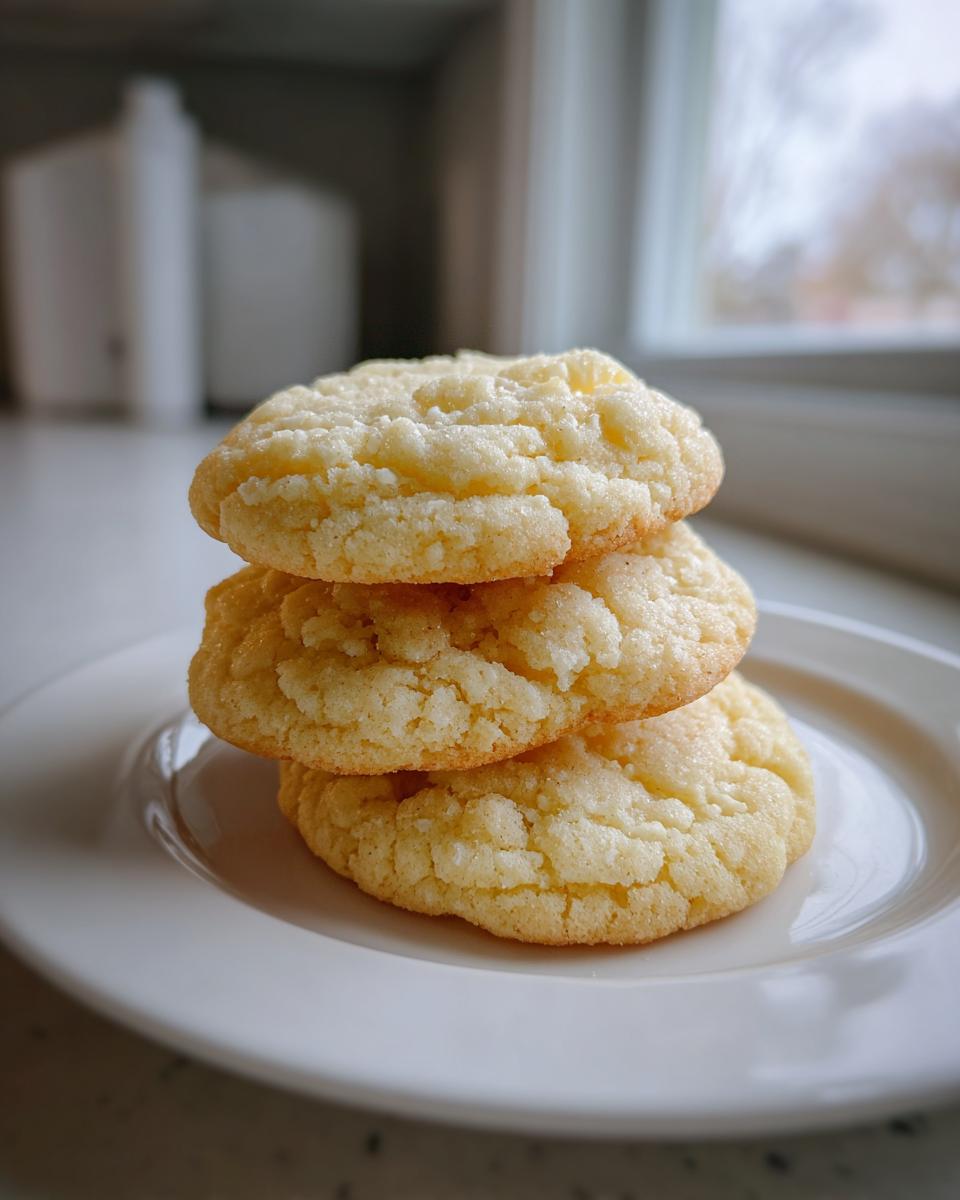
Storage and Keeping Your Soft Sugar Cookies Fresh
Okay, the best part: eating them! But if you’re anything like me, you probably want to bake a huge batch of these soft sugar cookies for a party or just for the week, and you need them to still be soft on day three. Don’t worry, keeping that pillowy, melt-in-your-mouth quality isn’t hard, but you do have to follow a couple of simple rules.
First, the cookies must be totally cooled. I mean completely, 100% cool before they ever see the inside of a container. If they are even slightly warm, that trapped moisture will turn into condensation, and we end up with sticky, sad cookies instead of lovely, tender cookies.
Once they are completely cool, we move them into an airtight container. This is crucial for maintaining that buttery vanilla flavor and texture for days. In a proper airtight container at room temperature, these homemade sugar cookies will stay wonderfully soft for about five full days. I’ve tested this repeatedly, and they are just as good on Day 5 as they were on Day 1!
If you happen to have decorated them with royal icing that needs to set hard, just make sure the icing is completely dry before you stack or seal them. If you are using a very thick buttercream that might get messy, try layering them with parchment paper circles between the layers—just a quarter sheet in between each layer works wonders to keep them from sticking together. These same principles help keep my famous date nut bread moist, too!
If you happen to have any leftover cookie scraps that you just can’t resist, try not to leave them out on the counter uncovered for too long. They dry out almost instantly when exposed to the air. Always seal them up tight for the best results!
Variations for Your Buttery Vanilla Cookies
While this recipe stands tall as a classic, truly easy sugar cookie recipe means you should feel free to personalize it a bit! I always encourage my readers to play around once you’ve mastered the base texture. Once you know exactly how soft these buttery vanilla cookies are supposed to be, you can feel confident adding a little secret something of your own to make them unique for your gathering.
Here are a couple of quick tweaks that won’t mess up the texture or require you to chill the dough for an extra five hours—because we all want results fast!
Adding Almond Extract for a Different Flavor Profile
If you’re baking these for Christmas or just feel like branching out from pure vanilla, swap about half of the vanilla extract for almond extract. Almond and vanilla together are just heavenly in a sugar cookie! It gives them a sophisticated, almost bakery-style flavor that people always ask about.
Be careful not to go overboard, though. Almond extract is potent! I usually use 1 teaspoon of vanilla and 1/2 teaspoon of almond. It’s just enough to give you that little surprise note when you bite into one of these sweet treats dessert cookies. It really complements the richness of the butter beautifully.
Spice it Up: Easy Holiday Sugar Cookies
If you want to make these into proper holiday sugar cookies, a tiny bit of spice can transform them. Since we aren’t adding chunky mix-ins, you can lightly dust some ground spice right into the dry ingredients when you whisk the flour, baking powder, and salt together.
I love adding just a scant 1/4 teaspoon of ground nutmeg. It warms up the flavor without making it taste like a spice cookie; it just adds depth to the vanilla. If you’re making a big batch, you can even divide the dough, add cinnamon to one half, and nutmeg to the other! It’s an easy cookie recipe trick that doubles your variety without doubling your work. Speaking of warm flavors, you absolutely must try my slow cooker apple butter recipe later this fall—it pairs perfectly with these cookies!
Serving Suggestions for These Melt in Your Mouth Cookies
Now that you have baked what I honestly think is the world’s best batch of soft sugar cookies, the real question is: how should we eat them? Part of the fun of this recipe is that it serves double duty! They are fantastic just plain, but they are also sturdy enough to handle some serious decoration.
For the absolute purest, most glorious moment of achieving that melt in your mouth cookies texture, you should enjoy them completely plain, maybe still slightly warm from the cooling rack. That buttery vanilla goodness shines through totally unadulterated. These are the cookies you want when you need a quick, simple dessert without the fuss of making frosting.
Best Frosting for Soft Sugar Cookies
If you’re setting these out for Holiday parties or birthdays, you definitely want to dress them up! Since we focused so much on structure by chilling the dough, these decorateable sugar cookies handle frosting like a dream. You have two main routes, depending on what you prefer:
- Royal Icing for Crisp Designs: If you want sharp, detailed designs that dry hard—the kind you see in professional bakeries—royal icing is your best friend. It sets firm, which is great for stacking or shipping. You can find my favorite simple recipe to mix up a batch of easy cookie icing recipe here.
- Buttercream for Softness Matching: If you want the whole experience to be soft—cookie and topping—then go for a classic buttercream. It feels richer and complements the chewy centers perfectly. Just whip up your favorite recipe; it spreads beautifully over the tops.
I always recommend dipping half the batch in royal icing for the kids to decorate, and leaving the other half plain for the adults who just want the cookie! For other drinks to pair with your sweet treats, you have to try my salted caramel latte recipe.
Pairing Cookies with Warm Beverages
There’s just something about dunking a cookie, even a soft one, that makes everything feel cozier. Because these are wonderfully buttery vanilla cookies, they match almost everything, but they are exceptional with warmer beverages. They are perfect alongside a big mug of hot apple cider on a chilly evening.
If you serve these for a holiday brunch, they are also an unbeatable partner for hot coffee. They offer just the right amount of sweetness to cut through the bitterness of the brew. Honestly, for the best results, I compare the simple joy of these cookies to the amazing results you get from other straightforward, perfect recipes, like the ones you find over at Food Peakly for easy bites!
Frequently Asked Questions About Soft Sugar Cookies
I figured I’d tackle a few more things that pop up in my inbox all the time about this easy sugar cookie recipe. You know how it is—we all bake a little differently, and sometimes you just need a quick answer to ensure those homemade sugar cookies come out perfect!
Can I skip chilling the dough if I’m in a hurry?
Oh, I wish I could tell you yes, but if you want cookies that hold their shape, then no, you absolutely cannot skip the chilling step! If you don’t chill the dough for at least two hours, the butter warms up too much during mixing. When it hits that hot oven, the fat melts fast, and you end up with thin, spread-out cookies instead of beautifully thick, cut out sugar cookies. It defeats the whole purpose of aiming for that soft, chewy texture!
How do I make sure these are the softest sugar cookies possible?
The real secret to maximum softness is all in the final moments of baking. You are aiming to slightly underbake them! Pull them out of the oven when the edges look set but the center still looks just a tiny bit pale or soft. They will finish cooking on the warm baking sheet afterward. If you wait until the center looks totally dry, you’ve gone too far and you’ll end up with crunchy cookies, which is definitely not the ultimate goal here! We want those soft baked cookies!
Can I double this recipe for a big holiday batch?
Yes, you absolutely can double the recipe to make a massive batch of holiday sugar cookies! However, when you double the batch, you need to be a little careful with your mixer. If you are using a stand mixer, you might need to mix the dough in two separate, smaller batches for the wet and dry ingredients. Overloading the bowl can cause uneven mixing, and we don’t want that inconsistent texture. Just mix the second batch right after the first, and remember to chill both halves thoroughly!
What’s the best way to store these so they stay chewy?
To keep that wonderful, chewy sugar cookies texture we worked so hard for, you must store them correctly. Once they are completely cool, place them in a single layer or use parchment circles between layers inside a truly airtight container. Do not put them in the fridge! The fridge actually dries out cookies faster. Room temperature, sealed tight, and they stay soft for nearly five days. If you want to learn how to make a super sturdy icing to go with them, I’ve got a tutorial for easy cookie icing!
Share Your Soft Baked Cookies Creations
Whew! We did it! We made the best sugar cookies—soft, chewy, buttery, and ready for a bit of creative flair or just ready to vanish into thin air! Baking shouldn’t be a solo journey, though. Honestly, seeing what you all create in your own kitchens with my recipes gives me such a boost of joy.
I would absolutely love for you to come back here and let me know how these turned out for you. Did you manage to pull them out at exactly eight minutes for ultimate melt-in-your-mouth perfection? Did you choose to decorate them, or did you just devour them plain because you couldn’t wait? Drop a comment below and tell me all about your experience making this easy cookie recipe!
If you got some gorgeous decorated cutouts, please snap a photo! We love seeing your handiwork, especially how you bring these simple, sweet treats dessert ideas to life. Tag me on social media if you share them online!
If this recipe became your new favorite for holiday sugar cookies or just a simple weeknight sweet treats dessert, please consider giving it a rating! Those little stars help other bakers find this tried-and-true favorite. It means the world to me when one of my little bits of kitchen therapy becomes a tradition in your home.
And hey, if you’re still craving more soft goodness and want to see how another fantastic baker handles that texture goal for chewy cookies, check out the amazing work She Is Baking does over here!
Thank you so much for baking with me today. Happy decorating, and keep chasing that simple, homemade happiness!
PrintThe Ultimate Soft and Chewy Sugar Cookie Recipe (That Holds Shape for Decorating)
Create bakery-style soft sugar cookies that melt in your mouth while still holding their shape perfectly for cutouts and decorating. This easy, no-fail recipe delivers buttery vanilla flavor every time.
- Prep Time: 25 min
- Cook Time: 10 min
- Total Time: 155 min
- Yield: 3 dozen 1x
- Category: Dessert
- Method: Baking
- Cuisine: American
- Diet: Vegetarian
Ingredients
- 1 cup (2 sticks) unsalted butter, softened
- 1 1/2 cups granulated sugar
- 1 large egg
- 1 teaspoon vanilla extract
- 3 cups all-purpose flour
- 1 teaspoon baking powder
- 1/2 teaspoon salt
Instructions
- In a large bowl, cream together the softened butter and granulated sugar until light and fluffy. This step builds the texture.
- Beat in the egg and vanilla extract until just combined. Scrape down the sides of the bowl.
- In a separate medium bowl, whisk together the flour, baking powder, and salt.
- Gradually add the dry ingredients to the wet ingredients, mixing on low speed until just combined. Do not overmix the dough.
- Divide the dough in half, flatten each half into a disk, wrap tightly in plastic wrap, and chill in the refrigerator for at least 2 hours, or up to 2 days. Chilling is key for shape retention.
- Preheat your oven to 350°F (175°C). Line baking sheets with parchment paper.
- On a lightly floured surface, roll out one chilled dough disk to about 1/4 inch thickness. Use cookie cutters to cut out shapes.
- Carefully transfer the cutouts to the prepared baking sheets, leaving about 1 inch between them.
- Bake for 8 to 10 minutes. For softer cookies, aim for 8 minutes; the edges should be barely set, and the centers should look slightly underdone.
- Let the cookies cool on the baking sheet for 5 minutes before moving them to a wire rack to cool completely.
- Once cool, decorate with your favorite frosting or enjoy plain for a melt-in-your-mouth experience.
Notes
- For the softest cookies, slightly underbake them. They will firm up as they cool.
- If you plan to decorate heavily, chill the cutouts on the baking sheet for 10 minutes before baking to prevent spreading.
- Use room temperature ingredients (except for the chilling step) for the best dough consistency.
- Store cooled cookies in an airtight container at room temperature for up to 5 days to maintain softness.
Nutrition
- Serving Size: 1 cookie
- Calories: 160
- Sugar: 14g
- Sodium: 85mg
- Fat: 8g
- Saturated Fat: 5g
- Unsaturated Fat: 3g
- Trans Fat: 0g
- Carbohydrates: 21g
- Fiber: 0g
- Protein: 2g
- Cholesterol: 30mg