
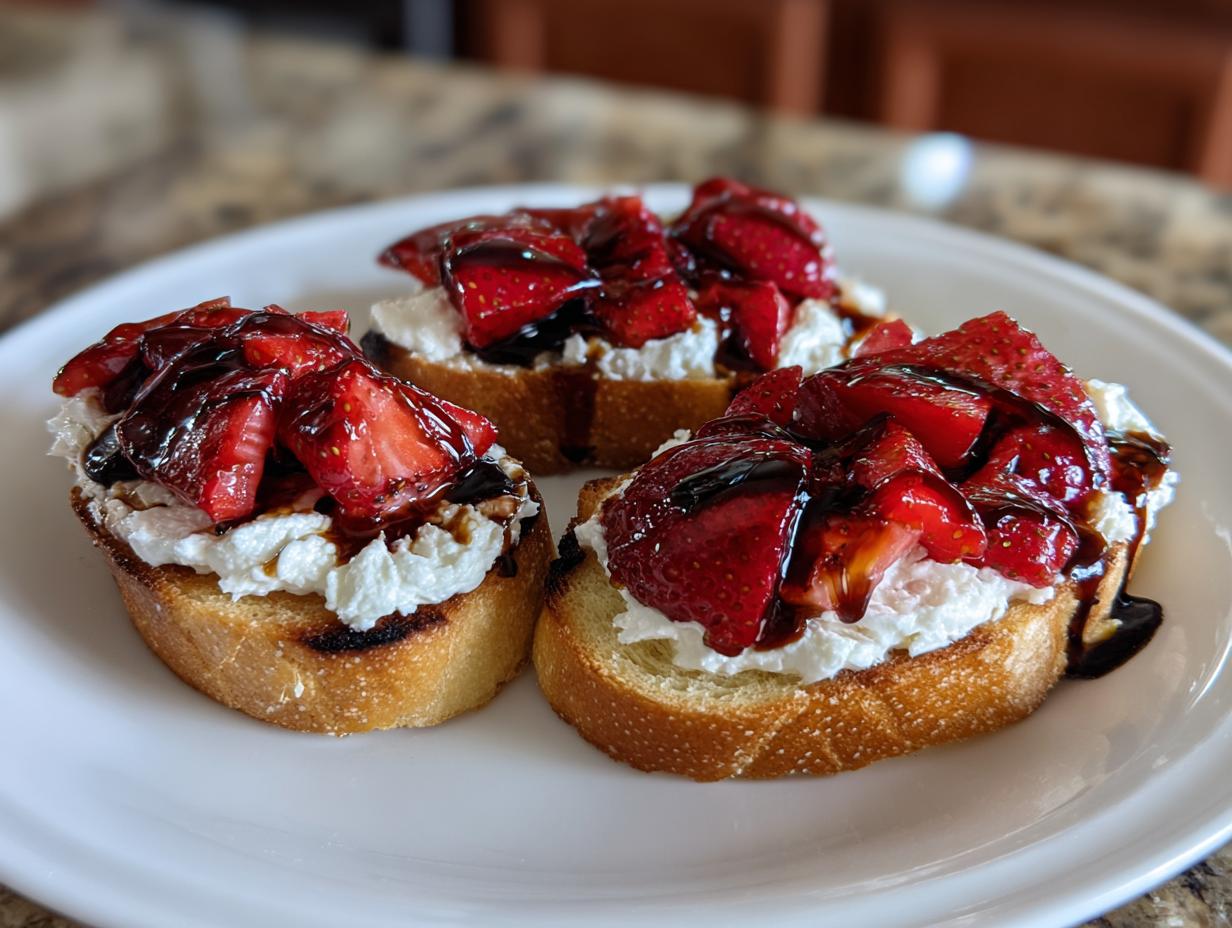
Oh, my heart! There’s nothing quite like that moment when spring finally arrives, demanding a lighter, brighter menu for those sun-drenched mid-morning gatherings. If you’re dreaming up a whimsical balcony brunch—I know I am!—you absolutely need this recipe on your platter. Forget those heavy appetizers; we’re reaching for elegance and ease with my favorite Strawberry ricotta bruschetta. Trust me, I spent years planning high-stress corporate events where presentation was everything, and I’ve distilled all that experience into accessible recipes like this one. You can find more beautiful ideas like this in my collection of brunch recipes. We’re taking simple, gorgeous ingredients and making something that looks incredibly fancy but honestly takes almost no time in the kitchen. You’re going to love how this bright, fresh starter pairs with your morning coffee or maybe even a little bubbly!
- Why This Strawberry Ricotta Bruschetta is Your New Favorite Easy Mother's Day Appetizer
- Gathering Ingredients for Perfect Strawberry Ricotta Bruschetta
- Step-by-Step Instructions for Your Strawberry Balsamic Appetizer
- Tips for Success Making Strawberry Ricotta Bruschetta
- Variations on This Seasonal Fruit Bruschetta
- Serving Suggestions for Your Strawberry Ricotta Bruschetta
- Storage and Reheating Instructions for Leftover Components
- Frequently Asked Questions About Strawberry Ricotta Bruschetta
- Sharing Your Homemade Strawberry Ricotta Bruschetta
Why This Strawberry Ricotta Bruschetta is Your New Favorite Easy Mother’s Day Appetizer
I get it—Mother’s Day brunch needs to be special, but you don’t want to spend the whole morning stuck over the stove! This is precisely why this beauty made the cut. It’s an absolute showstopper, proving that sometimes the easiest recipes look the most impressive.
- Quick Assembly for a Stress-Free Brunch: Seriously, folks, the total time is barely 30 minutes! While the bread toasts, you whip up the ricotta and mash those berries. It’s the perfect quick assembly for when you are busy hosting, making it one of my go-to easy mother’s day appetizers.
- The Perfect Balance: Sweet Berries Meet Creamy Ricotta: It’s more than just cheese on toast; it’s a gourmet experience. The burst of sweet, macerated strawberries plays against that cool, savory ricotta. This modern twist is exactly what you want for an elegant start to the day.
Quick Assembly for a Stress-Free Brunch
Look at the timing! Ten minutes to crisp the bread, fifteen for the strawberries to get happy, and then you just layer. It’s fast enough that you can make a fresh batch right before everyone sits down, guaranteeing that beautiful snap in every bite. That’s true brunch bliss right there.
The Perfect Balance: Sweet Berries Meet Creamy Ricotta
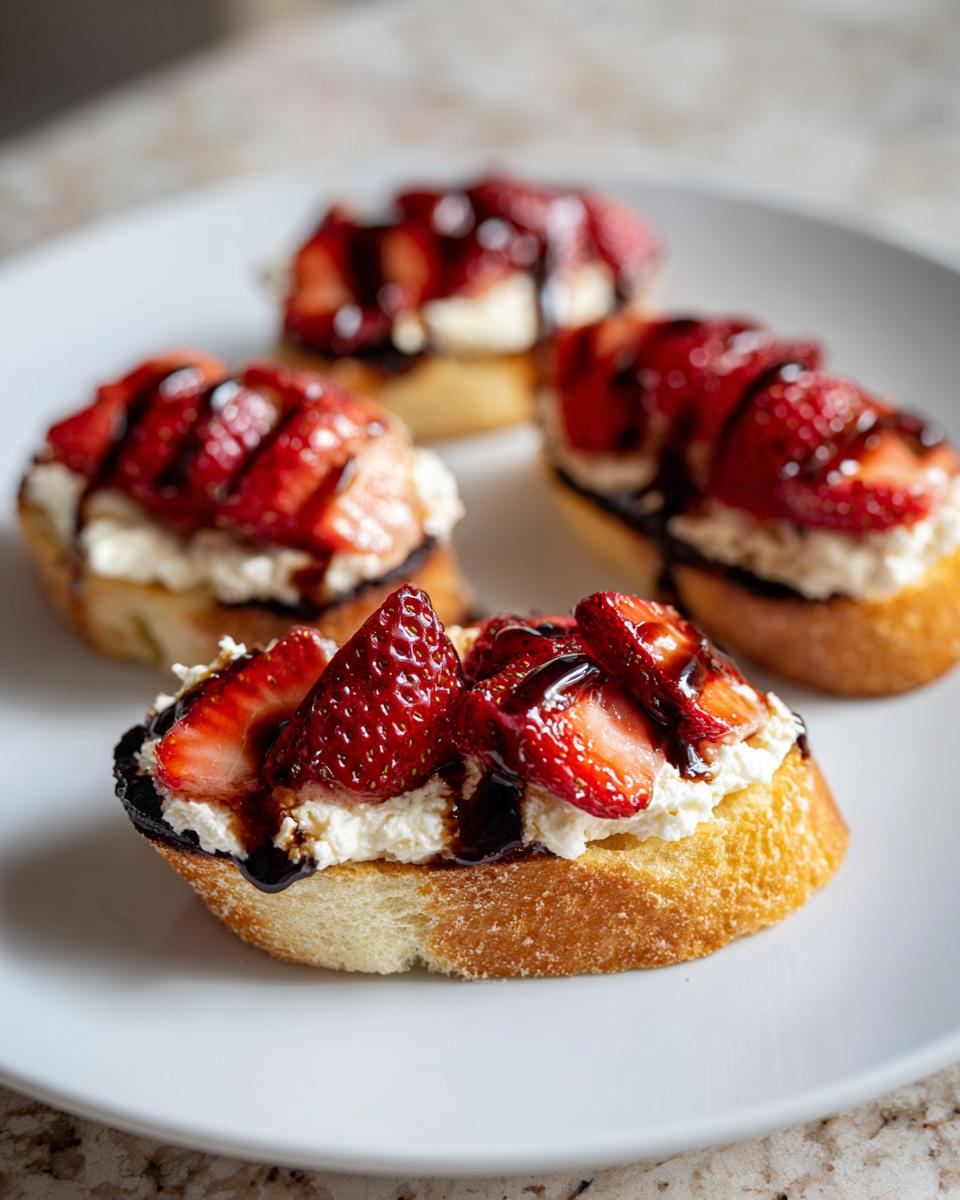
The depth of flavor here is what sells it. We aren’t just slapping raw berries on plain bread. The sweetness from the hint of honey combined with the tartness of the strawberries elevates the simple, lovely texture of the whipped ricotta. It’s a savory-sweet masterpiece that hits just right.
Gathering Ingredients for Perfect Strawberry Ricotta Bruschetta
Even though this is an easy appetizer, using quality components makes all the difference for our Strawberry ricotta bruschetta. Because these flavors are so clean and bright, we need every ingredient to pull its weight! I’ve listed everything you need below, but take special note of how we prep the fruit and the cheese; that’s where the real magic starts happening.
Macerating the Strawberries for Maximum Flavor
This step is non-negotiable for a beautiful strawberry balsamic appetizer! We gently mix the sliced strawberries with just a little granulated sugar and vanilla extract. Letting this sit—or macerate—for fifteen minutes pulls out all those gorgeous, sweet juices. Don’t skip this; that syrup is liquid gold!
Achieving Creamy Ricotta Toast Toppings
When it comes to texture, I always stress using whole milk ricotta here. Low-fat versions just don’t get that luxurious creaminess we want for our ricotta toast toppings. We keep it simple: just the whole milk ricotta mixed gently with a pinch of salt until it’s perfectly smooth. That coolness is the perfect foil for the sweet berries, I promise!
Step-by-Step Instructions for Your Strawberry Balsamic Appetizer
Alright, let’s get these beautiful appetizers moving! Since we want that perfect snap on the bread, we start with the toast portion first while the berries begin their slow soak. I promise this process is so much simpler than it sounds, and watching it come together is half the fun. We want every element ready to go so the final assembly of your Strawberry ricotta bruschetta is lightning fast.
Baking the Perfect Bruschetta Base
First things first: get that oven warming up to 375 degrees Fahrenheit. Take your baguette slices—and make sure they are cut nice and even, about half an inch thick—and brush *both* sides lightly with olive oil. Pop them onto a baking sheet and bake for about 8 to 10 minutes total. Remember to flip them halfway through! You want them golden brown and firm, not burnt! Once they’re out, set them on a rack so they can cool completely while we finish prepping the toppings.
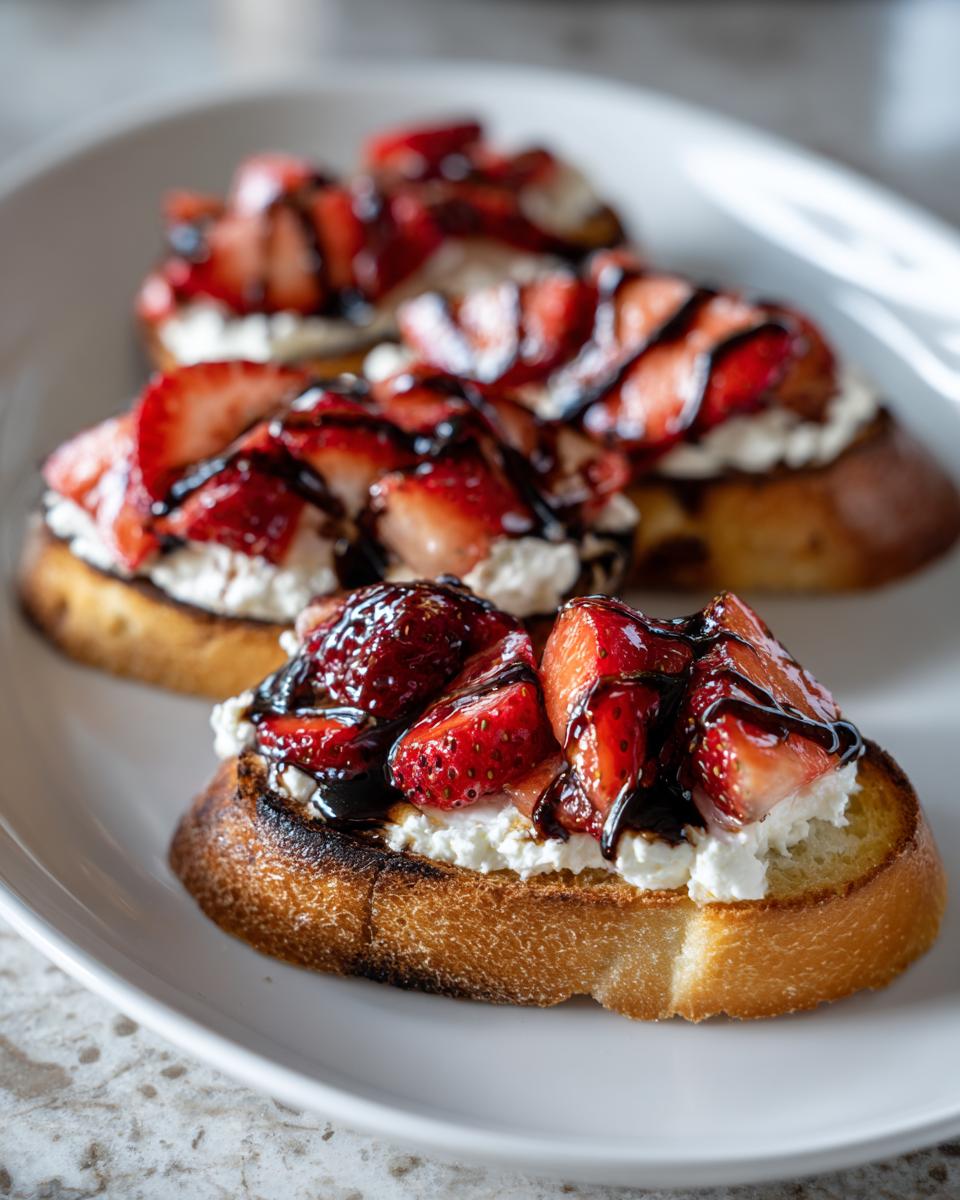
Assembling the Seasonal Fruit Bruschetta
Once your bread is cool, it’s time to build! Spread that beautifully seasoned ricotta cheese onto each piece generously. Then, spoon over those extra juicy, macerated strawberries. Next, we add the drizzle that ties it all together. Don’t forget the little bit of honey; that makes it a true spring bruschetta with honey sensation! Finish everyone off with a tiny splash of that beautiful balsamic glaze and a sprig of mint. Head over to my favorite easy appetizers for more quick inspiration!
Tips for Success Making Strawberry Ricotta Bruschetta
I’ve made this recipe probably thirty times for perfect photographs, and I’ve learned a couple of crucial things that keep this strawberry ricotta bruschetta looking as good as it tastes. The biggest enemy here is sogginess, so listen closely!
My number one rule, and I tell everyone this, is to assemble your bruschetta *right* before you plan to serve it. If you try to make these an hour ahead, even with perfectly toasted bread, the moisture from the berries and the ricotta will start turning your crisp base into a sad, chewy mess. It defeats the whole purpose of a crunchy base!
Okay, what if you are out of balsamic glaze for your strawberry balsamic appetizer? Don’t panic! I keep a little jar of homemade reduction on hand, but you can make a quick batch right before you assemble. Just take about a quarter cup of good quality balsamic vinegar and simmer it gently in a tiny saucepan over medium-low heat. It only takes about five minutes until it coats the back of a spoon. It thickens as it cools, giving you that perfect, syrupy drizzle. It’s so much better than store-bought sometimes, too!
Also, remember when you are whipping that ricotta? Don’t overdo it! We want it smooth, but if you mix it too long, it starts to loosen up too much, and then you’re just spreading liquid everywhere instead of those lovely, stiff **ricotta toast toppings**.
Variations on This Seasonal Fruit Bruschetta
While this specific recipe sings the song of spring strawberries, I truly believe baking—and appetizer building—should always be fun and adaptable! If you’re looking to keep things fresh week after week, or maybe you have a few other things laying around, there are super simple ways to switch up this seasonal fruit bruschetta without losing that elegant vibe you’re going for. Don’t be afraid to get a little creative with your toppings!
First off, don’t feel locked into just strawberries! If peaches are looking amazing at the market, swap them in. Blackberries offer a wonderful tartness that pairs surprisingly well with the sweet balsamic. The whole point of macerating fruit is to bring out its flavor, so use whatever is glorious right now. Just make sure you still macerate it for at least 15 minutes!
Now, let’s talk about jazzing up that creamy base for your **ricotta toast toppings**. Have you ever thought about zesting a lemon directly into the ricotta before you mix in the salt? Oh, the brightness it adds! A tiny bit of lemon zest cuts through the richness of the cheese beautifully. You could even chop up some fresh basil and mix that right in for an unexpected, herbaceous note. Basil, strawberry, and balsamic? It’s a classic Italian trio, and it’s stunning on a piece of nicely toasted bread!
Serving Suggestions for Your Strawberry Ricotta Bruschetta
Since this gorgeous Strawberry ricotta bruschetta is so light and refreshing, it begs to be served as part of a larger, equally breezy spread. When I picture serving this—especially for that whimsical balcony brunch vibe—I see it alongside a platter of light finger sandwiches or maybe some mini quiches. It anchors the sweet side of the appetizer table beautifully!
But let’s talk drinks, because presentation isn’t just about the food, right? I find that something sparkling is absolutely necessary to complement the tartness of the berries and the richness of the cheese. A glass of Prosecco, a simple sparkling lemonade, or even just icy sparkling water with cucumber slices works wonders. If you’re looking for something a little more robust to sip while you chat, I have some wonderful, easy options over in my drink and cocktail recipes section that pair perfectly without overwhelming these delicate flavors.
The key is to keep everything light! This bruschetta is the star that signals, “Hey, the good weather is here!” Don’t weigh the rest of the table down with heavy dips. Keep it fresh, keep it pretty, and let those honey-drizzled strawberries shine!
Storage and Reheating Instructions for Leftover Components
Okay, if you somehow managed to have leftovers of this glorious Strawberry ricotta bruschetta—which, honestly, good for you for having such a hungry crowd!—we need to talk strategy. Remember what I said before? Assembled bruschetta really doesn’t store well at all. That crispy baguette base goes from perfect snap to chewy sadness faster than you can say ‘second helping’. So please, don’t even think about keeping the final product in the fridge!
The real secret to leftover success is keeping the components totally separate until the very last second. This way, you can enjoy the fresh crunch later!
- The Toasted Bread: Keep the baguette slices in a large, sturdy Ziploc bag or an airtight container at room temperature. Do not refrigerate them, or they will definitely get stale and tough! They should stay crisp for a good 2 days, easy.
- The Ricotta: The seasoned ricotta mix needs to be covered tightly and kept refrigerated. Since it’s mostly cheese, it holds up beautifully for 3 to 4 days. If it separates a tiny bit, just give it a quick whisk with a fork before serving.
- The Macerated Strawberries: Keep these stored in their original container in the fridge, covered. They get even more jammy and delicious overnight, so this component often tastes better the next day! They are good for about 5 days, which means you can totally prep them the day before your brunch.
When you are ready to serve round two, just toast those slices again for 3 minutes if they seemed a little soft, then assemble immediately. It works like a charm!
Frequently Asked Questions About Strawberry Ricotta Bruschetta
I know you might have a few little questions swirling around, especially if you’re prepping for a busy day like Mother’s Day! Since these beautiful bites come together so fast, people often wonder about making parts ahead. I’ve gathered the most common things folks ask about making this Strawberry ricotta bruschetta the star of the show.
Can I prepare the strawberry ricotta bruschetta ahead of time?
Oh, I wish you could! But remember, the crispy base is the whole point! If you assemble these completely more than about 15 minutes before serving, that lovely strawberry syrup and the cheese will soak right into the toast, and it turns into a sad, soft snack. So, while you can prep the cheese and the berries ahead (see my storage tips above!), you absolutely must assemble them right before your guests arrive for that perfect crunch!
What is the best type of bread to use for this recipe?
For the most classic look, I always reach for a good quality baguette, sliced about half an inch thick. That gives you that perfect, sturdy little platform for our beautiful **ricotta toast toppings**. However, if you don’t have a baguette handy, don’t sweat it! A nice, rustic sourdough loaf sliced thinly works wonderfully too. You just want something that will hold up to the drizzle without crumbling when you pick it up.
How can I make a quick balsamic glaze if I don’t have any?
This is such an easy fix for any wonderful strawberry balsamic appetizer! If you are fresh out of the store-bought glaze, just grab about a quarter cup of your standard balsamic vinegar. Pour it into a tiny saucepan and let it gently simmer over medium-low heat. It’s ready when it thickens just enough to lightly coat a spoon. Seriously, this quick reduction tastes so much better than anything bottled, and it only takes a few minutes!
Sharing Your Homemade Strawberry Ricotta Bruschetta
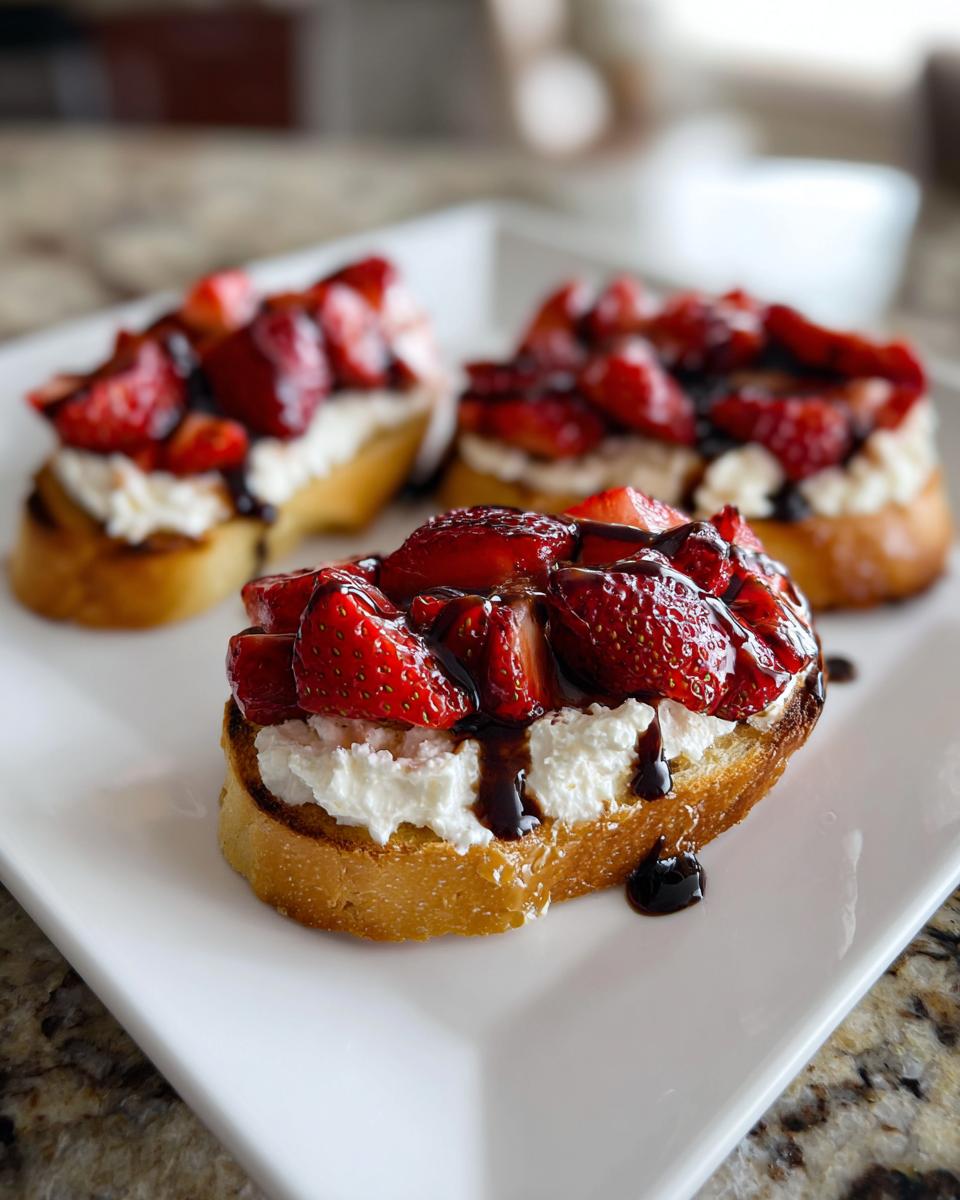
Now that you have the secrets to turning simple fruit and cheese into this elegant starter, I hope you’re just as excited as I am for your next brunch! Honestly, serving this Strawberry ricotta bruschetta makes me feel like I’ve stepped right out of a beautiful magazine spread, even if I’m just eating it standing up in my own kitchen!
If you give this a try—whether it’s for a big Mother’s Day celebration or just a quiet, beautiful afternoon snack—I really want to hear about it! Did your balsamic glaze turn out perfectly shiny? Are you getting those beautiful strawberry juices pooling just right on the crisp bread? Please pop down below and leave a quick rating or a comment. Hearing from you and knowing you created something beautiful with these instructions is why I do all this work!
I love sharing my passion for accessible baking that looks fancy; it’s why I started Bliss Batter in the first place! If you’re ever looking to know more about my journey and why I focus on foolproof recipes, you can read all about that over on my About page. Happy assembling, and enjoy that beautiful, easy appetizer!
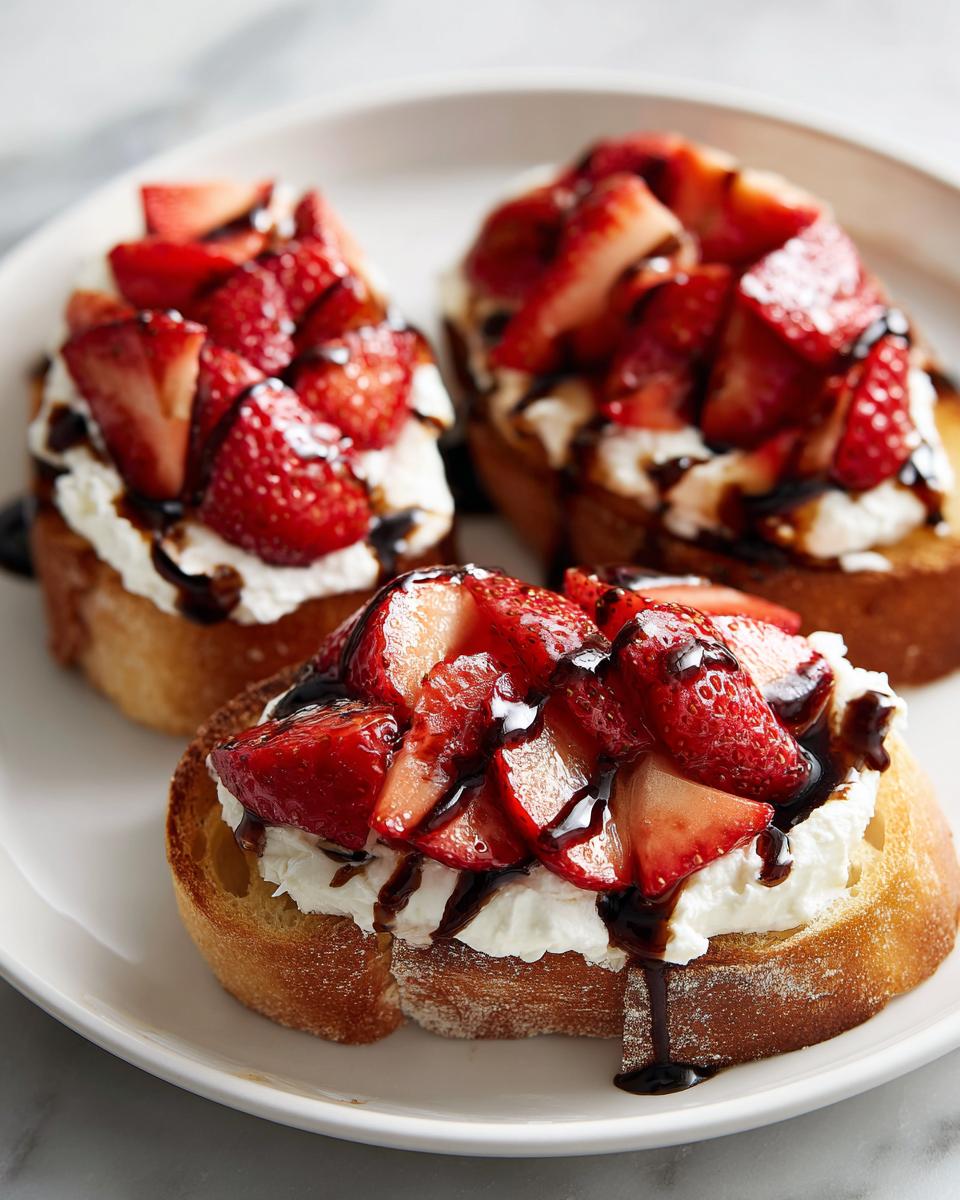
PrintStrawberry Ricotta Bruschetta with Balsamic Glaze

Create a light, elegant starter for your next brunch with this modern twist on classic flavors, balancing sweet macerated berries with creamy ricotta.
- Prep Time: 20 min
- Cook Time: 10 min
- Total Time: 30 min
- Yield: 12 pieces 1x
- Category: Appetizer
- Method: Baking
- Cuisine: American
- Diet: Vegetarian
Ingredients
- 1 baguette, sliced into 1/2-inch thick pieces
- 2 tablespoons olive oil
- 1 pint fresh strawberries, hulled and sliced
- 1 tablespoon granulated sugar
- 1 teaspoon vanilla extract
- 1 cup whole milk ricotta cheese
- 1/4 teaspoon salt
- 2 tablespoons honey
- 2 tablespoons balsamic glaze
- Fresh mint leaves, for garnish
Instructions
- Preheat your oven to 375 degrees Fahrenheit. Brush both sides of the baguette slices lightly with olive oil.
- Bake the bread for 8 to 10 minutes, flipping halfway through, until lightly golden and crisp. Set aside to cool.
- In a medium bowl, gently combine the sliced strawberries, granulated sugar, and vanilla extract. Let the strawberries macerate at room temperature for at least 15 minutes. This creates a sweet, juicy syrup.
- In a separate small bowl, mix the ricotta cheese with the salt until smooth.
- To assemble your spring bruschetta with honey, spread a generous layer of the seasoned ricotta onto each cooled toasted bread slice.
- Spoon the macerated strawberries over the ricotta layer.
- Drizzle each piece with a little honey and a small amount of balsamic glaze.
- Garnish with a few fresh mint leaves before serving this strawberry balsamic appetizer.
Notes
- For the best texture, assemble the bruschetta just before serving so the bread does not become soggy.
- If you do not have balsamic glaze, you can reduce balsamic vinegar in a small saucepan until it thickens slightly.
- Use high-quality, whole milk ricotta for the creamiest result in your ricotta toast toppings.
Nutrition
- Serving Size: 1 piece
- Calories: 140
- Sugar: 9
- Sodium: 95
- Fat: 7
- Saturated Fat: 4
- Unsaturated Fat: 3
- Trans Fat: 0
- Carbohydrates: 16
- Fiber: 1
- Protein: 5
- Cholesterol: 15