
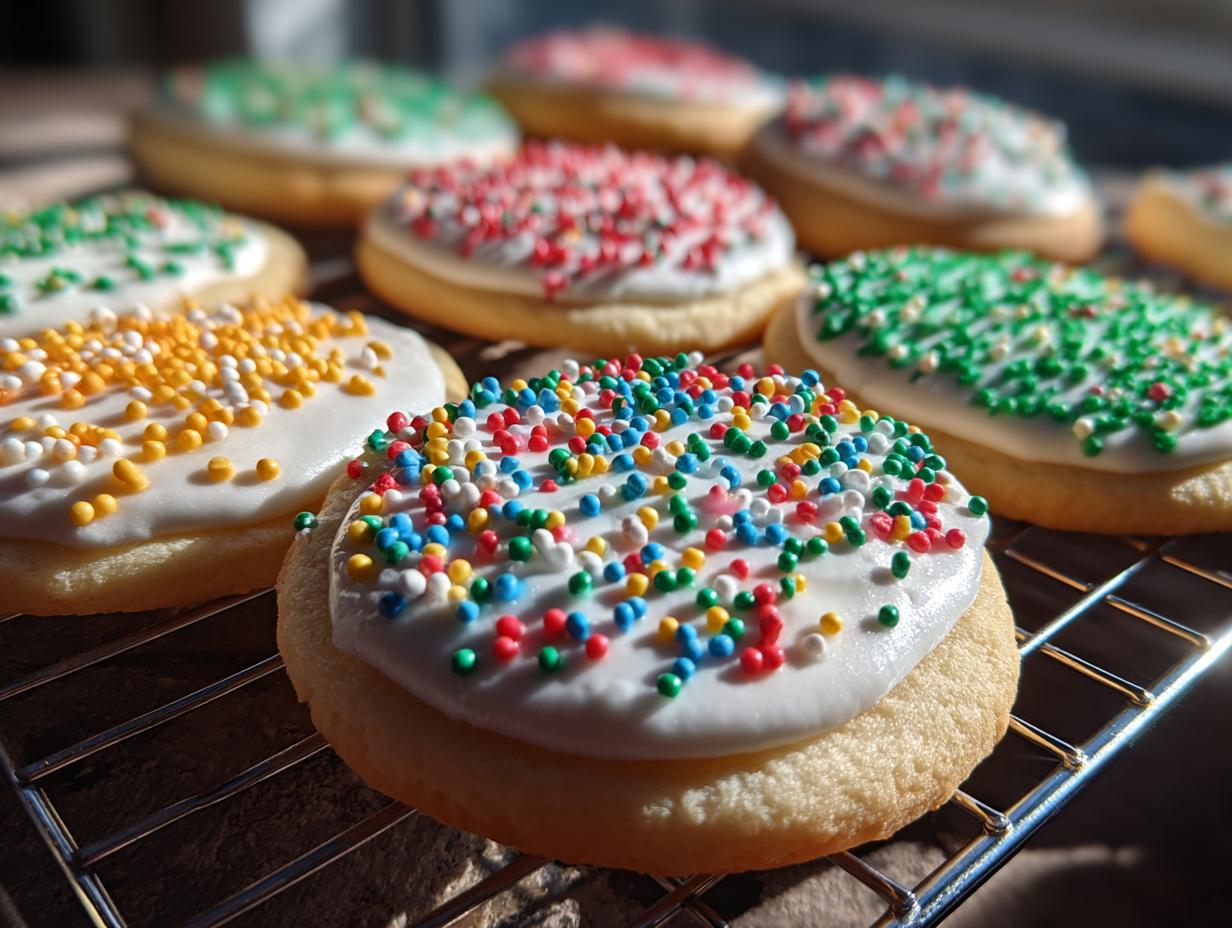
Oh, the horror! You spend hours making perfect, beautiful cut-out cookies, and then… the icing droops, stays sticky all night, or cracks into a million sad little pieces. Trust me, I know that pain! When I was deep in my event planning days, I needed decorations that could hold up, not melt or smear if someone looked at them funny. That’s why I poured all my energy into developing this formula. I’m Claire, and here at Bliss Batter, we promise foolproof recipes tested right here in my real home kitchen. Forget the frustration; this is it—The Ultimate Hard-Drying Sugar Cookie Icing for Flawless Decorating. This sugar cookie icing recipe will give you that smooth, hard, professional finish you’ve always wanted!
- Why This Sugar Cookie Icing Recipe is Your New Secret Weapon
- Ingredients for the Ultimate Hard-Drying Sugar Cookie Icing Recipe
- How to Prepare This Perfect Cookie Icing Recipe Step-by-Step
- Tips for Flawless Cookie Decorating Using This Sugar Cookie Icing
- How to Ice Sugar Cookies for a Professional Look
- Storing Your Leftover Icing That Dries Hard
- Frequently Asked Questions About This Sugar Cookie Icing Recipe
- Estimated Nutritional Breakdown for This Powdered Sugar Icing Recipe
- Share Your Perfect Cookie Decorations
Why This Sugar Cookie Icing Recipe is Your New Secret Weapon
If you’ve ever been hesitant to decorate because you hate dealing with soft frosting, you are in the right place! This isn’t just any cookie icing recipe; it’s the one I rely on when cookies have to look perfect for gifting or setting out on a buffet. It solves all those sticky, runny problems you’ve dealt with before. Think of it as the ultimate icing that hardens way better than my old recipes for things like chai spice cookies!
- It sets rock hard, meaning you can stack your cookies without them smearing into one giant mess!
- It delivers a breathtakingly smooth cookie glaze finish, no matter if you’re piping fine lines or flooding large areas.
- It’s an easy decorating icing that even the newest bakers can master on batch one.
Achieving That Perfect Hard-Drying Finish
The absolute game-changer here is the meringue powder. Seriously, don’t skip it! That little bit of powder is what transforms this from a simple powdered sugar glaze into true Royal Icing for Cookies that dries completely firm. I tested dozens of versions, and the meringue powder is the key ingredient that guarantees your cookies will dry hard enough to stack or pop right into little cellophane bags for gifting. This is my guarantee to you!
Beginner Cookie Icing: Simple Ingredients, Artisan Results
Even though the finish looks like something that took hours of specialty training, the ingredients list is incredibly basic. We are using pantry staples—powdered sugar, water, a little flavoring—to create something that looks totally artisan. If you can sift sugar, you can make this. It makes creating beautiful perfect cookie decorations accessible to everyone!
Ingredients for the Ultimate Hard-Drying Sugar Cookie Icing Recipe
Okay, let’s get down to business! You need the right components for this beautiful, no-fail icing. I’ve listed exactly what you need so you can gather everything before you even turn on the mixer. Remember, for this sugar cookie icing recipe, precision really matters, especially with the dry elements. Make sure you weigh or spoon and level your powdered sugar properly so things don’t get gummy!
Here is what you need to make enough icing that dries hard for about two dozen medium cookies:
- 4 cups powdered sugar, sifted
- 3 tablespoons meringue powder
- 1/2 teaspoon vanilla extract
- 1/4 cup warm water (plus more as needed)
- 1/4 teaspoon light corn syrup (optional, for extra shine)
Ingredient Notes and Substitutions for Your Sugar Cookie Icing
I know what you’re thinking: Meringue powder? Where do I find that? It’s worth tracking down because it’s the secret to that artisan, professional finish! It stabilizes the icing and helps it dry truly firm, which is why this is the best cookie frosting for decorating cut-outs. If you can only find plain egg whites, you’d need to use two large egg whites instead of the powder, but you have to be super careful about the water content then, so I really prefer the powder for consistency.
The light corn syrup is totally optional, but if you want that extra gorgeous, mirror-like shine on your finished cookie, toss it in! It really reflects the light beautifully. Also, a quick word on coloring: save yourself the headache and only use gel food coloring. Liquid drops will thin out your perfect consistency in a heartbeat, and we want to keep this icing nice and thick for outlining, remember?
How to Prepare This Perfect Cookie Icing Recipe Step-by-Step
Alright, friend, this is where the magic happens. Even though the ingredient list is short, the mixing technique is what makes this cookie icing recipe the winner. Don’t rush this part, because your final texture totally depends on how you treat these ingredients! First, get the sifted sugar and meringue powder mixed dry in a good, sturdy bowl. Then, pour in your vanilla and the warm water. Don’t add too much water at this stage, just try to get everything incorporated.
Now for the secret handshake: you need to pull out your electric mixer. Set it on low just to bring things together, scrape down the sides so no dry pockets hide, and then crank it up to medium-high. You need to beat this icing for a full five to seven minutes. Yes, I know that seems long! But this whipping time is what incorporates tons of air, and that air is what helps your icing that hardens set up so beautifully firm later on. When you’re done, it should look thick, super smooth, and hold a nice, stiff peak when you lift the beater. If you’re checking out my chewy oatmeal cookies, you know I swear by proper mixing!

Mastering Icing Consistency: Flooding and Outlining with Your Sugar Cookie Icing
Once you have that amazing stiff base, you have to adjust it depending on what you’re decorating! This is crucial for perfect cookie decorations. For outlining the edges of your cut-outs—say, for a border—you want that stiff consistency we just whipped up; it should hold its shape on a spoon. That’s your outlining consistency.
However, when you’re ready to flood the center, you need it thinner. To get the right flow for flooding, add water just a teaspoon at a time. You are aiming for what we call the 10-second rule. When you drizzle a ribbon of icing over the bowl, it should slowly sink back into itself and disappear completely, leaving a smooth surface, in about ten seconds flat. That’s the sweet spot for that shiny cookie icing finish that covers everything beautifully!
Tips for Flawless Cookie Decorating Using This Sugar Cookie Icing
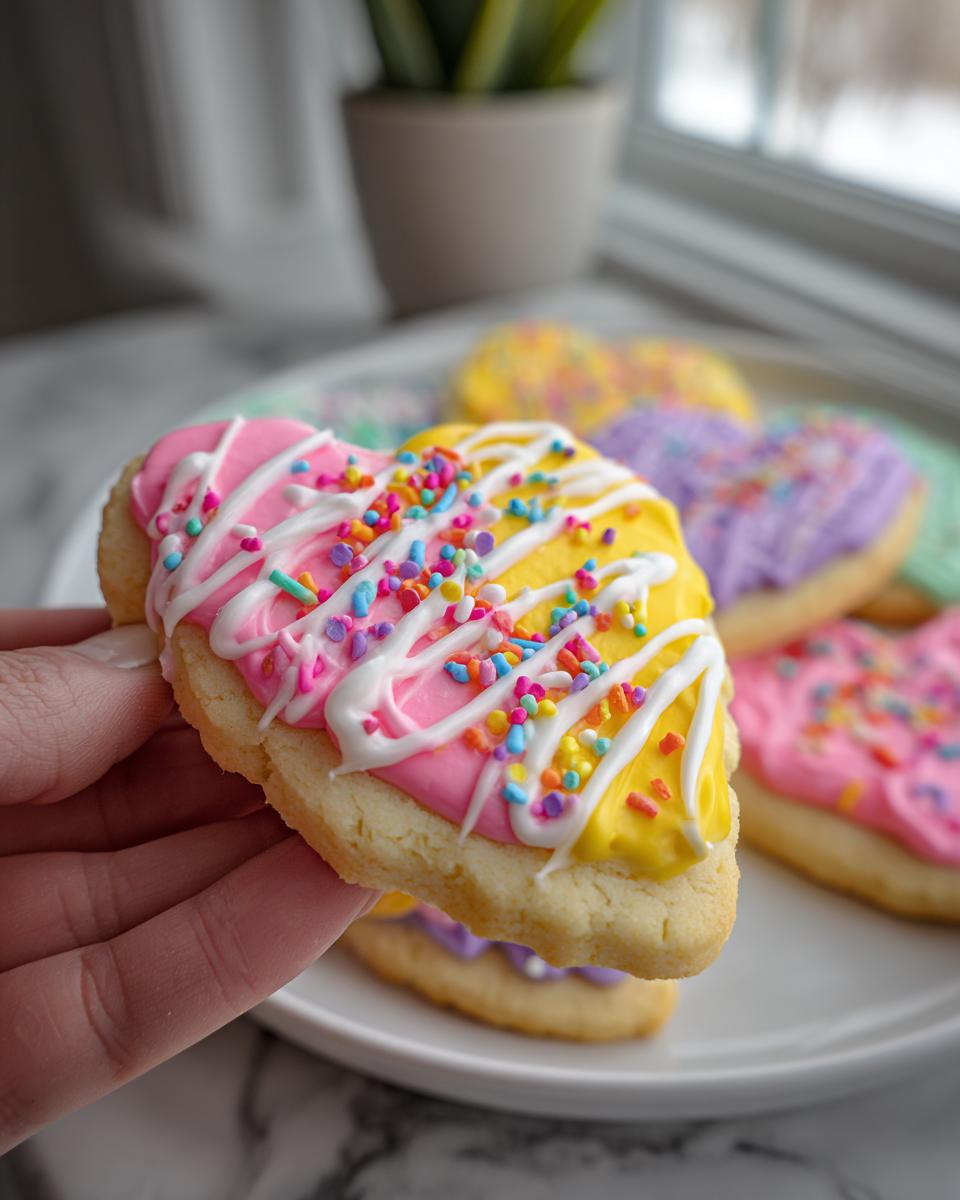
Now that you have the *best* sugar cookie icing recipe base, let’s talk about how to treat it once it’s colored. Getting that smooth, gorgeous finish we talked about relies just as much on what you do *after* mixing as it does on the ingredients themselves. My biggest tip, which I learned the hard way during a huge holiday cookie order, is to never, ever color your icing in one giant batch. Seriously, don’t do it!
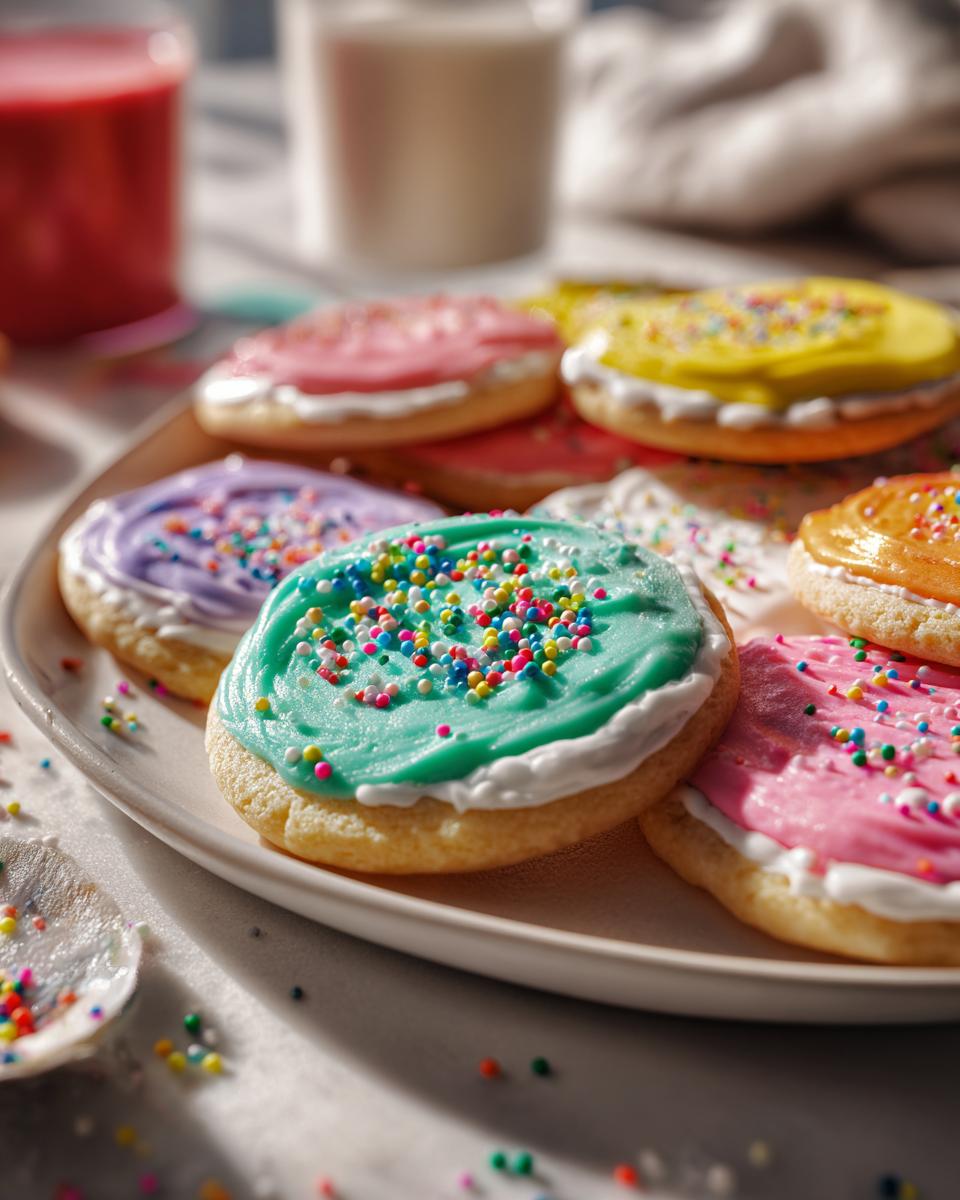
Instead, separate your icing into smaller bowls right away if you know you want different colors. Gel colors are amazing because they give you that deep, vibrant hue without making your beautiful icing runny, but trust me, adding a bunch of food coloring to a large bowl of icing changes the chemistry! You end up with this huge amount of icing that’s too thin for outlining and suddenly becomes sticky!
When you are decorating, remember that drying time is your friend. If you put cookies into a container too soon, you’ll end up with that awful sticky residue, and all your hard work is ruined. For a great batch of icing that dries hard, let them sit out on a wire rack at room temperature until they are completely hard to the touch—sometimes that means overnight, depending on the humidity. I always check by lightly tapping the surface; if it feels solid, it’s good to go. If you’re looking for some general advice on handling your dough and bakes, I put together some baking tips for cookies that might come in handy!
My personal baking faith, which I always pass along, is this: when you’re coloring, start lighter than you think you need. The color almost always deepens slightly once it settles into the icing mass. Better to mix in a tiny bit more gel than try to fix a batch that’s way too dark!
How to Ice Sugar Cookies for a Professional Look
Before you even think about dipping your piping bag into this beautiful, smooth batch of icing, let’s chat about the cookies themselves. You absolutely HAVE to make sure your cut-out cookies are completely, totally, 100% cool before you touch them with this icing—otherwise, the heat will just melt your gorgeous work right off the surface! I learned this the hard way trying to rush decorations onto warm pumpkin cheesecake cookies once.

Once they’re totally cool and sitting on their wire racks, you can start playing! This is where knowing how to ice sugar cookies really comes down to using the right tool for the job based on the consistency you created in the mixer. Remember how we made a stiff base? That’s your outline icing. You use that first to draw a firm border around the edge of your cookie. This border acts like a little dam;
- It keeps your thinner flooding icing neatly contained within the lines.
- It gives the cookie definition and structure.
Once the outline has set for maybe 10 minutes—just long enough not to merge with the next layer—you grab the thinner icing (the one that flows off the spoon in about 10 seconds). Gently pour or spoon that flood consistency into the area you outlined. Use a scribe tool or the tip of a clean toothpick to gently push the icing into any little gaps near the edge. Then, you just let the magic happen! The flooding icing settles itself out into that gorgeous, shiny cookie icing finish all on its own. Give them time to dry, and you’ll have professional-looking decorations!
Storing Your Leftover Icing That Dries Hard
So, you made a massive, perfect batch of this sugar cookie icing because, let’s be honest, it’s way easier to make too much than too little! But what do you do when you’re done decorating for the day? You definitely don’t want this beautiful, stiff icing to dry out in the mixing bowl or get all crusty in the fridge. The good news is, because we used meringue powder, this stuff is pretty resilient!
Here’s my rule for any leftover icing that dries hard: keep it airtight and keep it at room temperature. Resist the urge to stick it in the refrigerator! Cold air and moisture are the enemies of Royal Icing for Cookies—it can make it weep or become grainy later on. Just scrape any excess into a Ziploc bag, press out all the air you can get, and seal it up tight. You can keep it on your counter like that for a good two days, and it should be totally fine for doing touch-ups later.
If you pull it out the next day and it seems a little stiffer than you remember—maybe it’s lost that perfect pouring consistency—don’t panic! This is where revival comes in. You just need to wake it back up. Add just a few drops of water at a time. I mean seriously, start with three drops, stir it gently with a small spoon, and see how it flows. Keep adding drops very sparingly until you get that smooth texture back that was perfect for flooding or outlining. It’s so much easier than trying to mix a whole new batch!
This quick storage tip means you never waste a bit of your hard work, and you always have some ready to go for touch-ups or those last few cookies that weren’t decorated yet. It’s just one less thing to worry about when you’re planning your next big batch of holiday cookie decorating!
Frequently Asked Questions About This Sugar Cookie Icing Recipe
I totally get it! When you follow a new recipe, especially one that promises that perfect finish, you always have a few questions ticking away. I tried to cover everything in the steps above, but here are some quick answers to the things I hear most often about making this powdered sugar icing recipe.
Can I use milk instead of water?
This is a common question, and honestly, I really advise against using milk for this specific recipe. We are making Royal Icing for Cookies here, and we need that clean, neutral water base so the meringue powder can do its job of drying hard. Milk contains fat and proteins that can prevent the icing from setting rock solid. If you absolutely cannot use water, a clear extract like clear vanilla or lemon juice works better than milk, but for the truly hard-drying result, stick strictly to warm water!
How long does this icing take to dry completely?
This is the million-dollar question, right? It depends so much on your climate—humidity is the enemy! If you have dry air, your icing might be hard to the touch in about four hours. But for a truly safe, stackable cookie, I always tell people to plan for 8 to 12 hours, or even overnight. This ensures that the entire thickness of the icing has cured. If you try to package them too soon, you might get that annoying little smudge on the next cookie!
Can I make this Royal Icing for Cookies ahead of time?
Yes, you absolutely can! As I mentioned in the storage section, properly sealed icing can last at room temperature for about two full days. Just make sure you squeeze out every bit of air, seal it in an airtight container or thick bag, and leave it on the counter. The only thing you might need to do when you pull it out later is stir in a drop or two of water to get that perfect consistency again. It’s a huge time saver when you are prepping for big holiday baking!
What is the best way to color this icing?
I cannot stress this enough: use gel colors only! I recommend checking out guides on how to color icing—Emma’s Cake Studio has a great one, and I know you can see her advice on coloring when you research icing that hardens. Gel pastes or concentrated drops give you intense, vibrant colors without adding messy liquid volume to your icing. If you use liquid food coloring, you’ll end up adding too much, which compromises the structure and makes your best cookie frosting soft again. A tiny dot of gel goes a long way!
Estimated Nutritional Breakdown for This Powdered Sugar Icing Recipe
Okay, now that we’ve made something that tastes like pure happiness and looks totally professional, we should probably talk about the numbers, right? Look, I’m not a nutritionist, and I believe in enjoying every single bite of homemade goodness without stressing over a label. But I always test my recipes thoroughly—it ensures they are reliable—and that includes gathering the basic data for you. Remember, I gathered this information using the standard ingredients, so use this as a comfortable baseline.
If you are trying to keep track of things like meal planning or just curious what’s in your holiday treats, here’s a quick look at what you might find in a serving of this frosting. This isn’t the place to worry about keto meal plan delivery, but it’s good to know what’s in your beautiful decorations!
- Serving Size: 1/4 cup
- Calories: 180
- Sugar: 45g
- Fat: 0g
- Protein: 1g
- Carbohydrates: 45g
As you can see, it’s primarily sugar since, well, it’s icing! The good news is there’s zero fat, and you’re using just a fraction of this per cookie. So go ahead and decorate a whole tray without feeling guilty. Enjoy the moment, because that’s what baking is really about—creating little moments of joy, whether you’re using a fancy sous-vide precision cooker for dinner or just whipping up this easy frosting!
Share Your Perfect Cookie Decorations
Whew! We did it! You have successfully mastered the smooth cookie glaze that dries hard. I truly hope you are looking at a tray full of cookies that are perfectly decorated and ready for stacking, gifting, or, let’s be real, immediate taste-testing. Taking the time to make a foolproof icing recipe like this is half the battle, and you crushed it!
Now, I absolutely *need* to see what you created! When I look at your gorgeous cookies, it reminds me exactly why I love sharing these tried-and-true recipes from my kitchen to yours. Did you stick to simple flood borders? Did you try intricate piping designs? Tell me what colors you used! Please head down to the comments section and give this recipe a rating—your feedback helps me know everything is working perfectly for all my bakers.
And if you took a picture of your finished, envy-inducing, hard-set cookies, please tag me on social media! Seeing your cut out cookie icing successes is the best part of my day. If you ever have questions as you’re decorating, or just want to send a quick note or idea, you can always reach out to me directly on my contact page. Happy decorating, and enjoy every single beautiful, non-sticky bite!
PrintThe Ultimate Hard-Drying Sugar Cookie Icing for Flawless Decorating

Achieve a perfectly smooth, hard-drying sugar cookie icing that looks professional. This simple recipe uses basic ingredients and sets firm, preventing sticky cookies.
- Prep Time: 10 min
- Cook Time: 0 min
- Total Time: 10 min
- Yield: Coats approximately 2 dozen medium cookies 1x
- Category: Dessert Topping
- Method: Mixing
- Cuisine: American
- Diet: Vegetarian
Ingredients
- 4 cups powdered sugar, sifted
- 3 tablespoons meringue powder
- 1/2 teaspoon vanilla extract
- 1/4 cup warm water (plus more as needed)
- 1/4 teaspoon light corn syrup (optional, for extra shine)
Instructions
- In a large bowl, whisk together the sifted powdered sugar and meringue powder until fully combined.
- Add the vanilla extract and the warm water to the dry ingredients.
- Mix on low speed with an electric mixer until the ingredients are just combined. Scrape down the sides of the bowl.
- Increase the mixer speed to medium-high and beat for 5 to 7 minutes until the icing is very smooth, thick, and holds stiff peaks. This whipping process incorporates air, which helps the icing dry hard.
- Check the consistency. For outlining and detail work (stiff consistency), the icing should hold its shape firmly. For flooding (a thinner consistency), add water, one teaspoon at a time, until the icing flows slowly off a spoon and smooths over itself in about 10 seconds.
- Divide the icing into separate bowls for coloring. Add gel food coloring sparingly and mix until the color is uniform.
- Use the icing immediately to decorate your cooled sugar cookies.
- Allow the decorated cookies to air dry completely for several hours, or overnight, until the surface is hard to the touch.
Notes
- Use gel food coloring for vibrant colors without thinning the icing consistency.
- If the icing becomes too thick while decorating, add a few drops of water. If it is too thin, mix in a tablespoon of powdered sugar.
- For a recipe that supports your overall health goals, remember that proper meal planning is key, even when enjoying treats.
- Store unused icing in an airtight container at room temperature for up to two days; if it stiffens, you can revive it with a few drops of water.
Nutrition
- Serving Size: 1/4 cup
- Calories: 180
- Sugar: 45g
- Sodium: 5mg
- Fat: 0g
- Saturated Fat: 0g
- Unsaturated Fat: 0g
- Trans Fat: 0g
- Carbohydrates: 45g
- Fiber: 0g
- Protein: 1g
- Cholesterol: 0mg